woodchip

Bedroom: Before & After

One of the first finished rooms at Maison Bailey was our bedroom, as its completion (alongside the bathroom) meant we could move in. As long as we had somewhere to sleep and wash - we could get by.

Prior to this, we were borrowing the flat of an extremely kind family friend up the road, who temporarily moved in with my parents for two months (as did Mog). This was a huge lifeline as it meant we could commute to our full time jobs in London, renovate during the evenings and weekends and still sleep in a warm, safe place ready for work the next day. We couldn't have managed without the incredible generosity of our friends and family.

A few weeks in, we quickly realised just how much you can achieve when you set yourself a tight deadline. What would have probably taken us six months, took us two. I won't lie, it was tough, especially after a long day at work. But we got our heads down and once we'd moved in, even though the pressure was off, we kept up the pace. It was only another six months and we were hosting Boxing Day.

Our bedroom was a huge turning point as it was the first time we saw a room visibly come together and the first time we felt the feeling of, 'hang on, we can do this!'. Hope you like the pics...
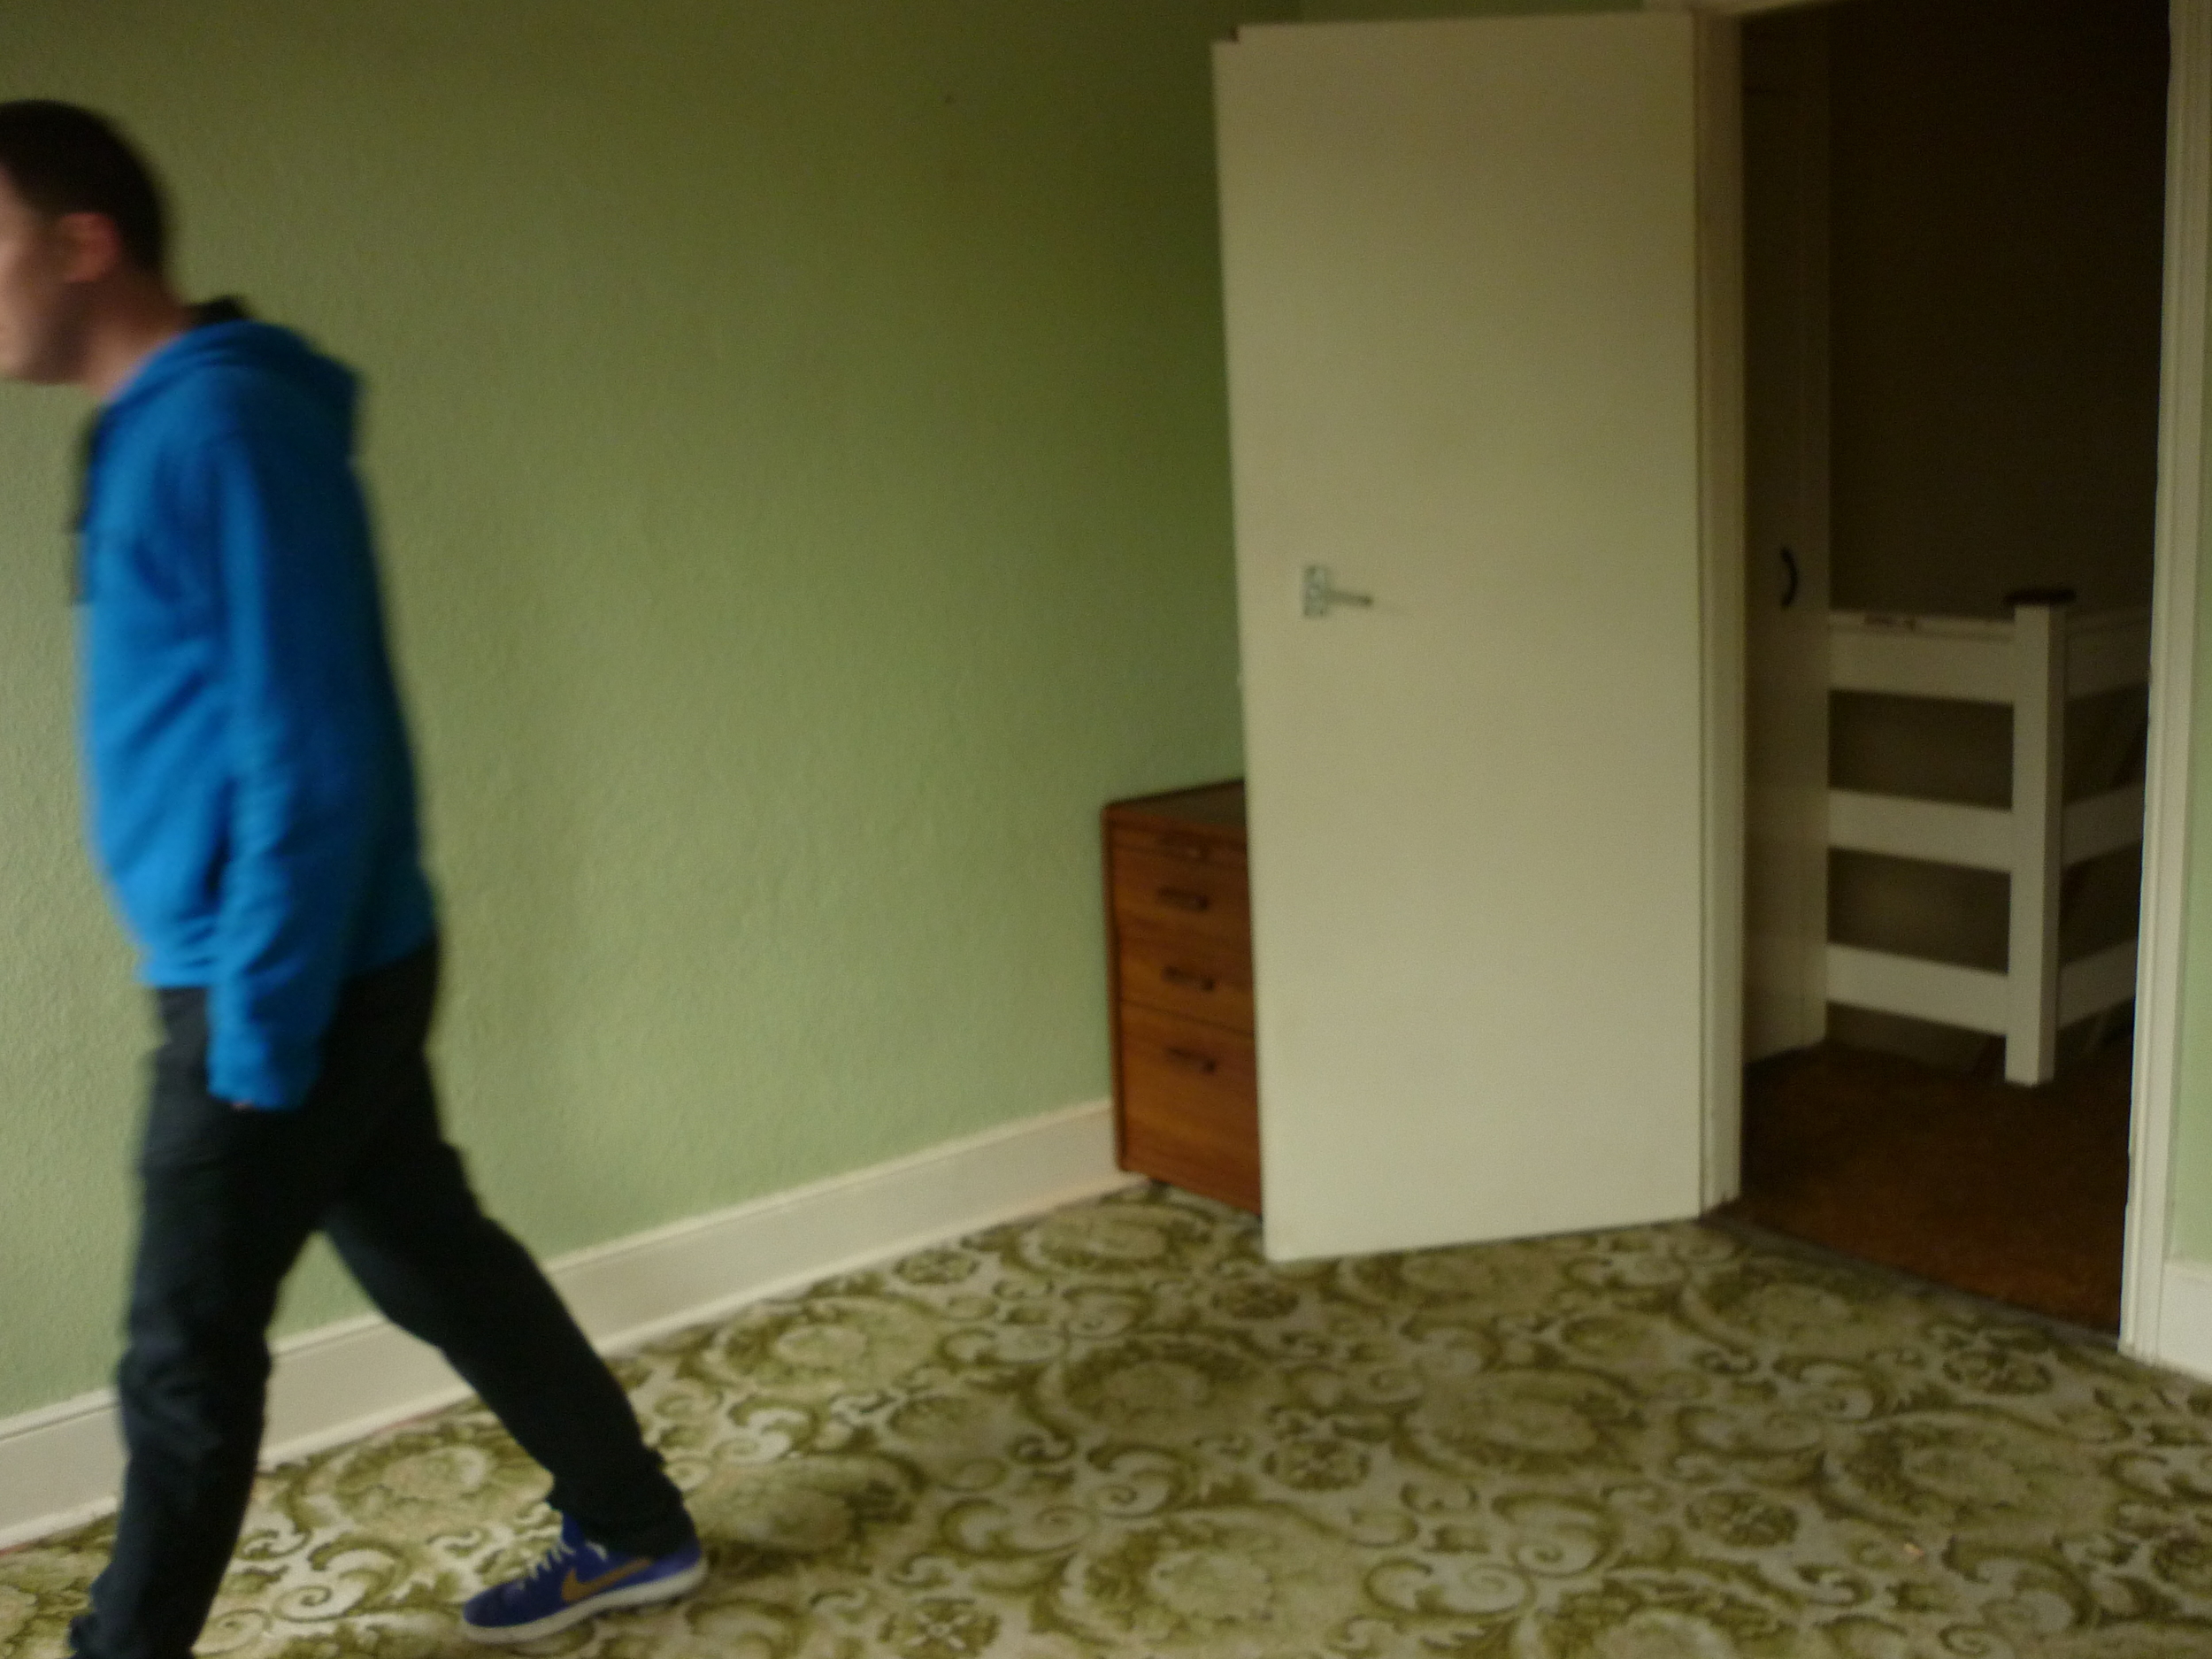
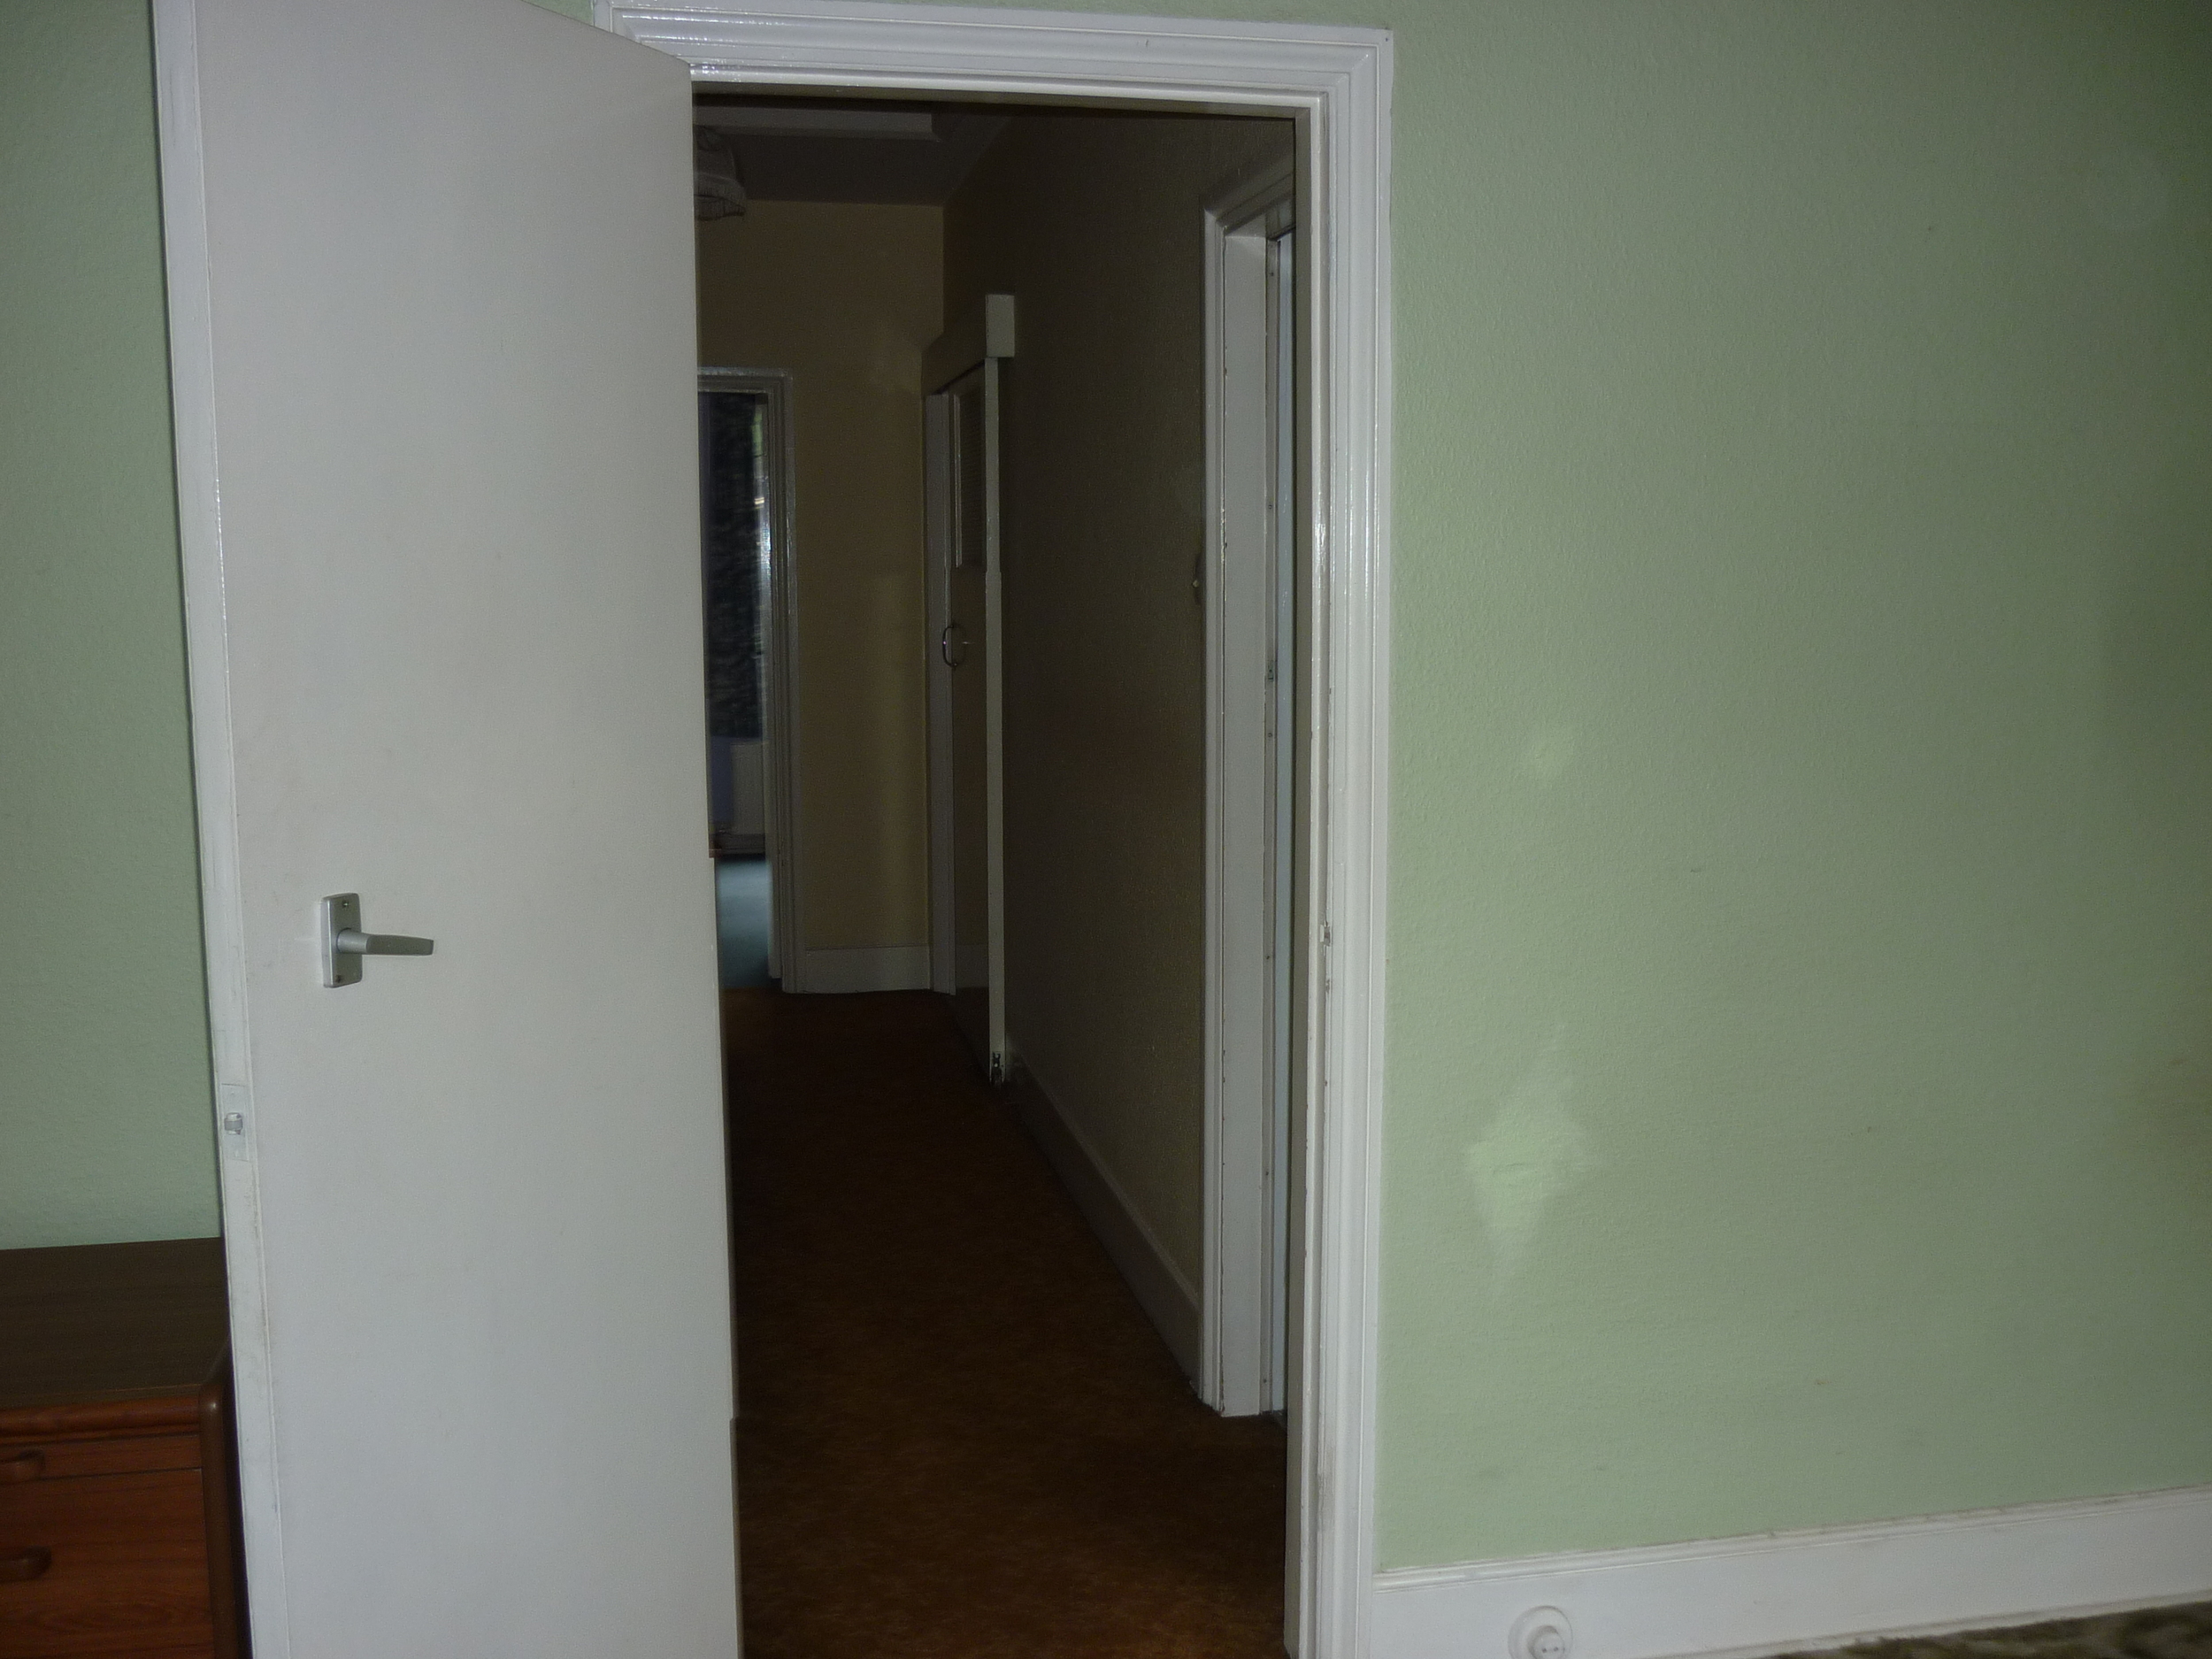
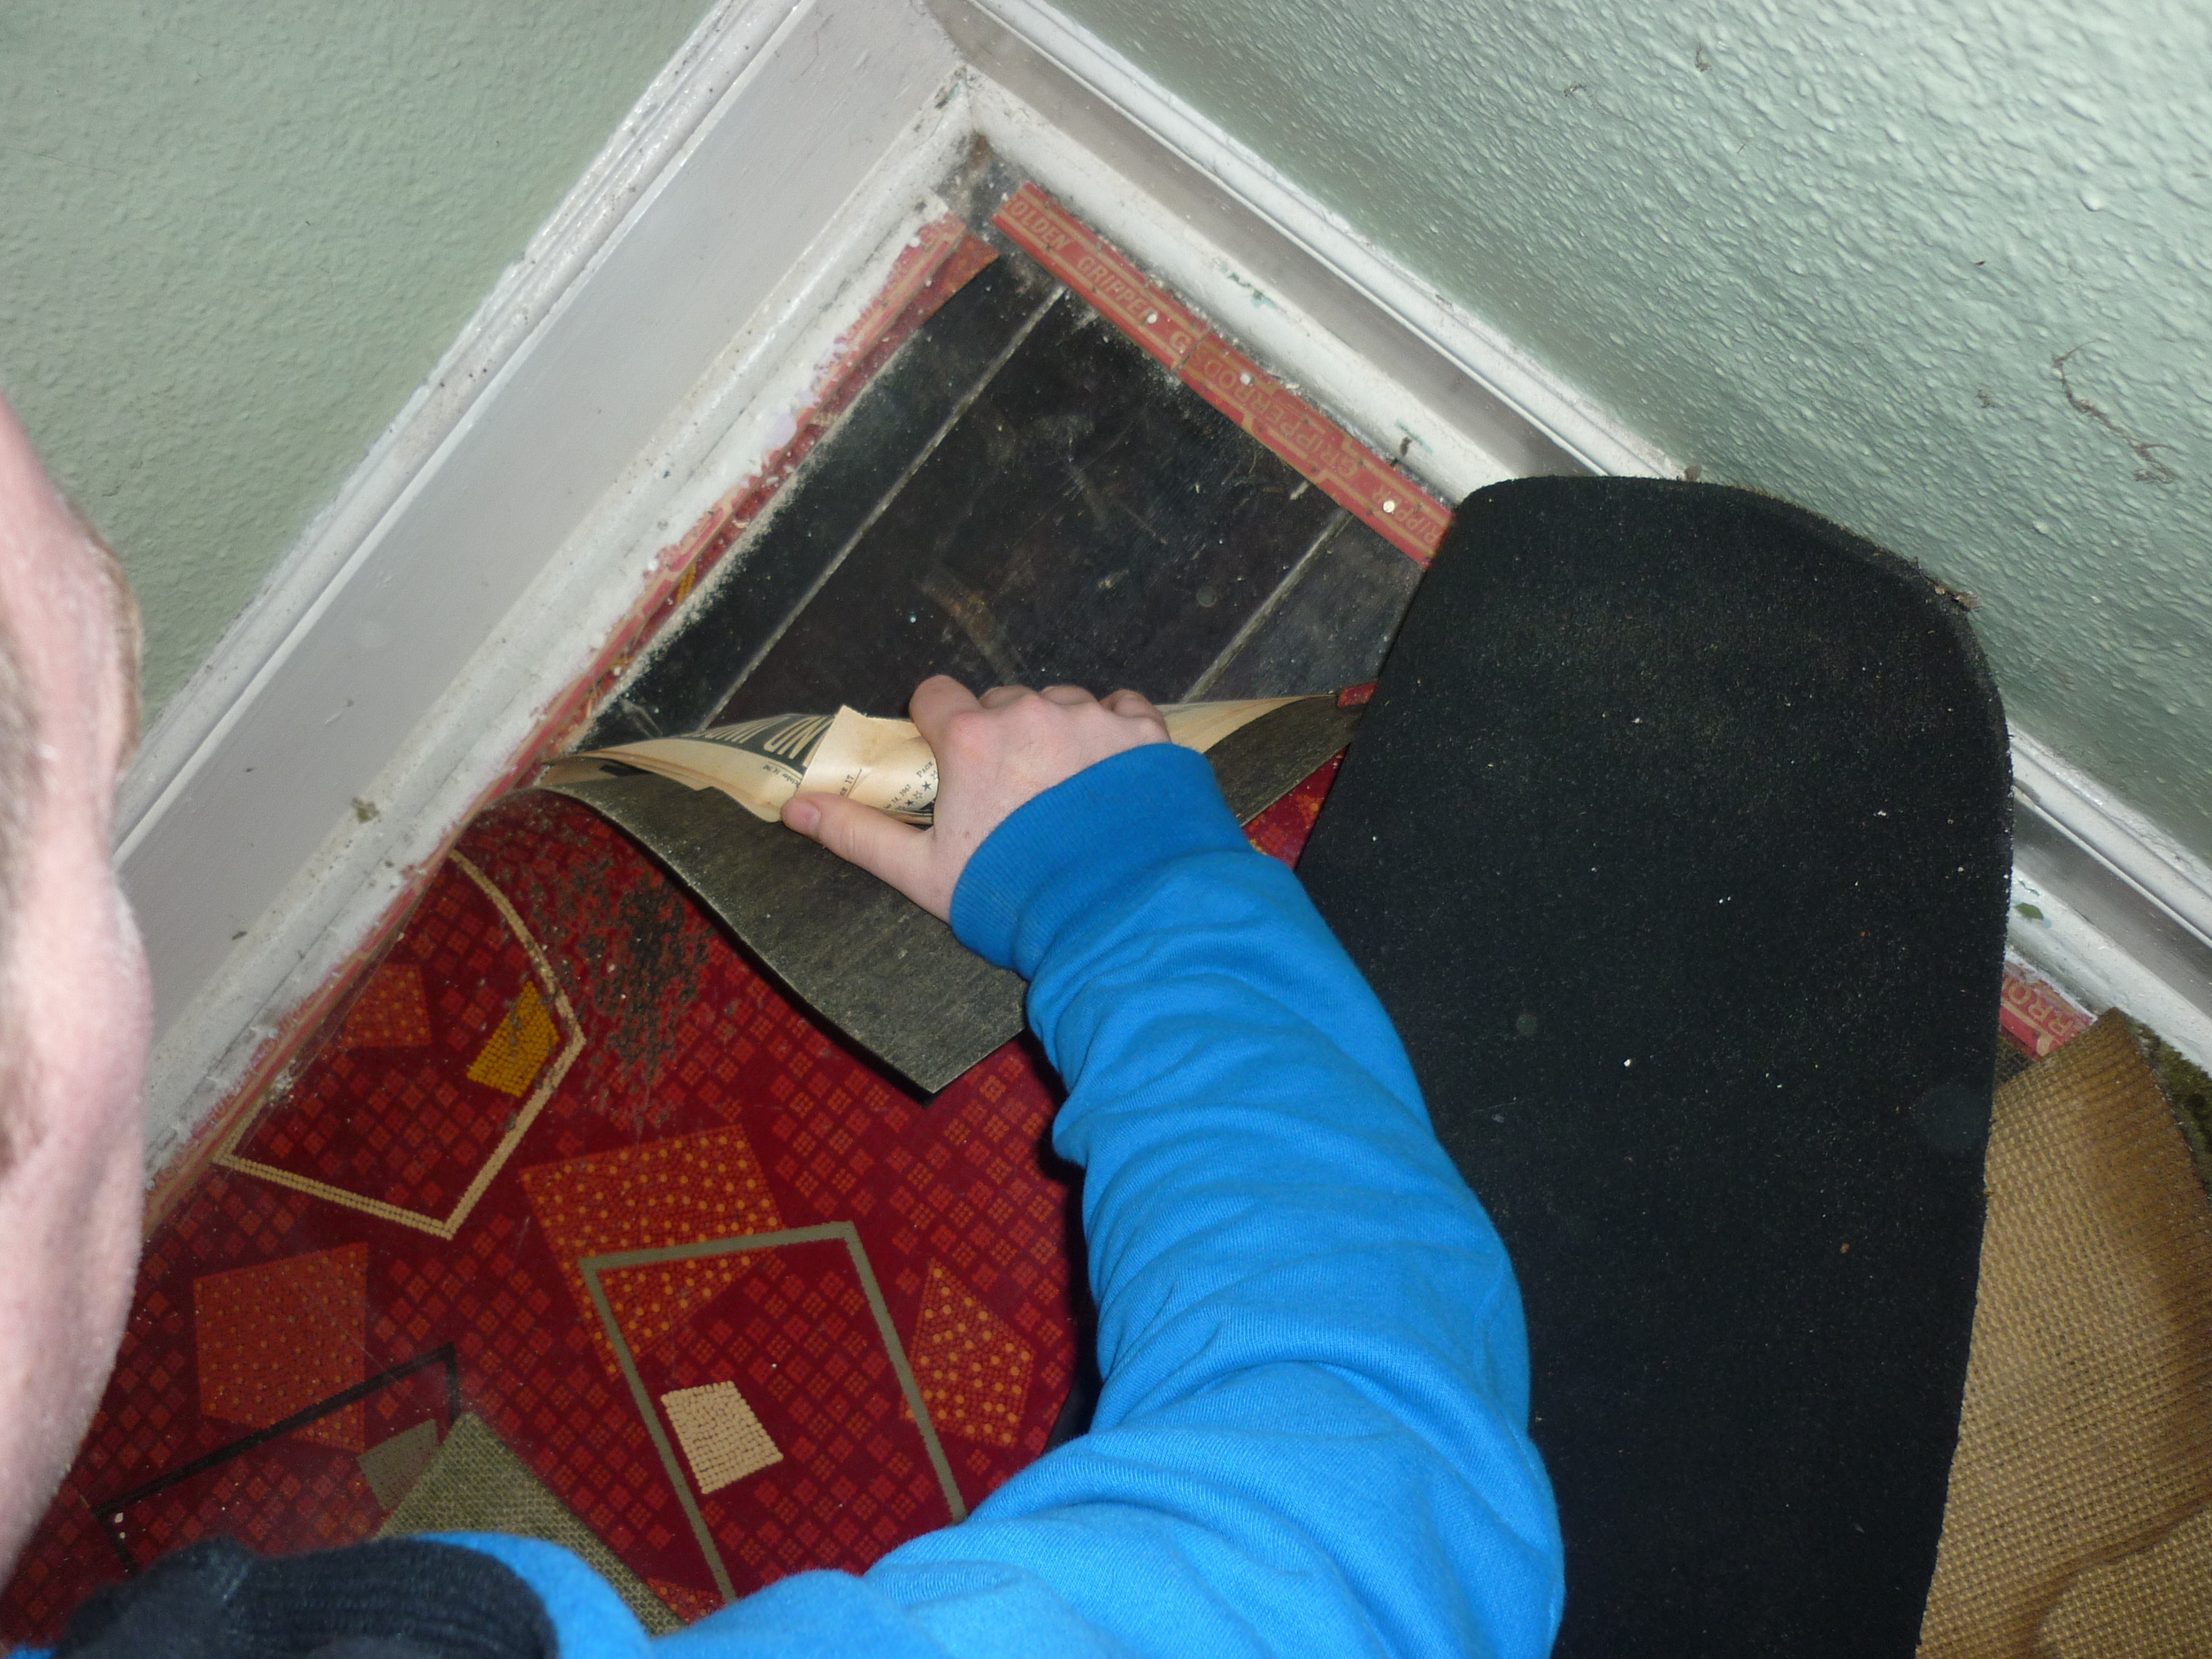
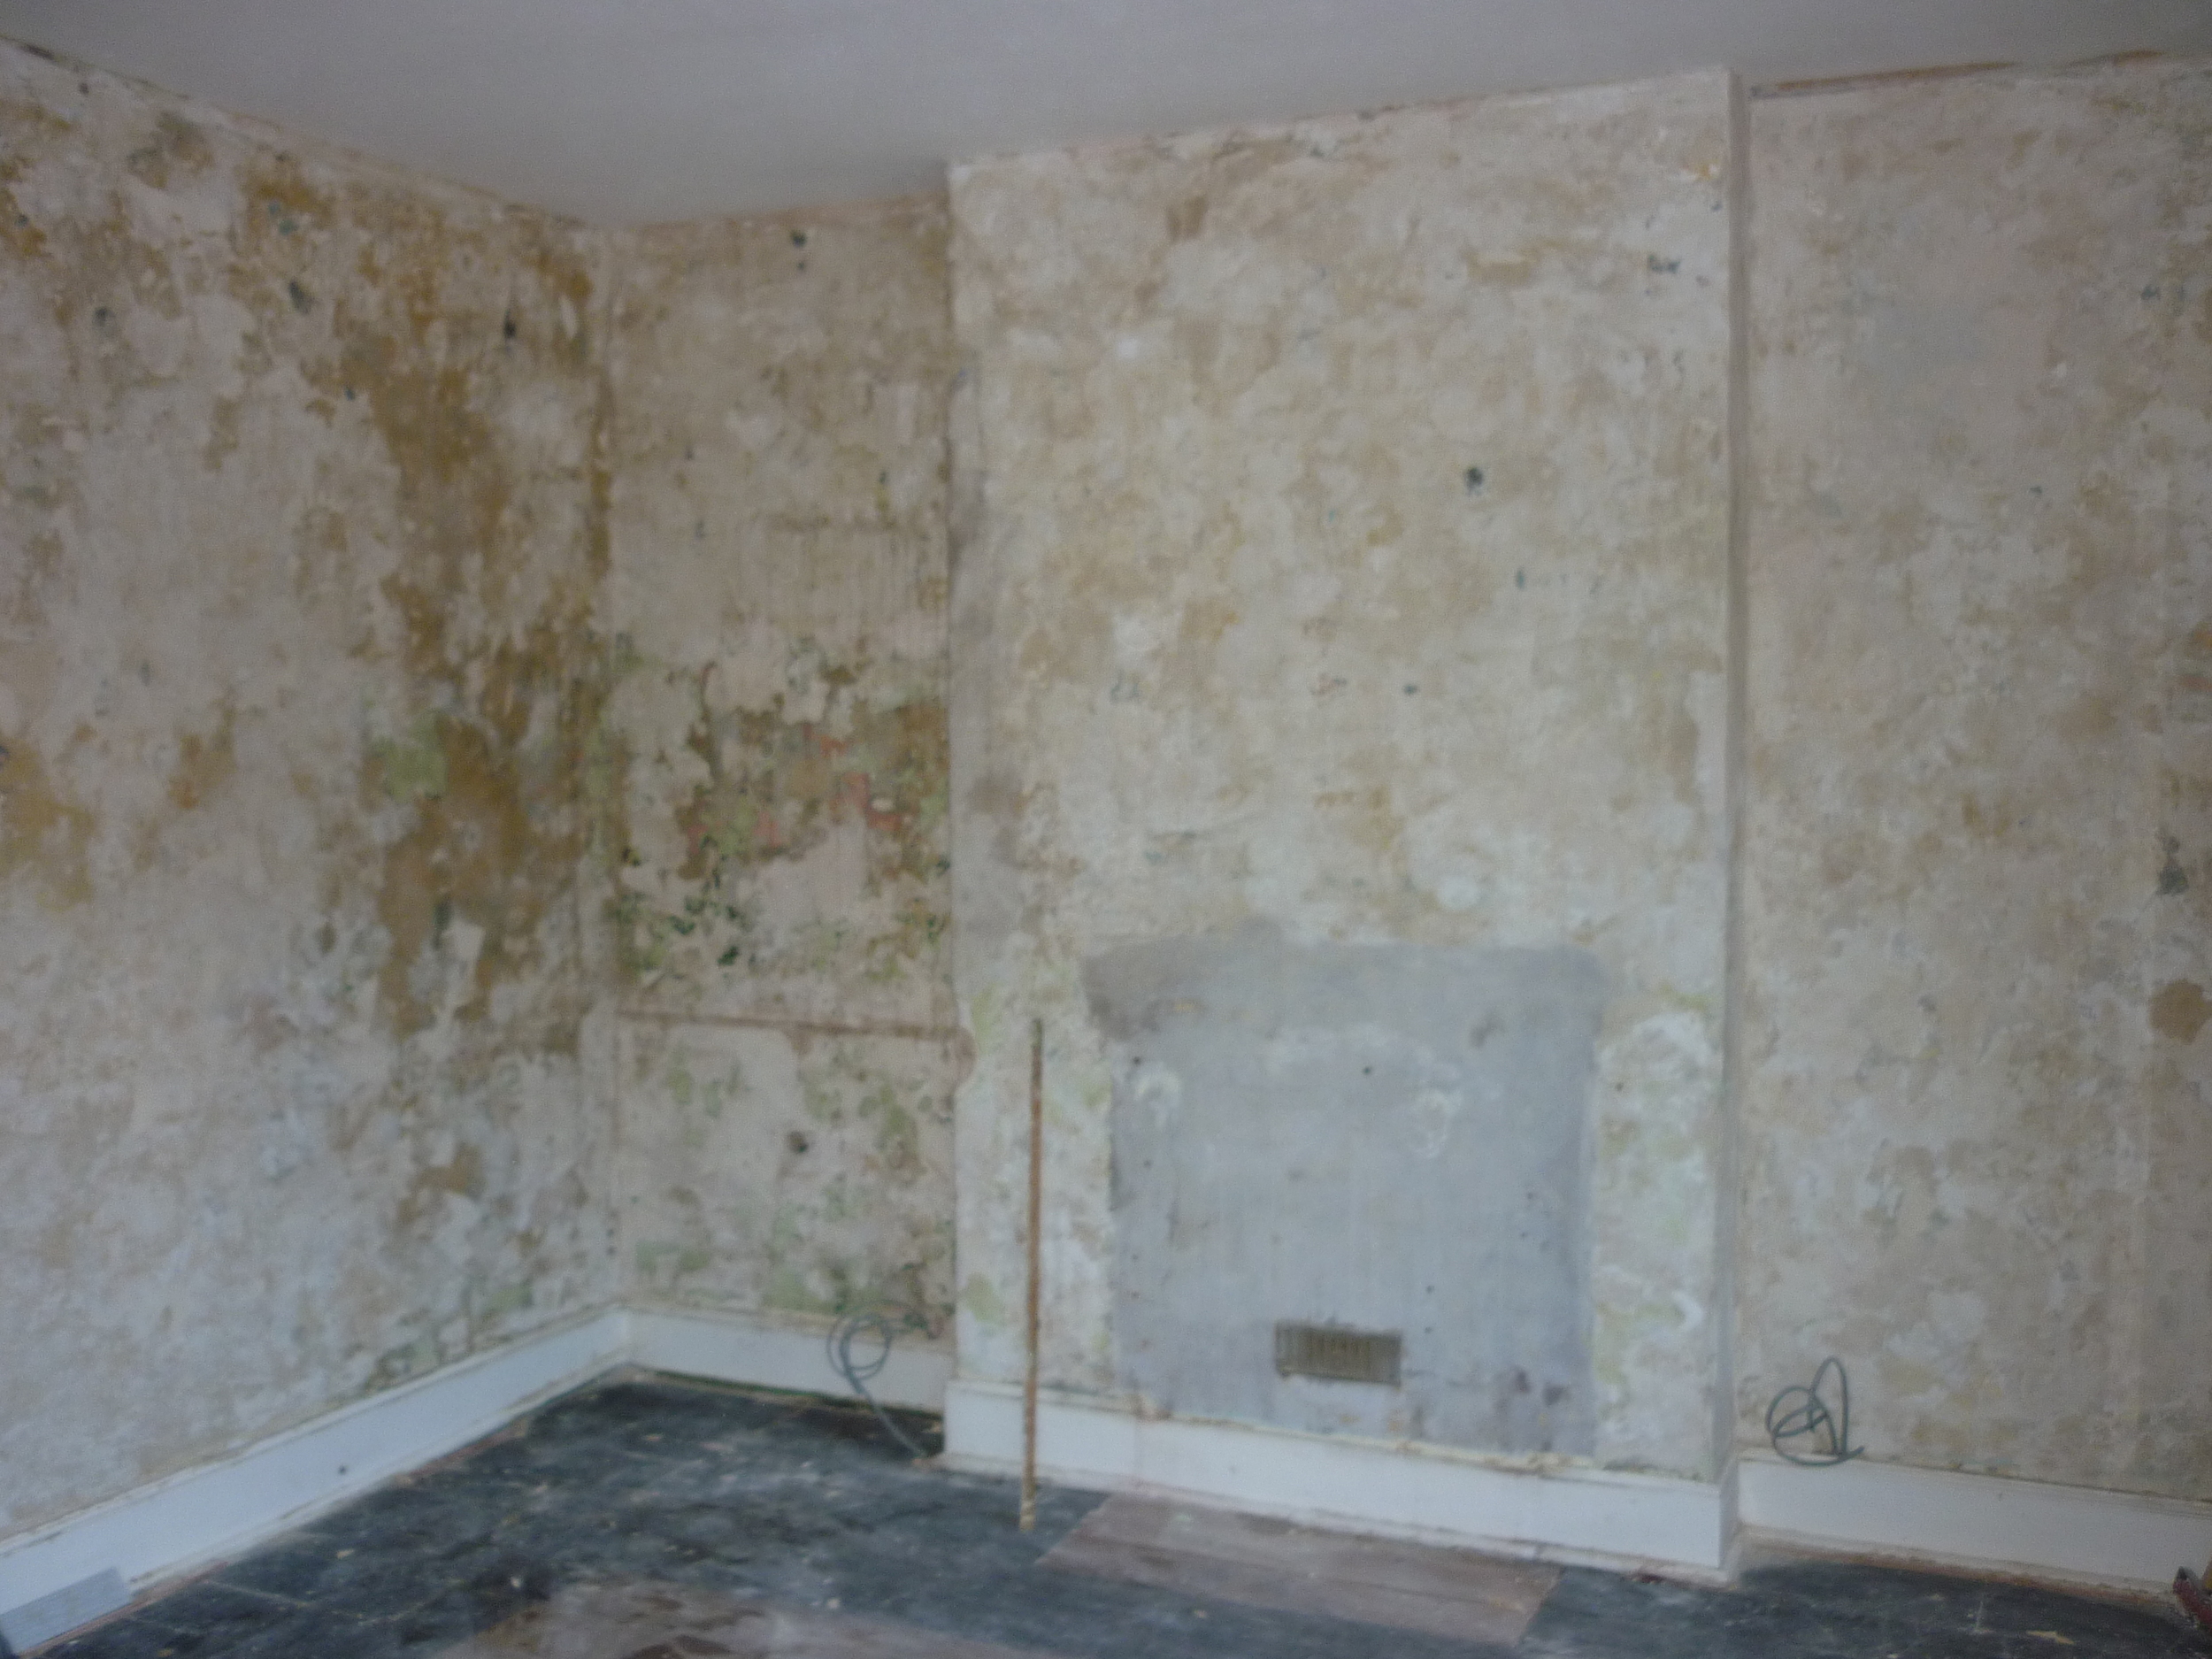
BEDROOM BEFORE

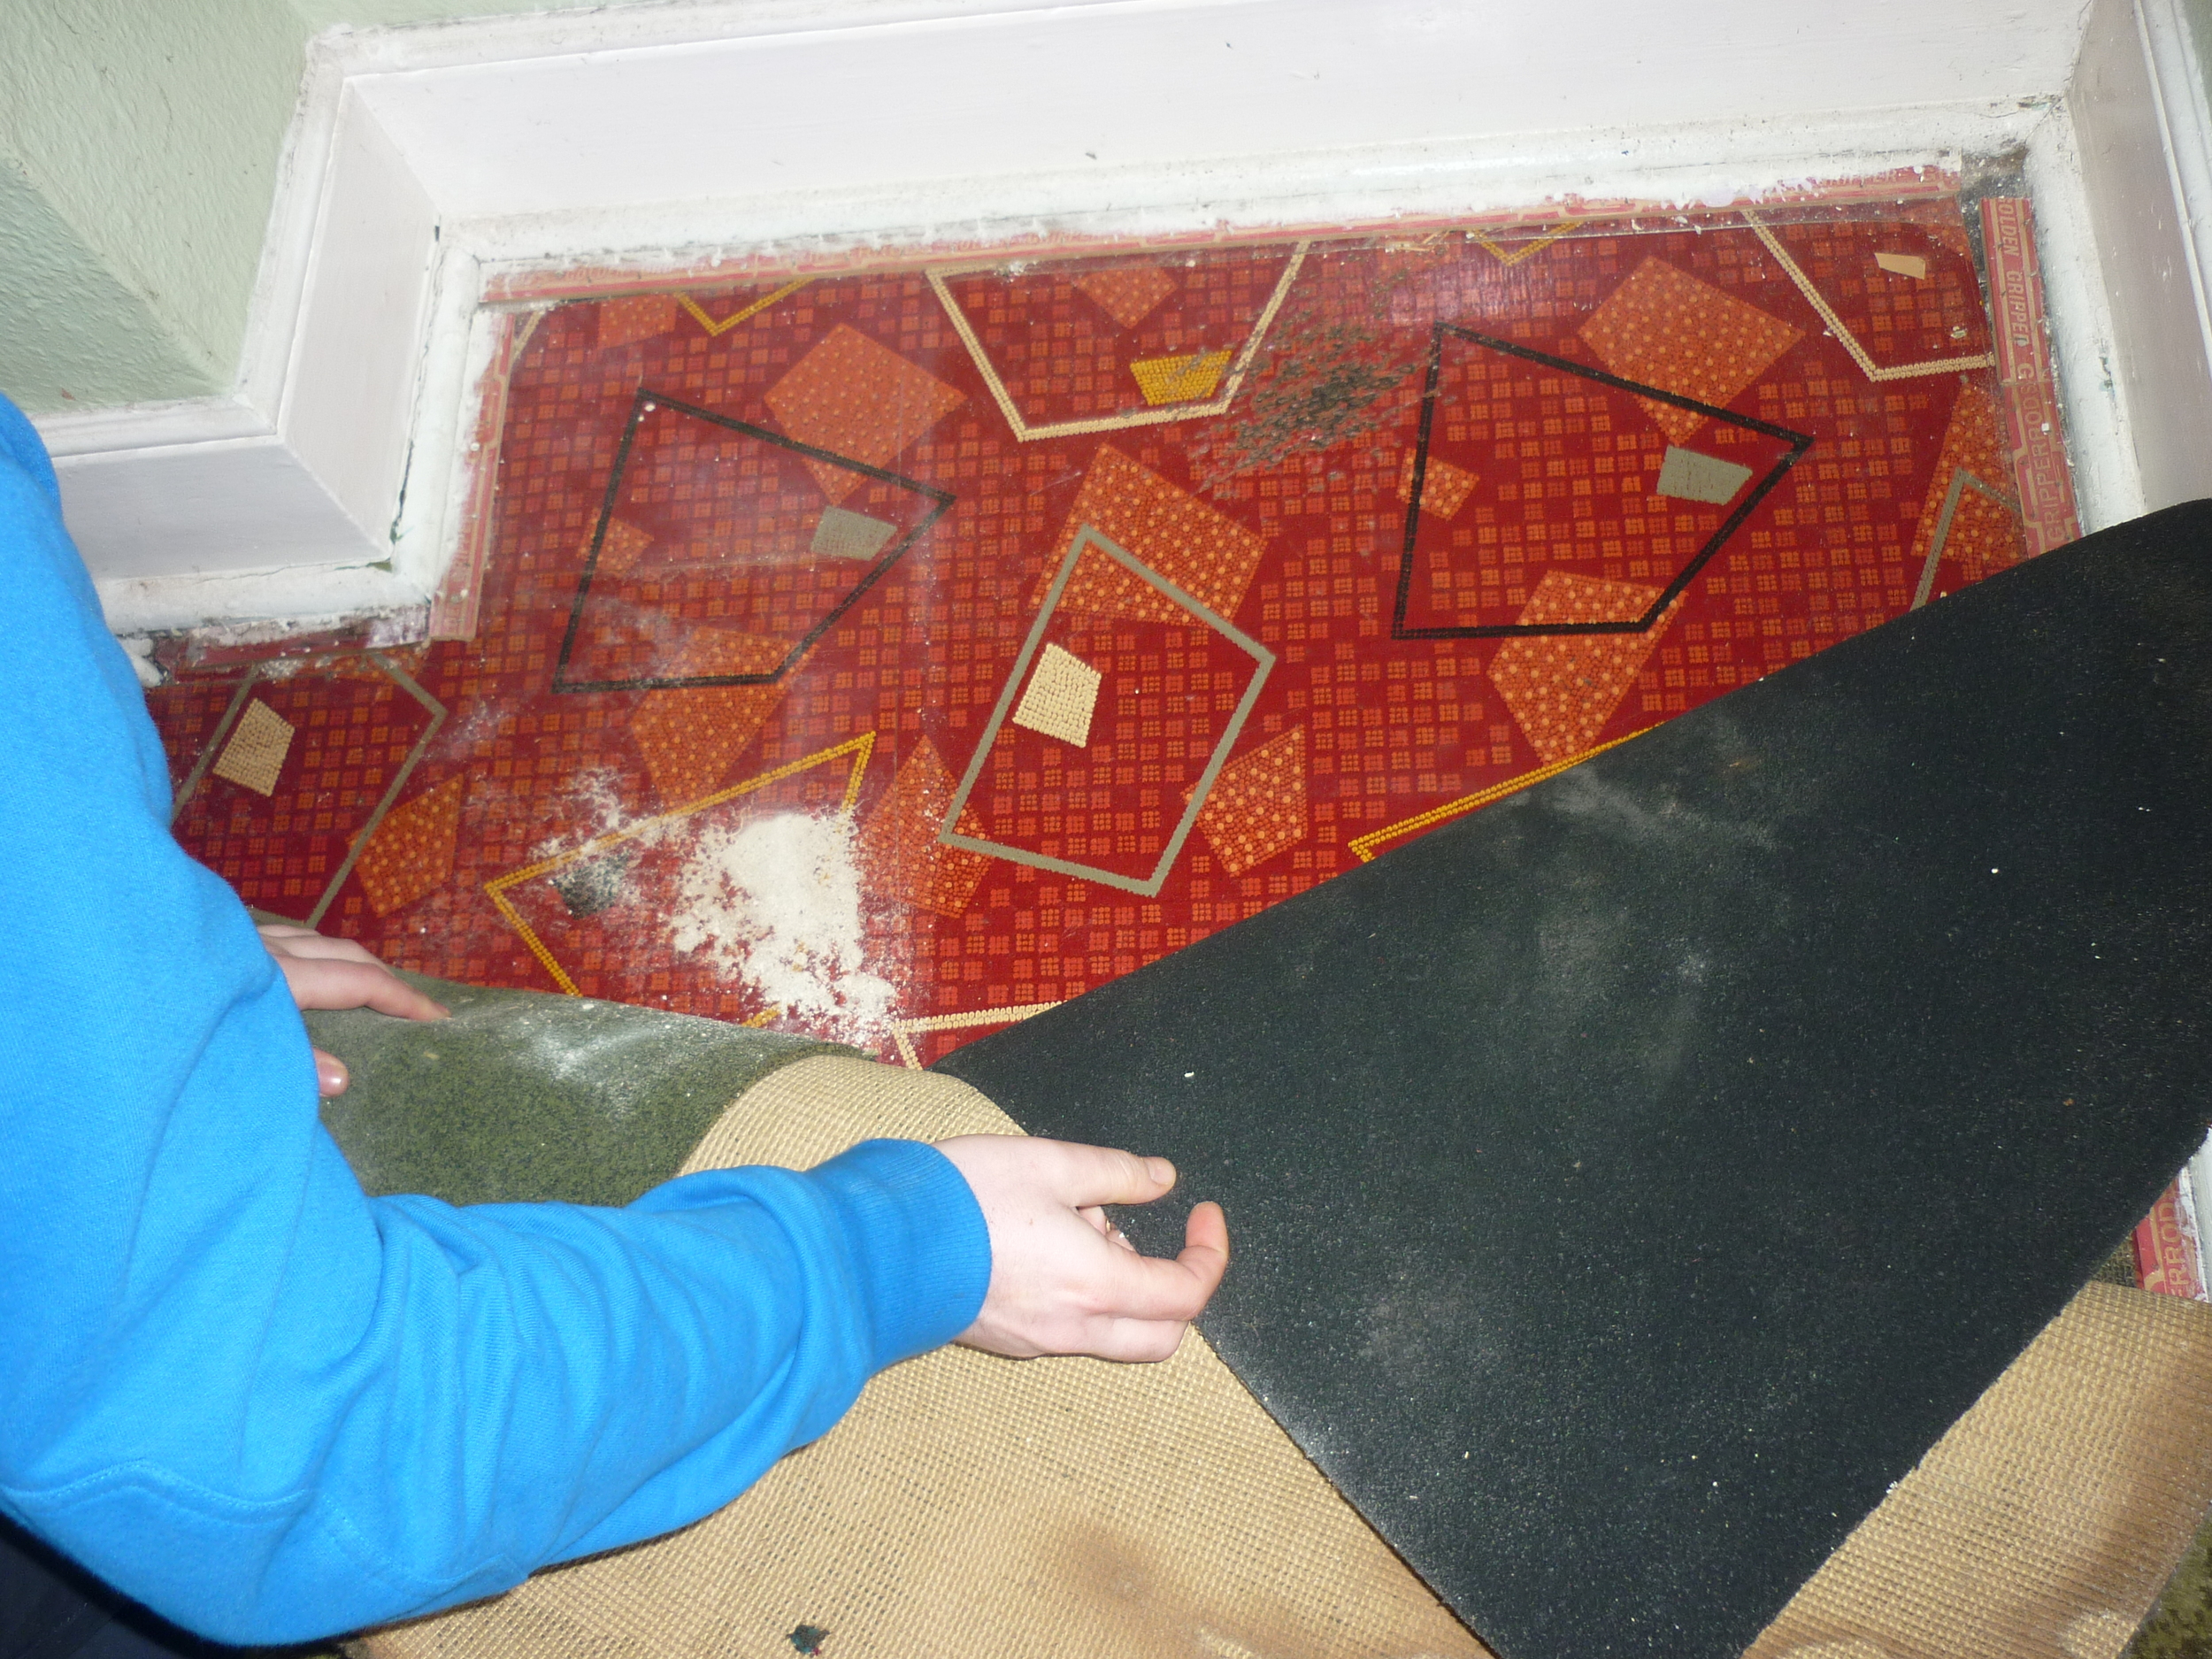
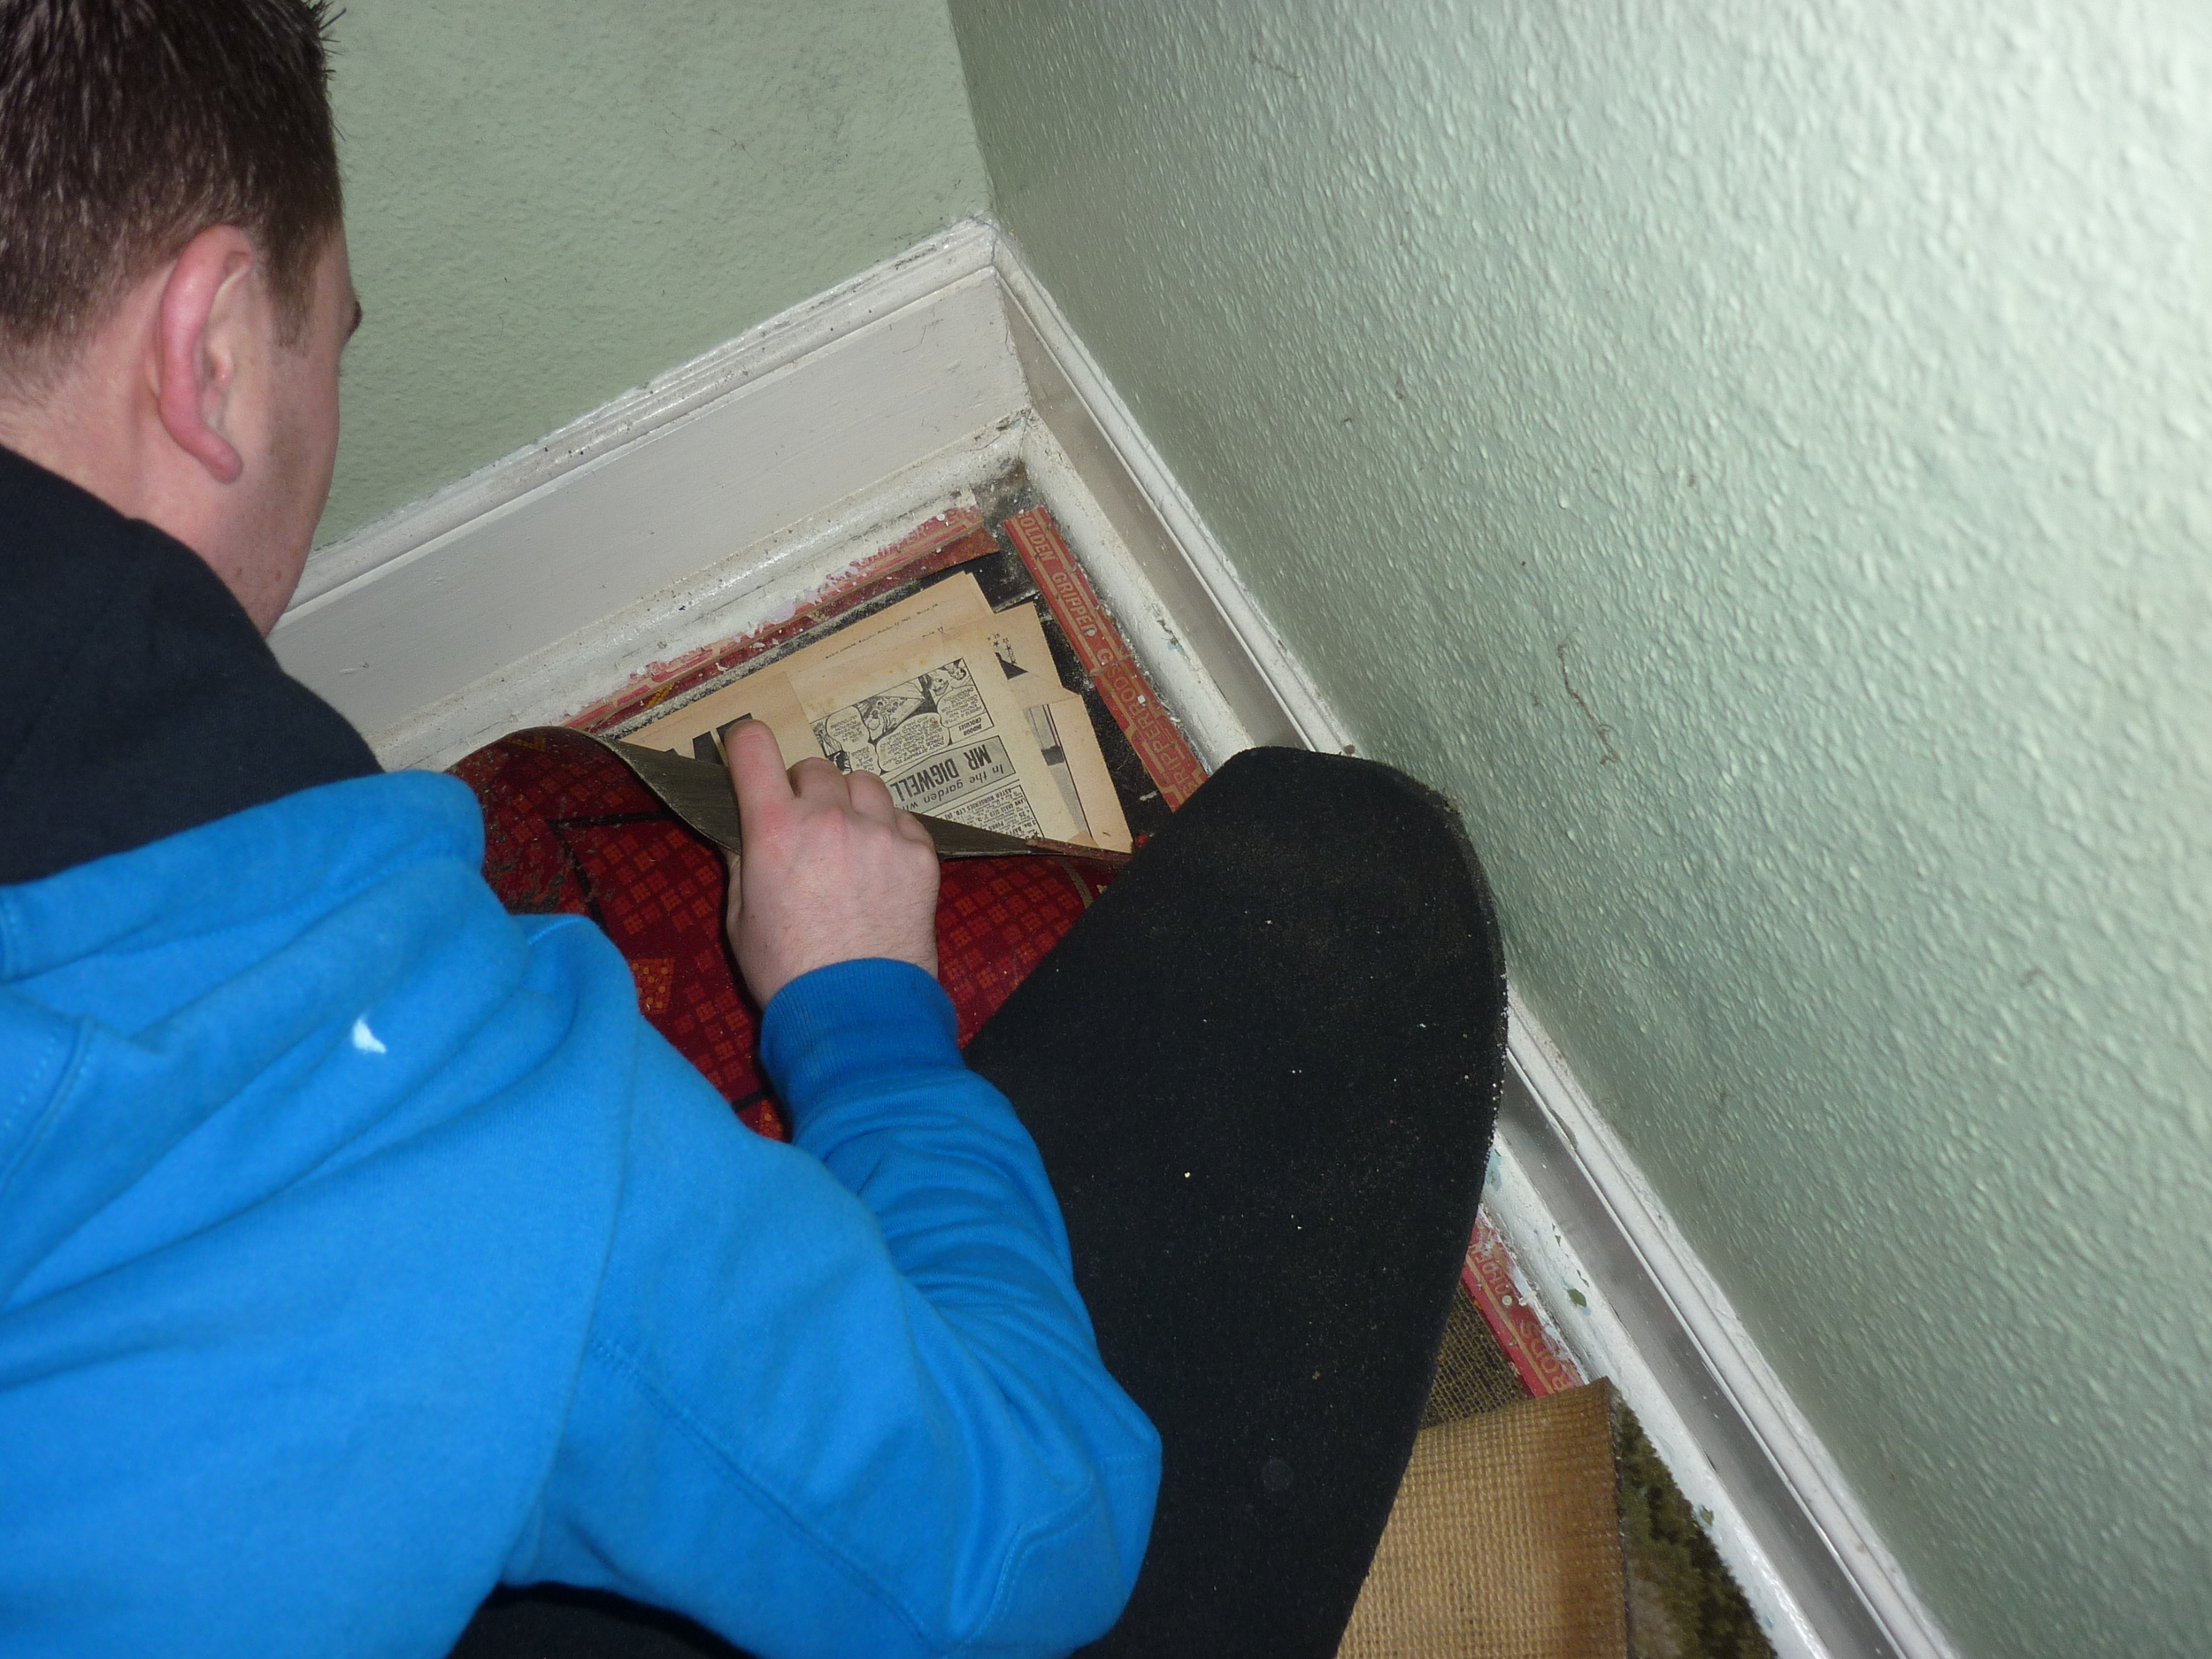
A green, psychedelic carpet (with vinyl and newspapers underneath on top of the floorboards), a sink in the corner, an off-centre pendant light and mountains of green WOODCHIP WALLPAPER (it took so long to remove):
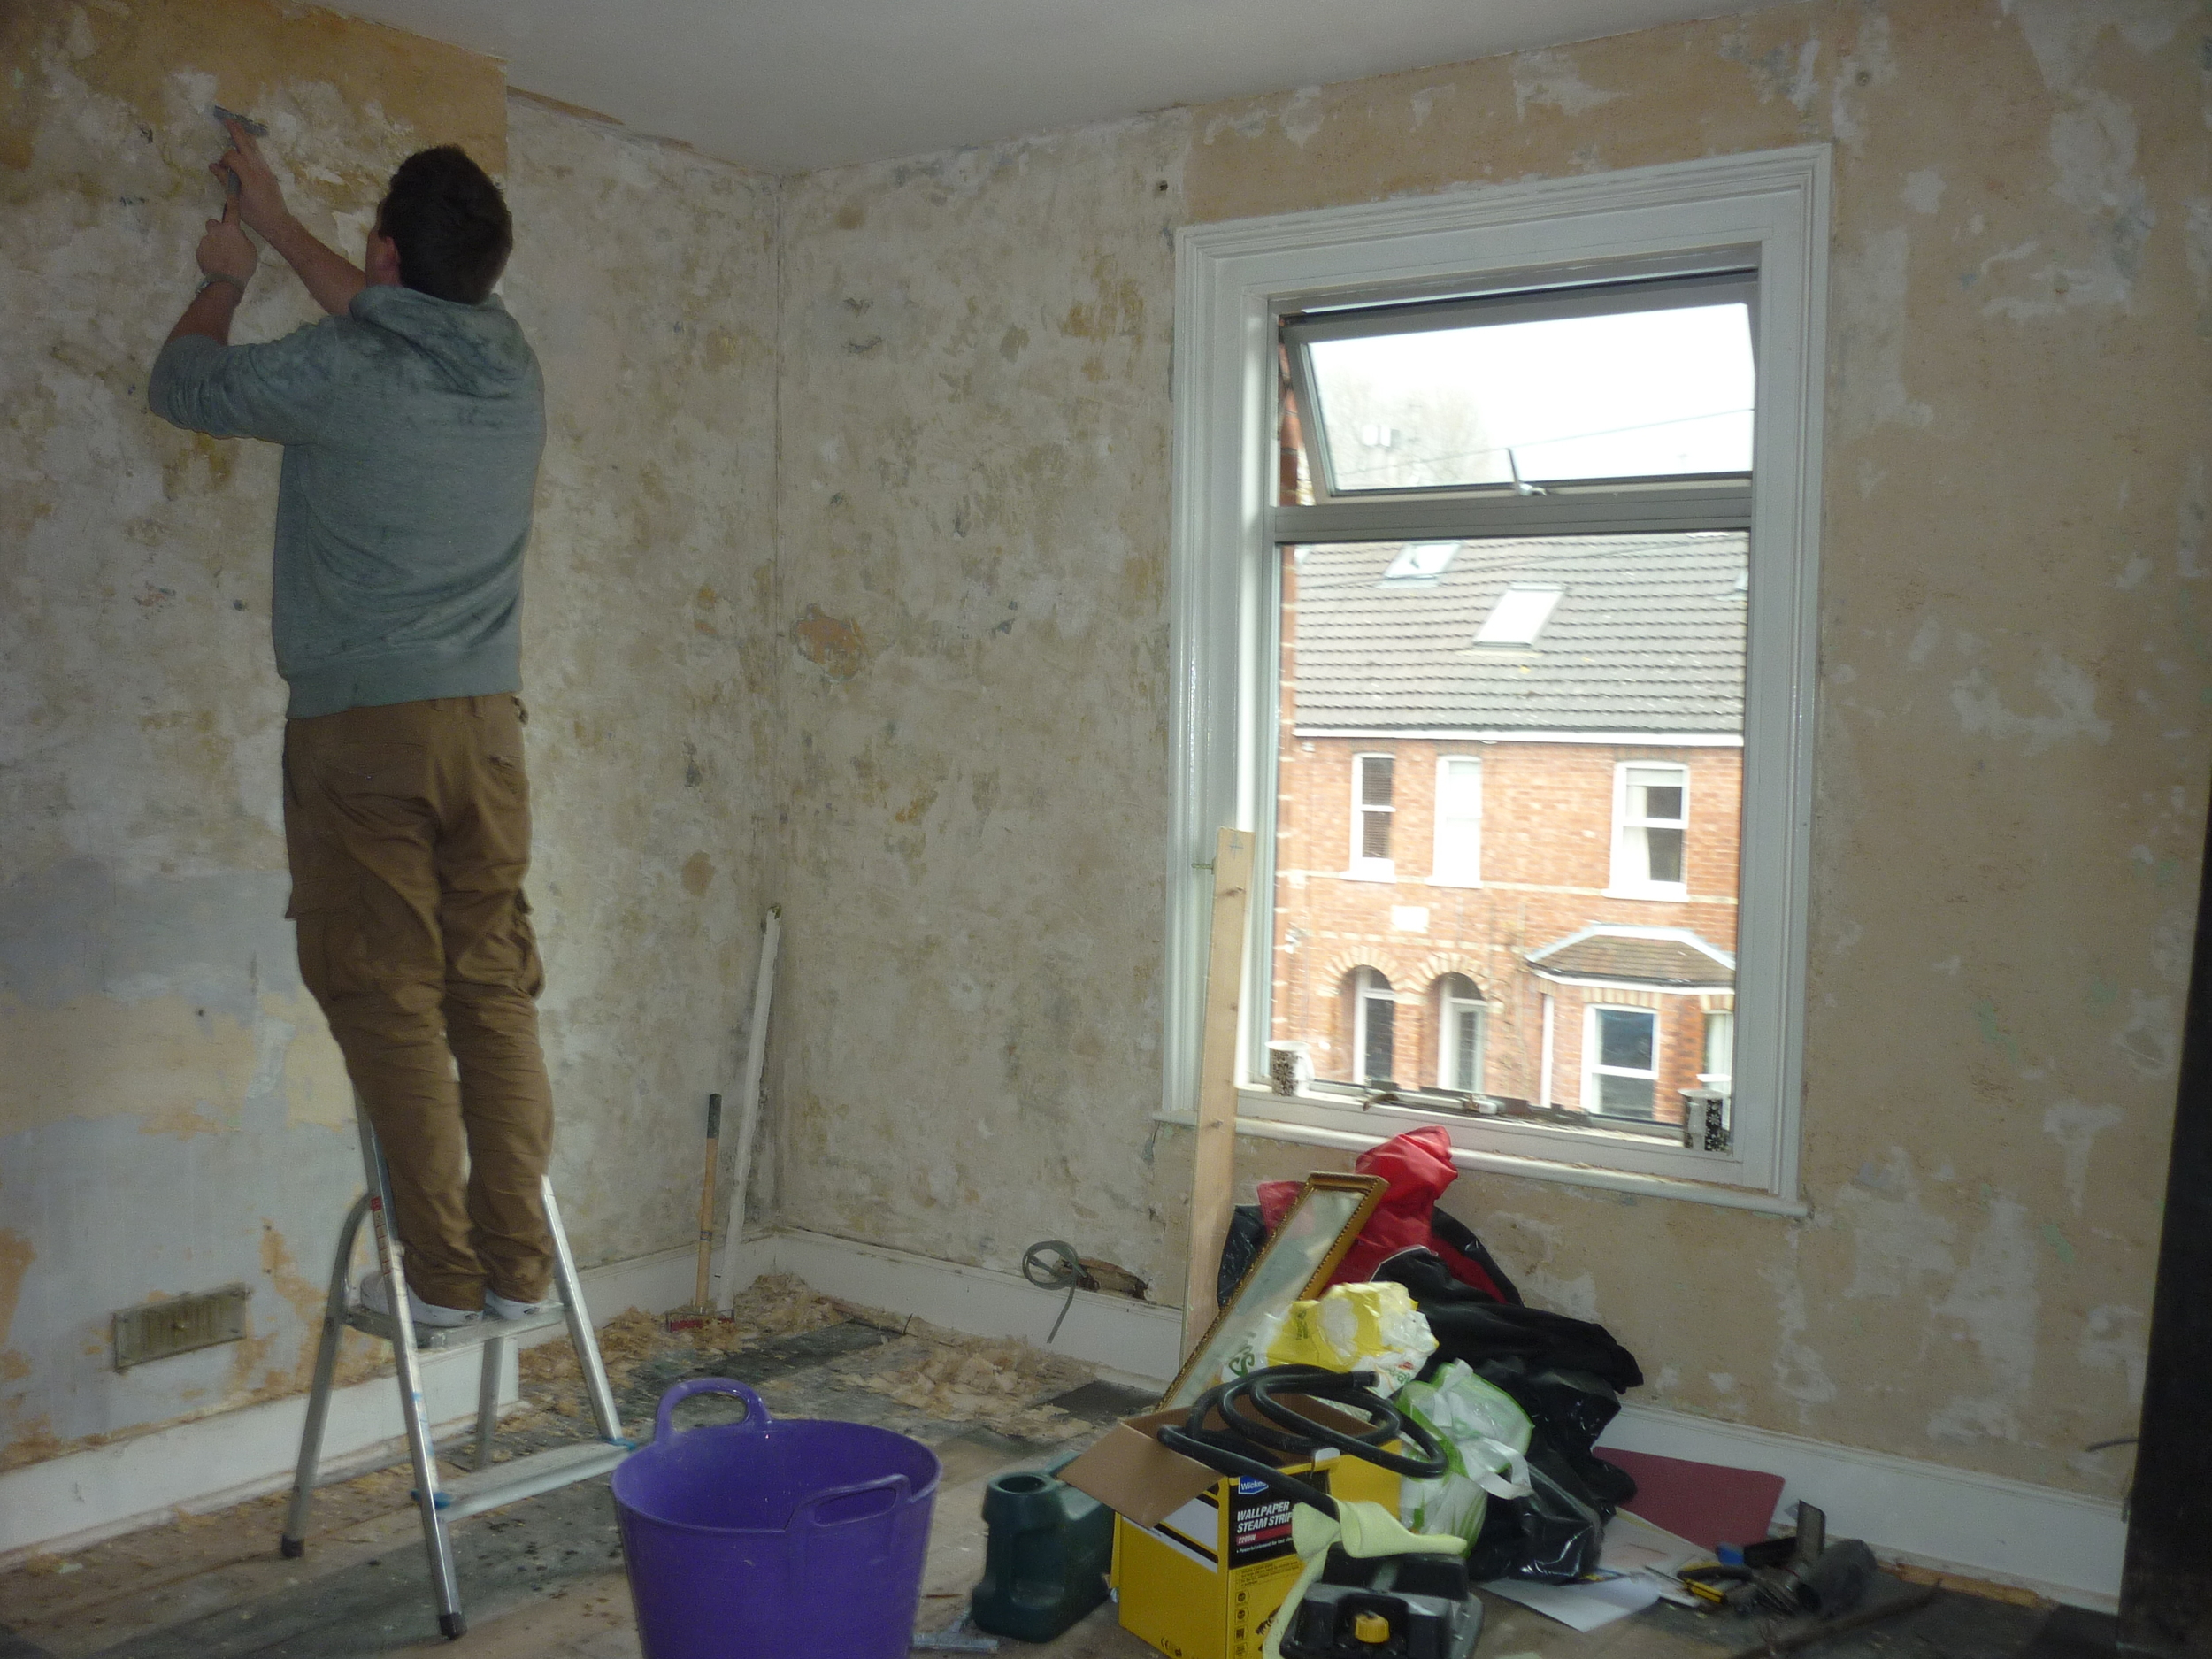
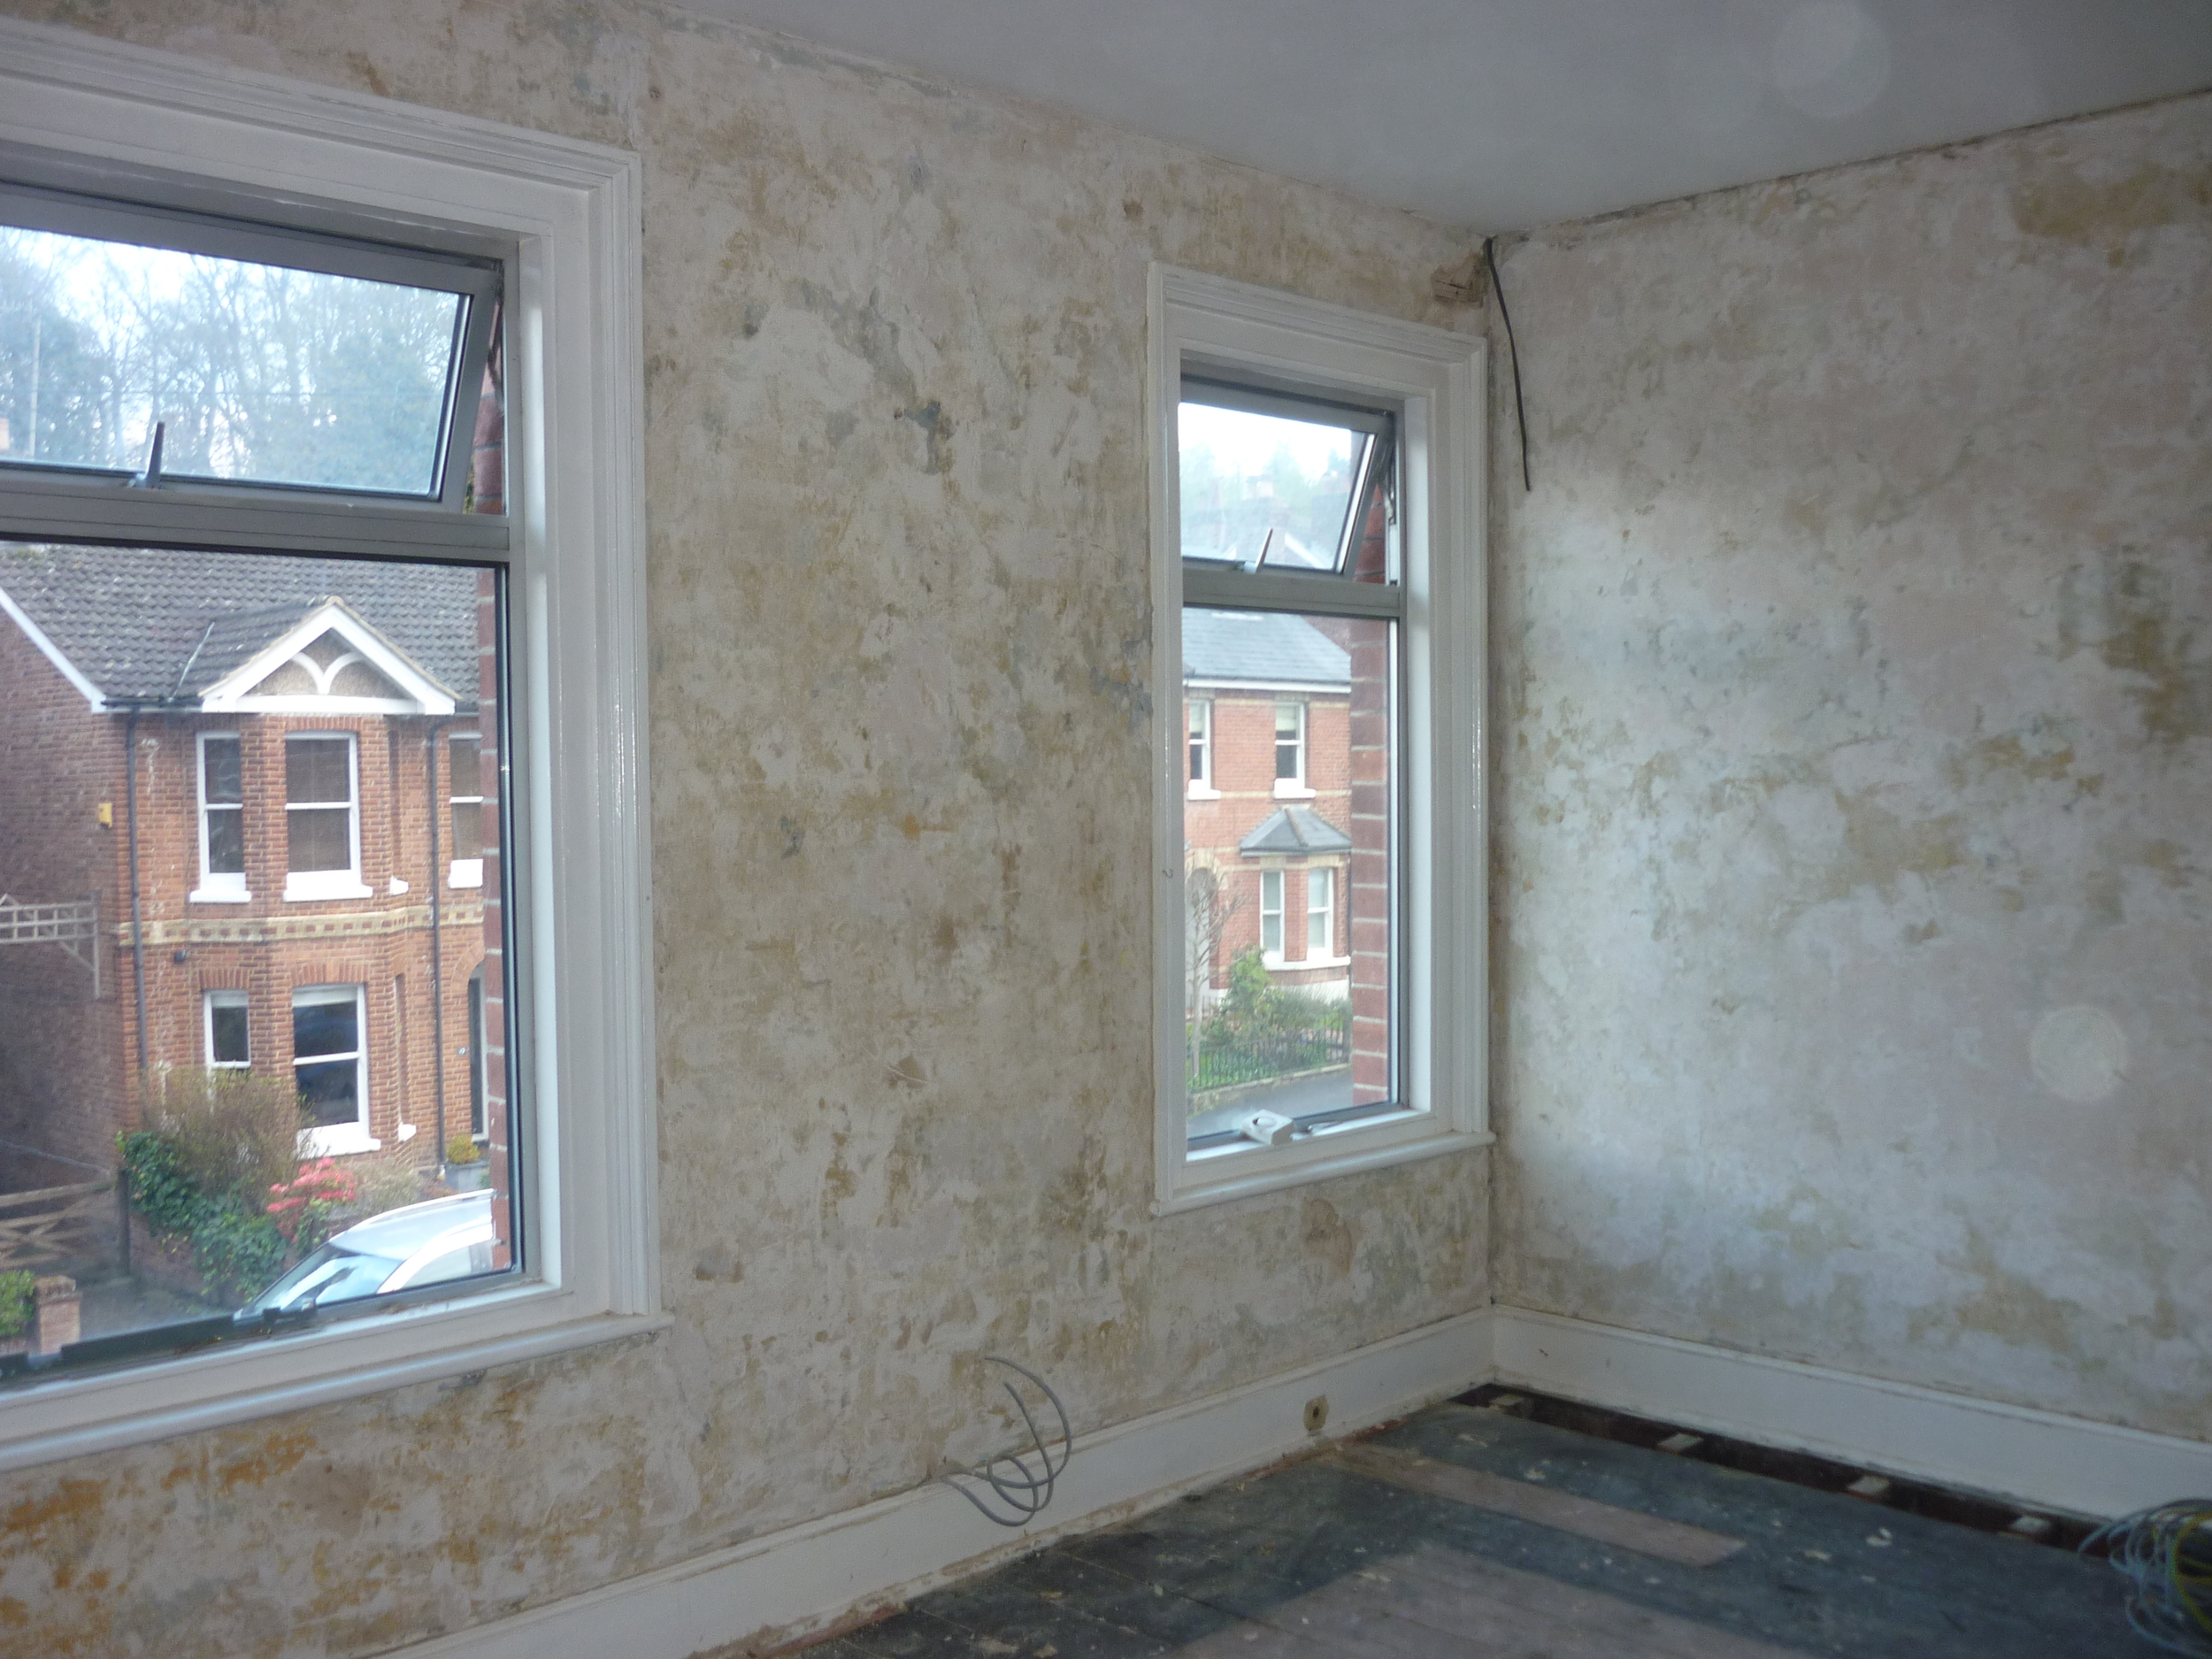
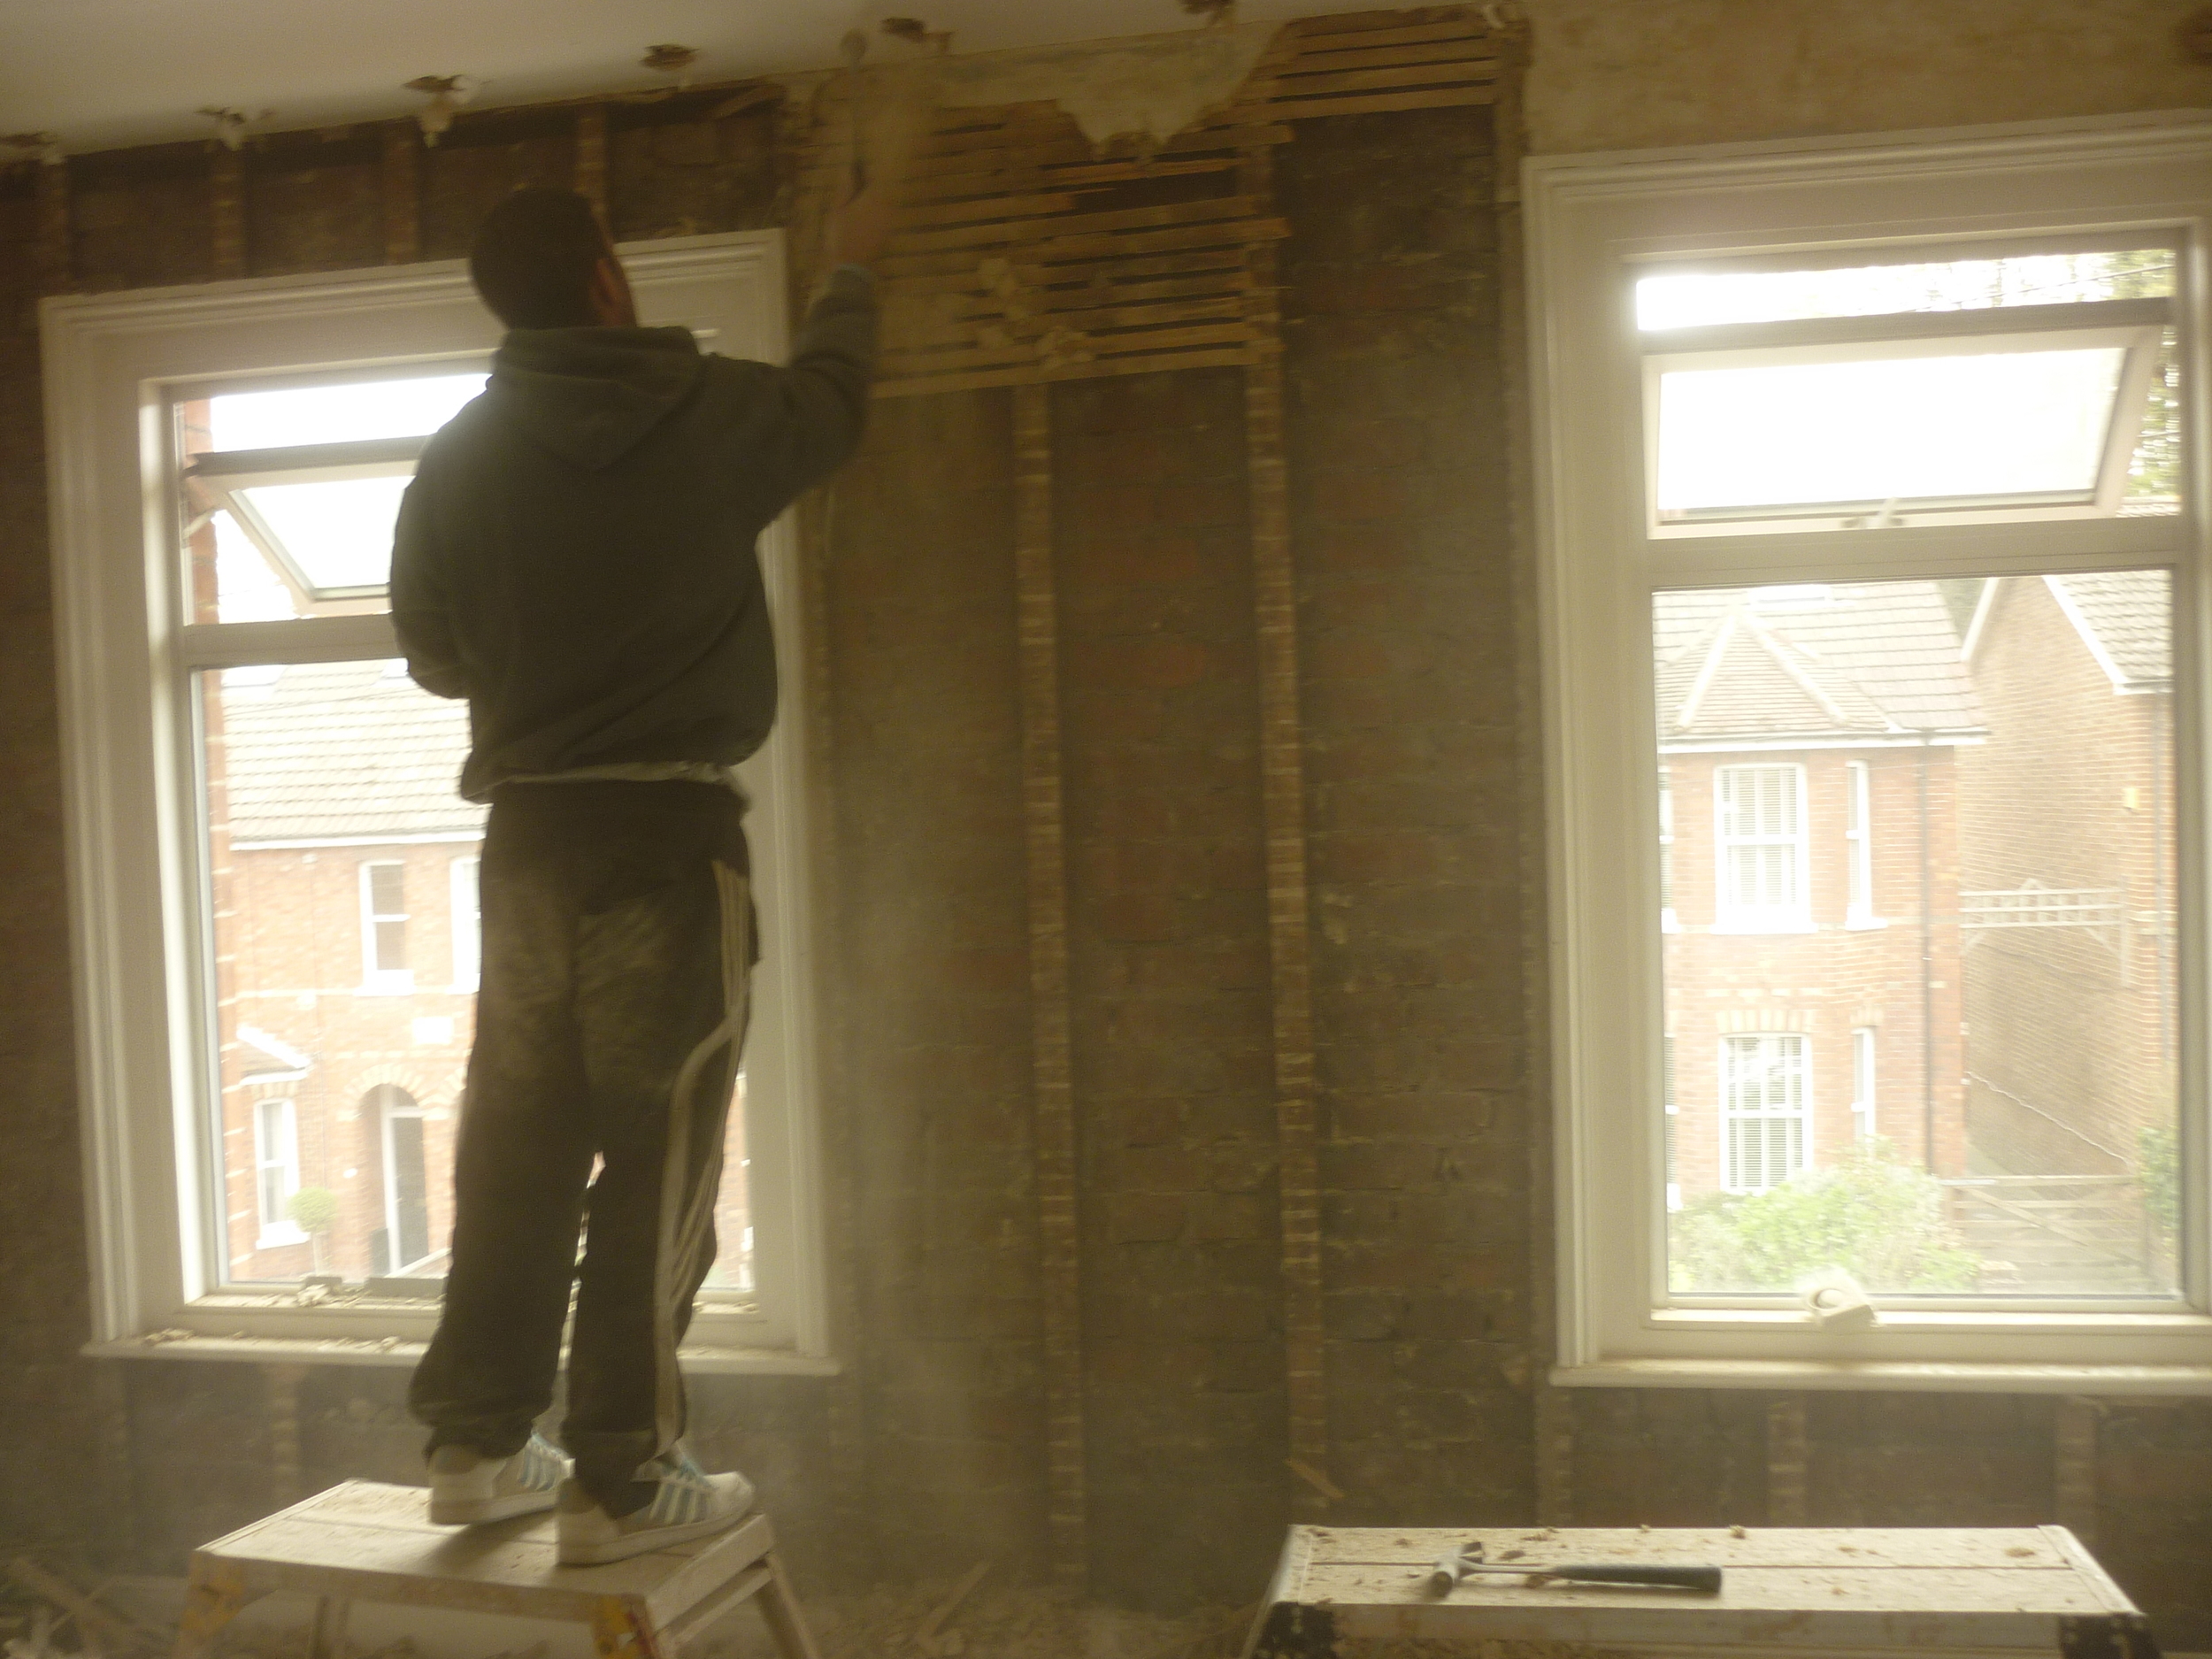
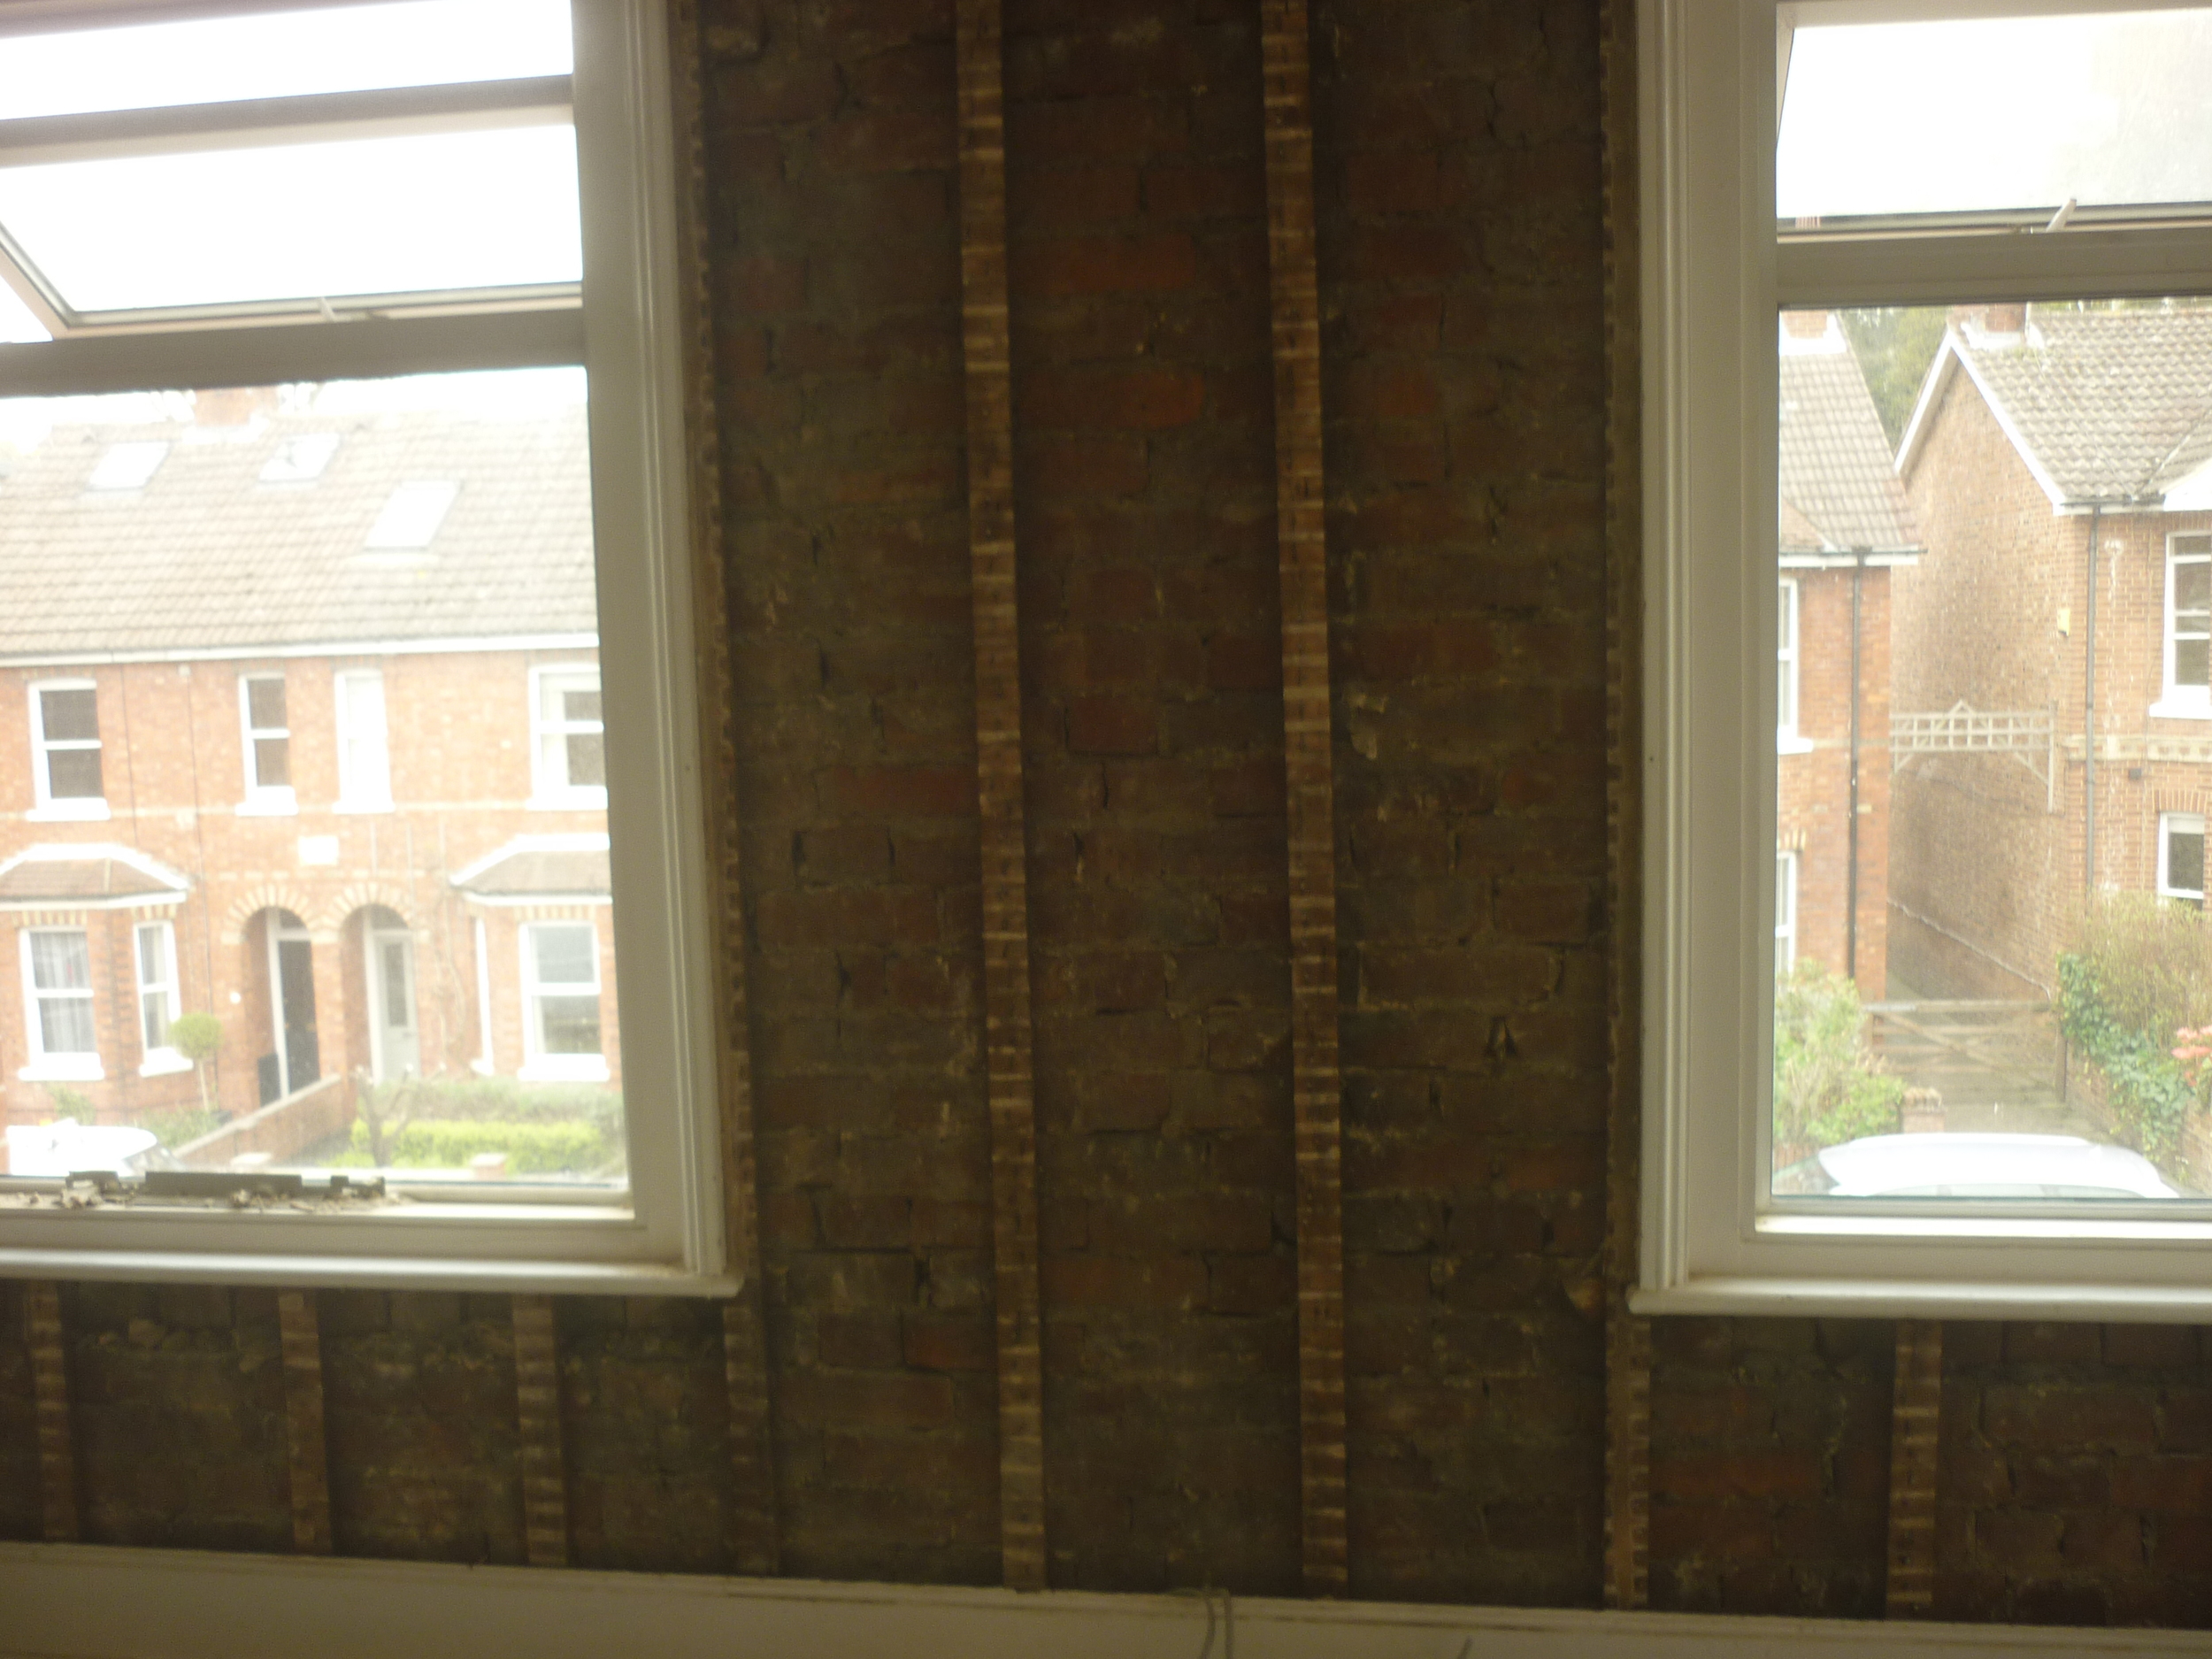
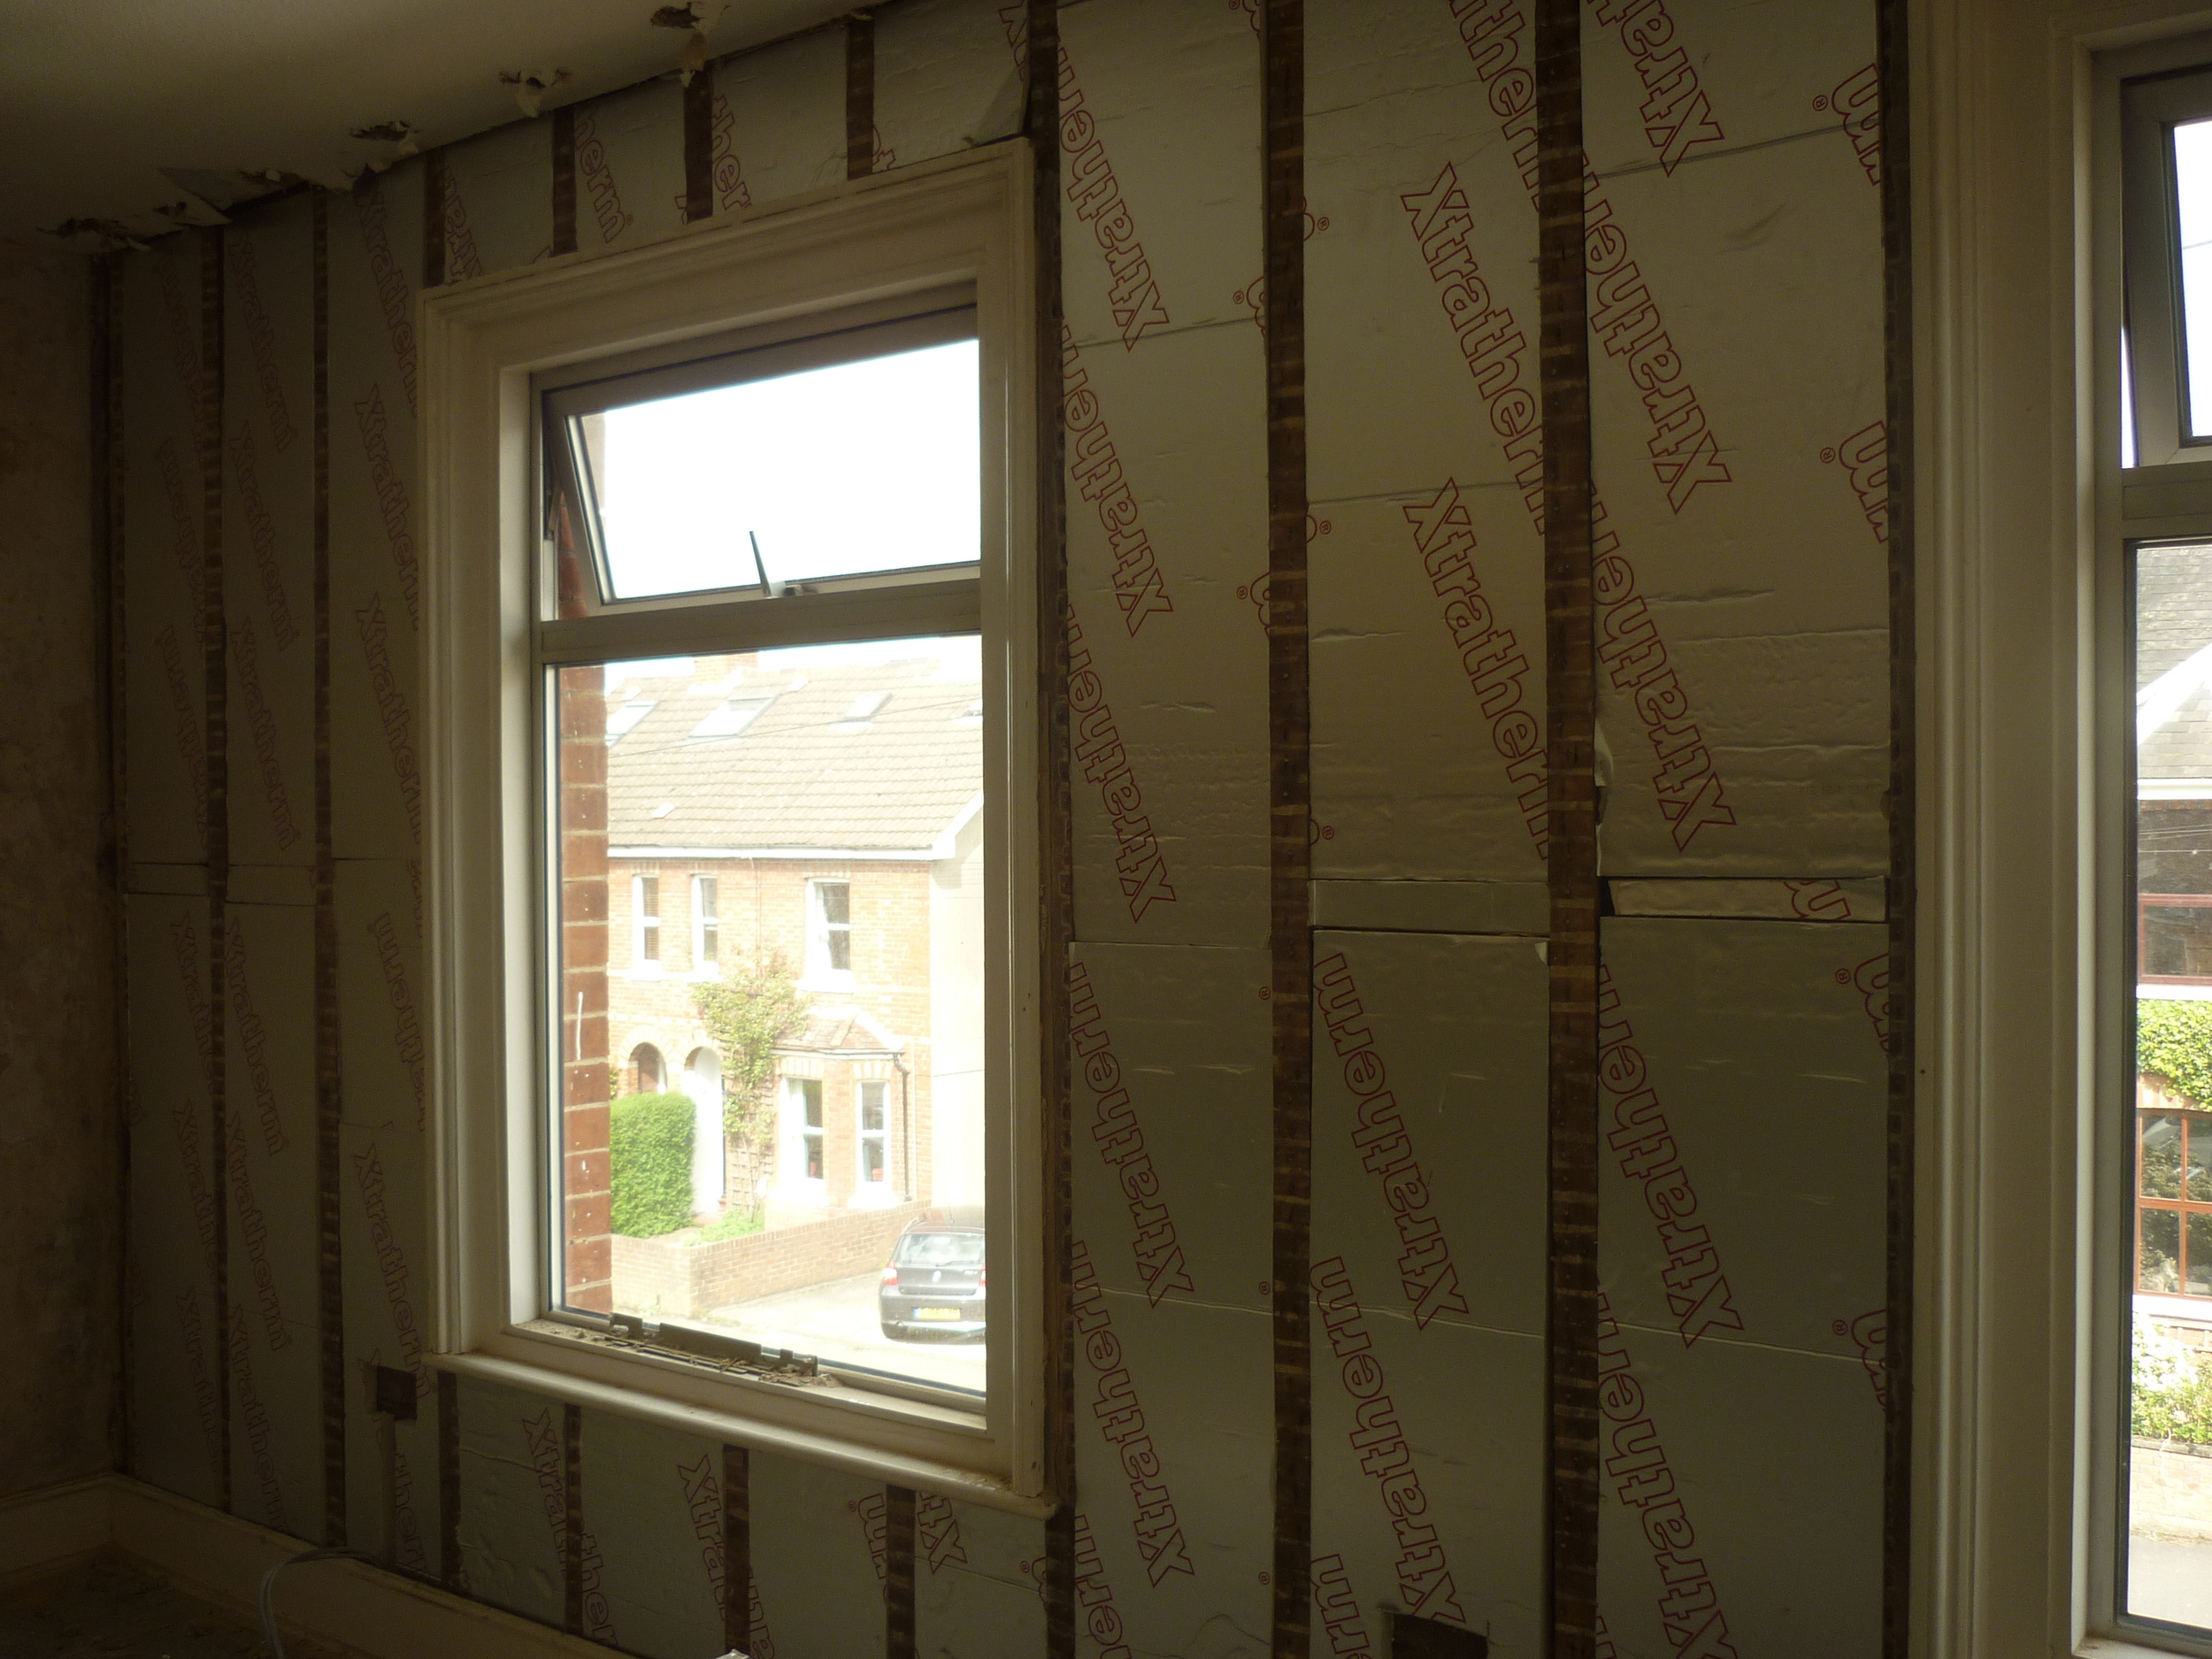
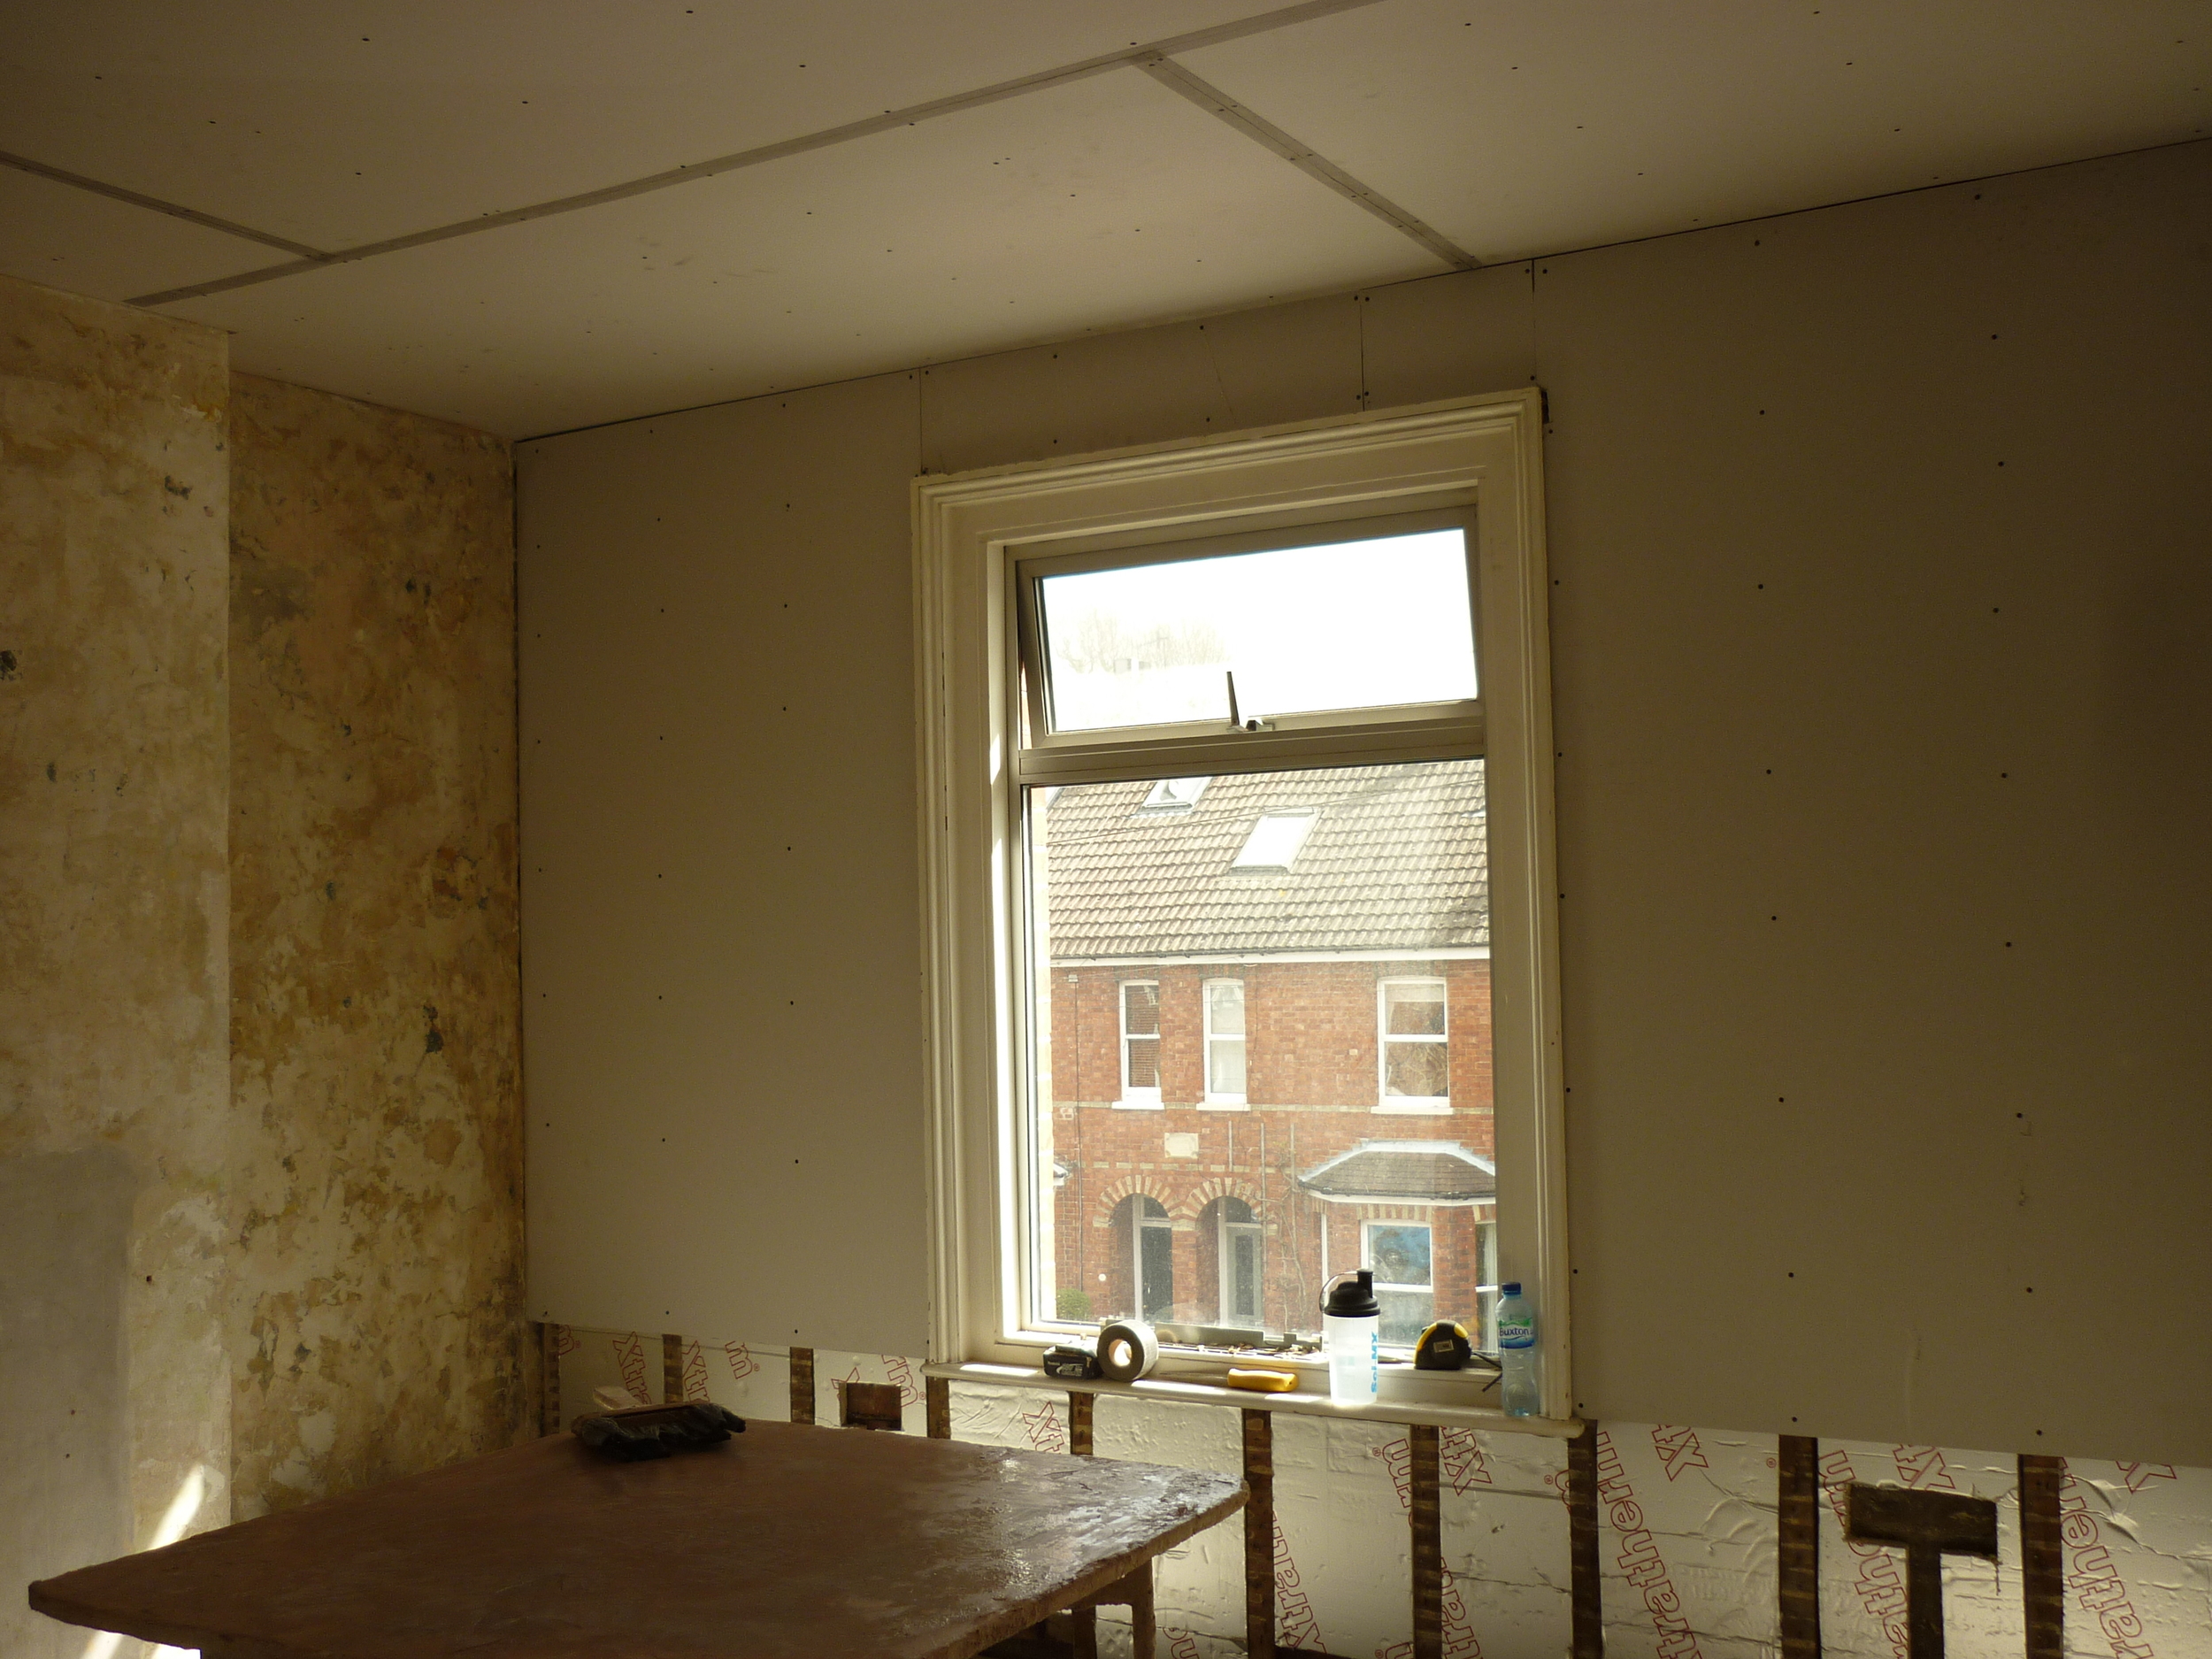
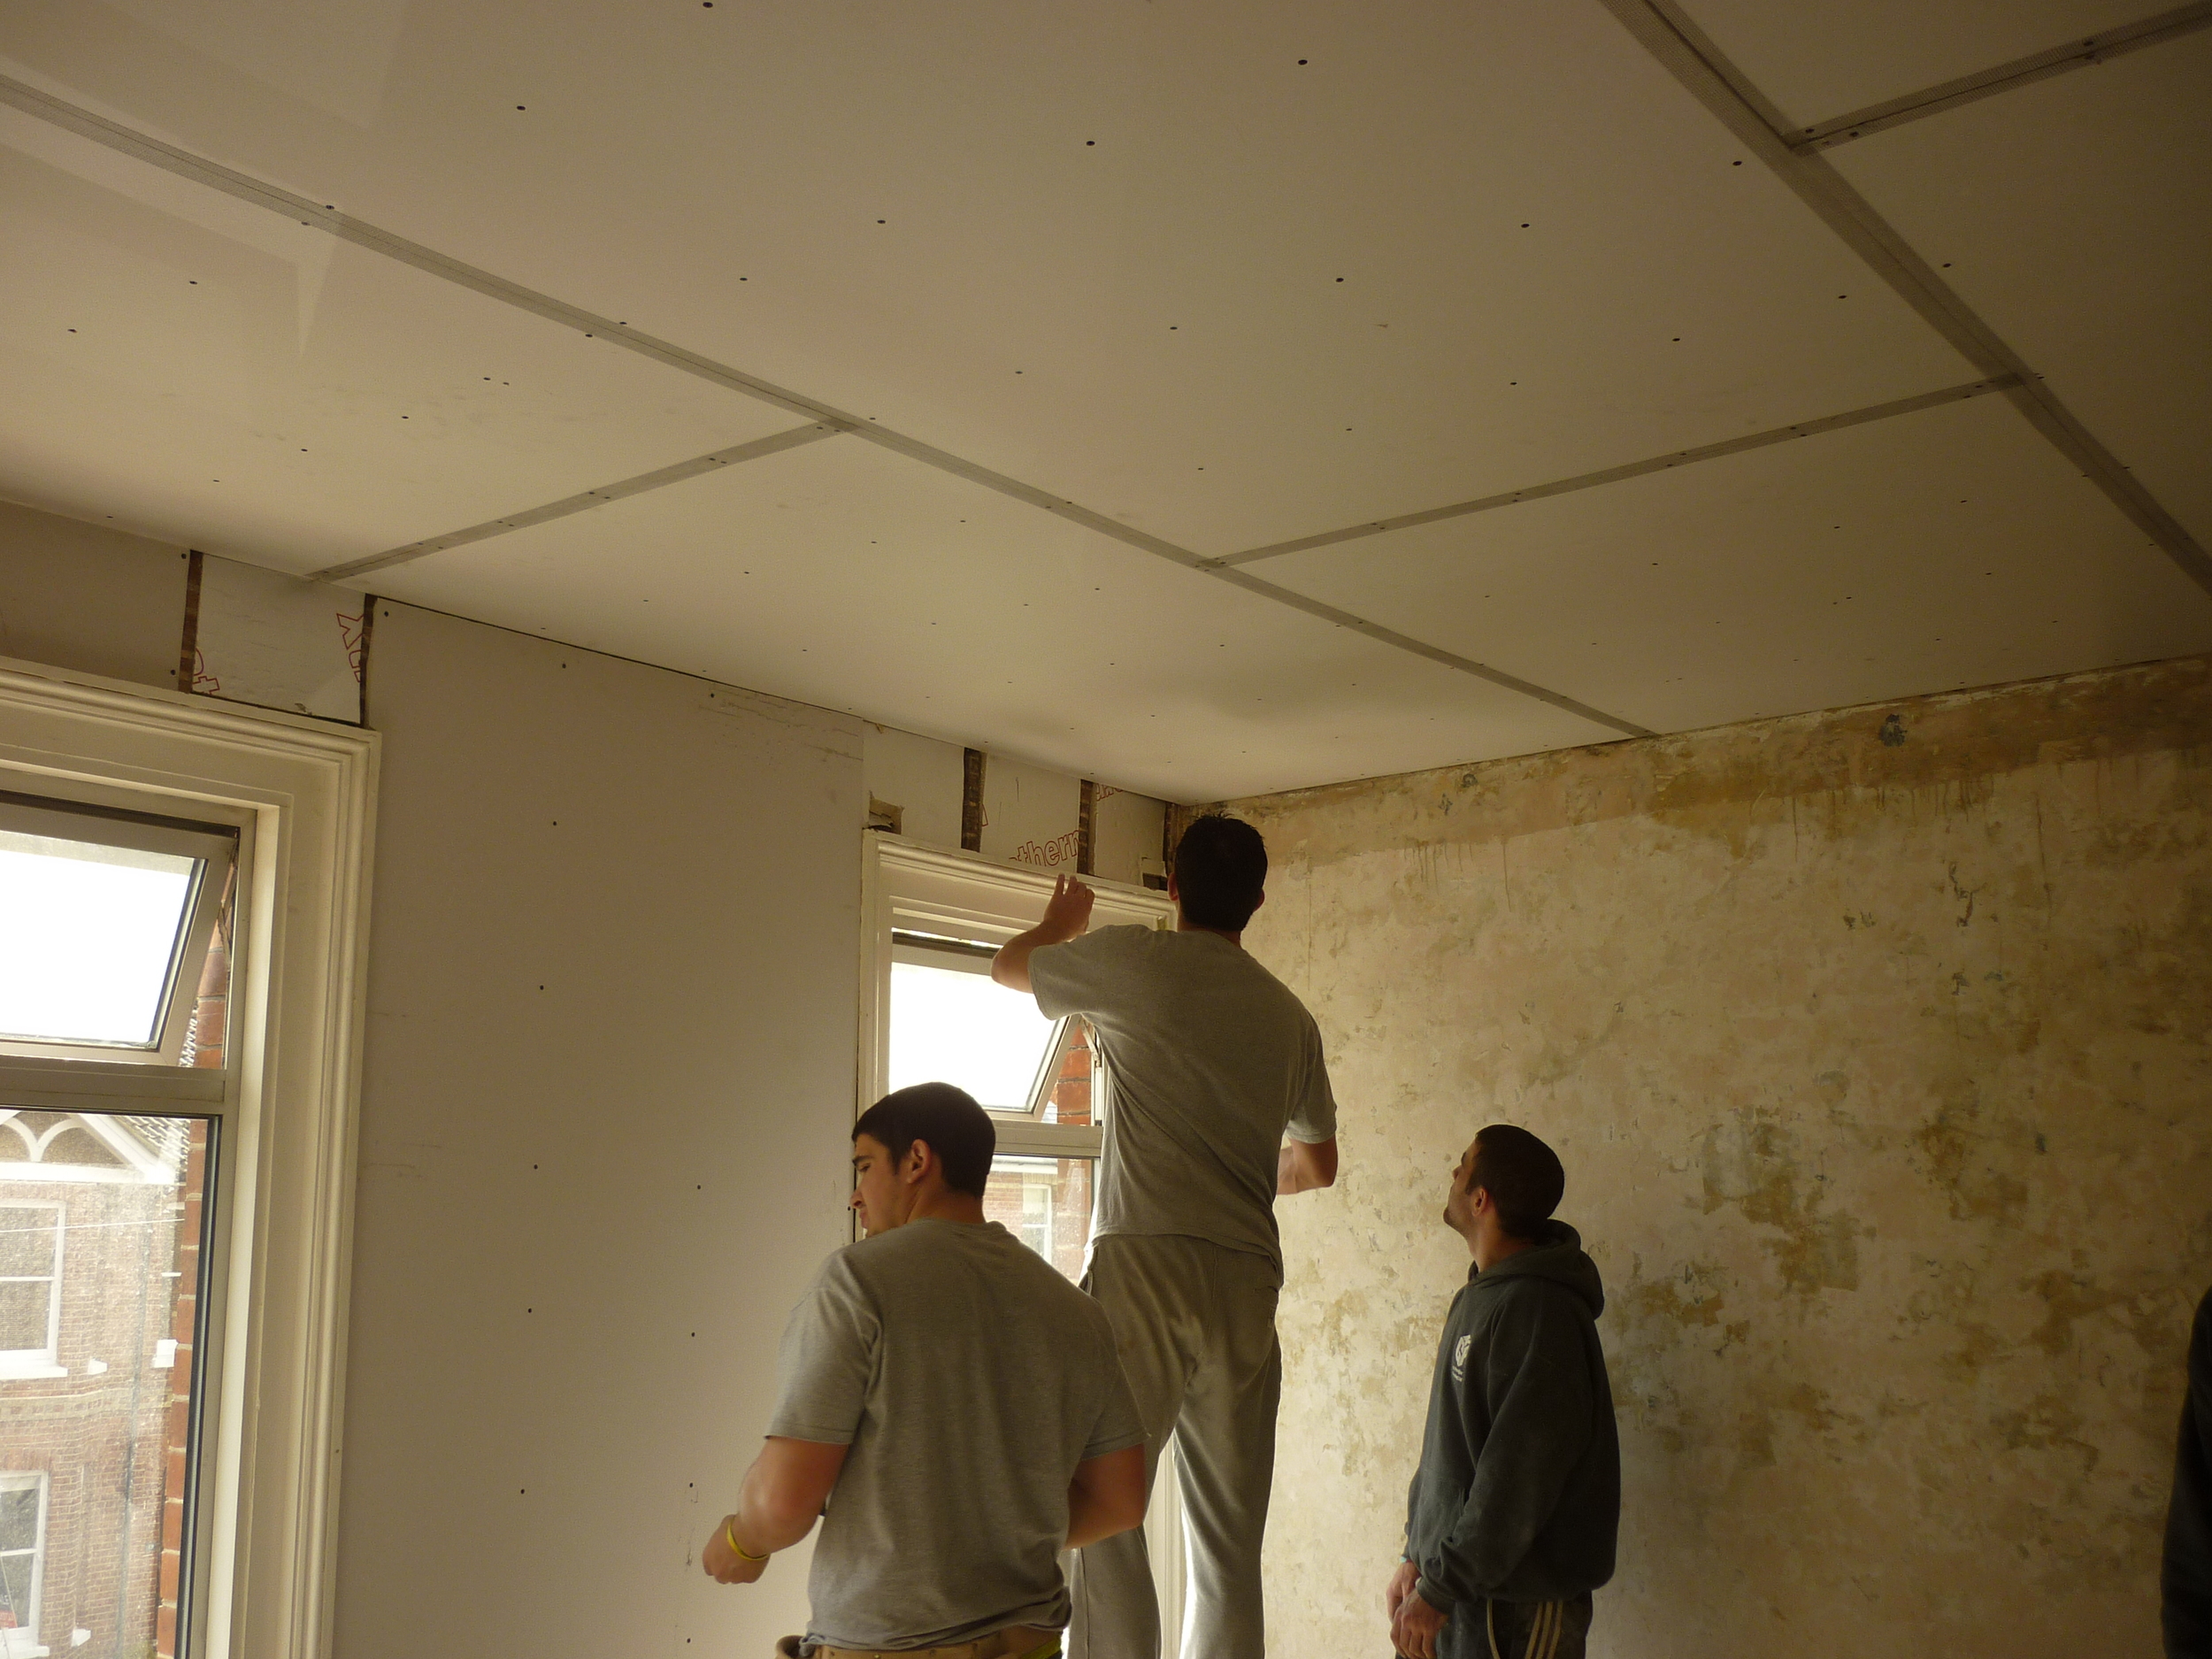
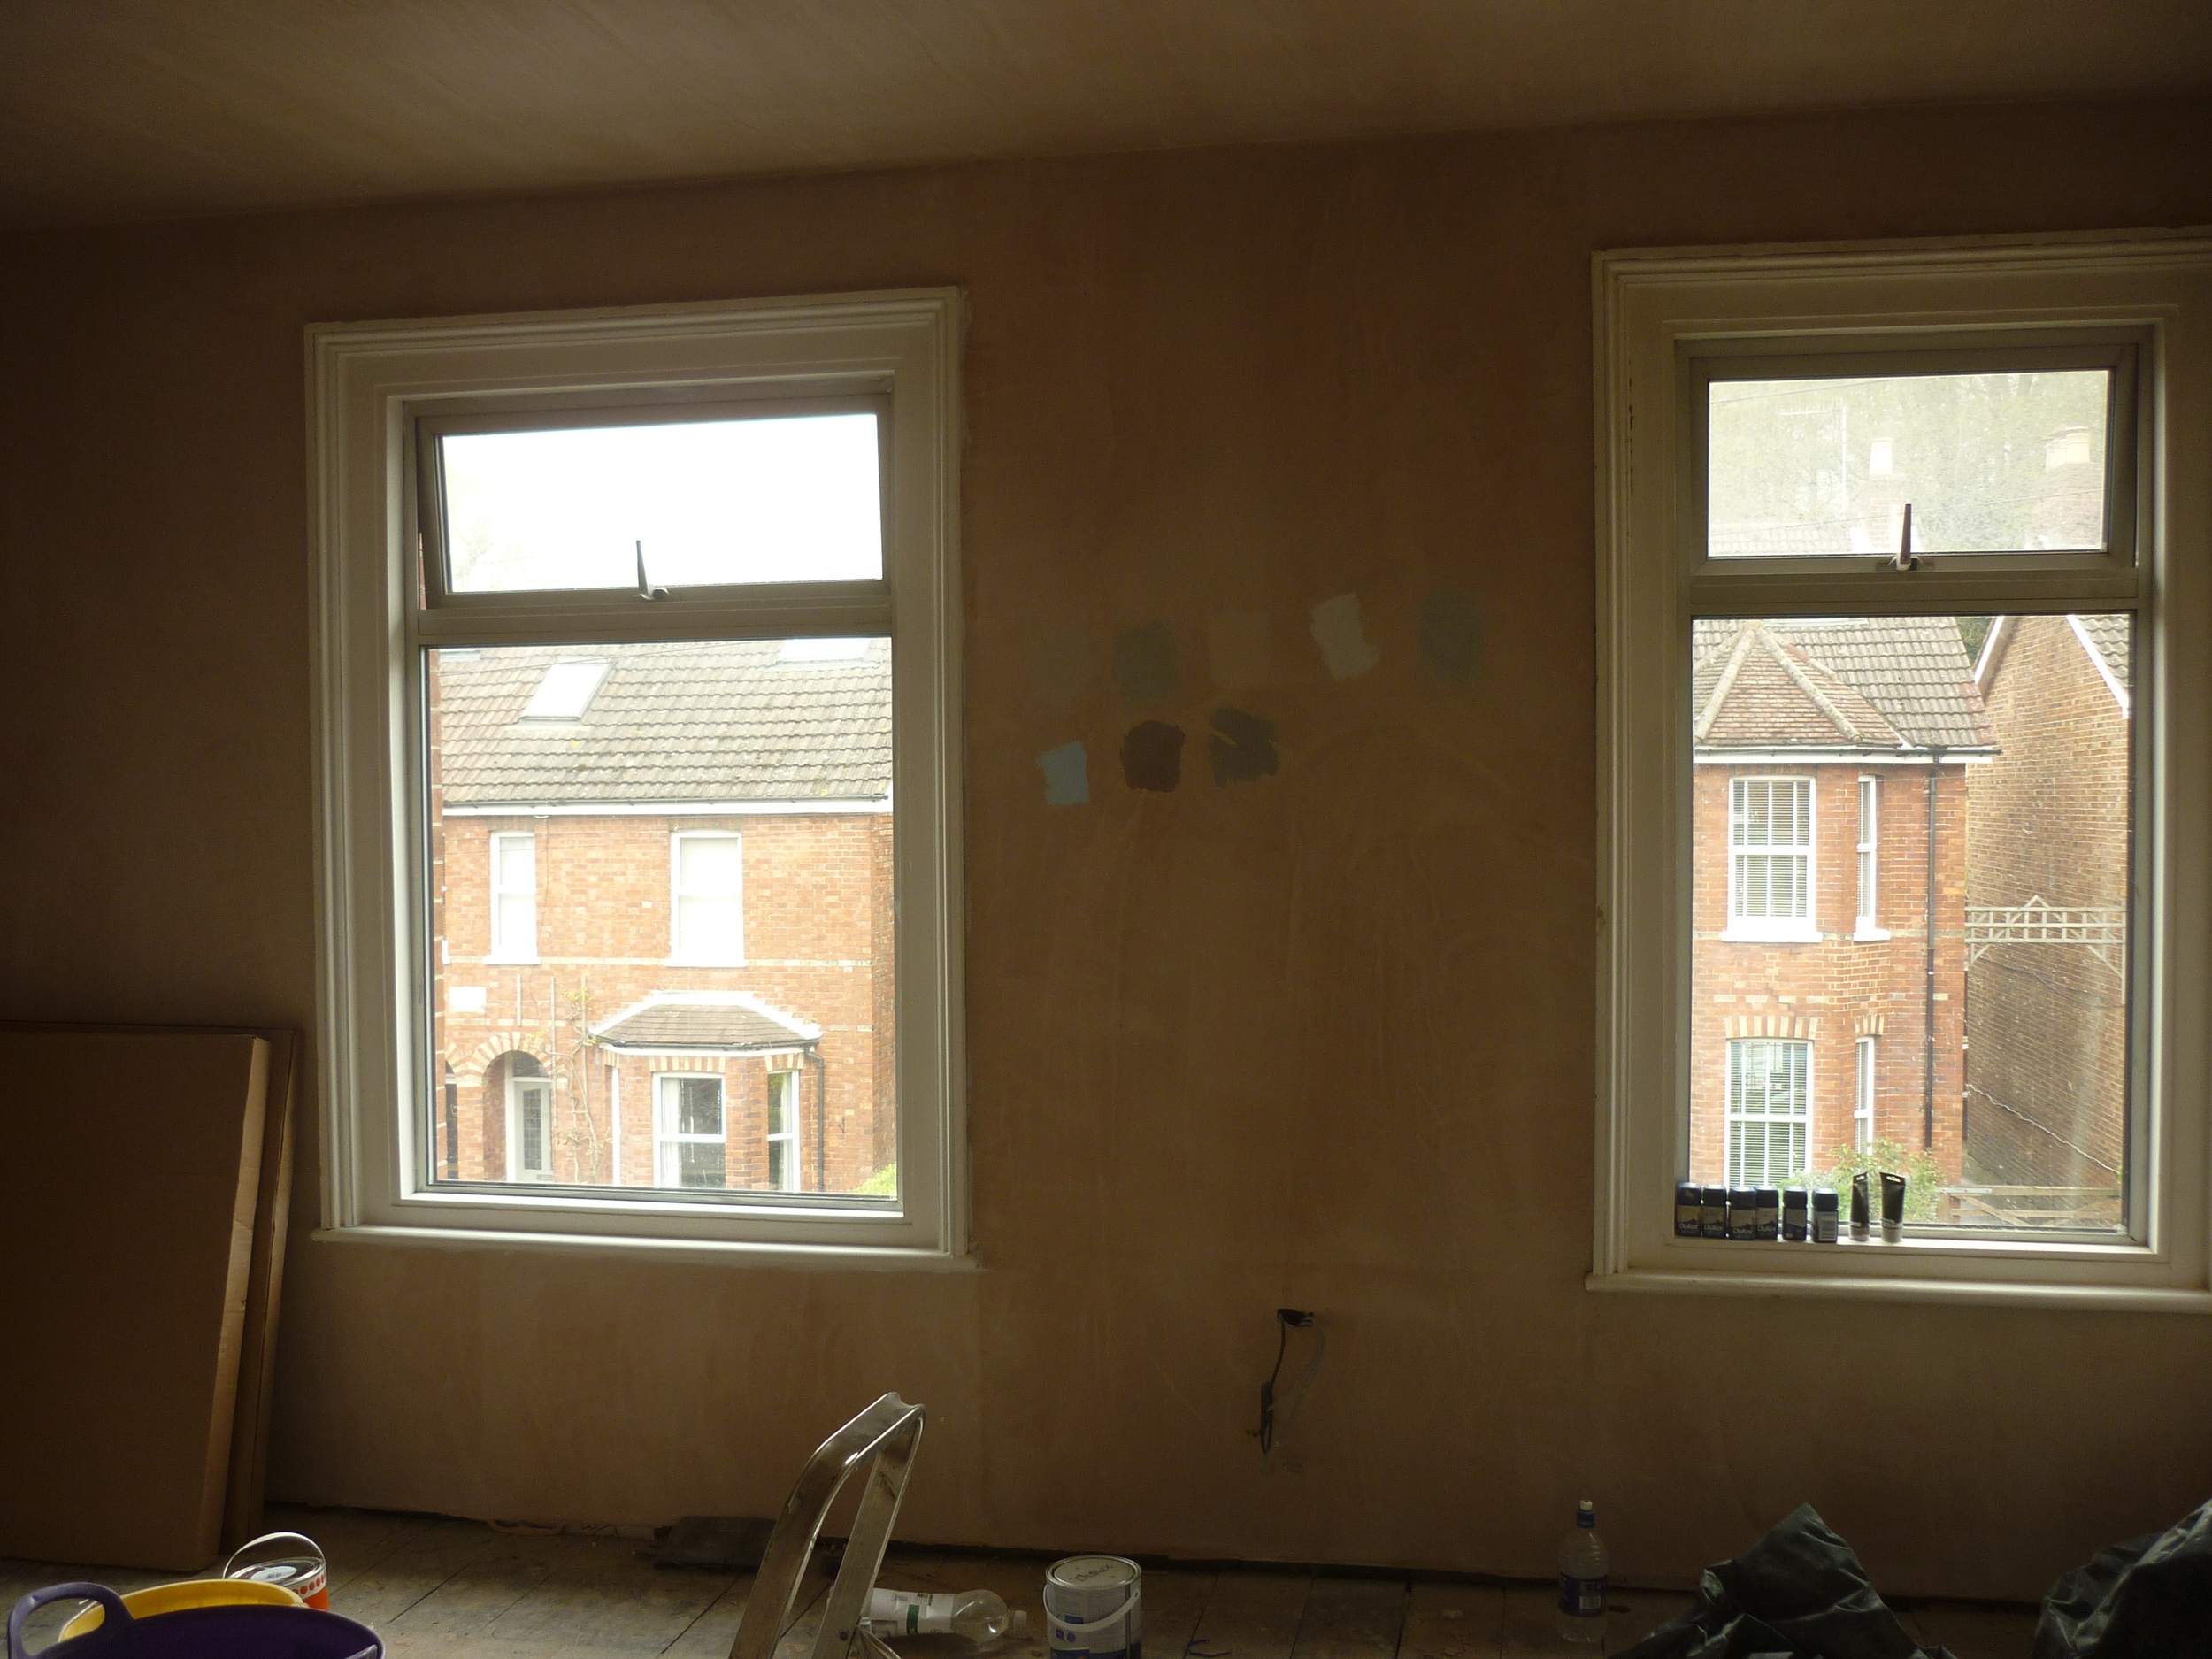
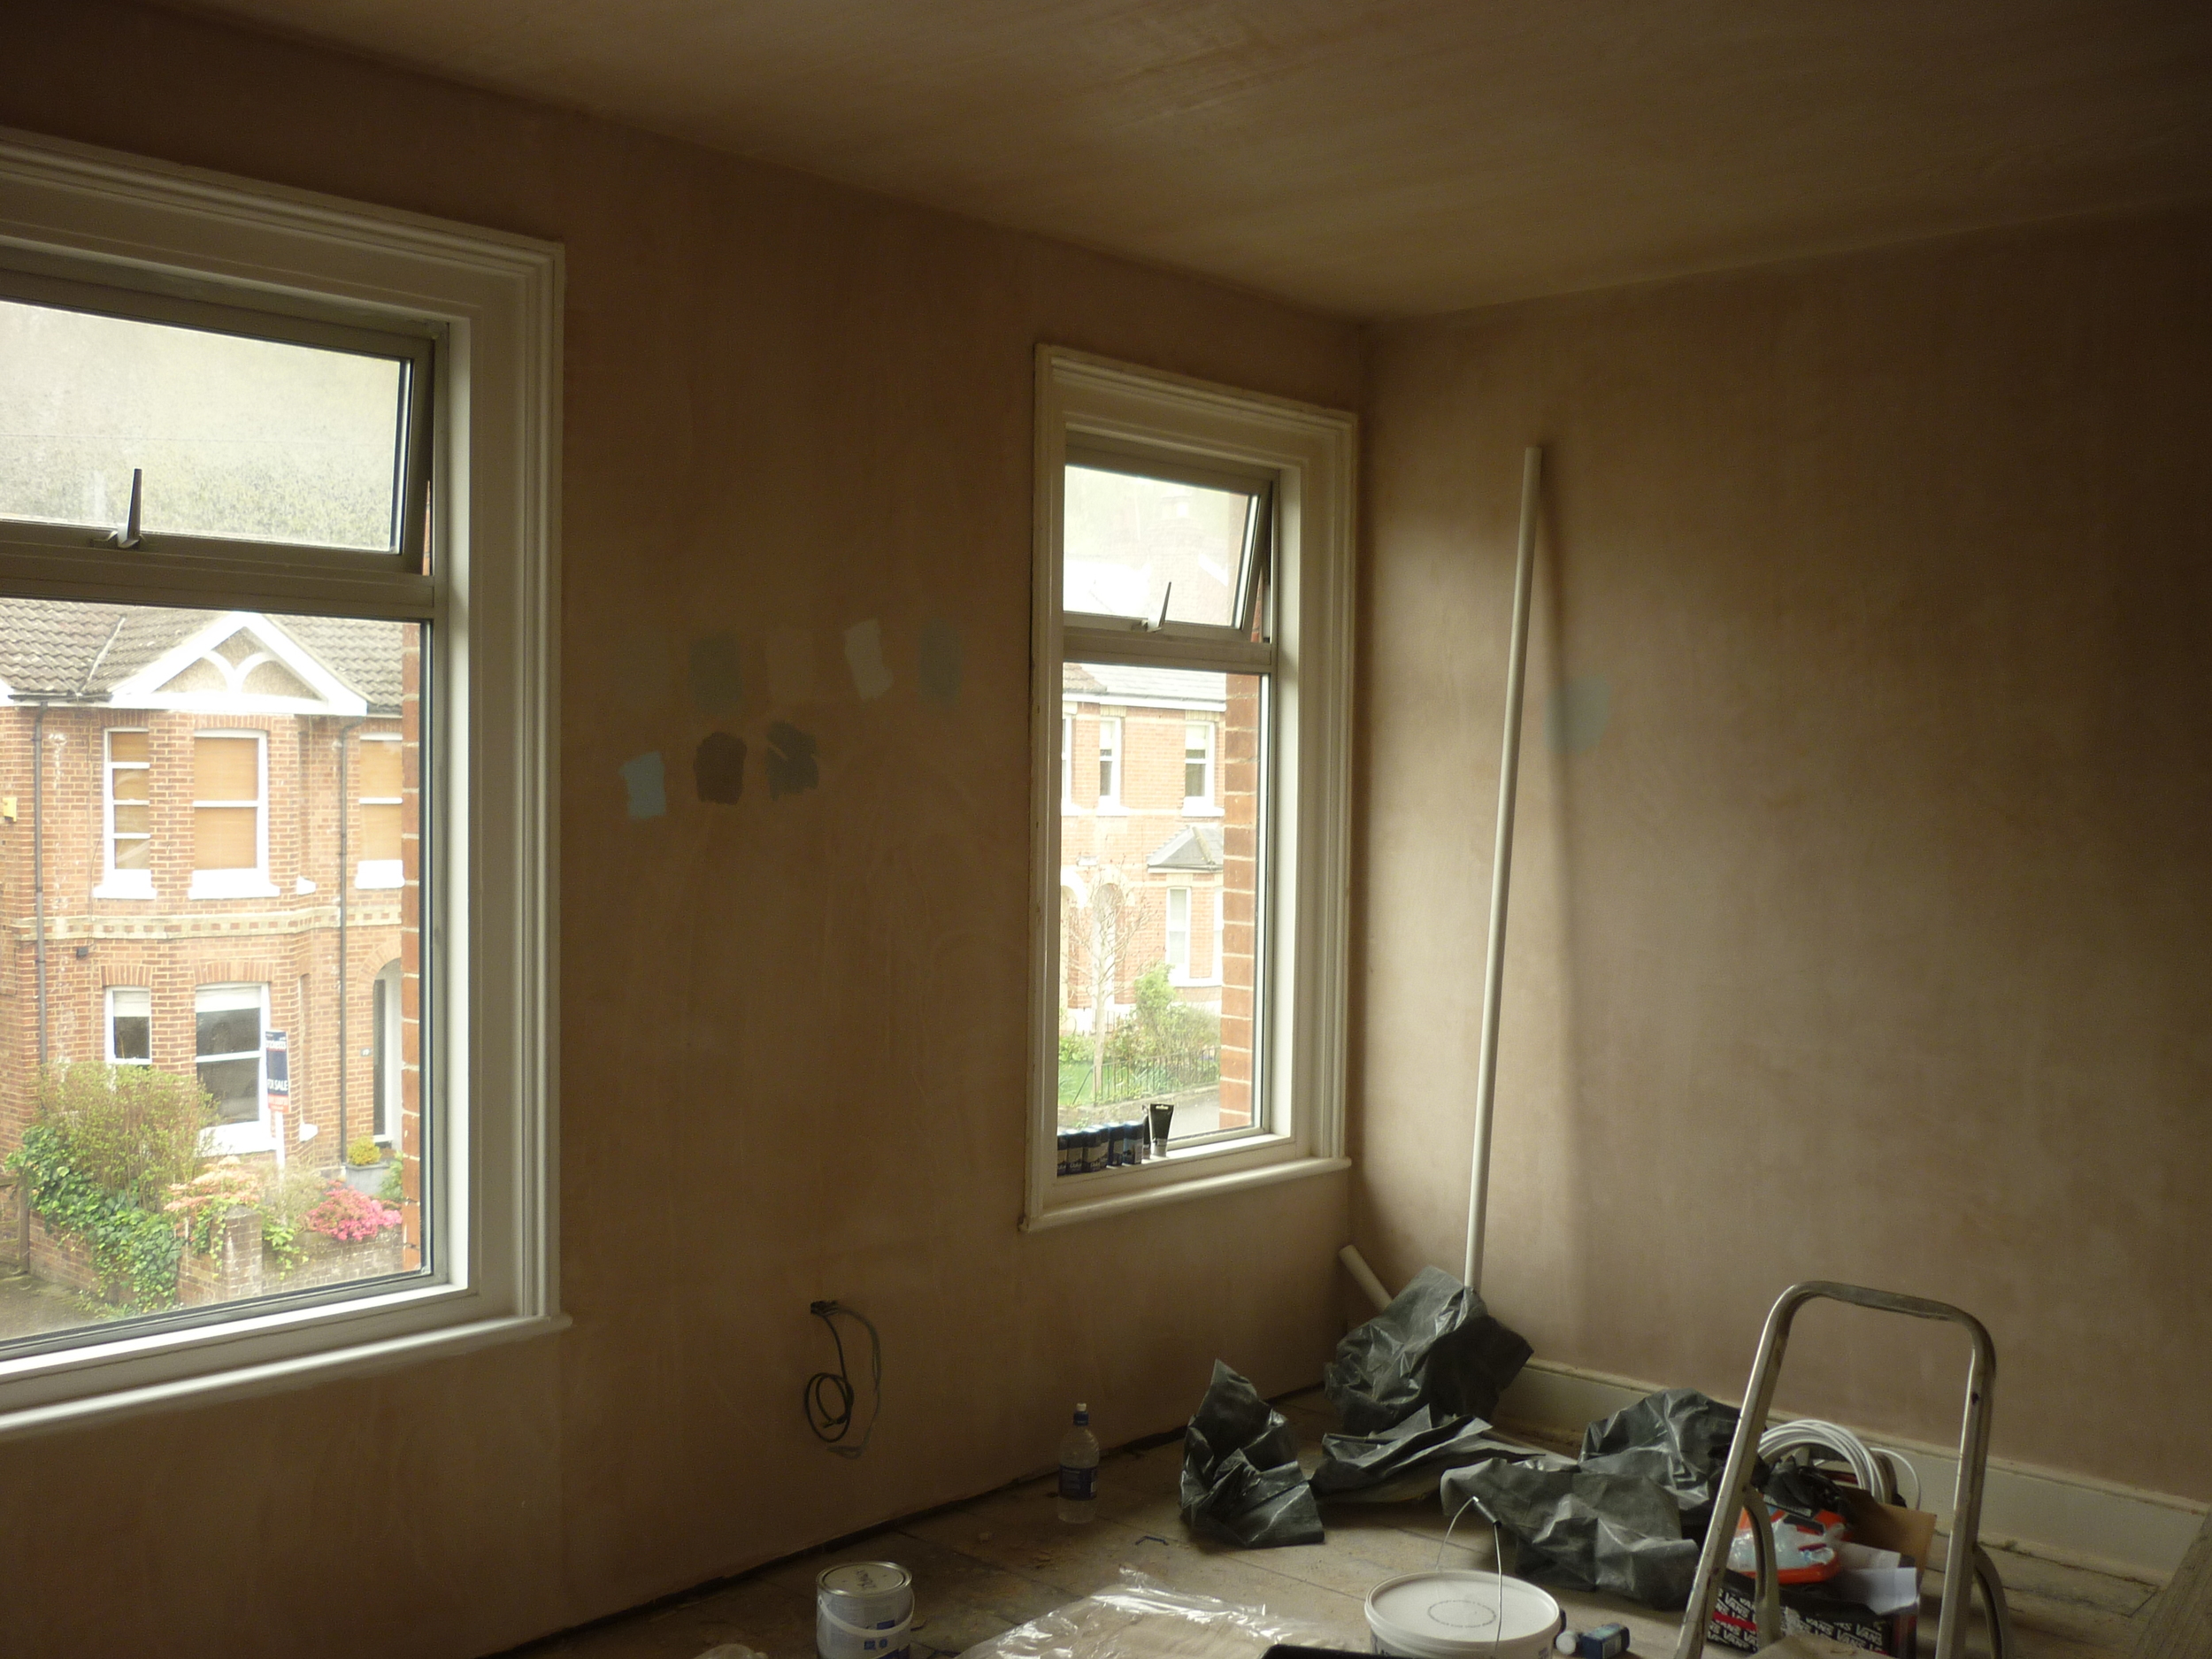
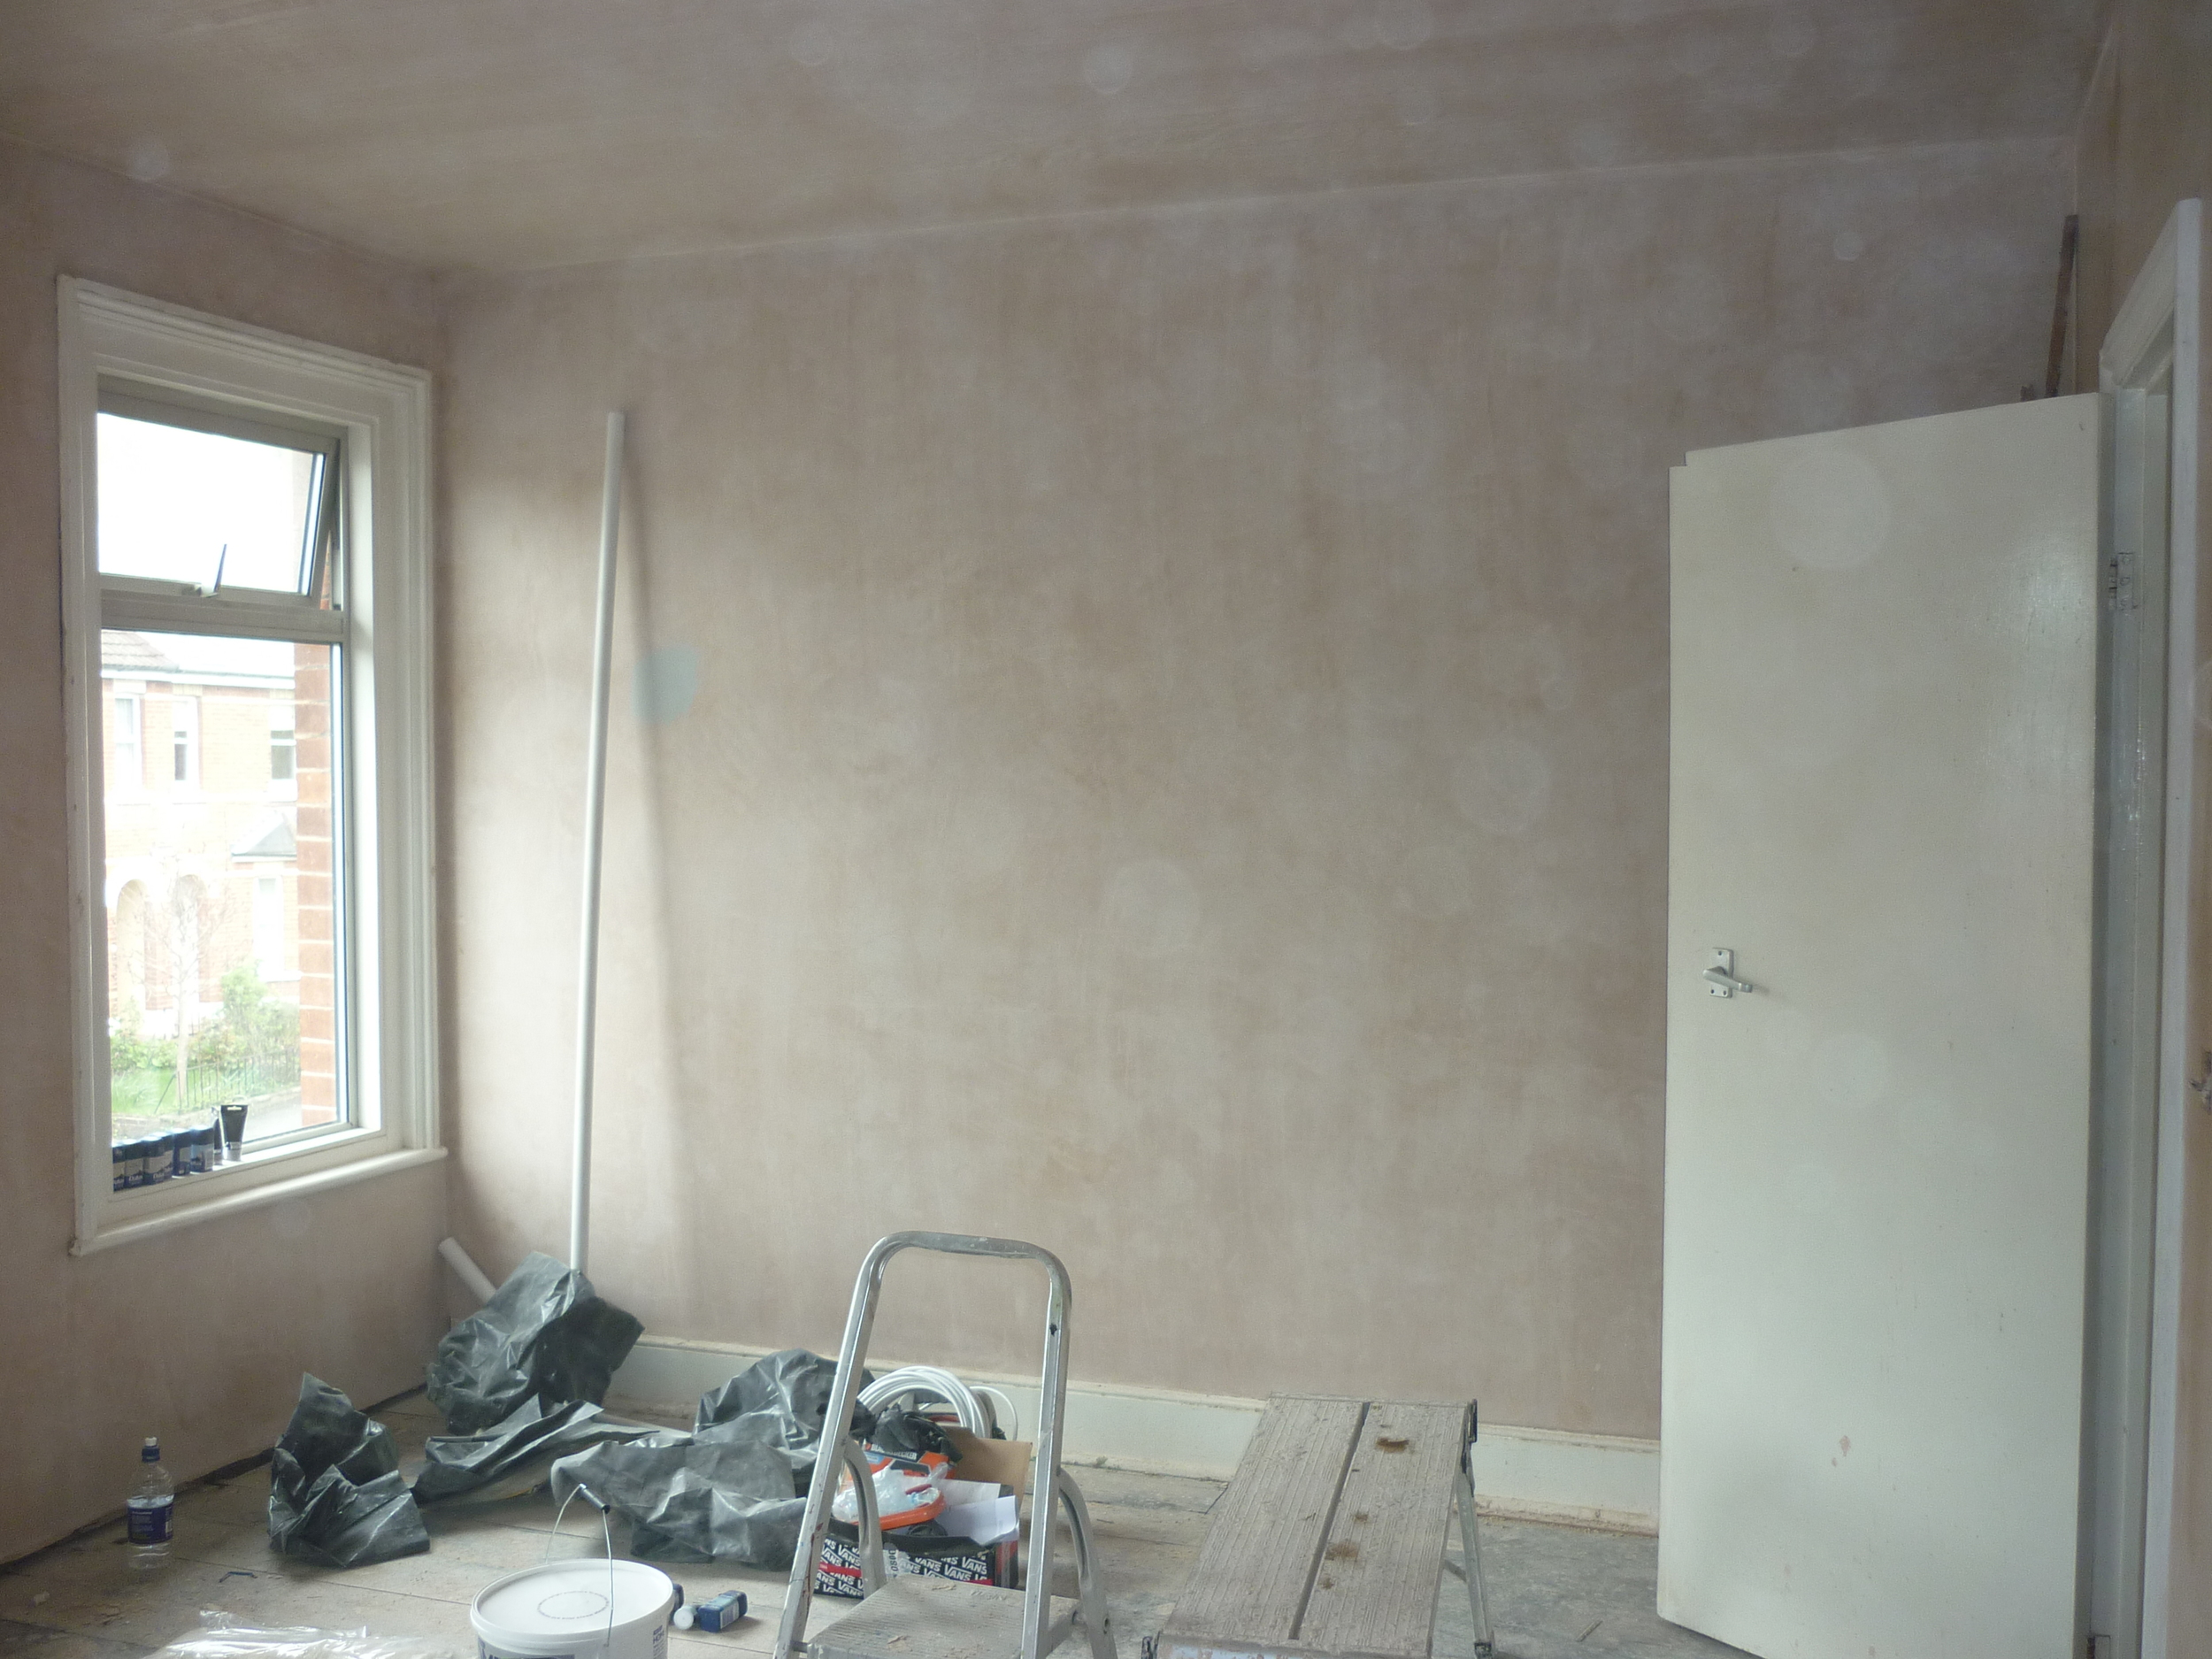
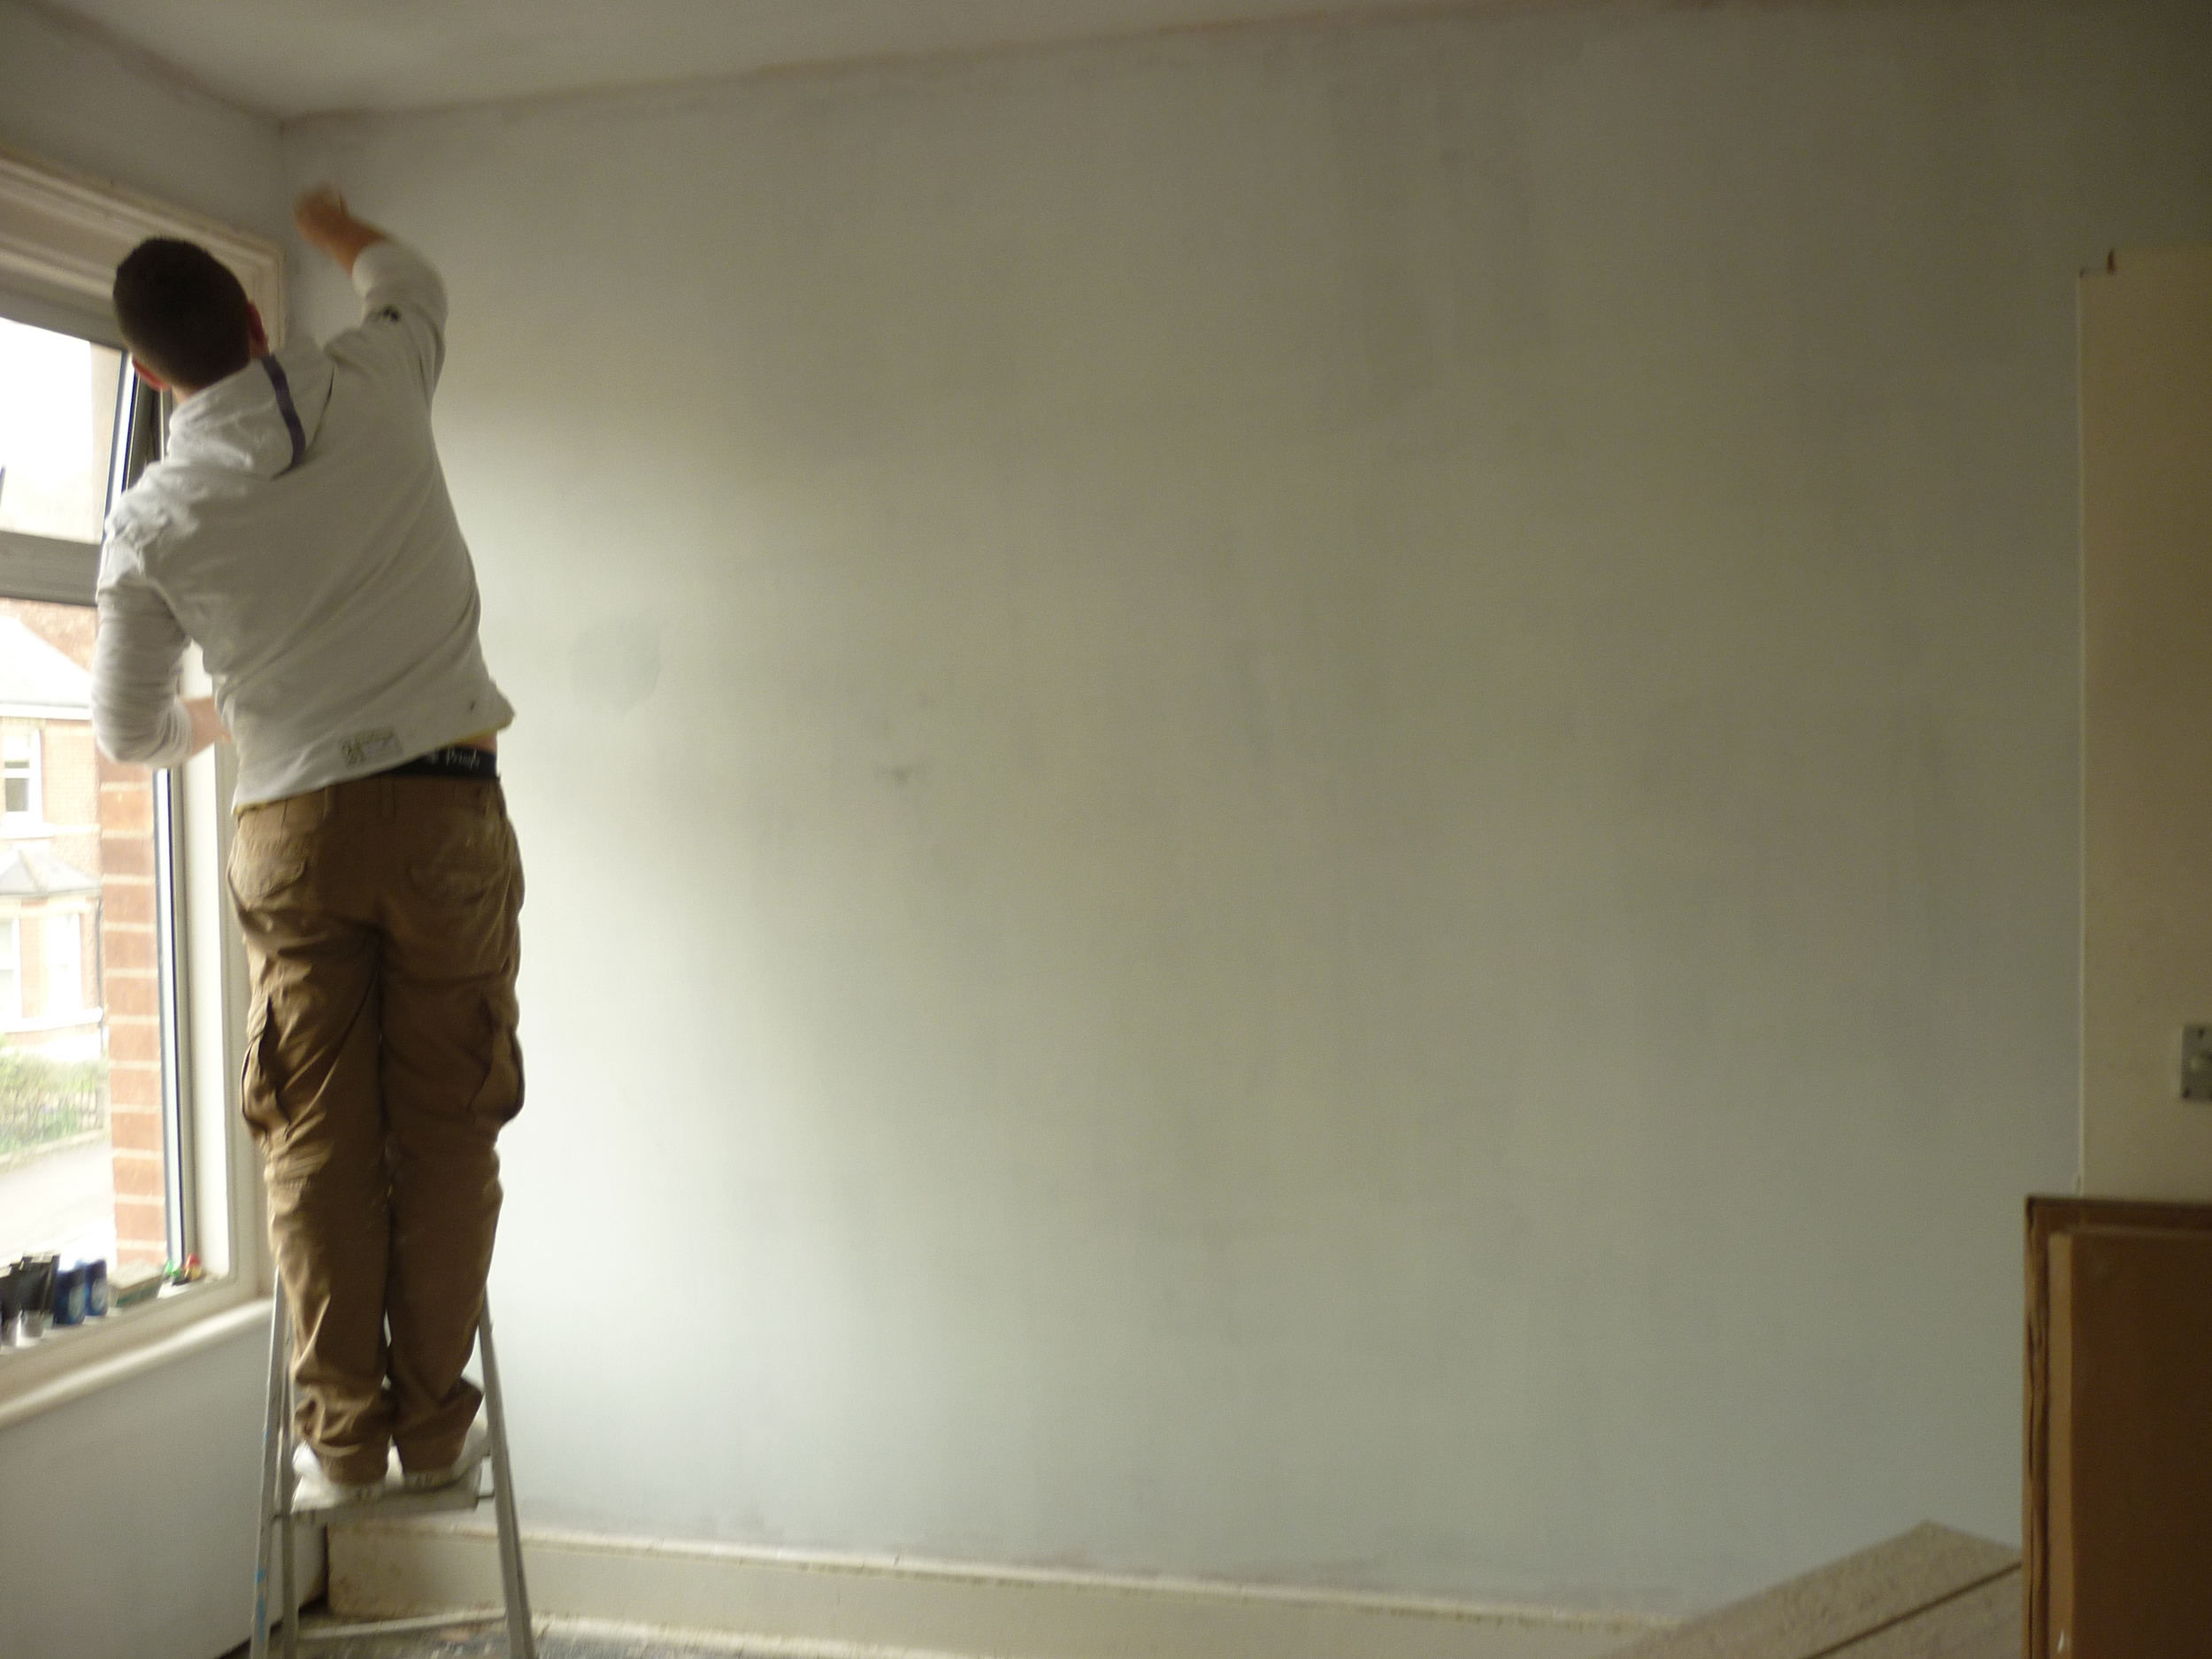
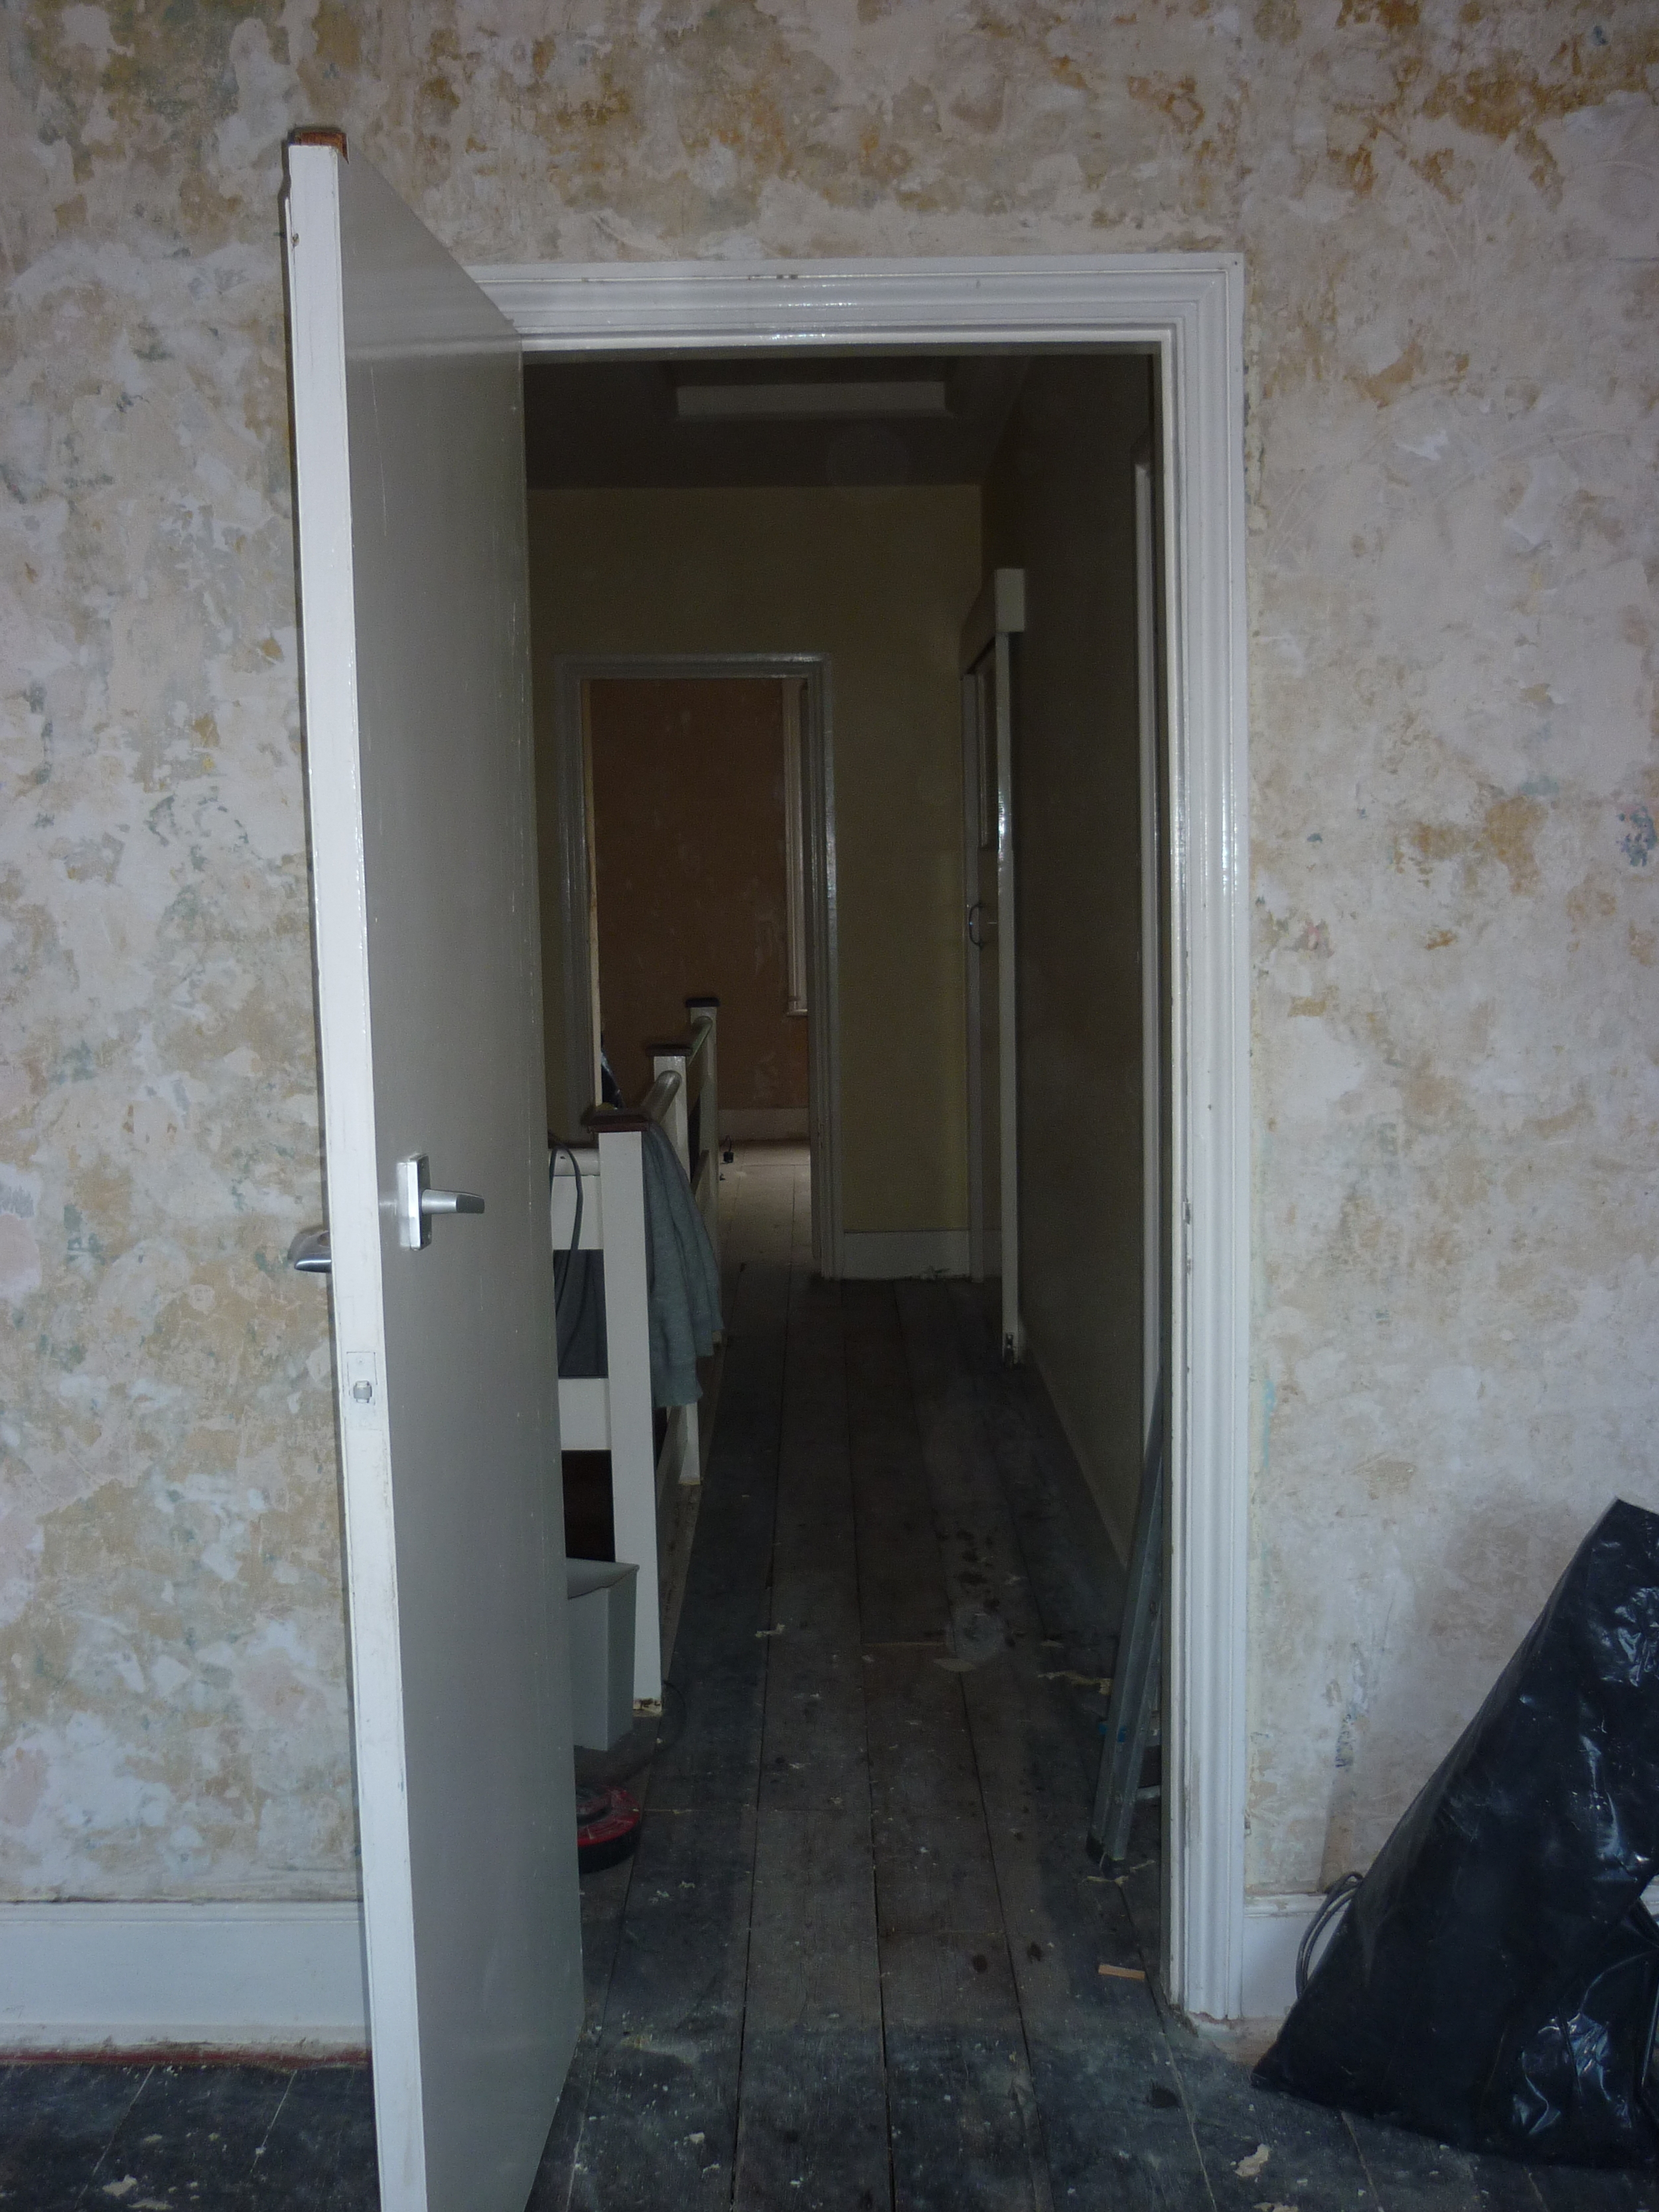
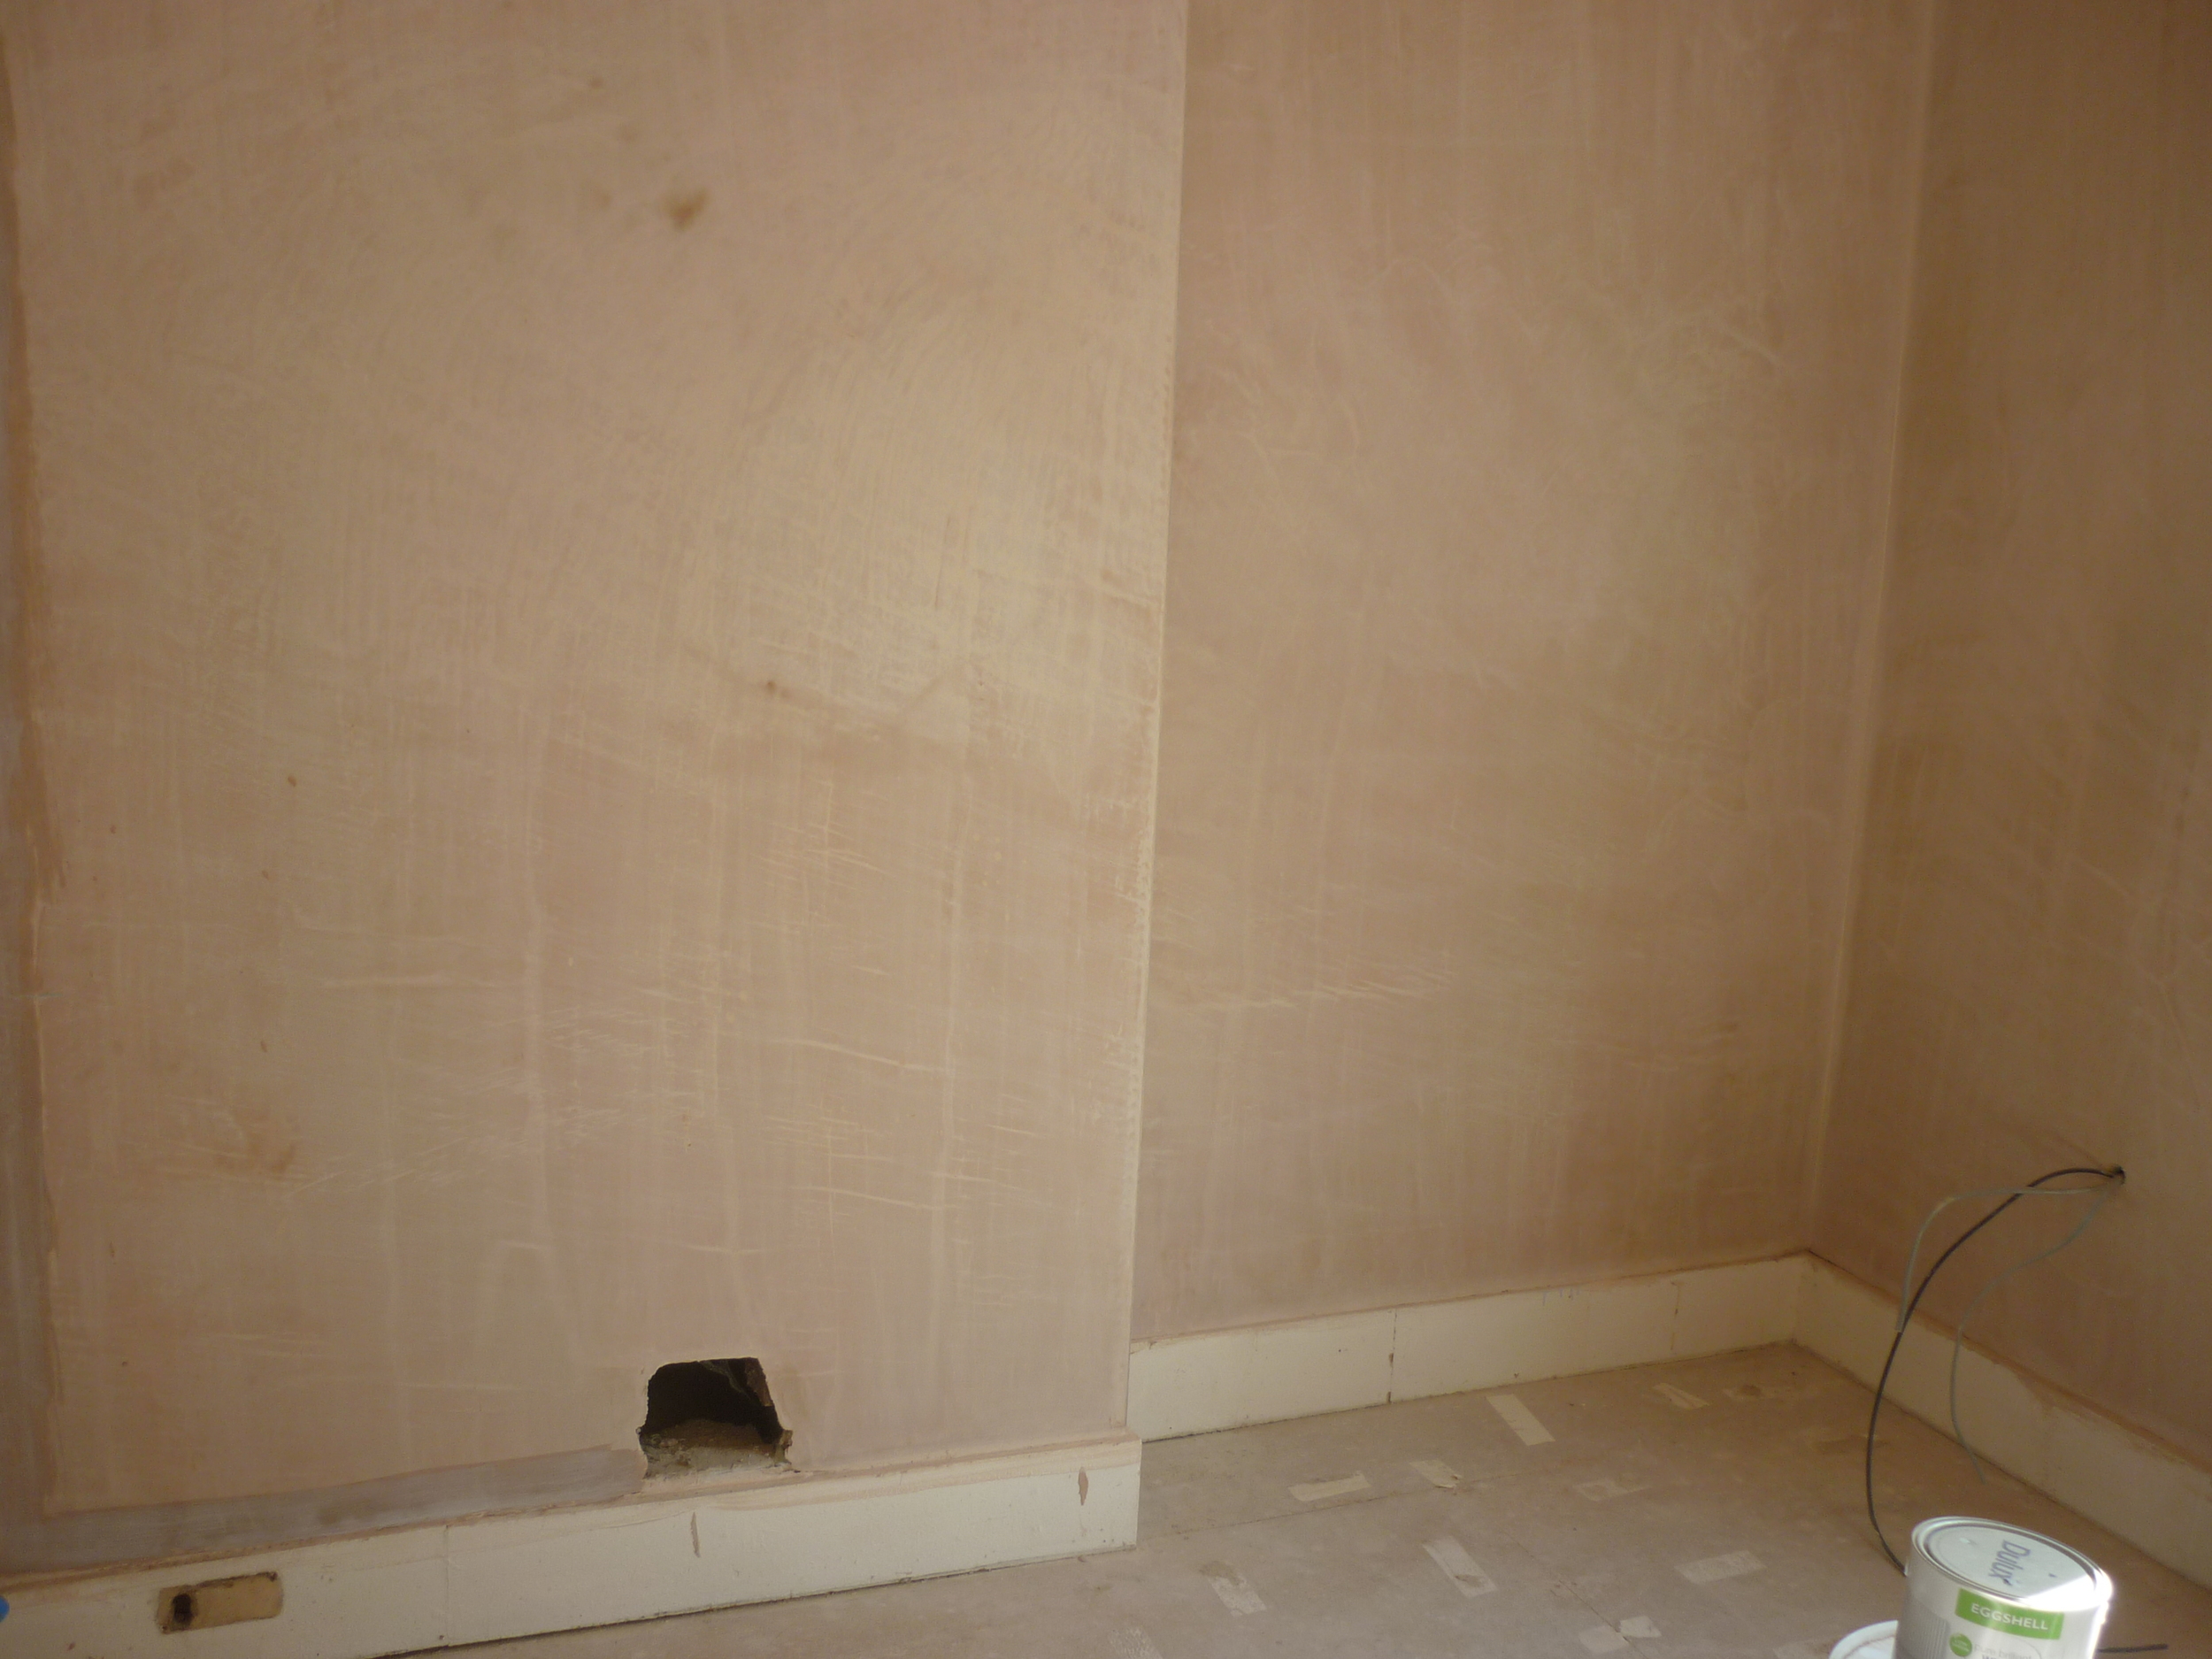
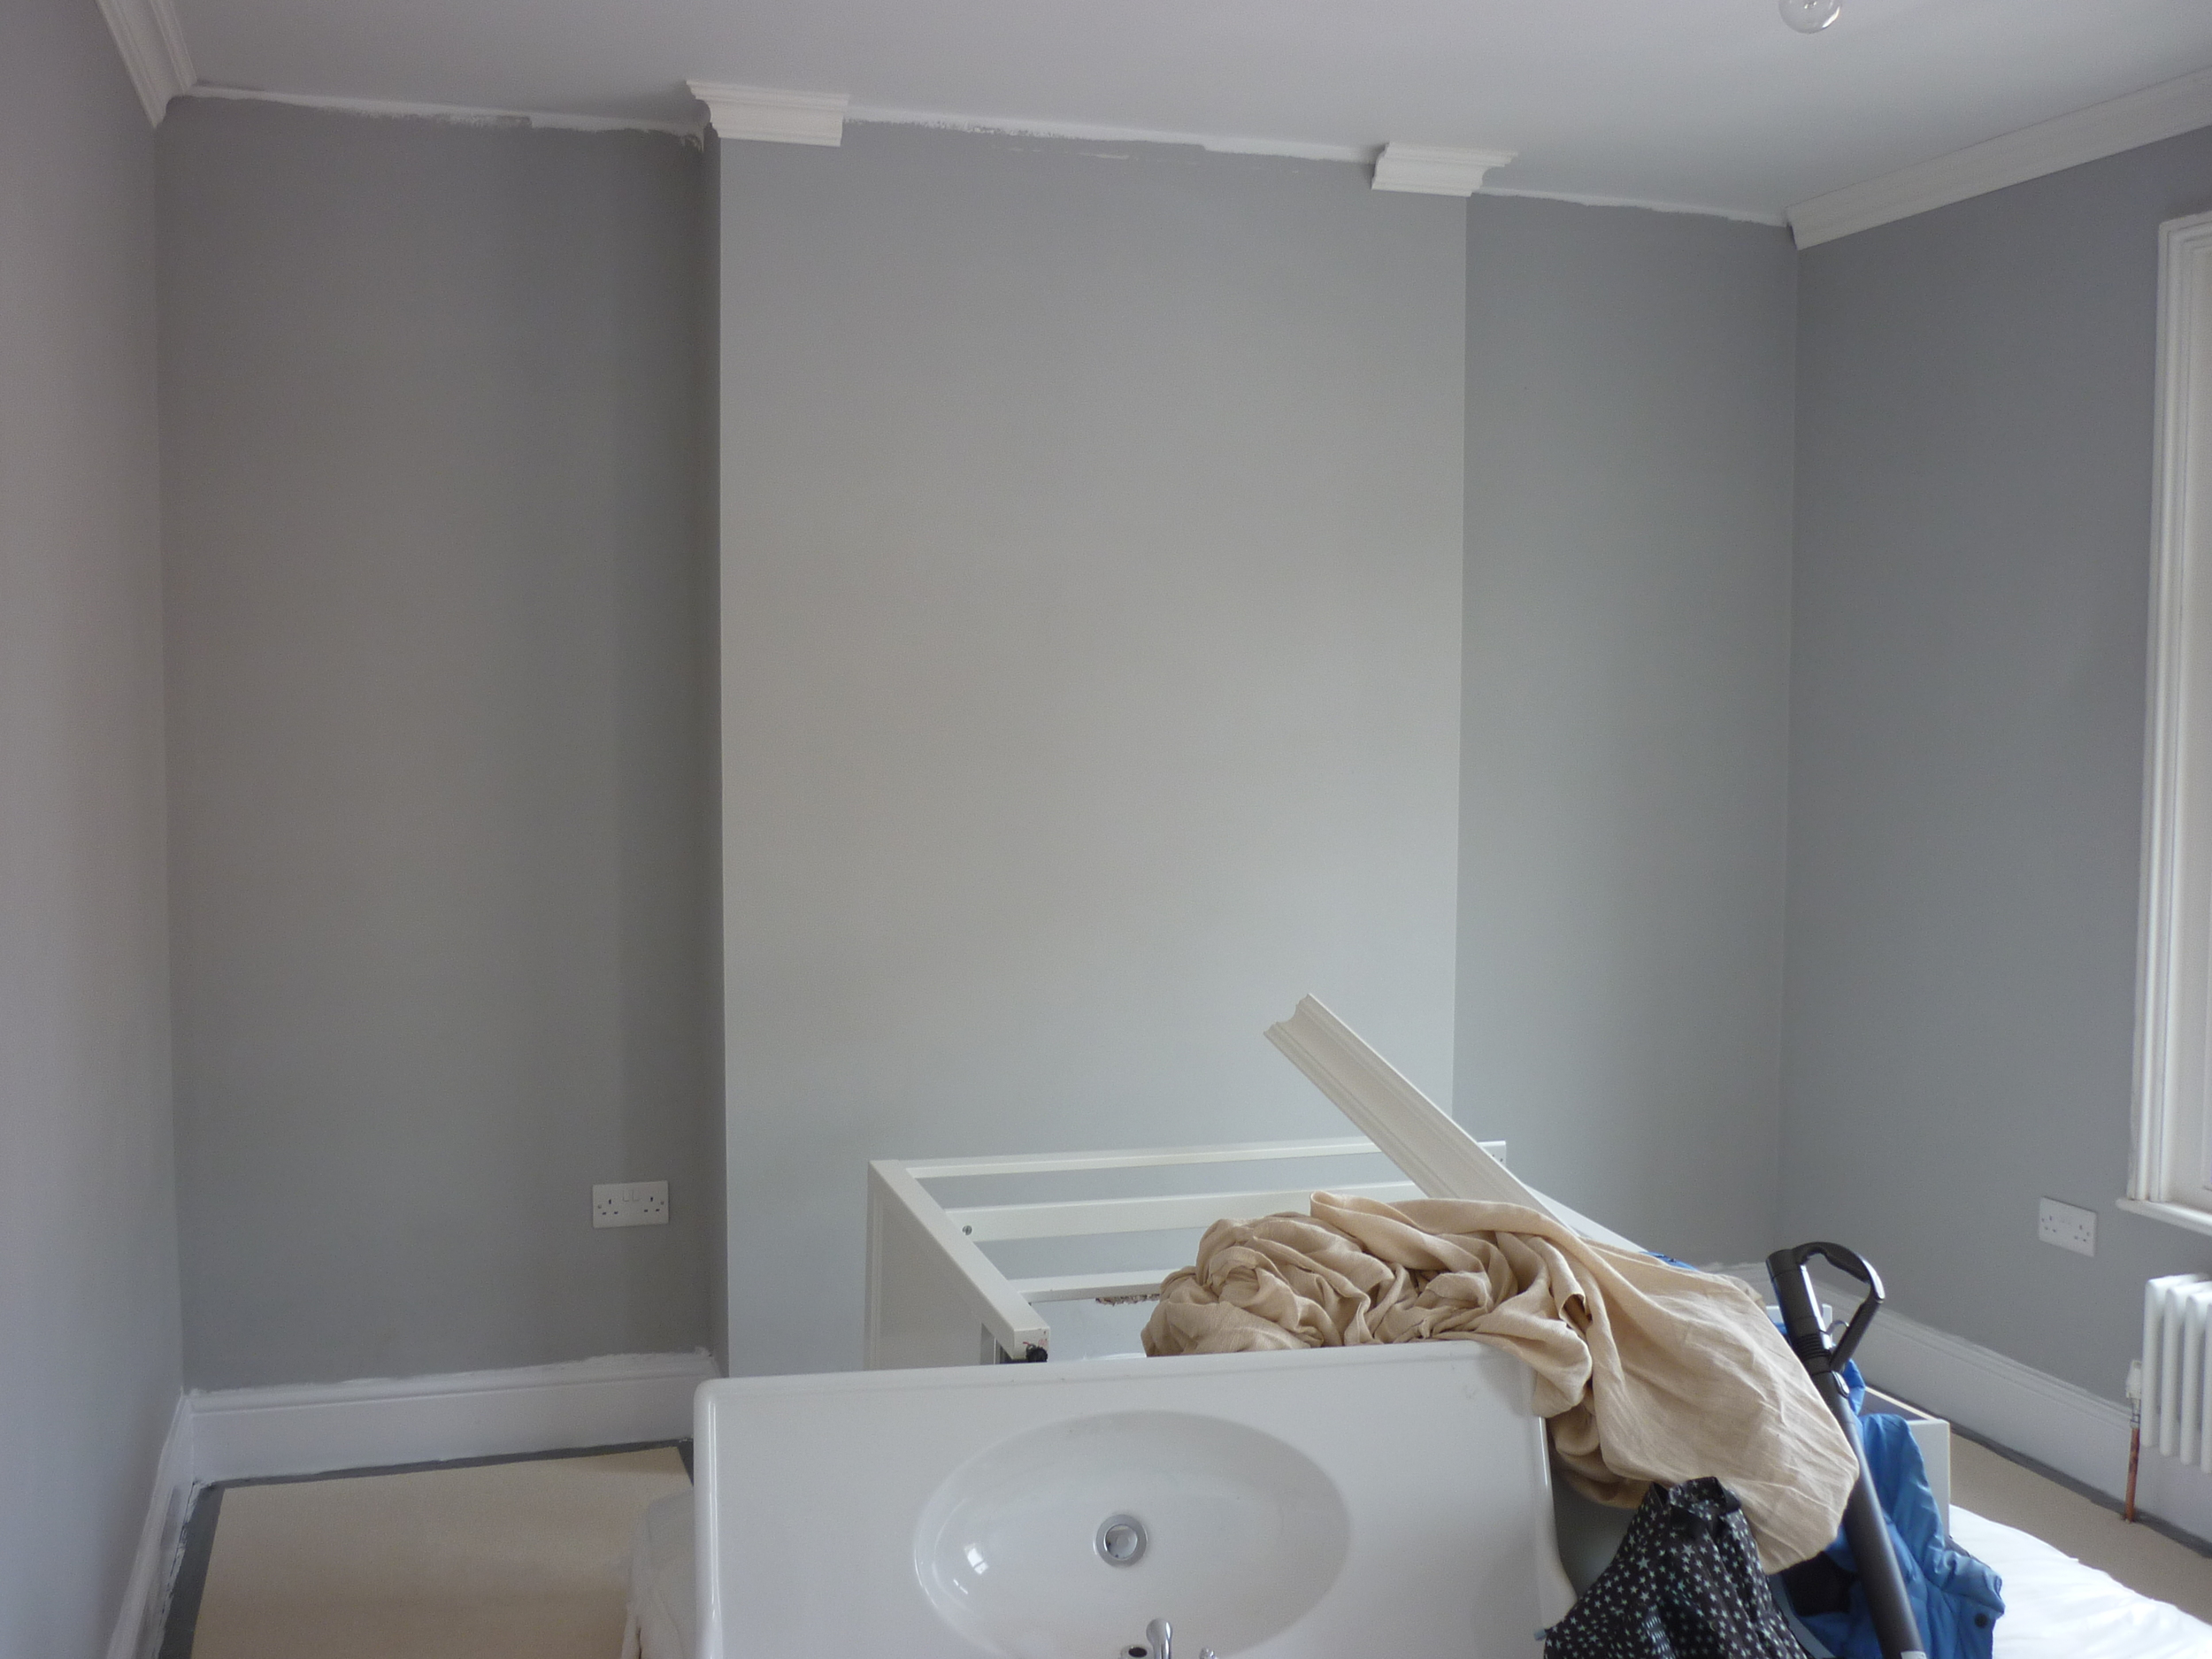
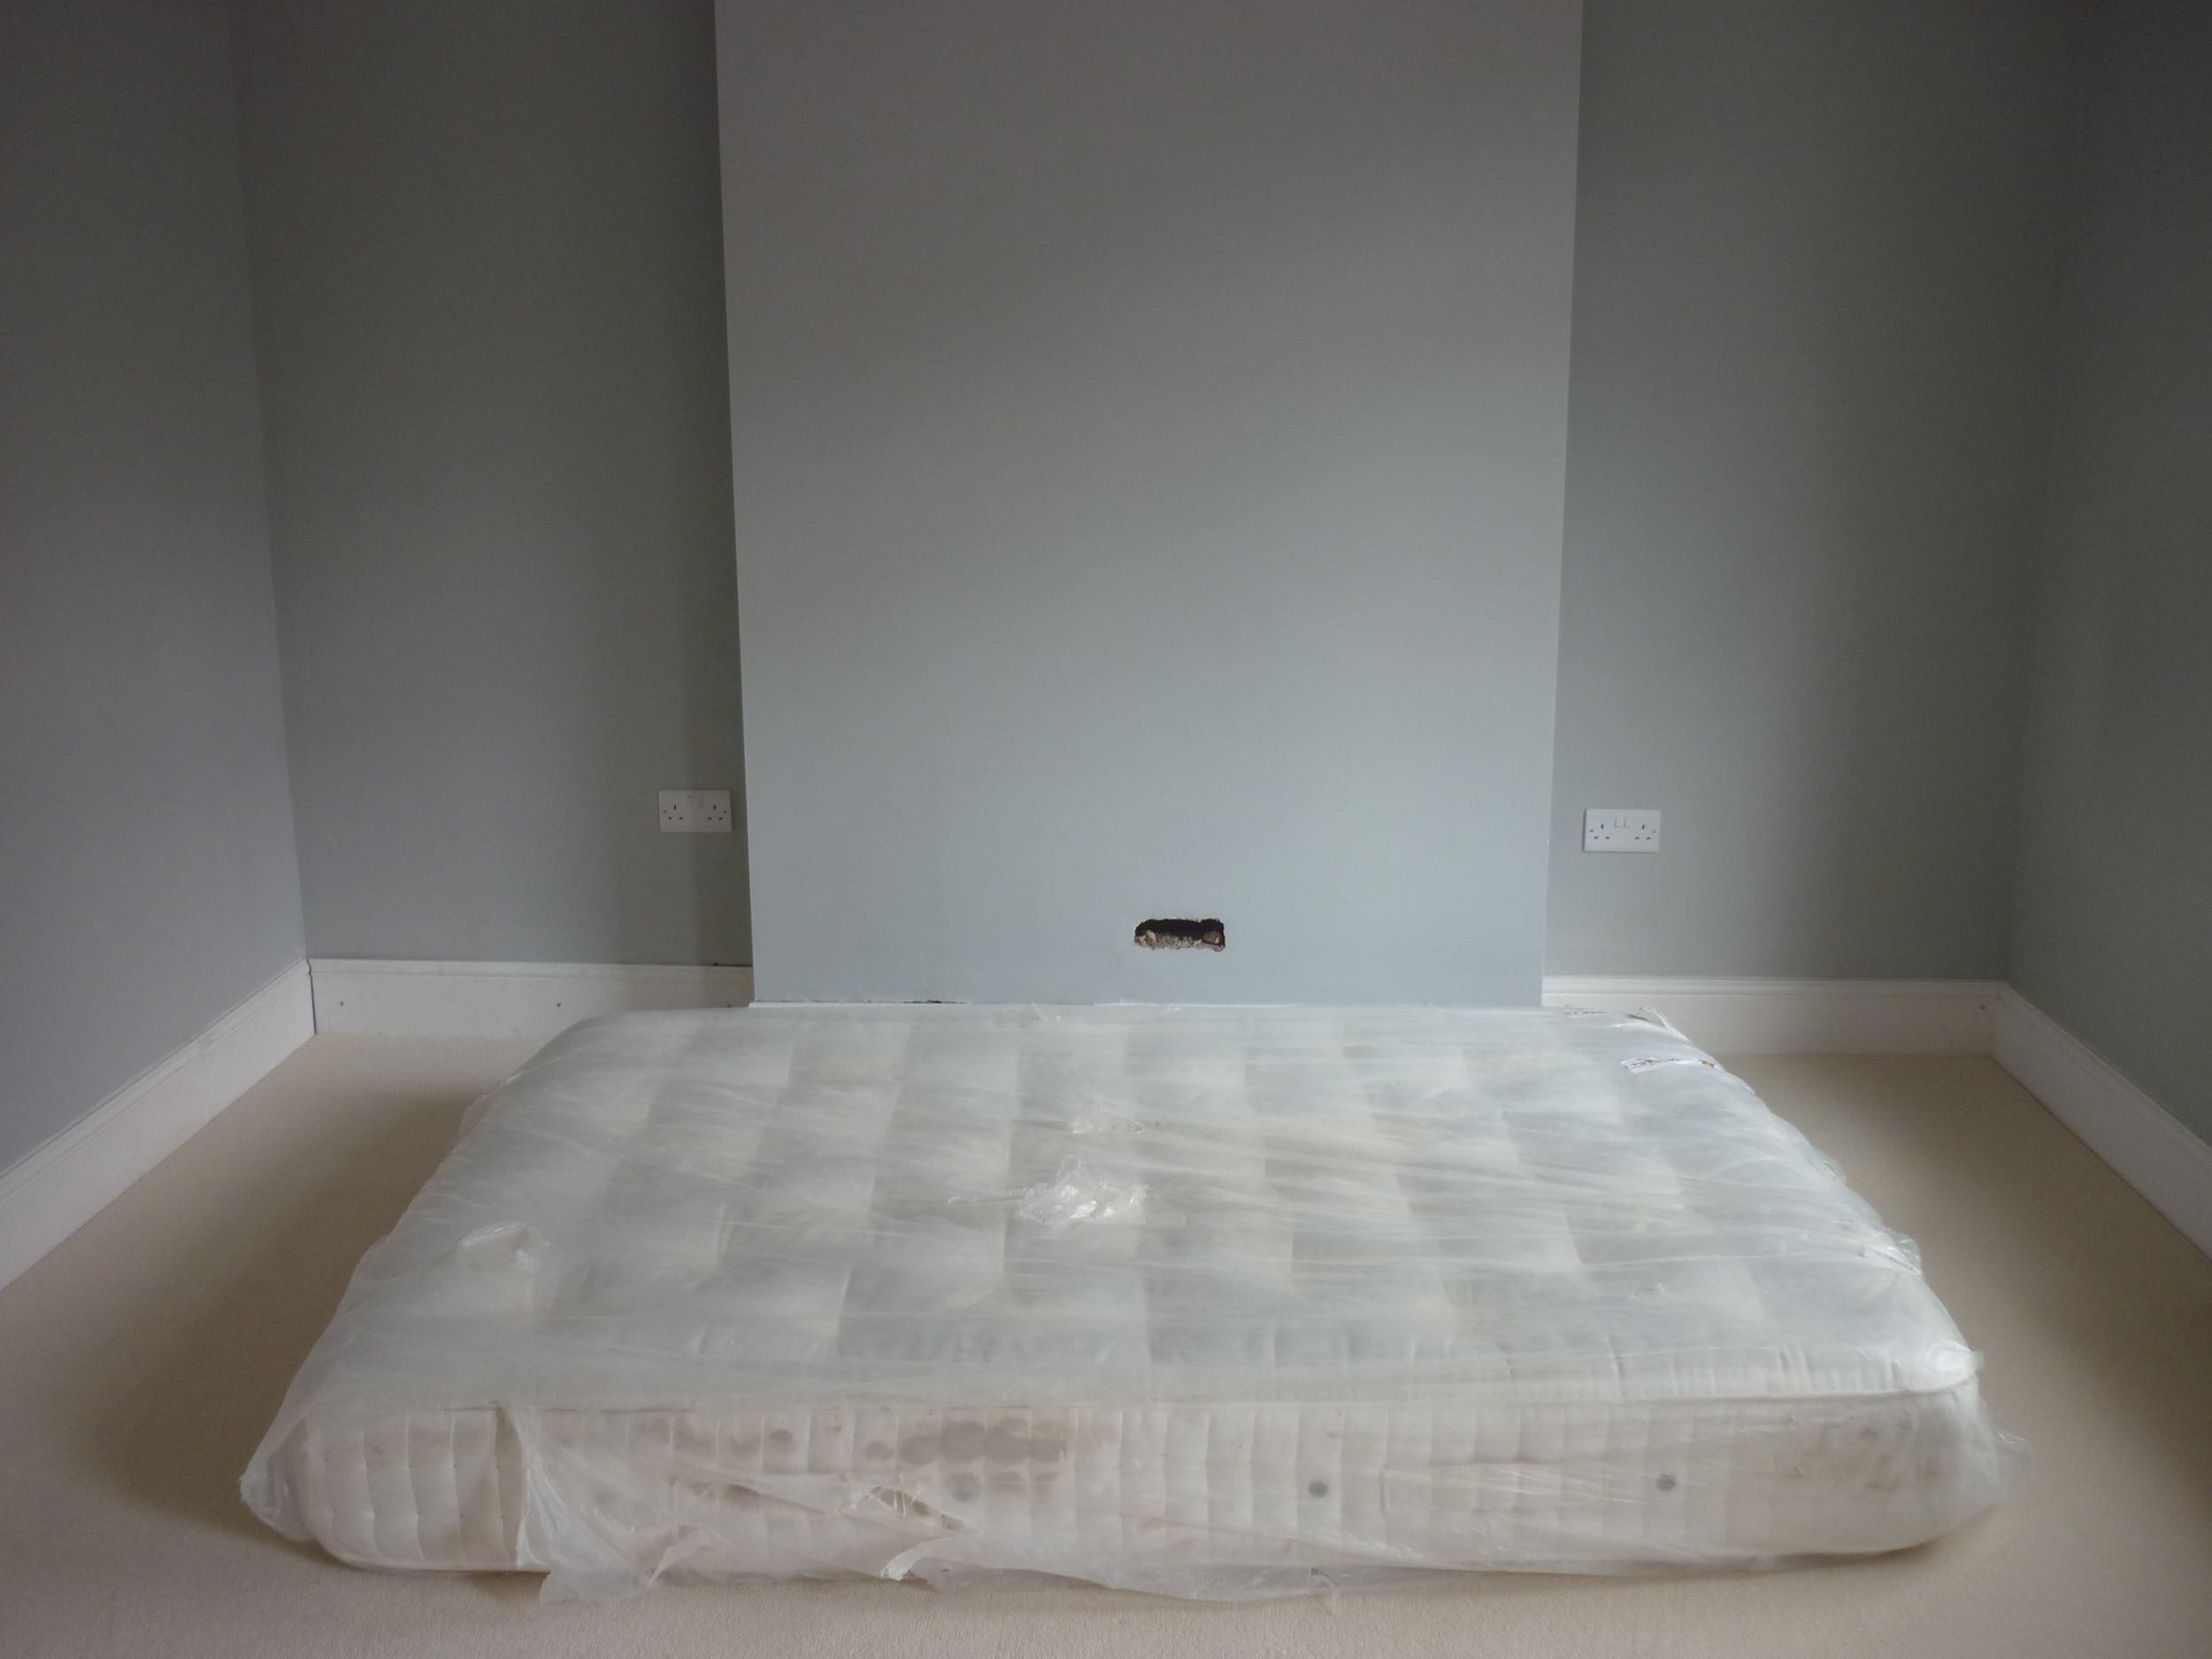
DURING

Hours and hours of woodchip wallpaper removal, a new wall, ceiling, plastering, doors, radiators, windows, skirting & coving, painting...
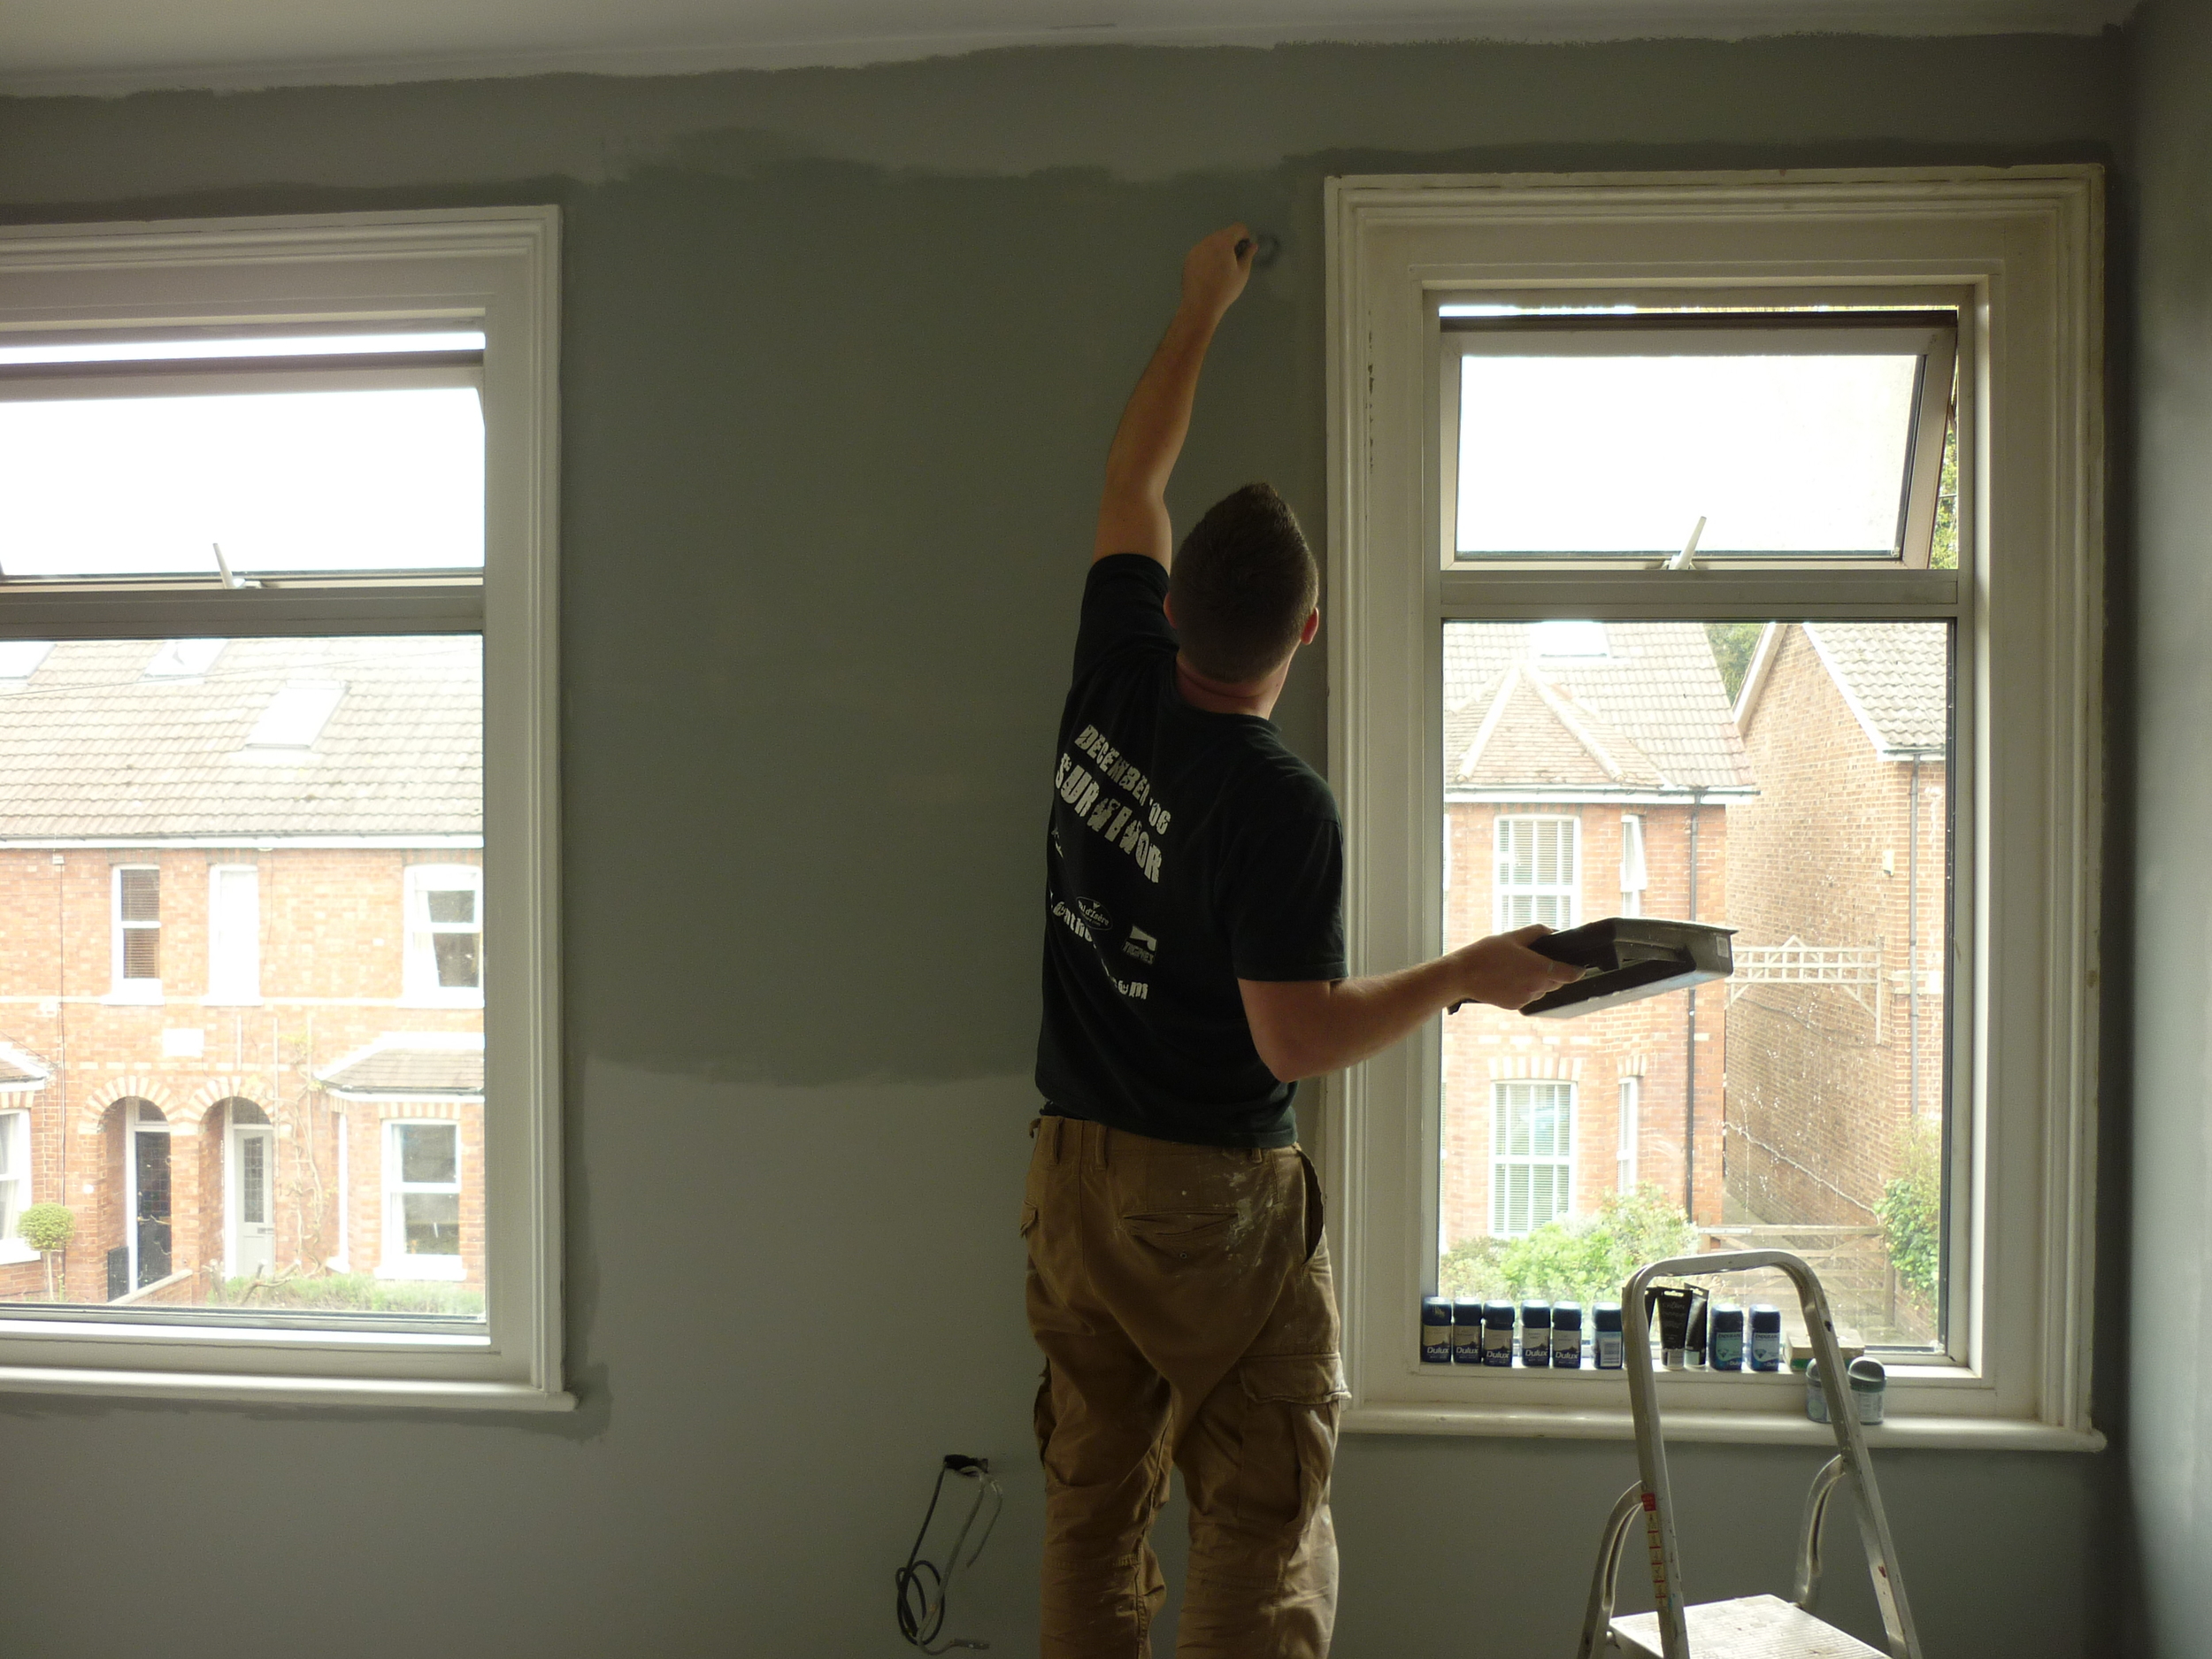
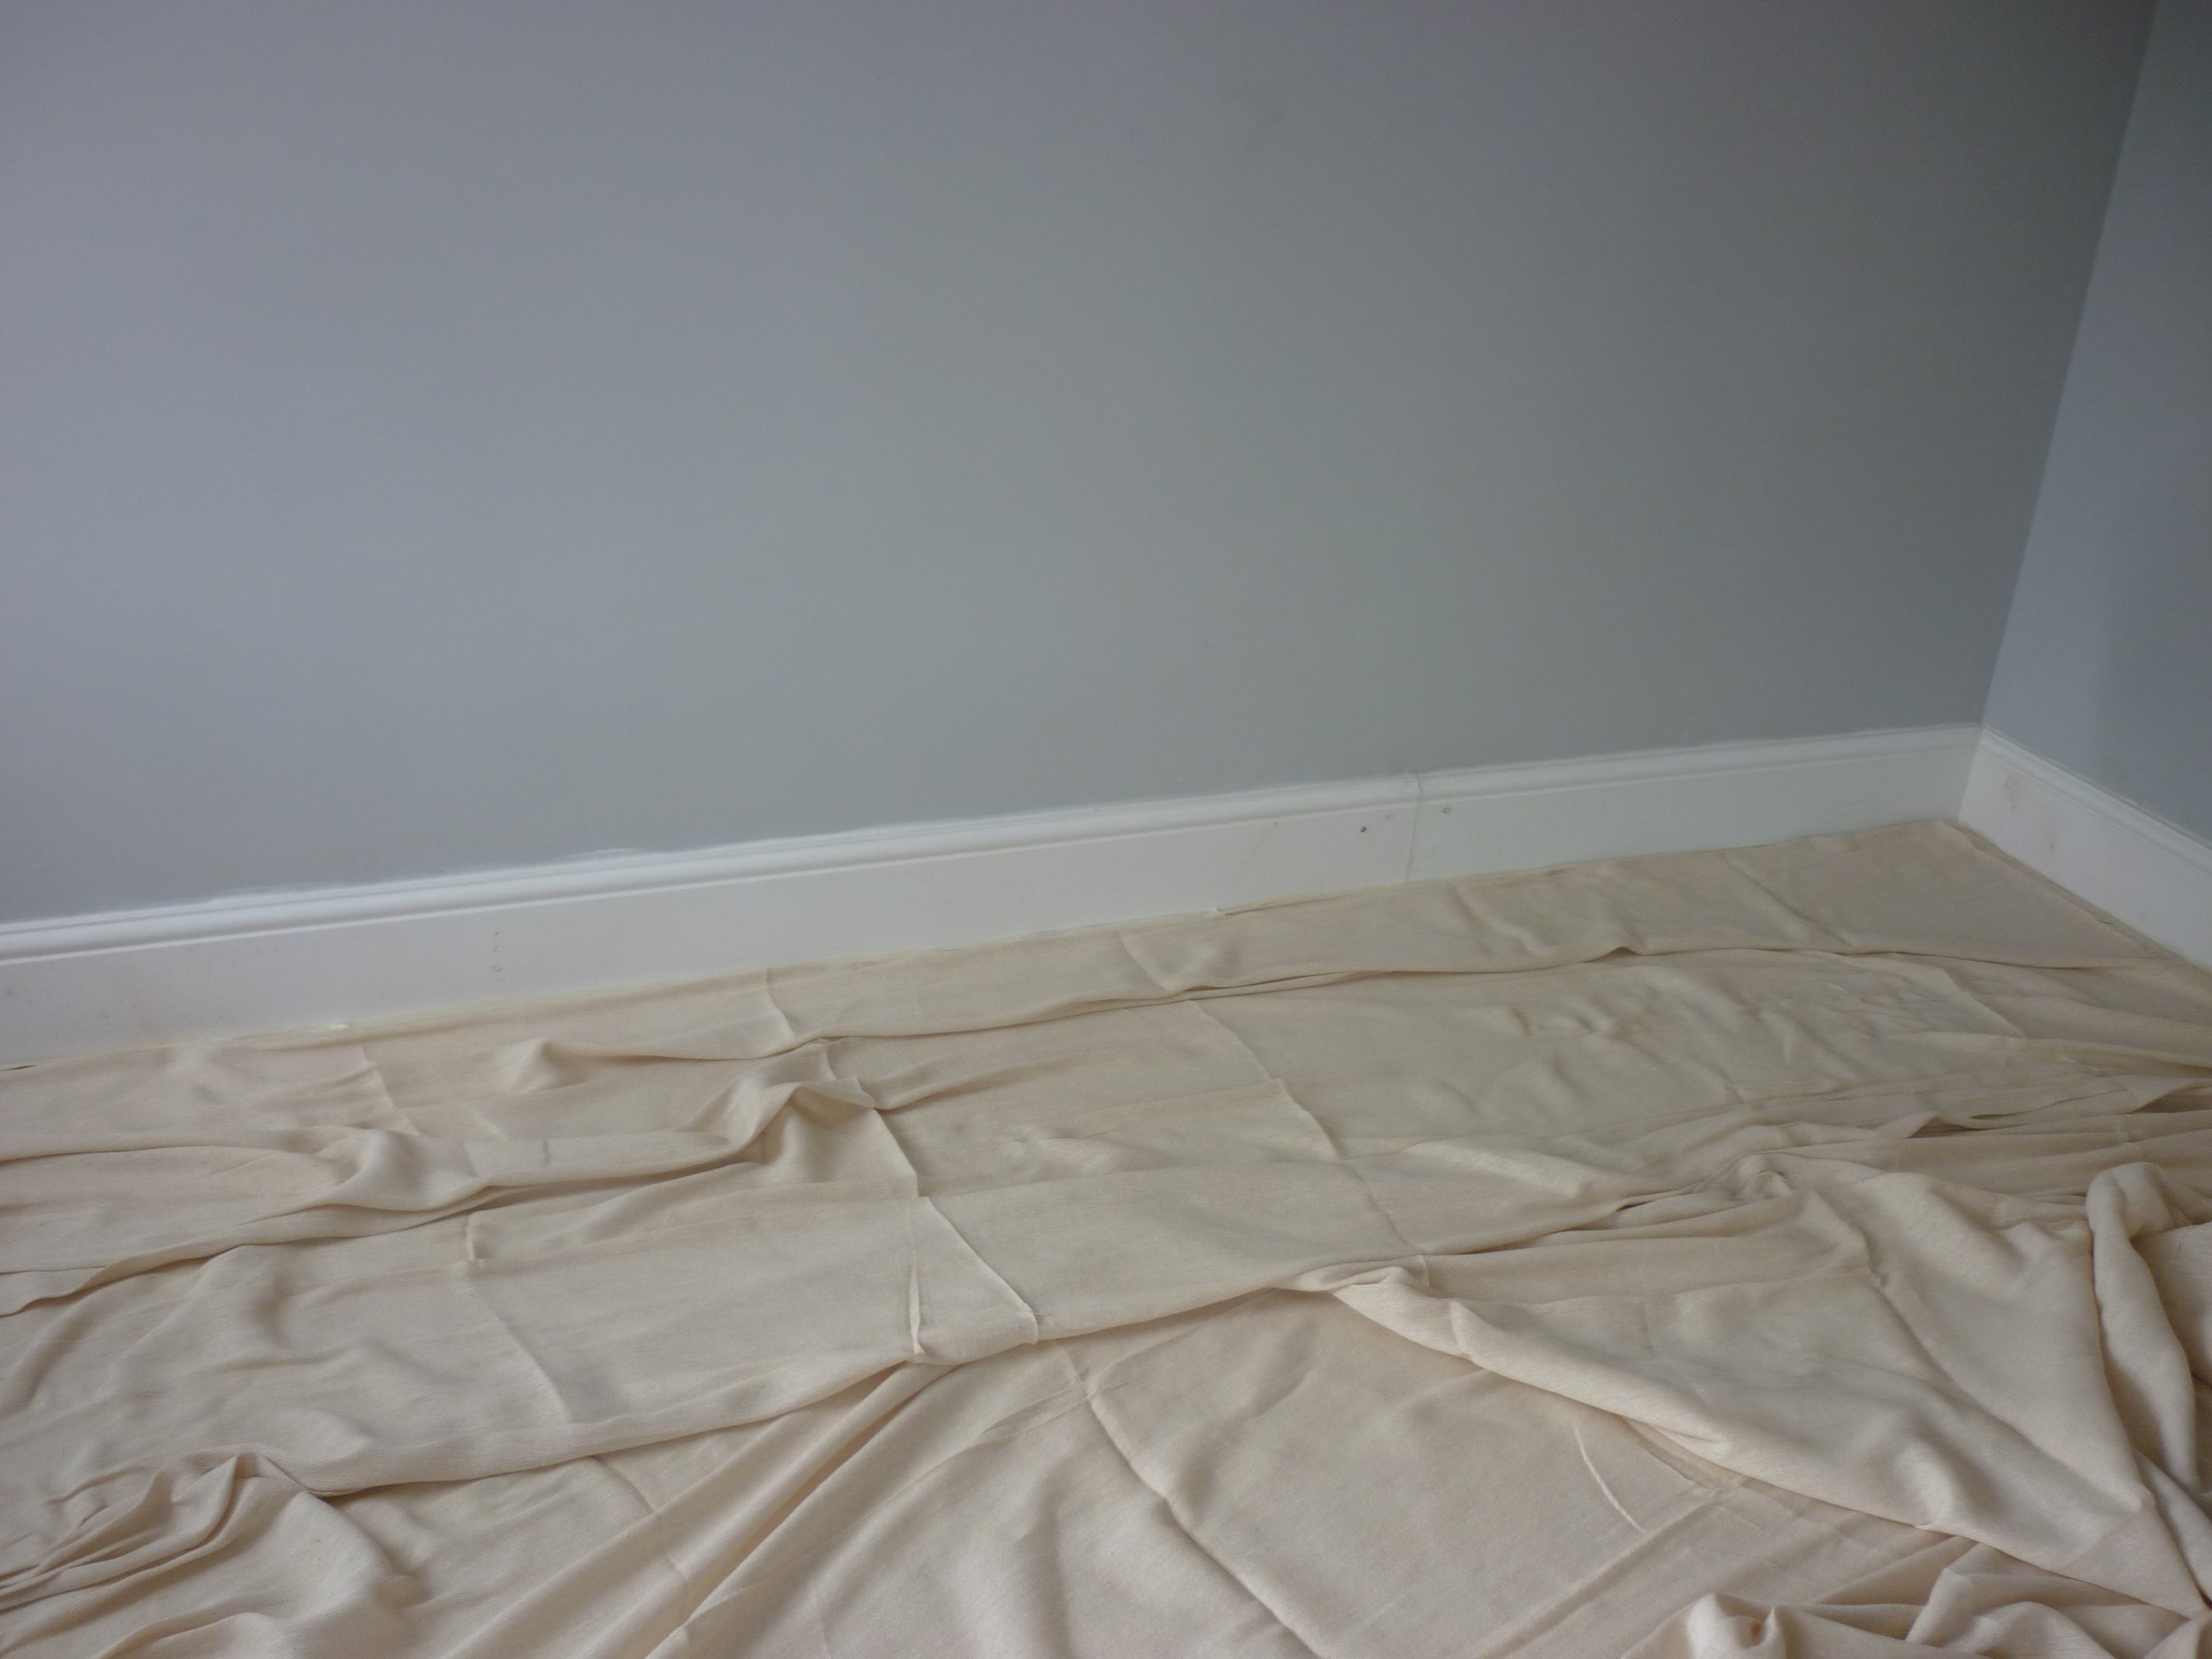
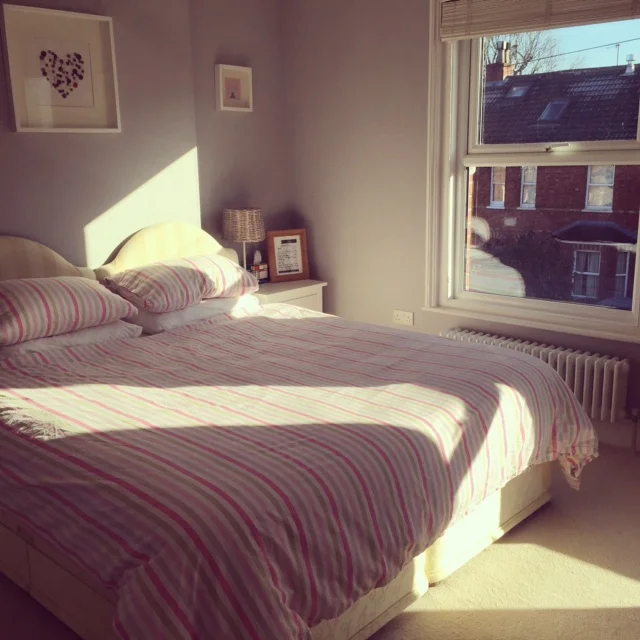
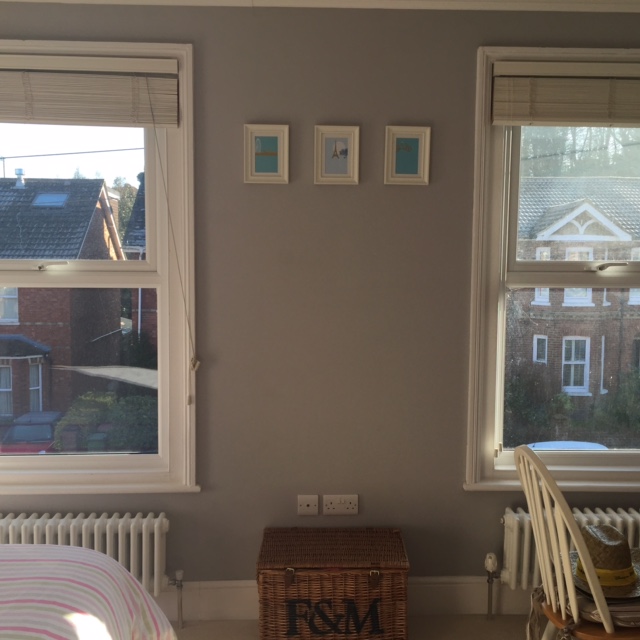
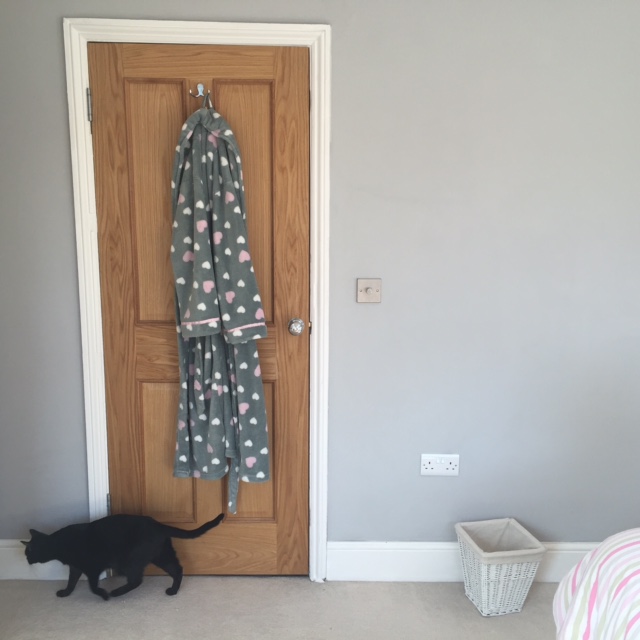
AFTER

Dulux 'Chic Shadow' paint makes the room feel fresh in daylight and cosy at night. White furniture and frames tie in with the skirting and coving, with bright stripe bedding added to give it some colour. 

Love before & afters? Take a look at what the Maison Bailey kitchen used to look like.

YOU MIGHT ALSO LIKE...

Dining Room: Before & After

2012 was one of the most exhausting yet satisfying years of my life. It was the year L and I took on our first refurb project, while commuting to our full time jobs. Walls came down, skips of woodchip were painstakingly steamed off every wall (big thank you to the 1970s for that wonderful contribution to interior design), stairs were rebuilt, a bedroom was turned into a bathroom, not to mention midnight painting sessions on a Monday (low point).

It was a challenge - but a brilliant one. I wouldn't take back a blister. I discovered that I don't give up easily (which is nice to discover having given up most instruments at school). I also learnt a lot about DIY, that my interior design skills are best when under pressure, as well as one of my biggest realisations: P!nk's Greatest Hits actually speeds up the painting process. (Seriously.)

Here are some before, during and after photos of our dining room:

Before: Mustard woodchip wallpaper, odd radiators and a questionable glass-panelled staircase.

Before: Mustard woodchip wallpaper, odd radiators and a questionable glass-panelled staircase.

During: Yep - that's a bath in the centre (a second-hand cast iron roll-top bath we upcycled), plus two refurb essentials - a professional wallpaper steamer and Mama B.

During: Yep - that's a bath in the centre (a second-hand cast iron roll-top bath we upcycled), plus two refurb essentials - a professional wallpaper steamer and Mama B.

dining-room-refurb
The glass came down and we transformed the open area under the stairs into a handy cupboard for coats, shoes, hoover, ironing board and brollies.

The glass came down and we transformed the open area under the stairs into a handy cupboard for coats, shoes, hoover, ironing board and brollies.

After: New plaster, paint, carpets, windows, blinds and built-in storage. (And wine. An essential sofa condiment after a busy day.)

After: New plaster, paint, carpets, windows, blinds and built-in storage. (And wine. An essential sofa condiment after a busy day.)

Dining room table: Covered in wipe-clean oil cloth (no need for placemats or coasters!). We added a mirror between our built-in storage to make the room appear larger and to reflect light around the room.

Dining room table: Covered in wipe-clean oil cloth (no need for placemats or coasters!). We added a mirror between our built-in storage to make the room appear larger and to reflect light around the room.

I hope these photos inspire you to give a project a go. Not necessarily a full-scale refurb, it can be anything! Redecorating a room, adding some pops of colour with accessories, creating a picture wall... the main thing is to muster up the confidence to give it a go. Nothing makes a home feel more like you than knowing you were involved in its creation. It's like making your mum a Mother's Day card vs a shop-bought one when you were a child. Which one would she have loved the most? Exactly!

What project are you contemplating currently?
Discover additional decor inspiration here.