refurb

Kitchen: Before & After

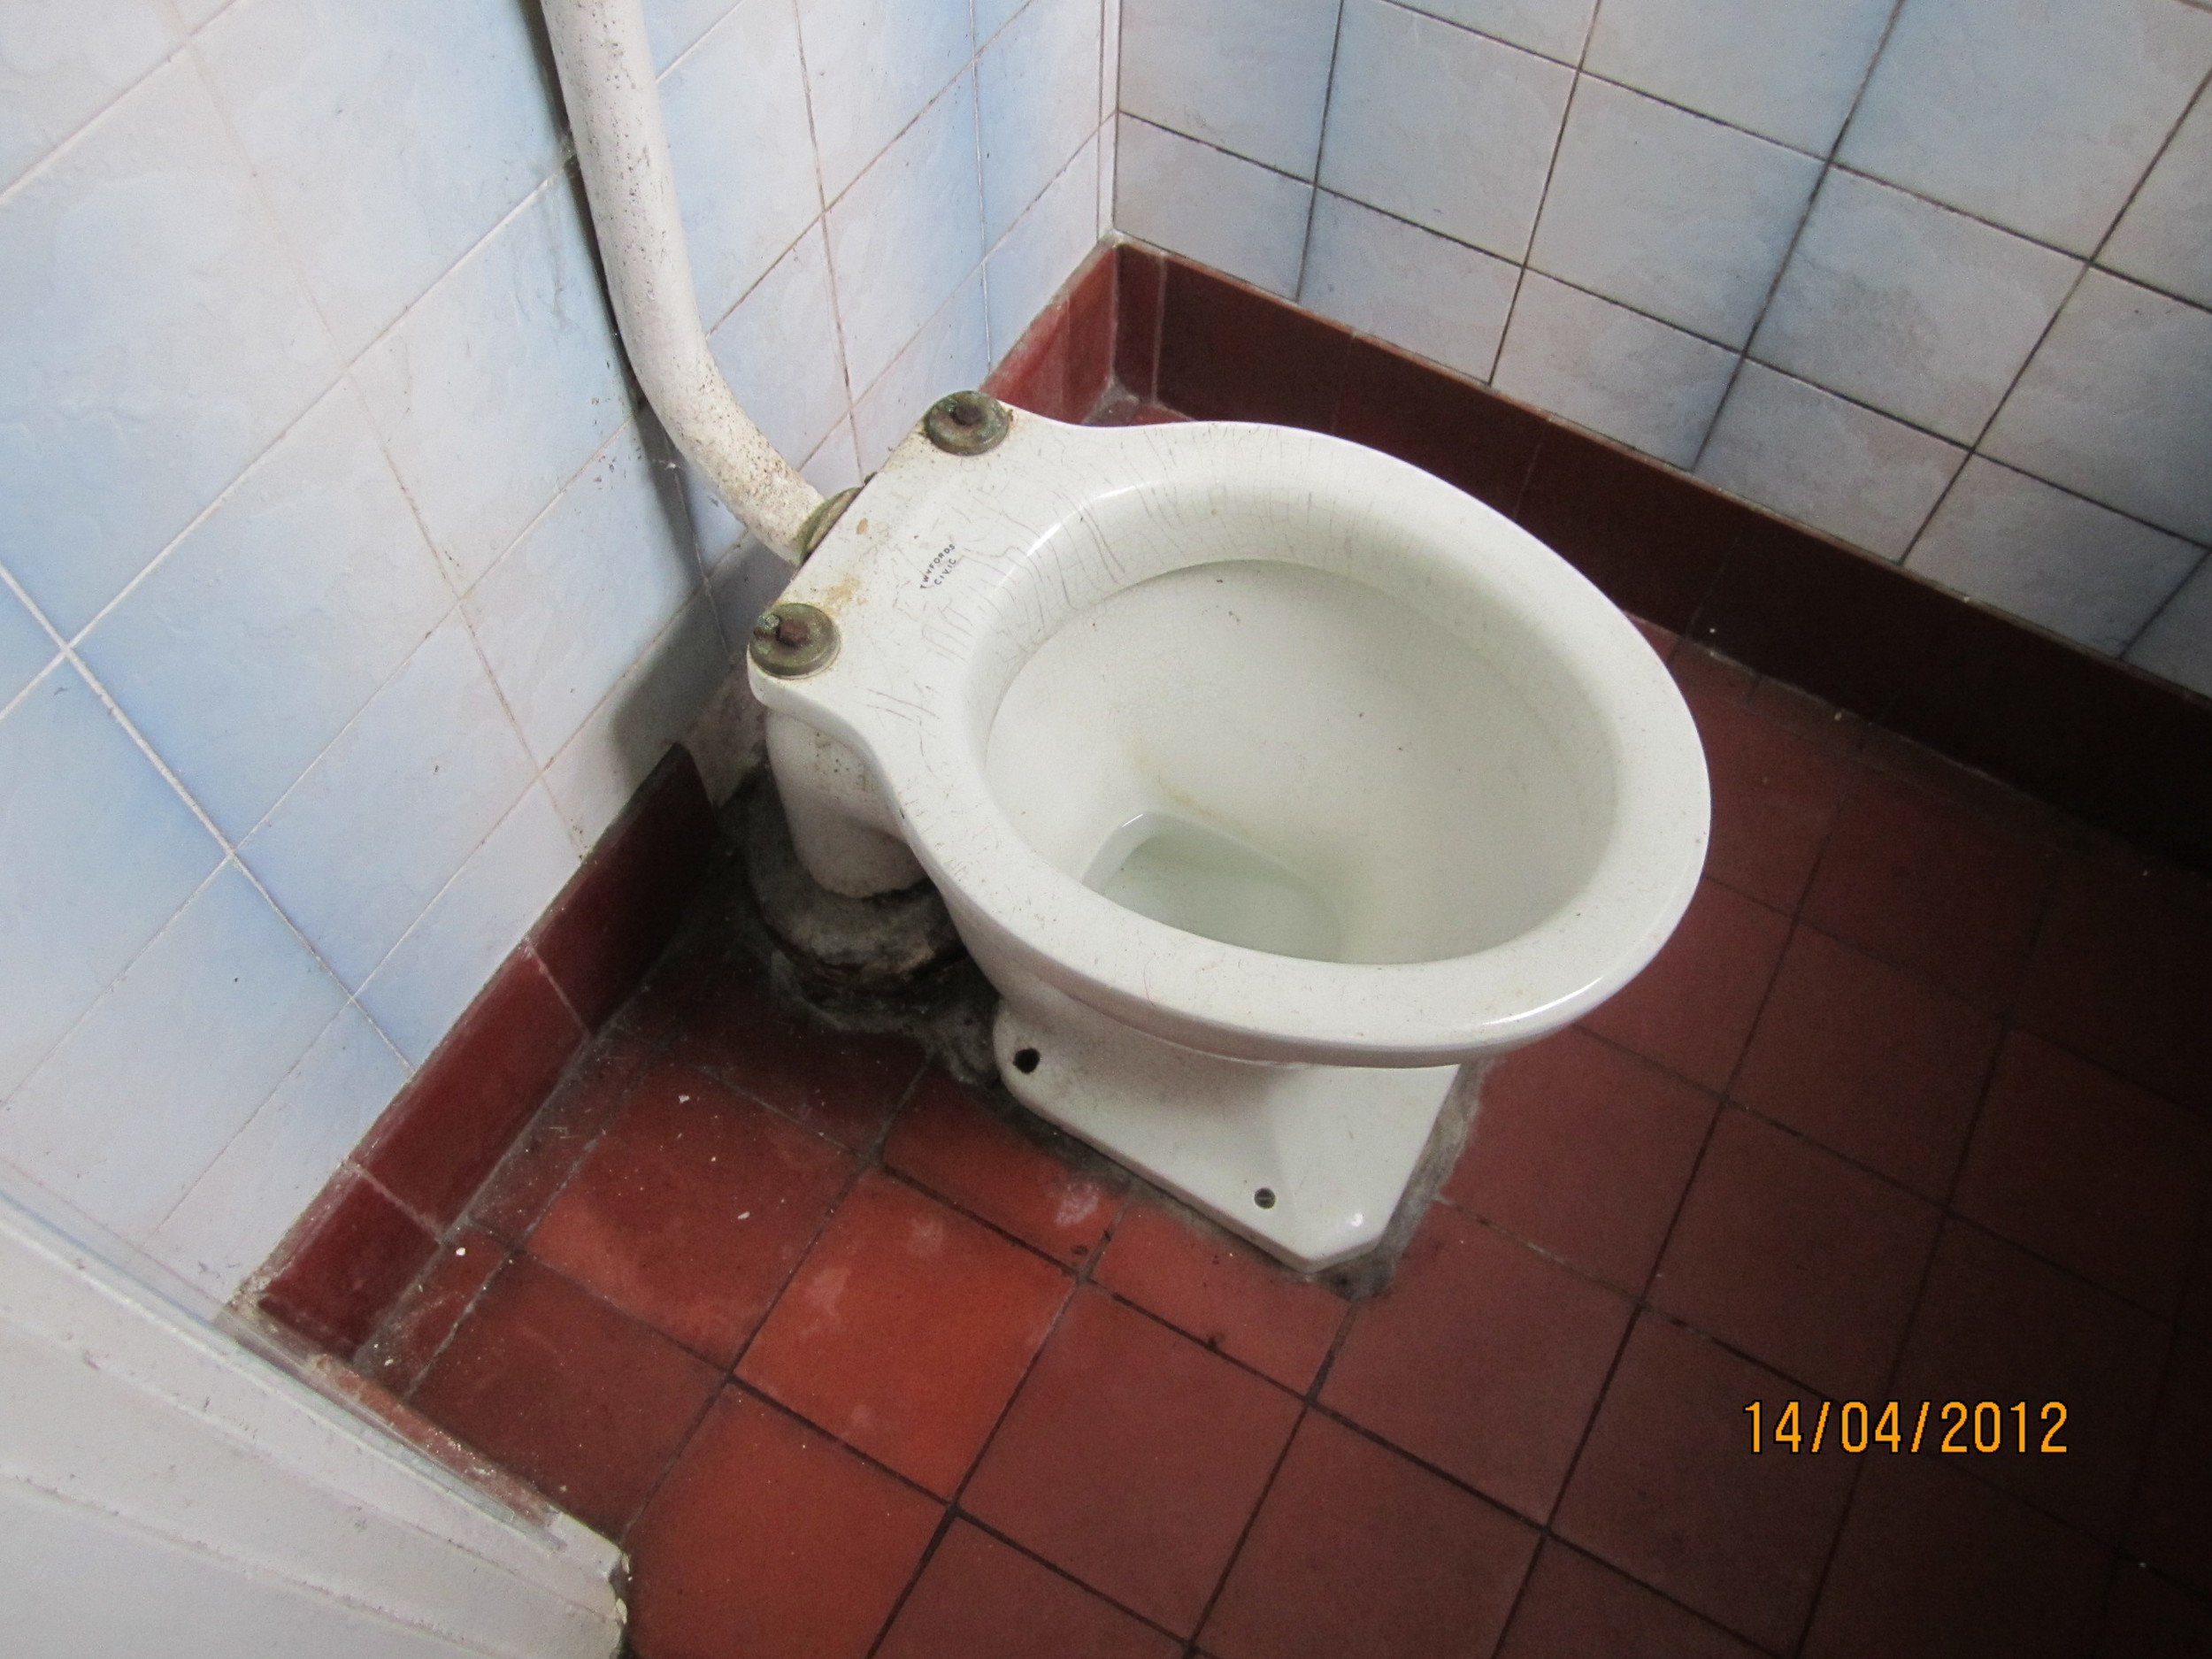
Our kitchen used to be three rooms: a kitchen, bathroom and separate loo - all of which had reached 1975 and decided to stay there. We knew we'd spend most of our time at home on the ground floor - relaxing, cooking or entertaining - so we decided to turn an upstairs bedroom into a bathroom to give us space to create a kitchen/diner.

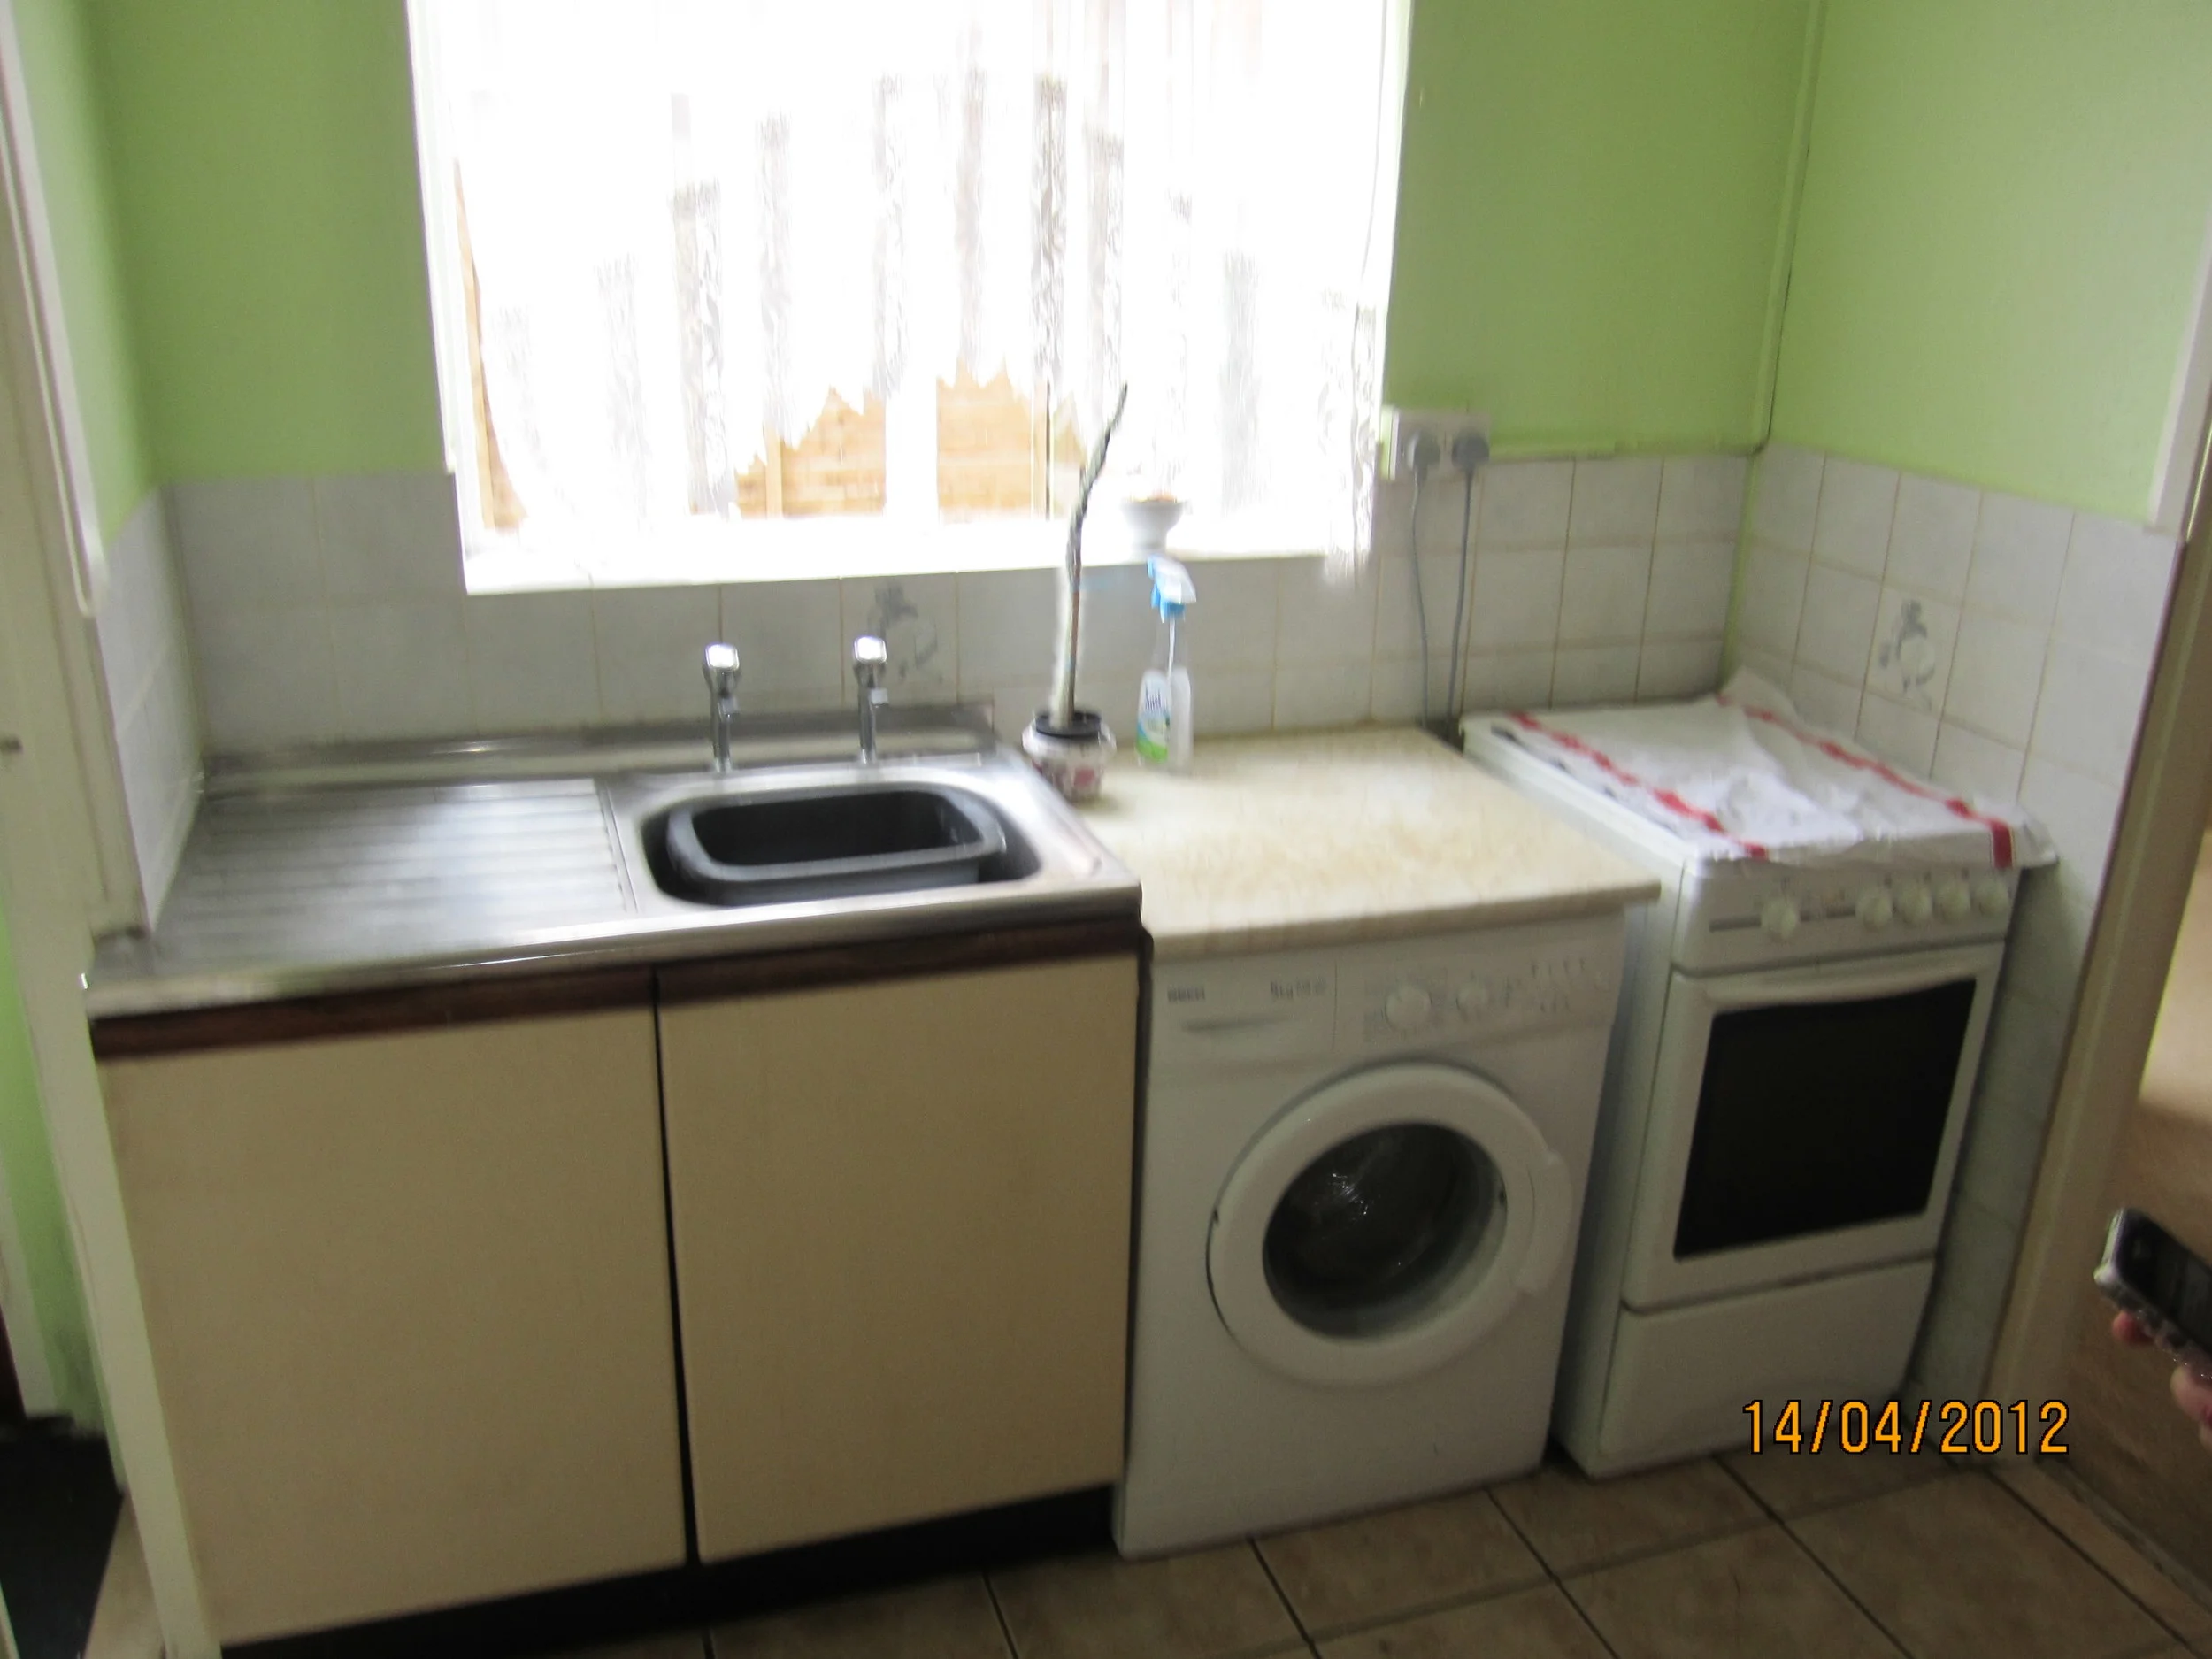
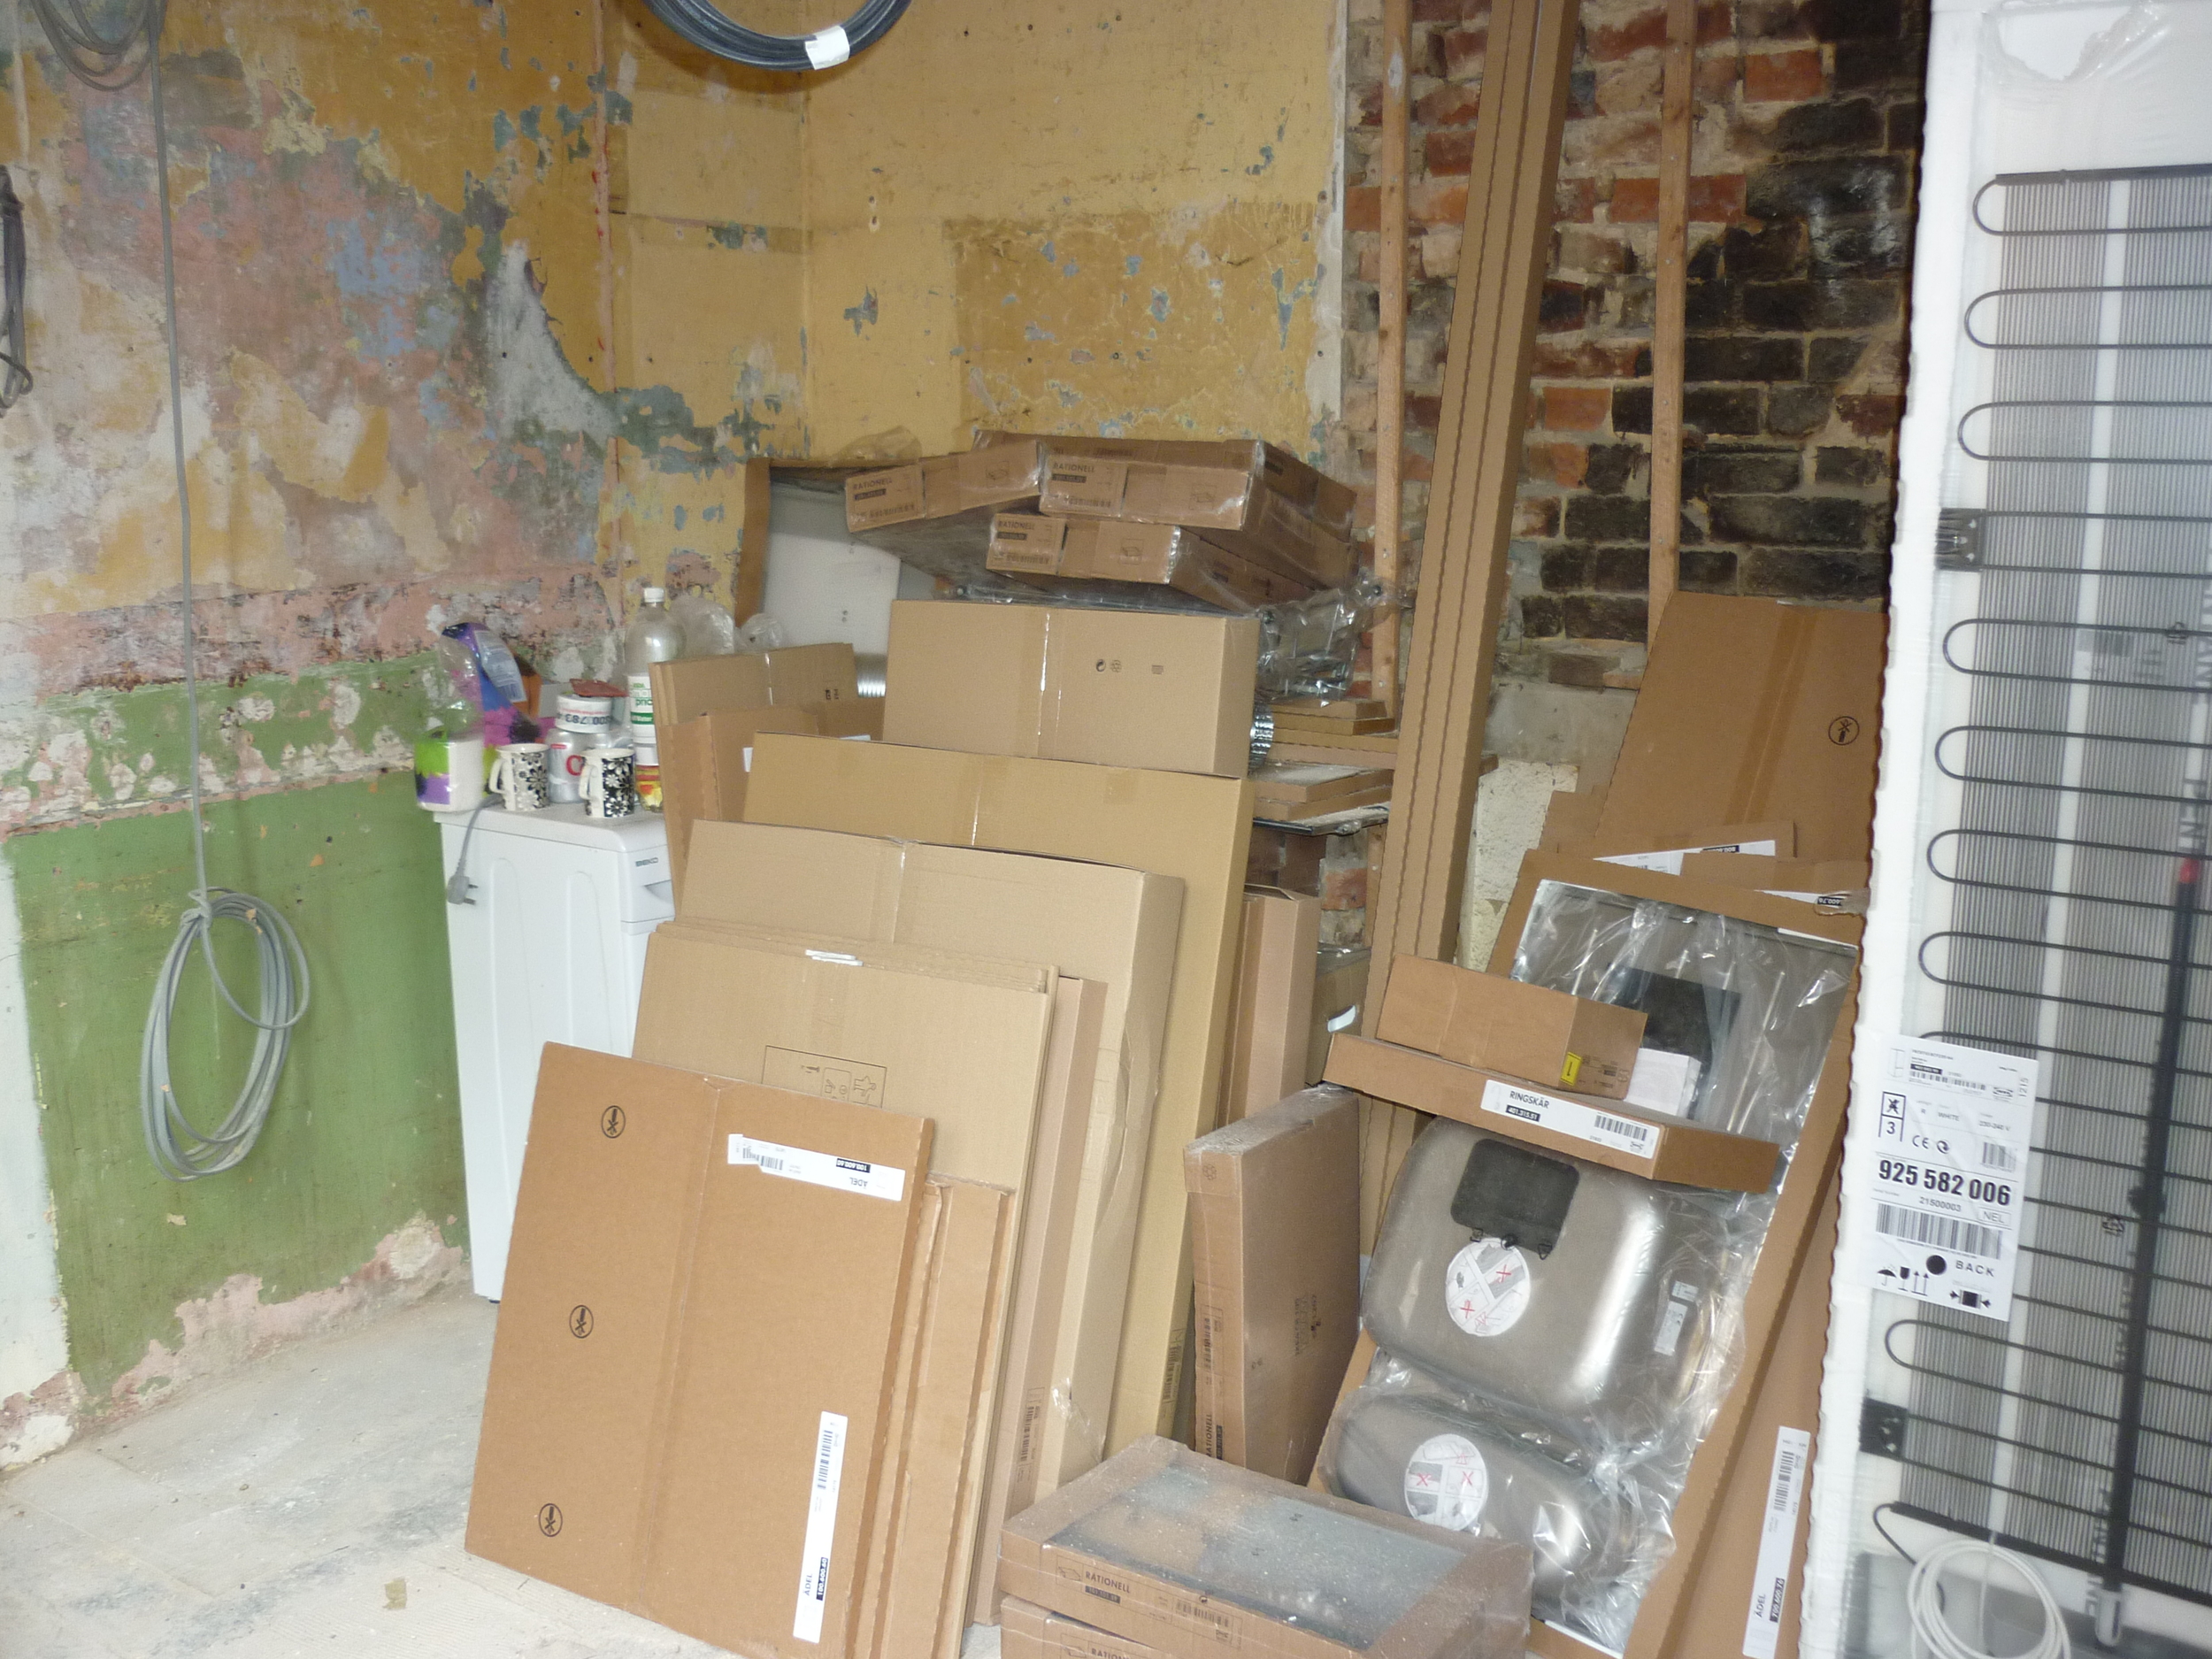
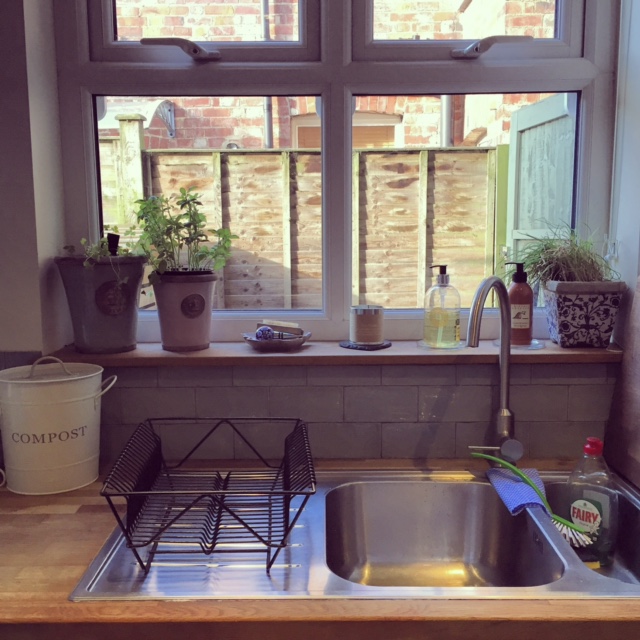
Walls came down, a new ceiling was added and a fresh set of electrics were wired in. We knocked a big hole into the back wall for french doors, allowing better access to our garden and adding much-needed light. L laid underfloor heating before setting down large grey slates (a massive shiver-saver during the colder months. The cats think it's the best thing since catnip.) A new kitchen was installed and we added an L-shape seating booth to maximise space. A new back door went in and the old draughty windows were replaced with double glazing. This was the biggest room transformation of our refurb.

Scroll down for my top tips...
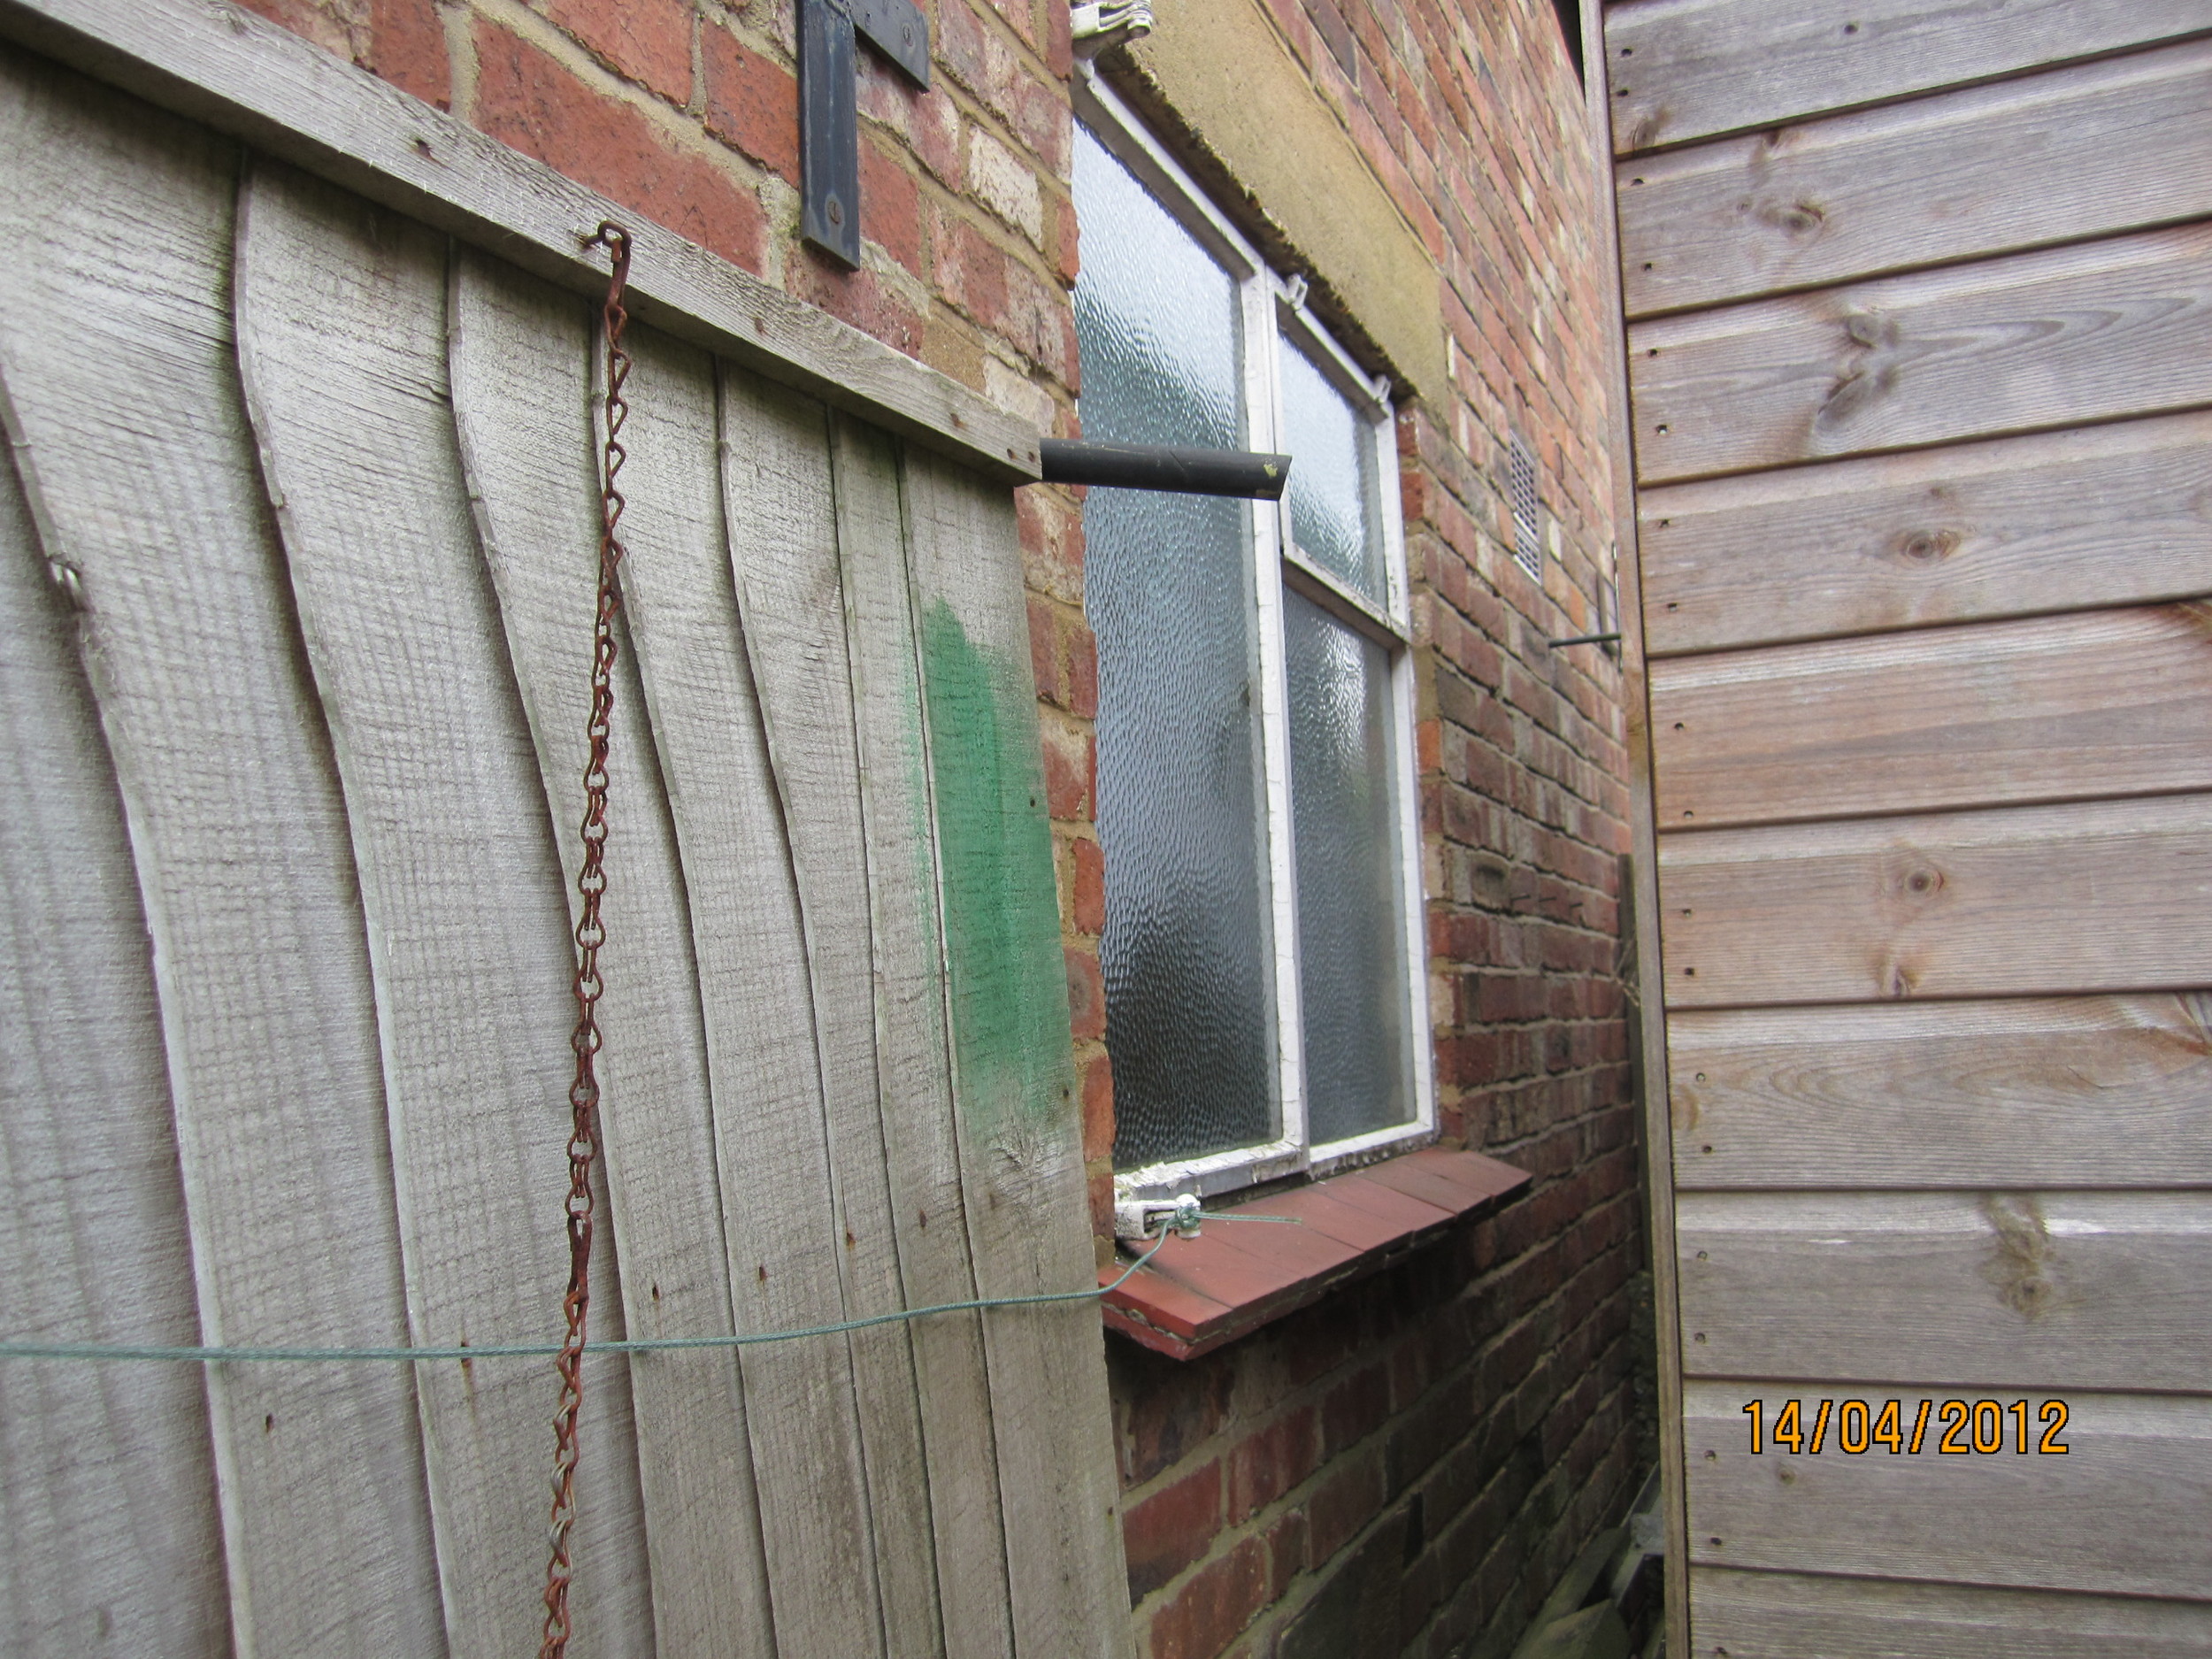
BEFORE

DURING

AFTER

TOP REFURB TIPS

  • Make space for the rooms you'll use the most.
  • Do scenario 'walk-throughs' to work out light switch, cupboard and plug placements.
  • Be smart about storage. We turned our seating booth into extra kitchen storage by allowing the seats to lift upwards (great place for spare kitchen roll, tins and pet food).
  • Invest in professionals for important things such as demolition, plastering, electrics, plumbing, built-in bookcases (etc) but embrace the strip-out, painting, up-cycling, etc if you can. How do you know you can't if you don't give it a go? We saved a lot of money by getting stuck in.
  • Use Pinterest for layout and decor inspiration - it keeps you focused and motivated during what can be an exhausting mental and physical experience! 
  • I found plugging headphones in (when safe to do so) helped time go quicker during repetitive tasks as opposed to listening to the radio. It gets you in the zone and into the groove.

Know someone planning a full refurb or kitchen transformation? Why not pass these tried and tested tips onto them via the share button below?

Dining Room: Before & After

2012 was one of the most exhausting yet satisfying years of my life. It was the year L and I took on our first refurb project, while commuting to our full time jobs. Walls came down, skips of woodchip were painstakingly steamed off every wall (big thank you to the 1970s for that wonderful contribution to interior design), stairs were rebuilt, a bedroom was turned into a bathroom, not to mention midnight painting sessions on a Monday (low point).

It was a challenge - but a brilliant one. I wouldn't take back a blister. I discovered that I don't give up easily (which is nice to discover having given up most instruments at school). I also learnt a lot about DIY, that my interior design skills are best when under pressure, as well as one of my biggest realisations: P!nk's Greatest Hits actually speeds up the painting process. (Seriously.)

Here are some before, during and after photos of our dining room:

Before: Mustard woodchip wallpaper, odd radiators and a questionable glass-panelled staircase.

Before: Mustard woodchip wallpaper, odd radiators and a questionable glass-panelled staircase.

During: Yep - that's a bath in the centre (a second-hand cast iron roll-top bath we upcycled), plus two refurb essentials - a professional wallpaper steamer and Mama B.

During: Yep - that's a bath in the centre (a second-hand cast iron roll-top bath we upcycled), plus two refurb essentials - a professional wallpaper steamer and Mama B.

dining-room-refurb
The glass came down and we transformed the open area under the stairs into a handy cupboard for coats, shoes, hoover, ironing board and brollies.

The glass came down and we transformed the open area under the stairs into a handy cupboard for coats, shoes, hoover, ironing board and brollies.

After: New plaster, paint, carpets, windows, blinds and built-in storage. (And wine. An essential sofa condiment after a busy day.)

After: New plaster, paint, carpets, windows, blinds and built-in storage. (And wine. An essential sofa condiment after a busy day.)

Dining room table: Covered in wipe-clean oil cloth (no need for placemats or coasters!). We added a mirror between our built-in storage to make the room appear larger and to reflect light around the room.

Dining room table: Covered in wipe-clean oil cloth (no need for placemats or coasters!). We added a mirror between our built-in storage to make the room appear larger and to reflect light around the room.

I hope these photos inspire you to give a project a go. Not necessarily a full-scale refurb, it can be anything! Redecorating a room, adding some pops of colour with accessories, creating a picture wall... the main thing is to muster up the confidence to give it a go. Nothing makes a home feel more like you than knowing you were involved in its creation. It's like making your mum a Mother's Day card vs a shop-bought one when you were a child. Which one would she have loved the most? Exactly!

What project are you contemplating currently?
Discover additional decor inspiration here.