
2018 was a pretty big year for us. We completed the second part of our house renovation - a kitchen / diner extension, garden landscape and driveway installation - and welcomed our second child into the world, baby Jake. Throw a toddler into the mix - our son Josh - and you’ve got a pretty exhausting but exciting 12 months!
As with most building projects, the process had its ups and downs. My last trimester was particularly challenging as we were in full building site mode during England’s hottest ever summer (what timing!).
Here’s the full story…
THE PLAN
We’d left a sun room and office at the back of our house completely untouched and locked away until spring, ready to embark on our first ground floor extension project. This was the first time we’d been able to completely design the structure, layout and fittings of a room to suit our needs and we were EXTREMELY excited!
CURVE BALL
I fell pregnant with baby no.2 - Jake - sooner than expected, in January 2018. The next month, our builders pulled out due to the snowy weather (the ‘Beast from the East’) pushing back their other projects. Had Jake not been arriving in September that year, we could have been a bit more flexible with the deadline and still worked with them (we really liked their work). But we had no choice but to find a builder elsewhere at short notice. Luckily we did and the project kicked off in April as planned.
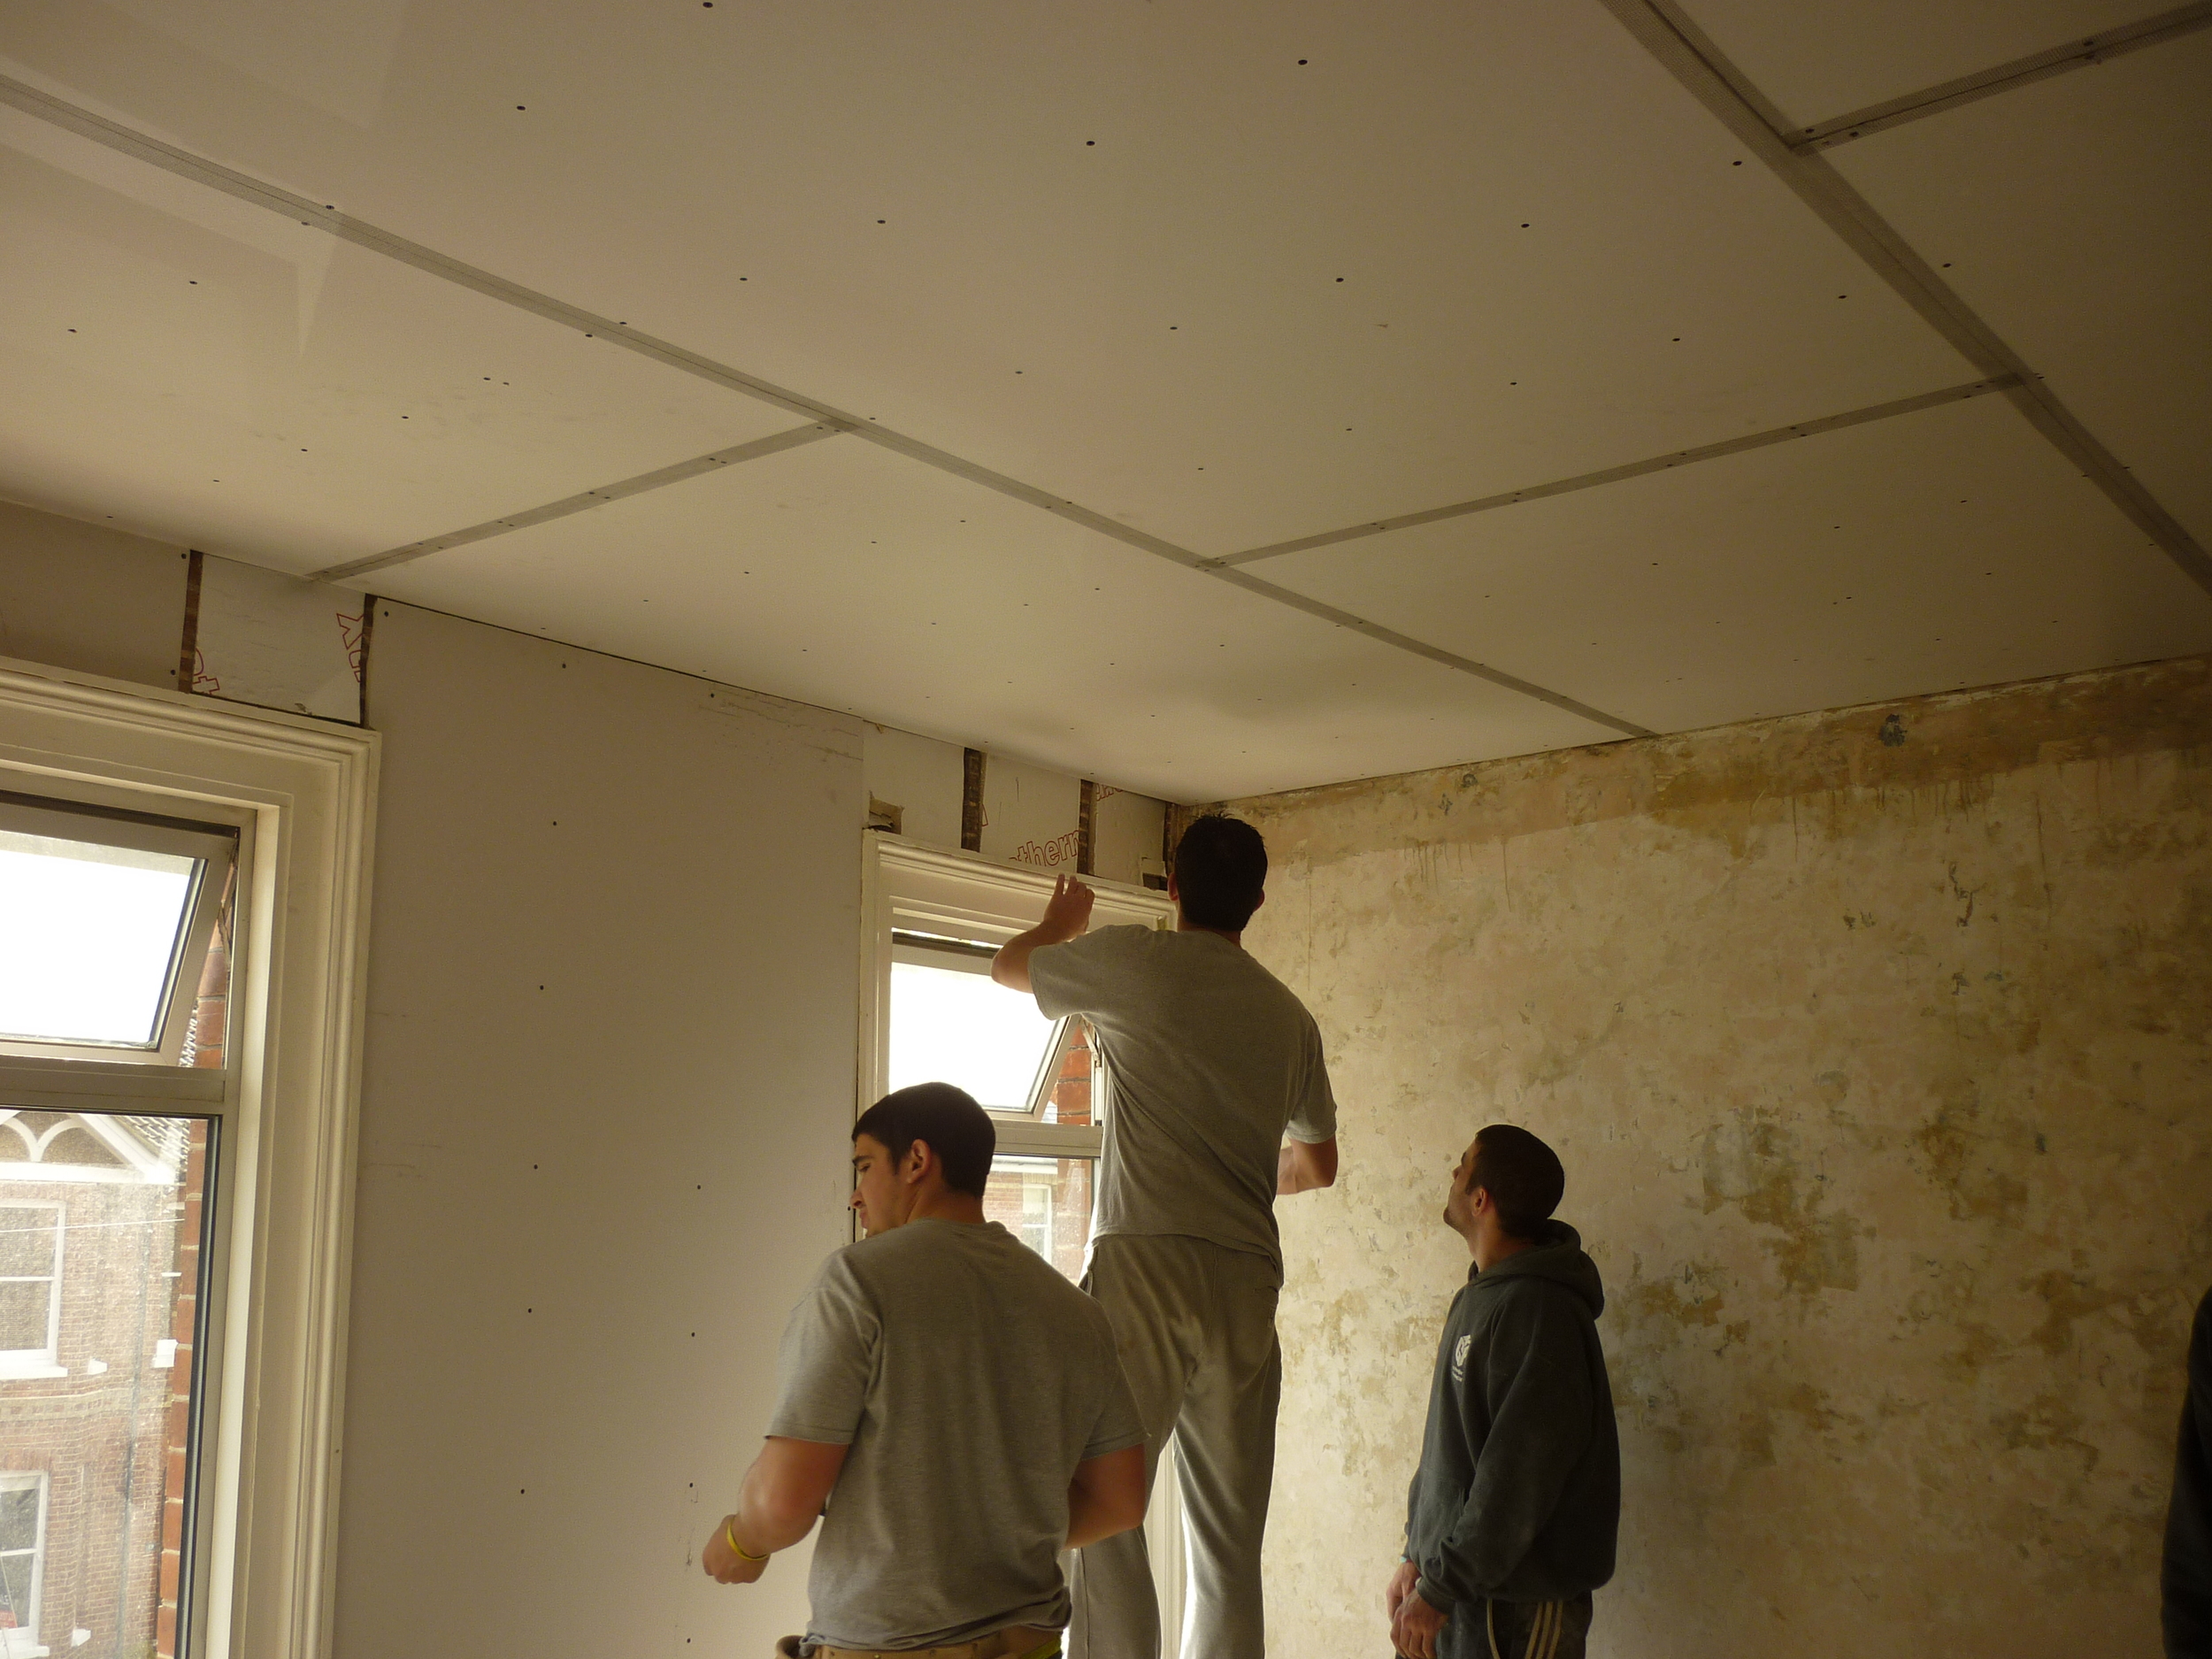
TRUST ISSUES
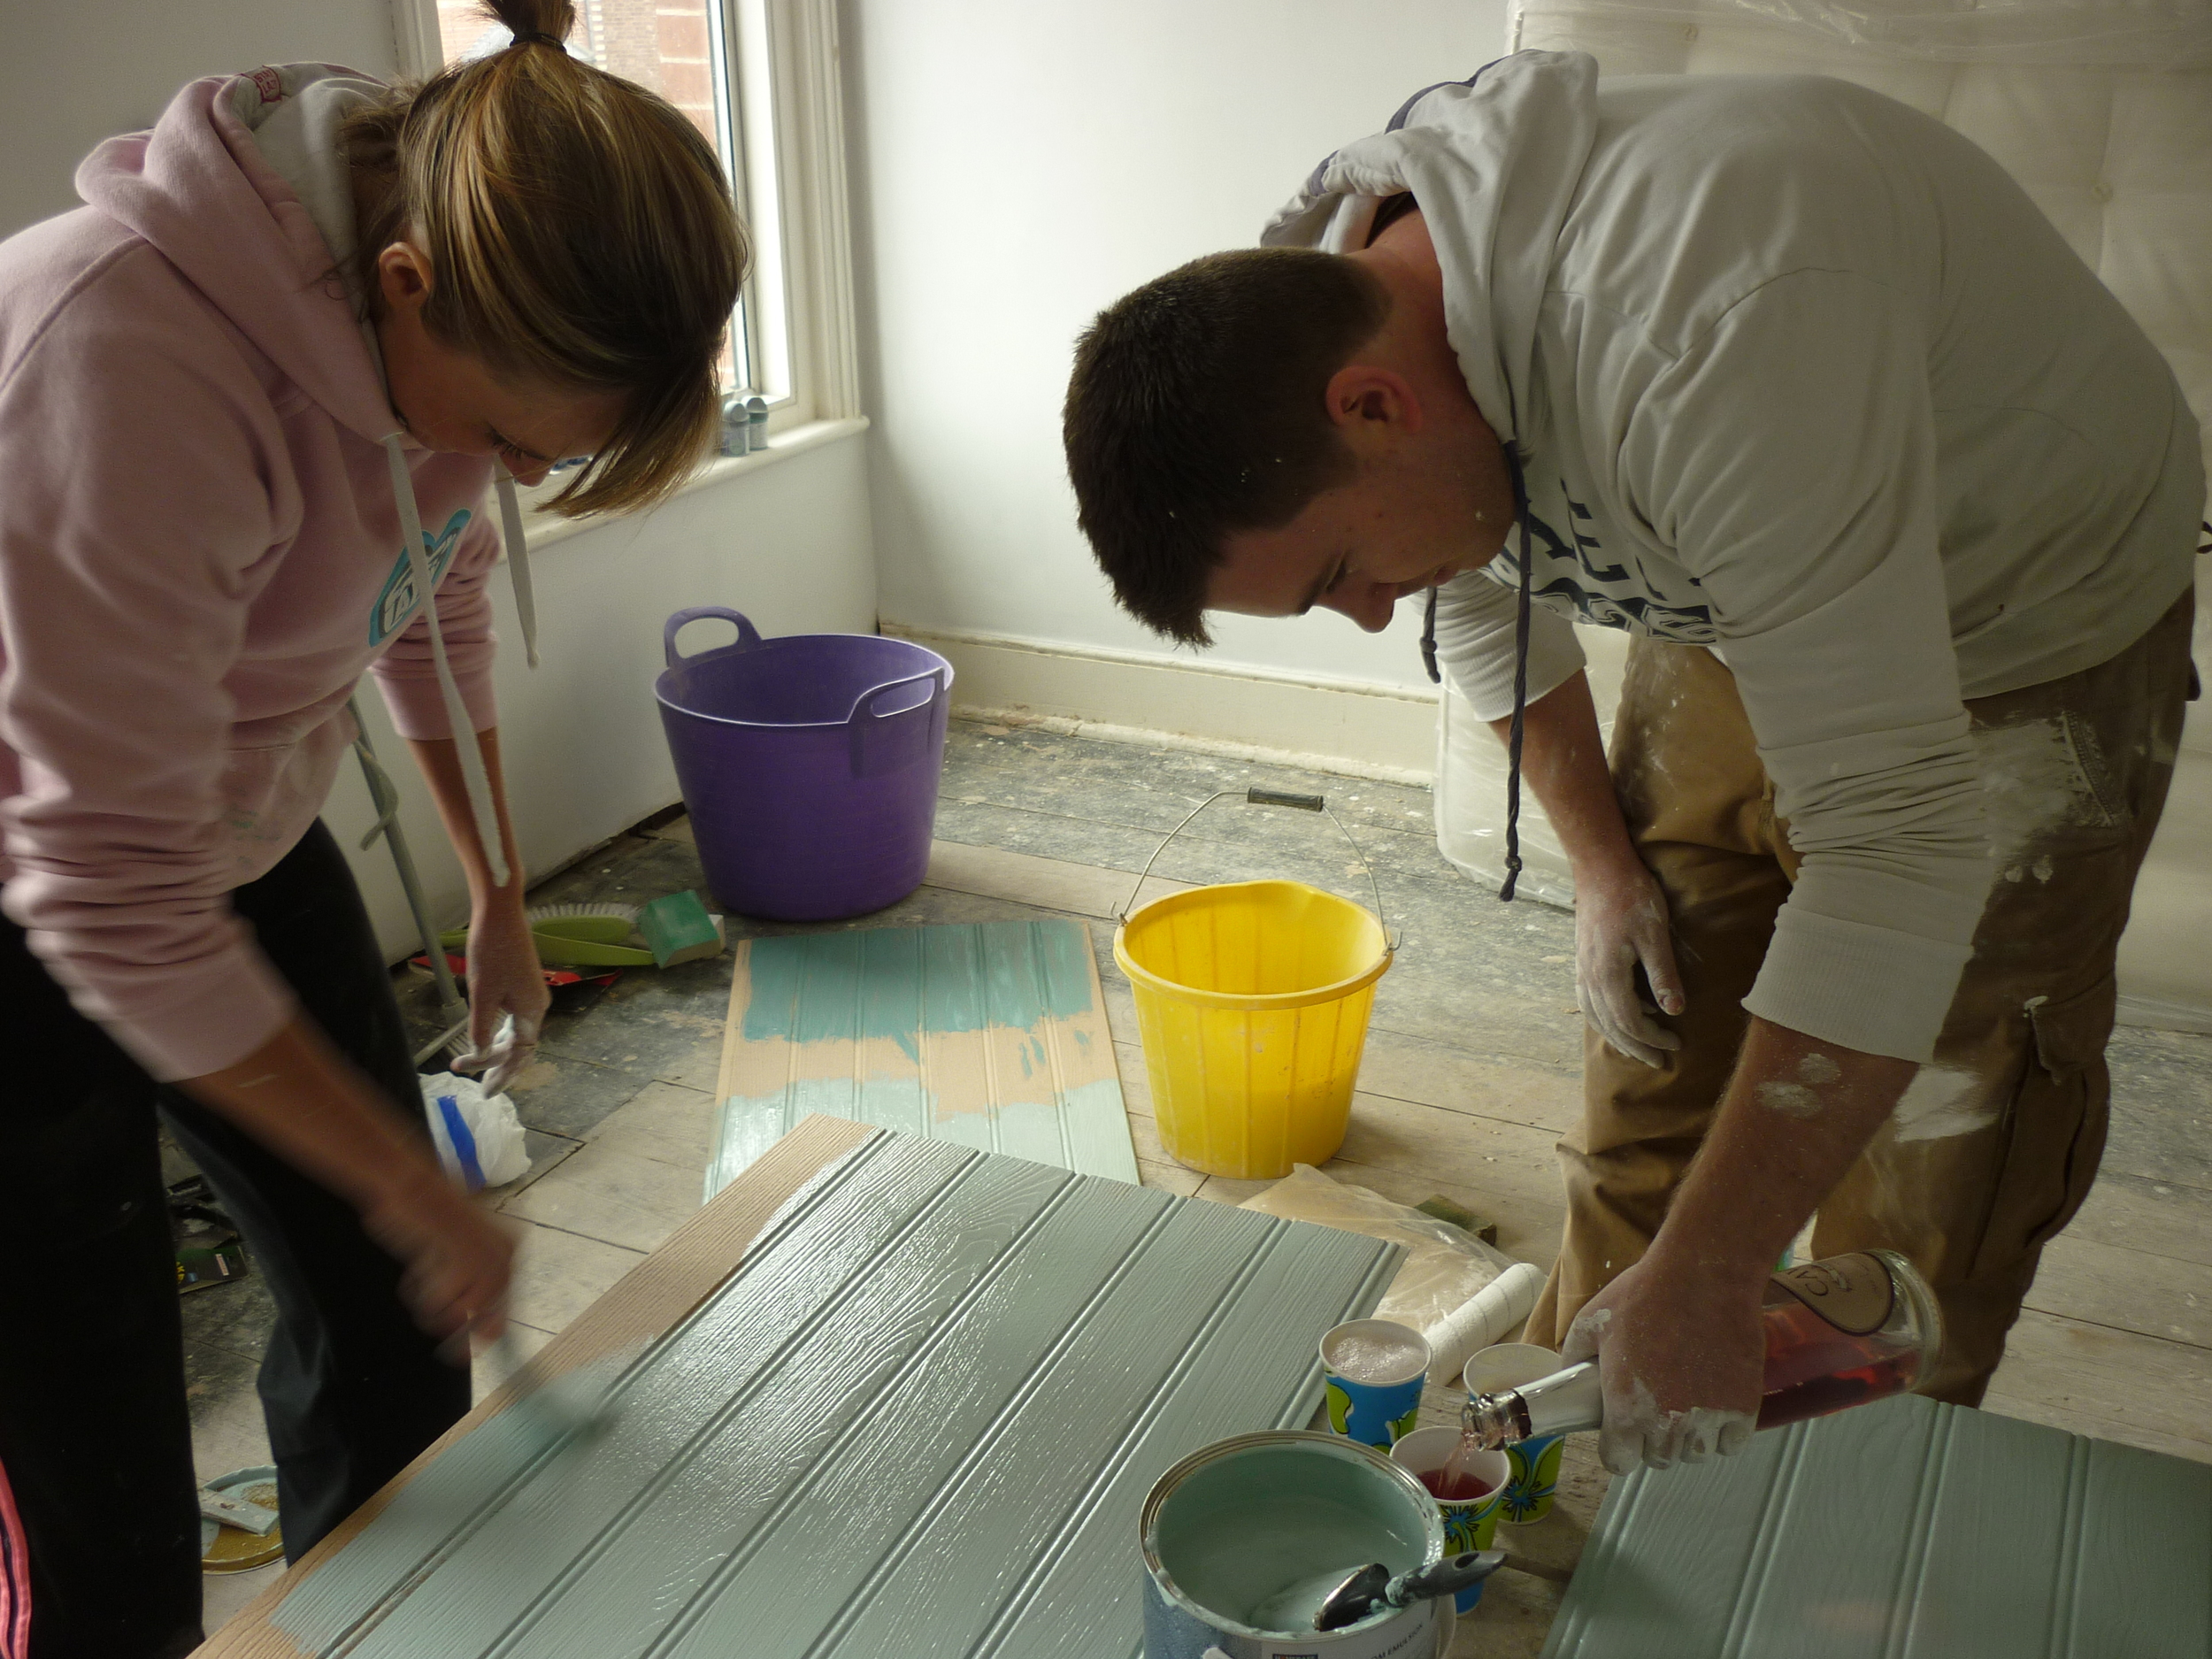
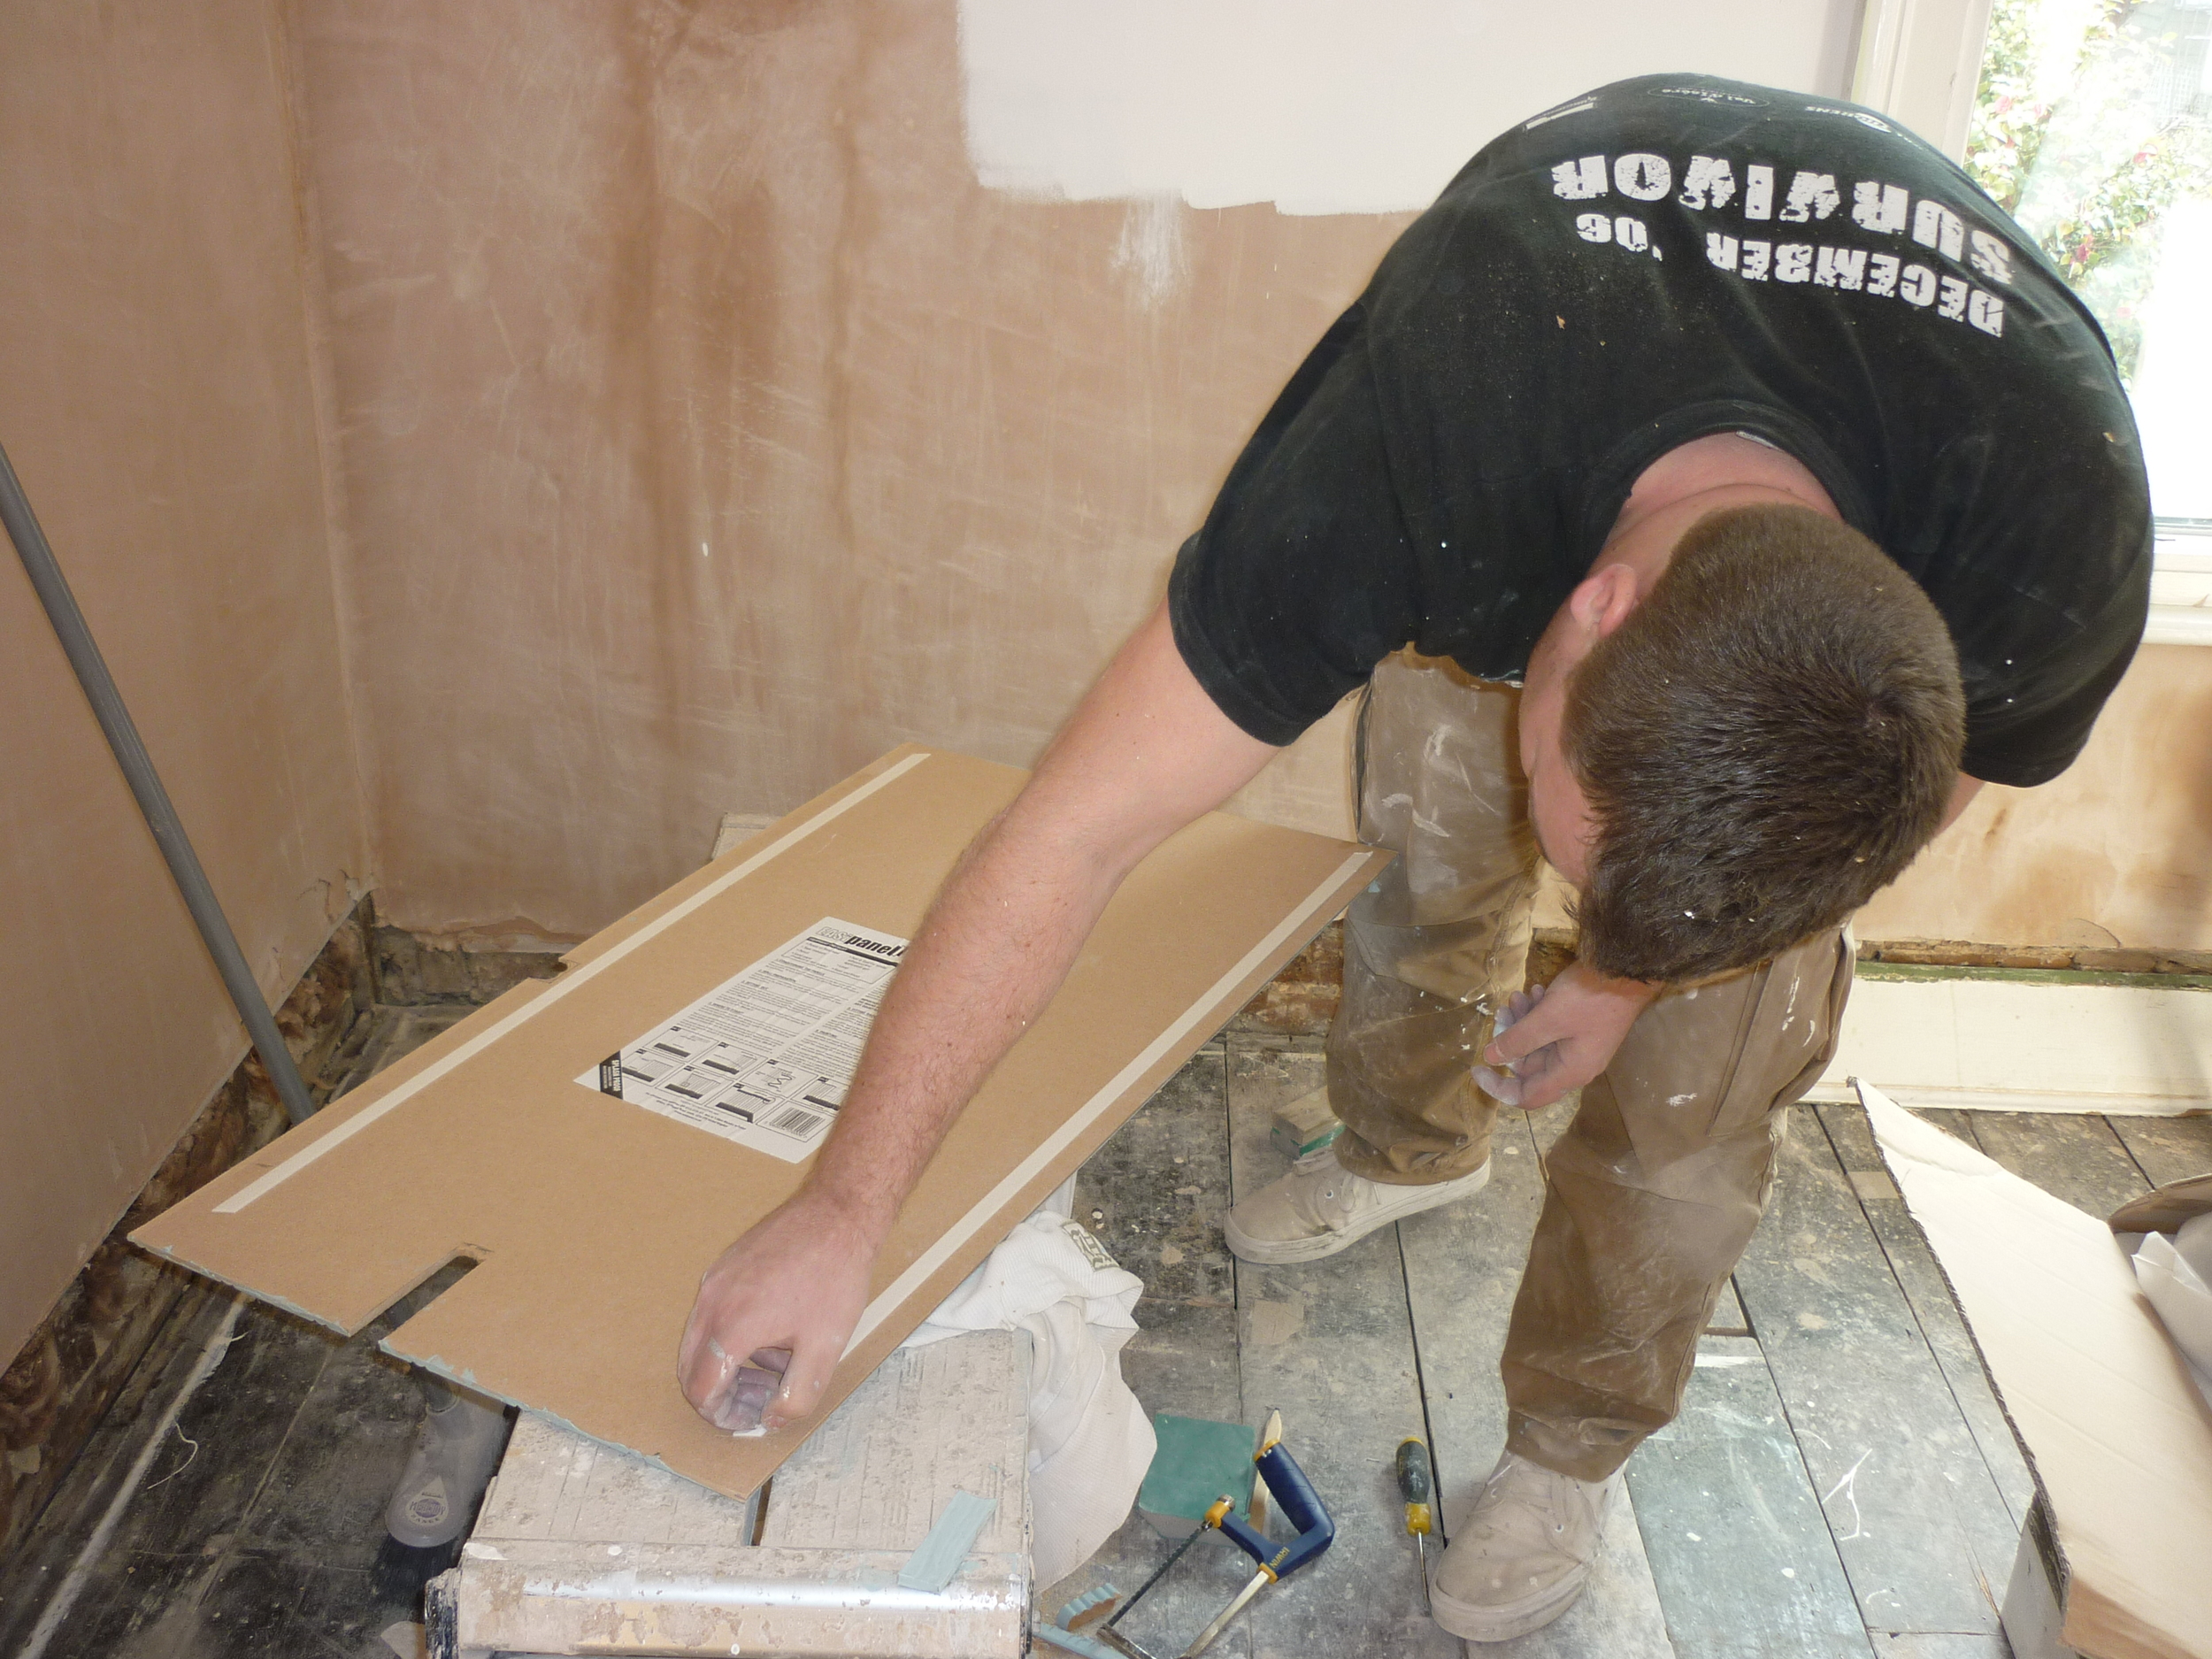
In a nutshell, our builders kicked off the project brilliantly. We were so excited and felt like everything was going to be all wrapped up by June. Sadly this wasn’t the case - there were a lot of delays and I started to have visions of breastfeeding in a building site-! Long story short, we parted ways with our builder and my husband L took on a lot of the labour, while roping in local experts to finish odd jobs. During this time, we learnt a lot about the process and how much of the work we could actually complete ourselves, rather than relying solely on one builder.
CUTTING IT FINE
The glass went in two days before Jake was born-! But luckily the rest of the room was complete so we had a working, warm kitchen that was ready for our newborn, as well as 21-month-old Josh.
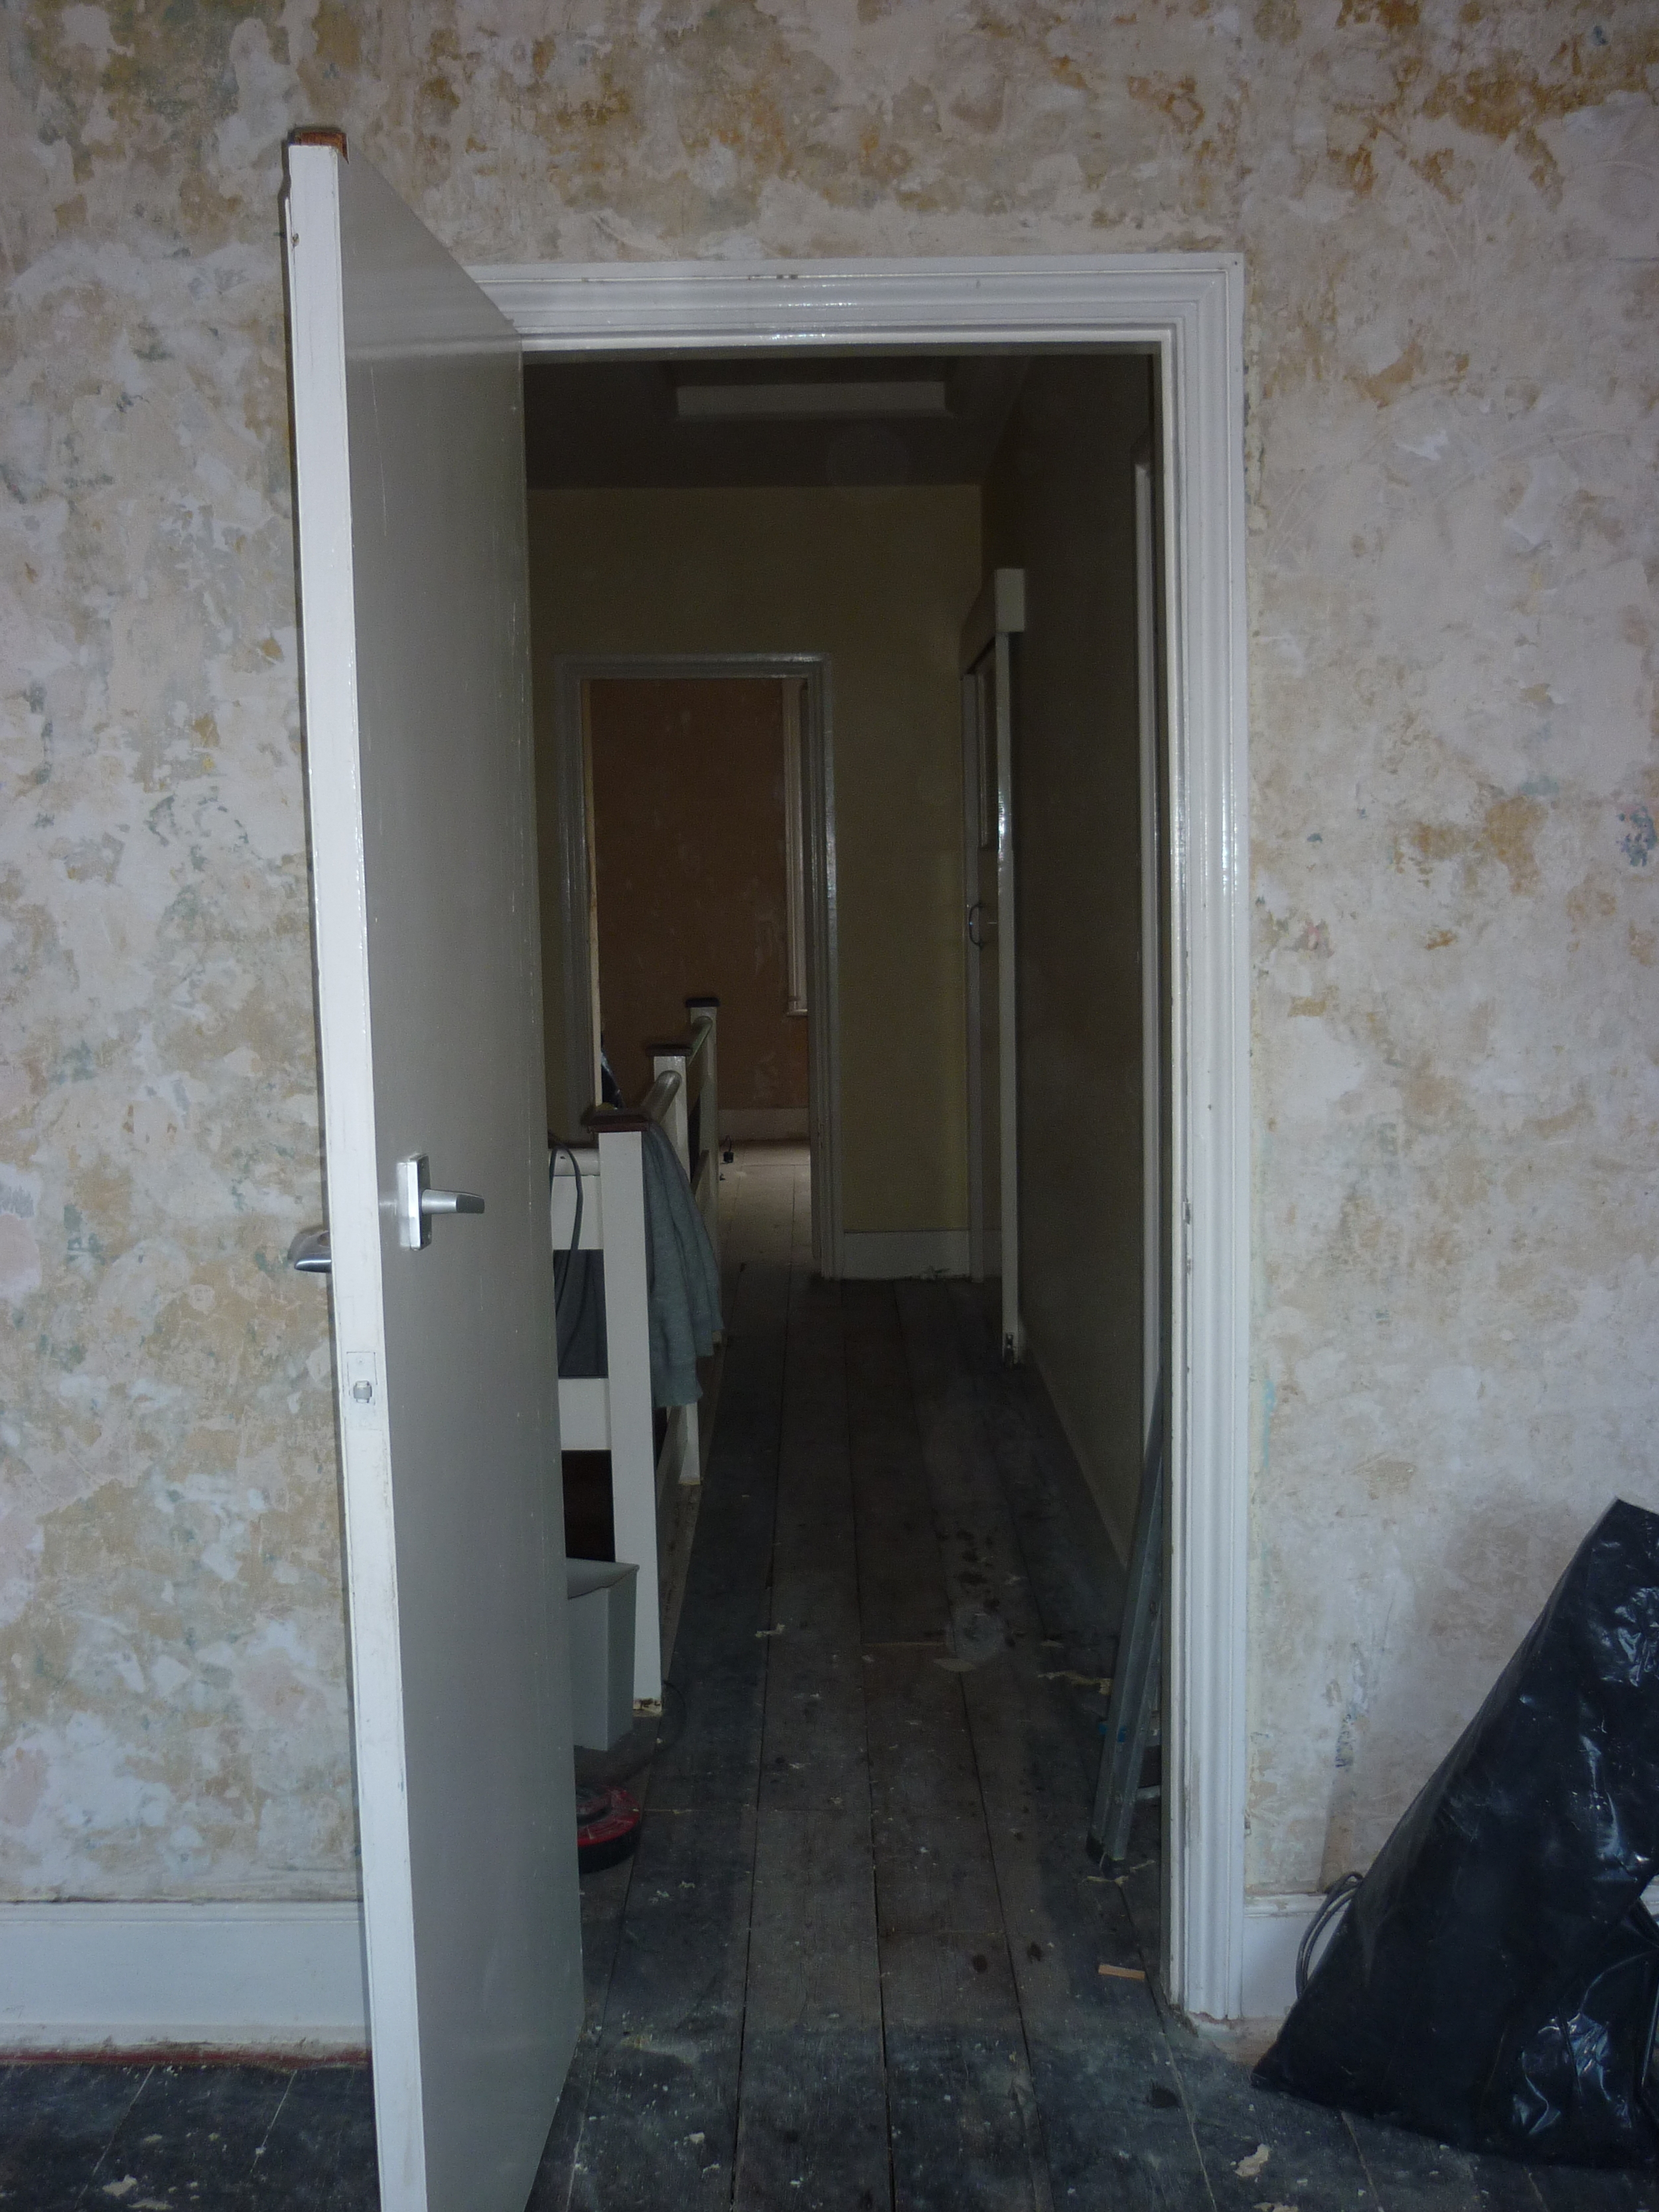
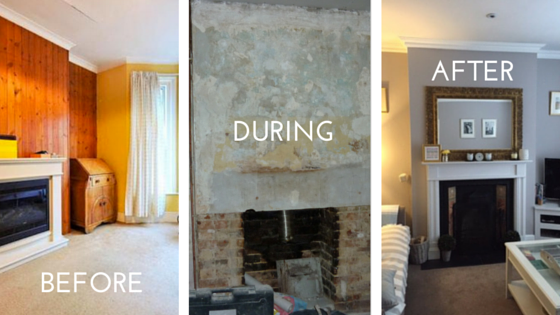
BEFORE
Our 1930s house had already had some extension work completed on it over the years. For us, we wanted to extend the ground floor into the garden to create some open plan living space, as we felt that’s what the property lacked. As the house is on a hill, we also wanted to enjoy the view so added a patio with steps onto the back of the extension, leading into the garden.

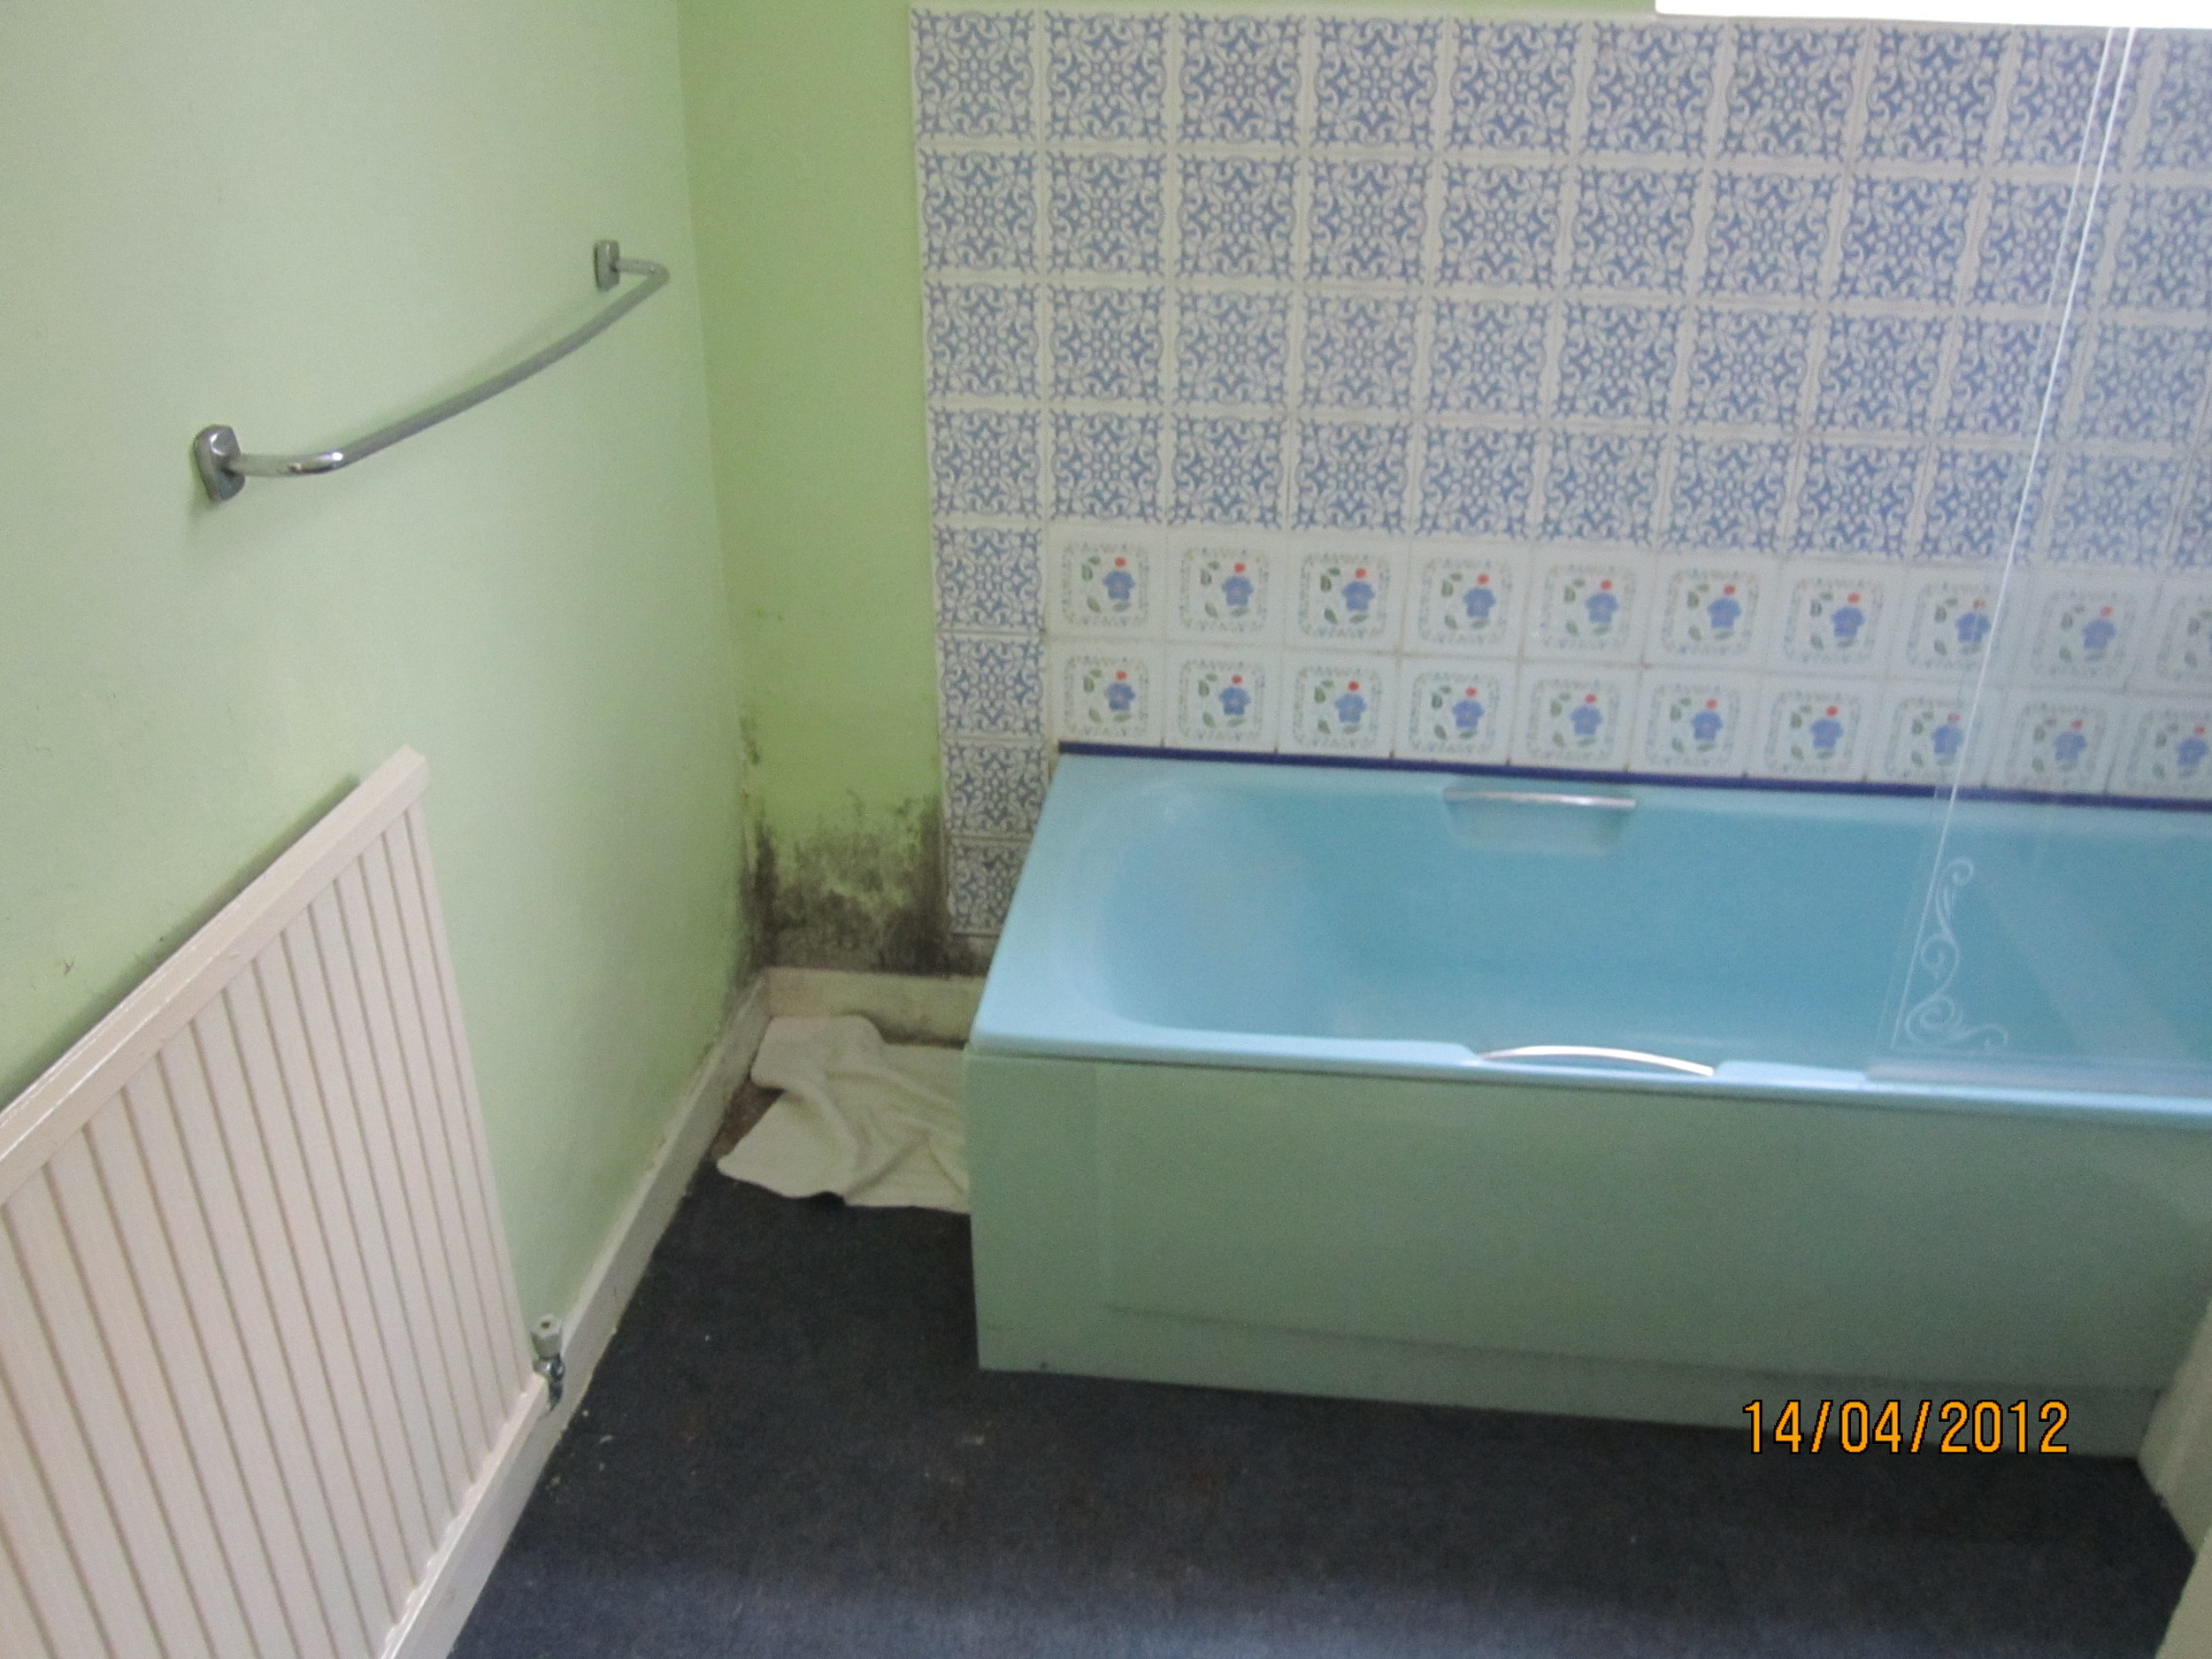
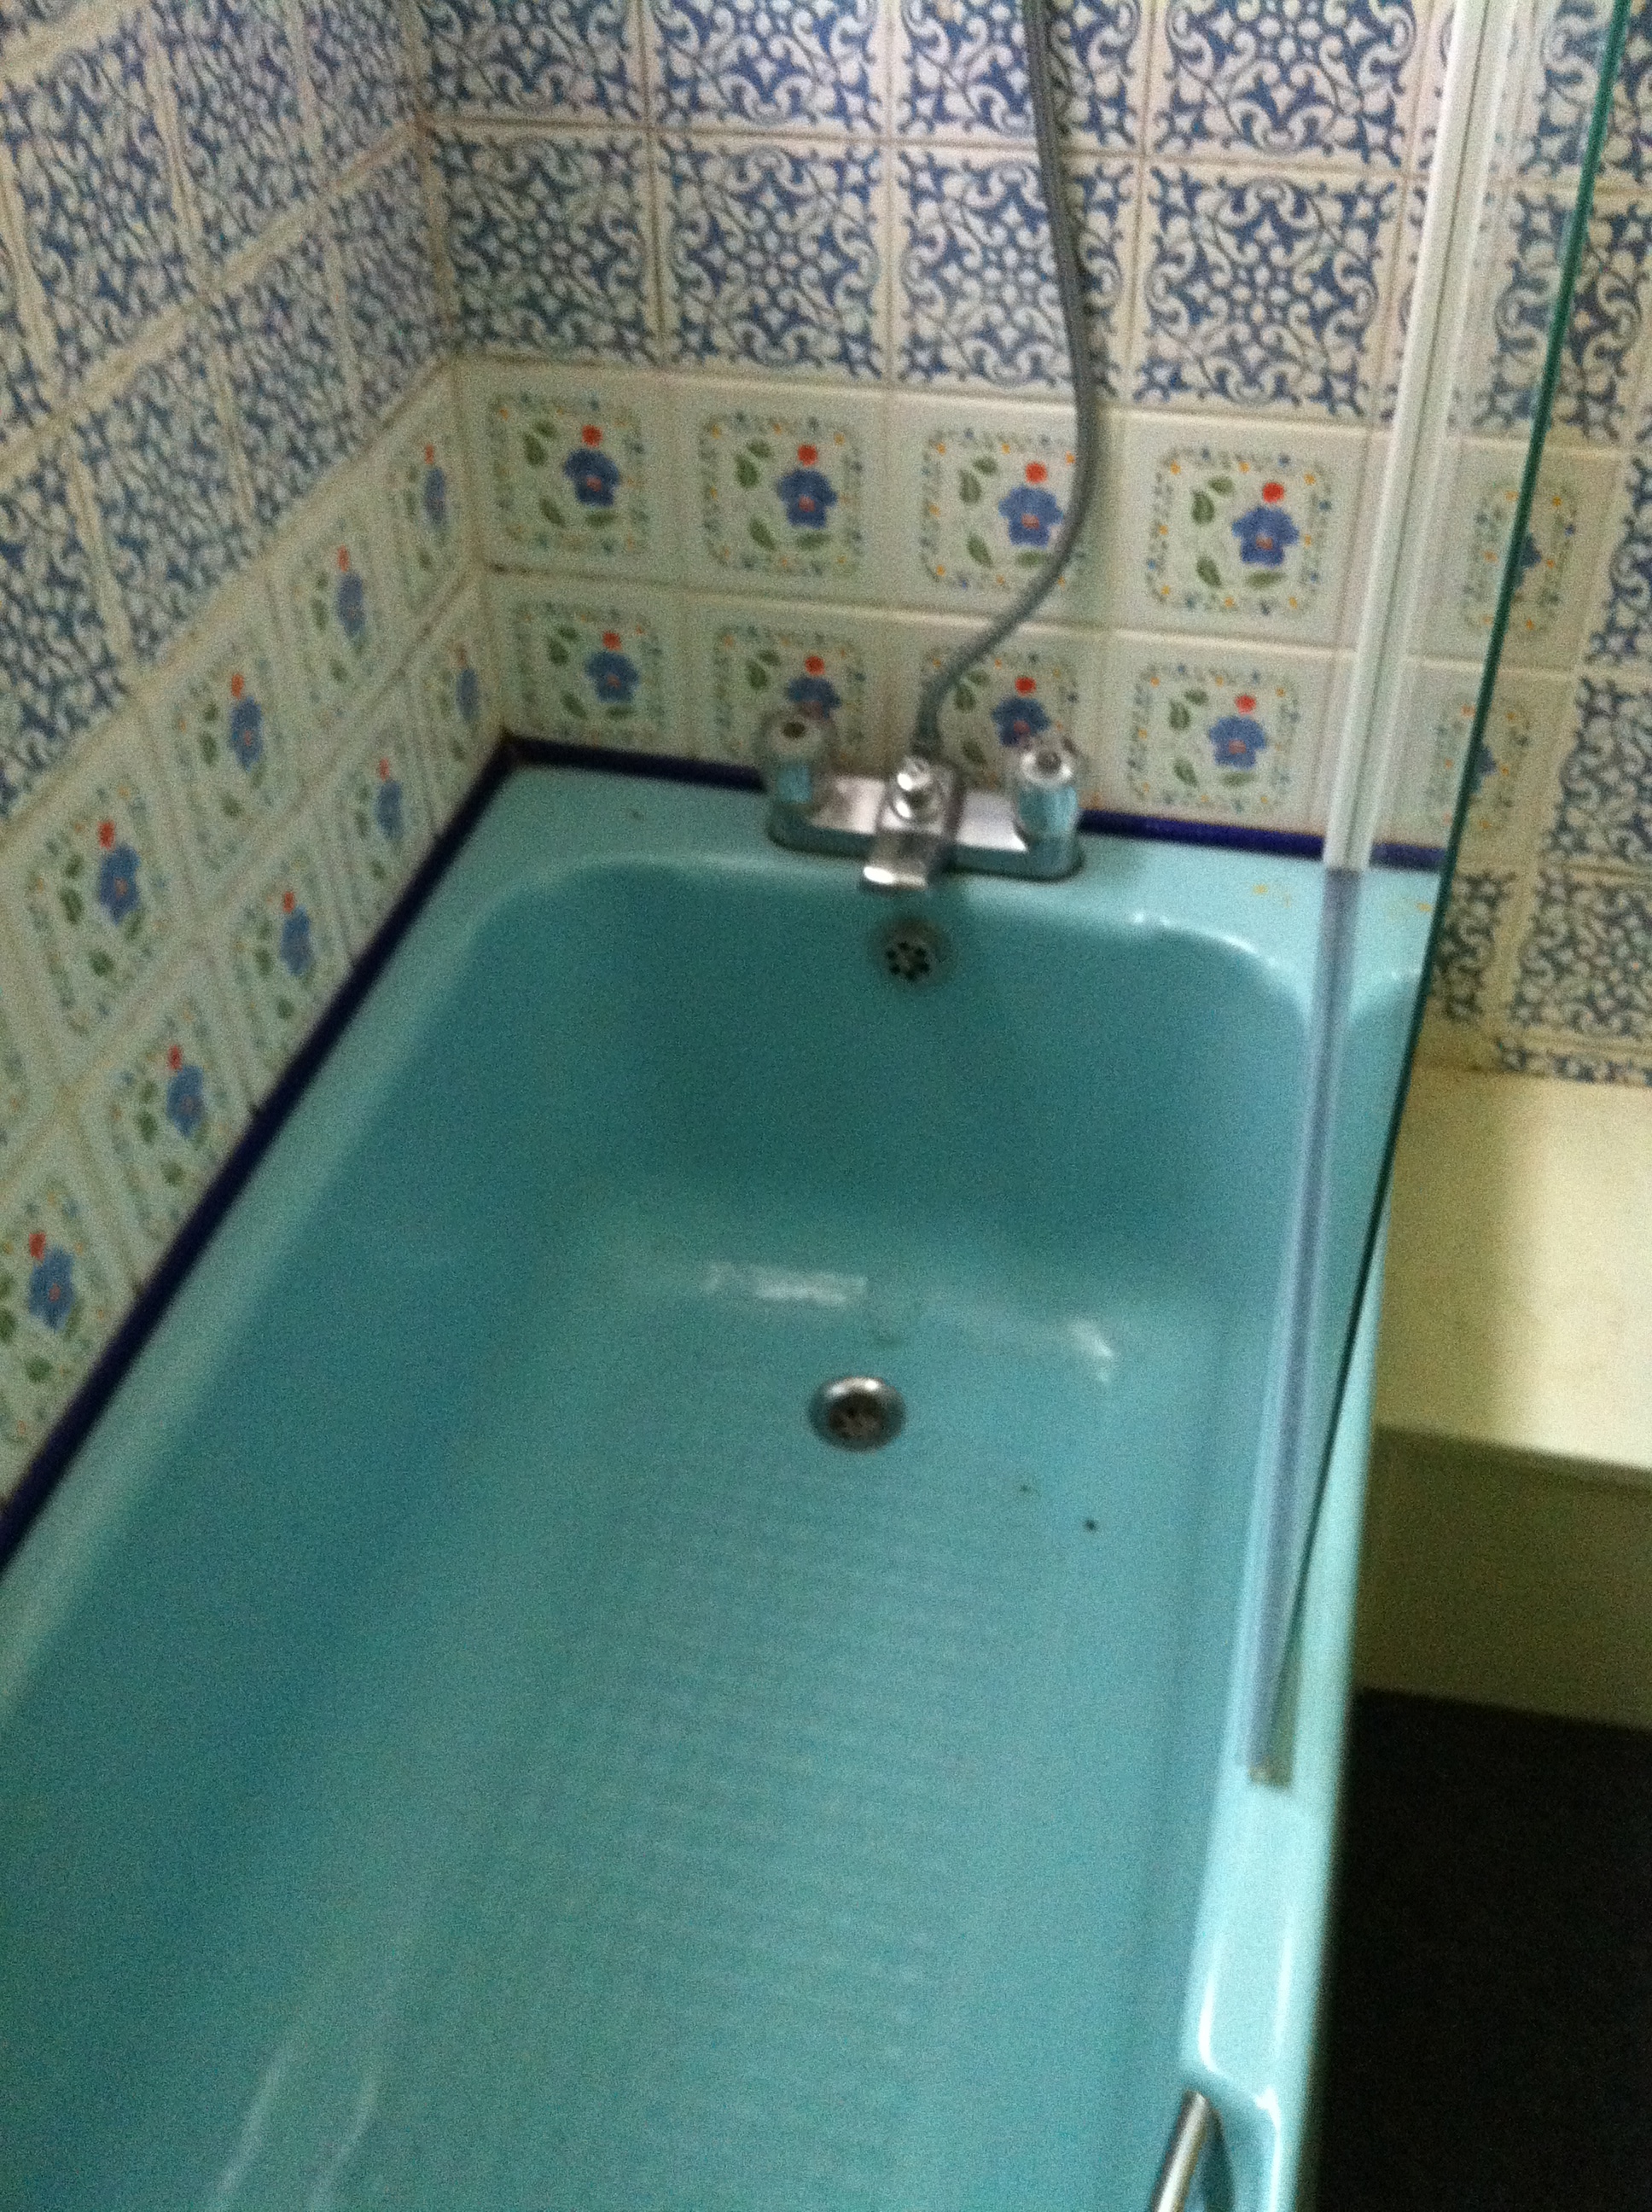
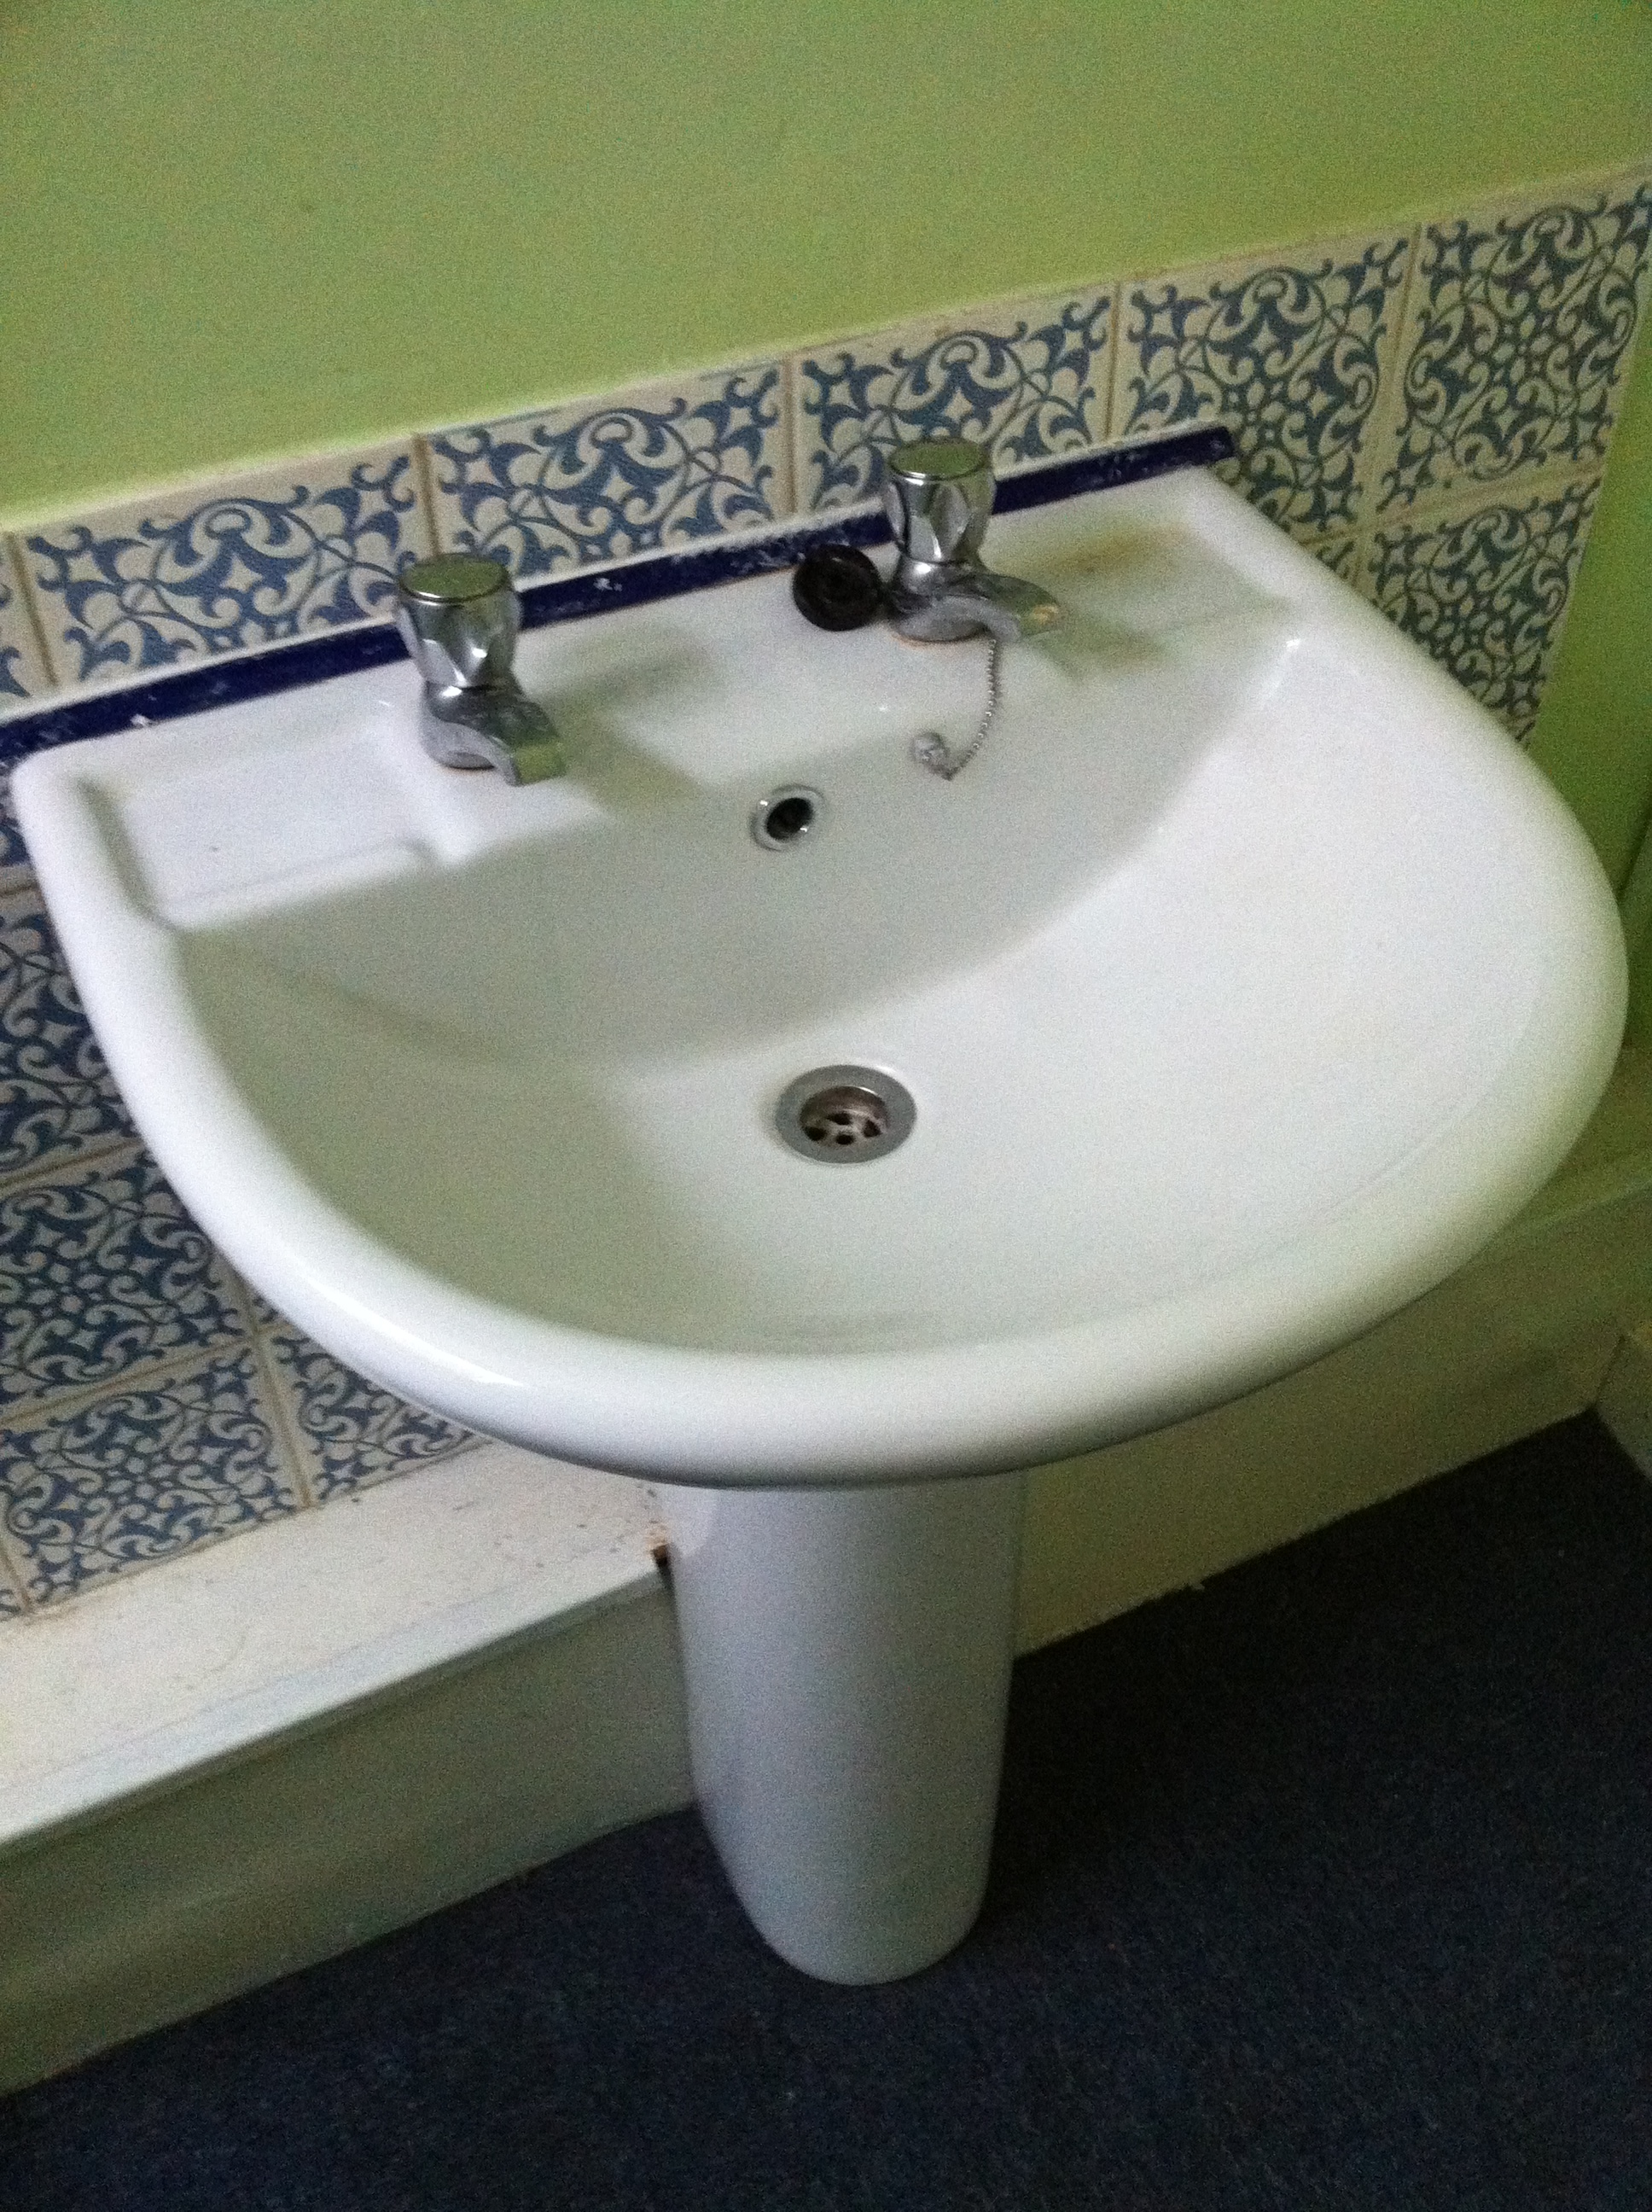
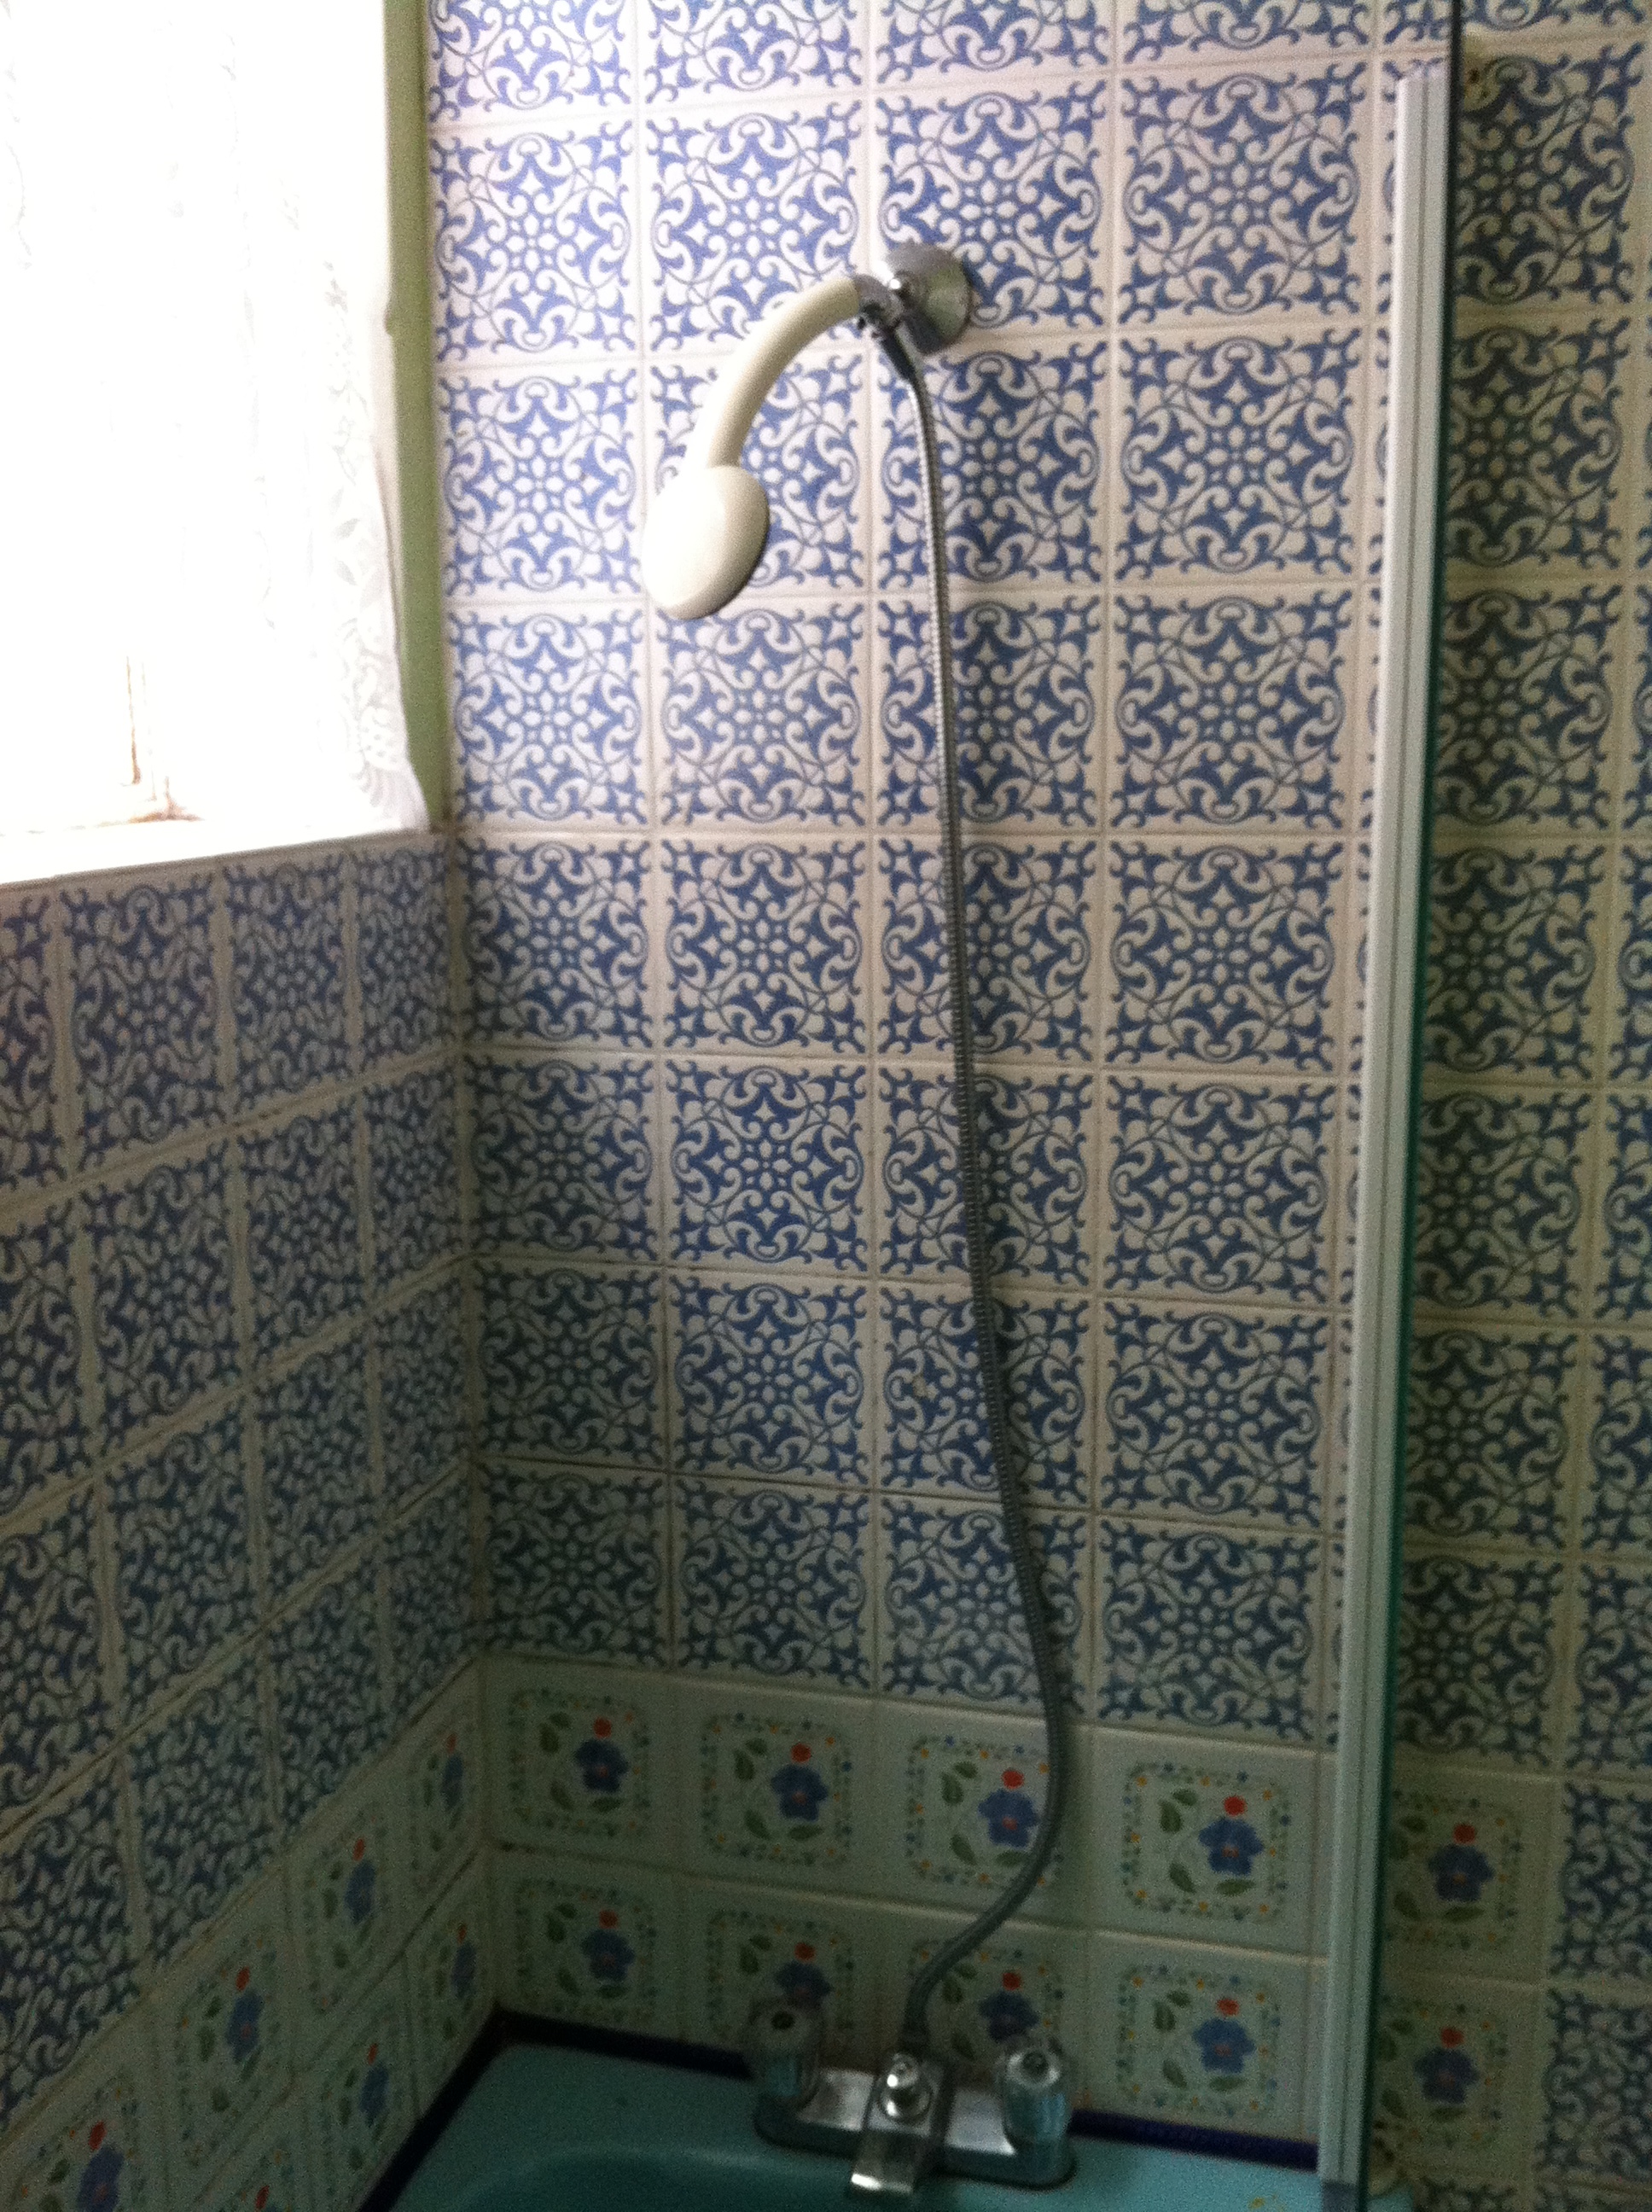
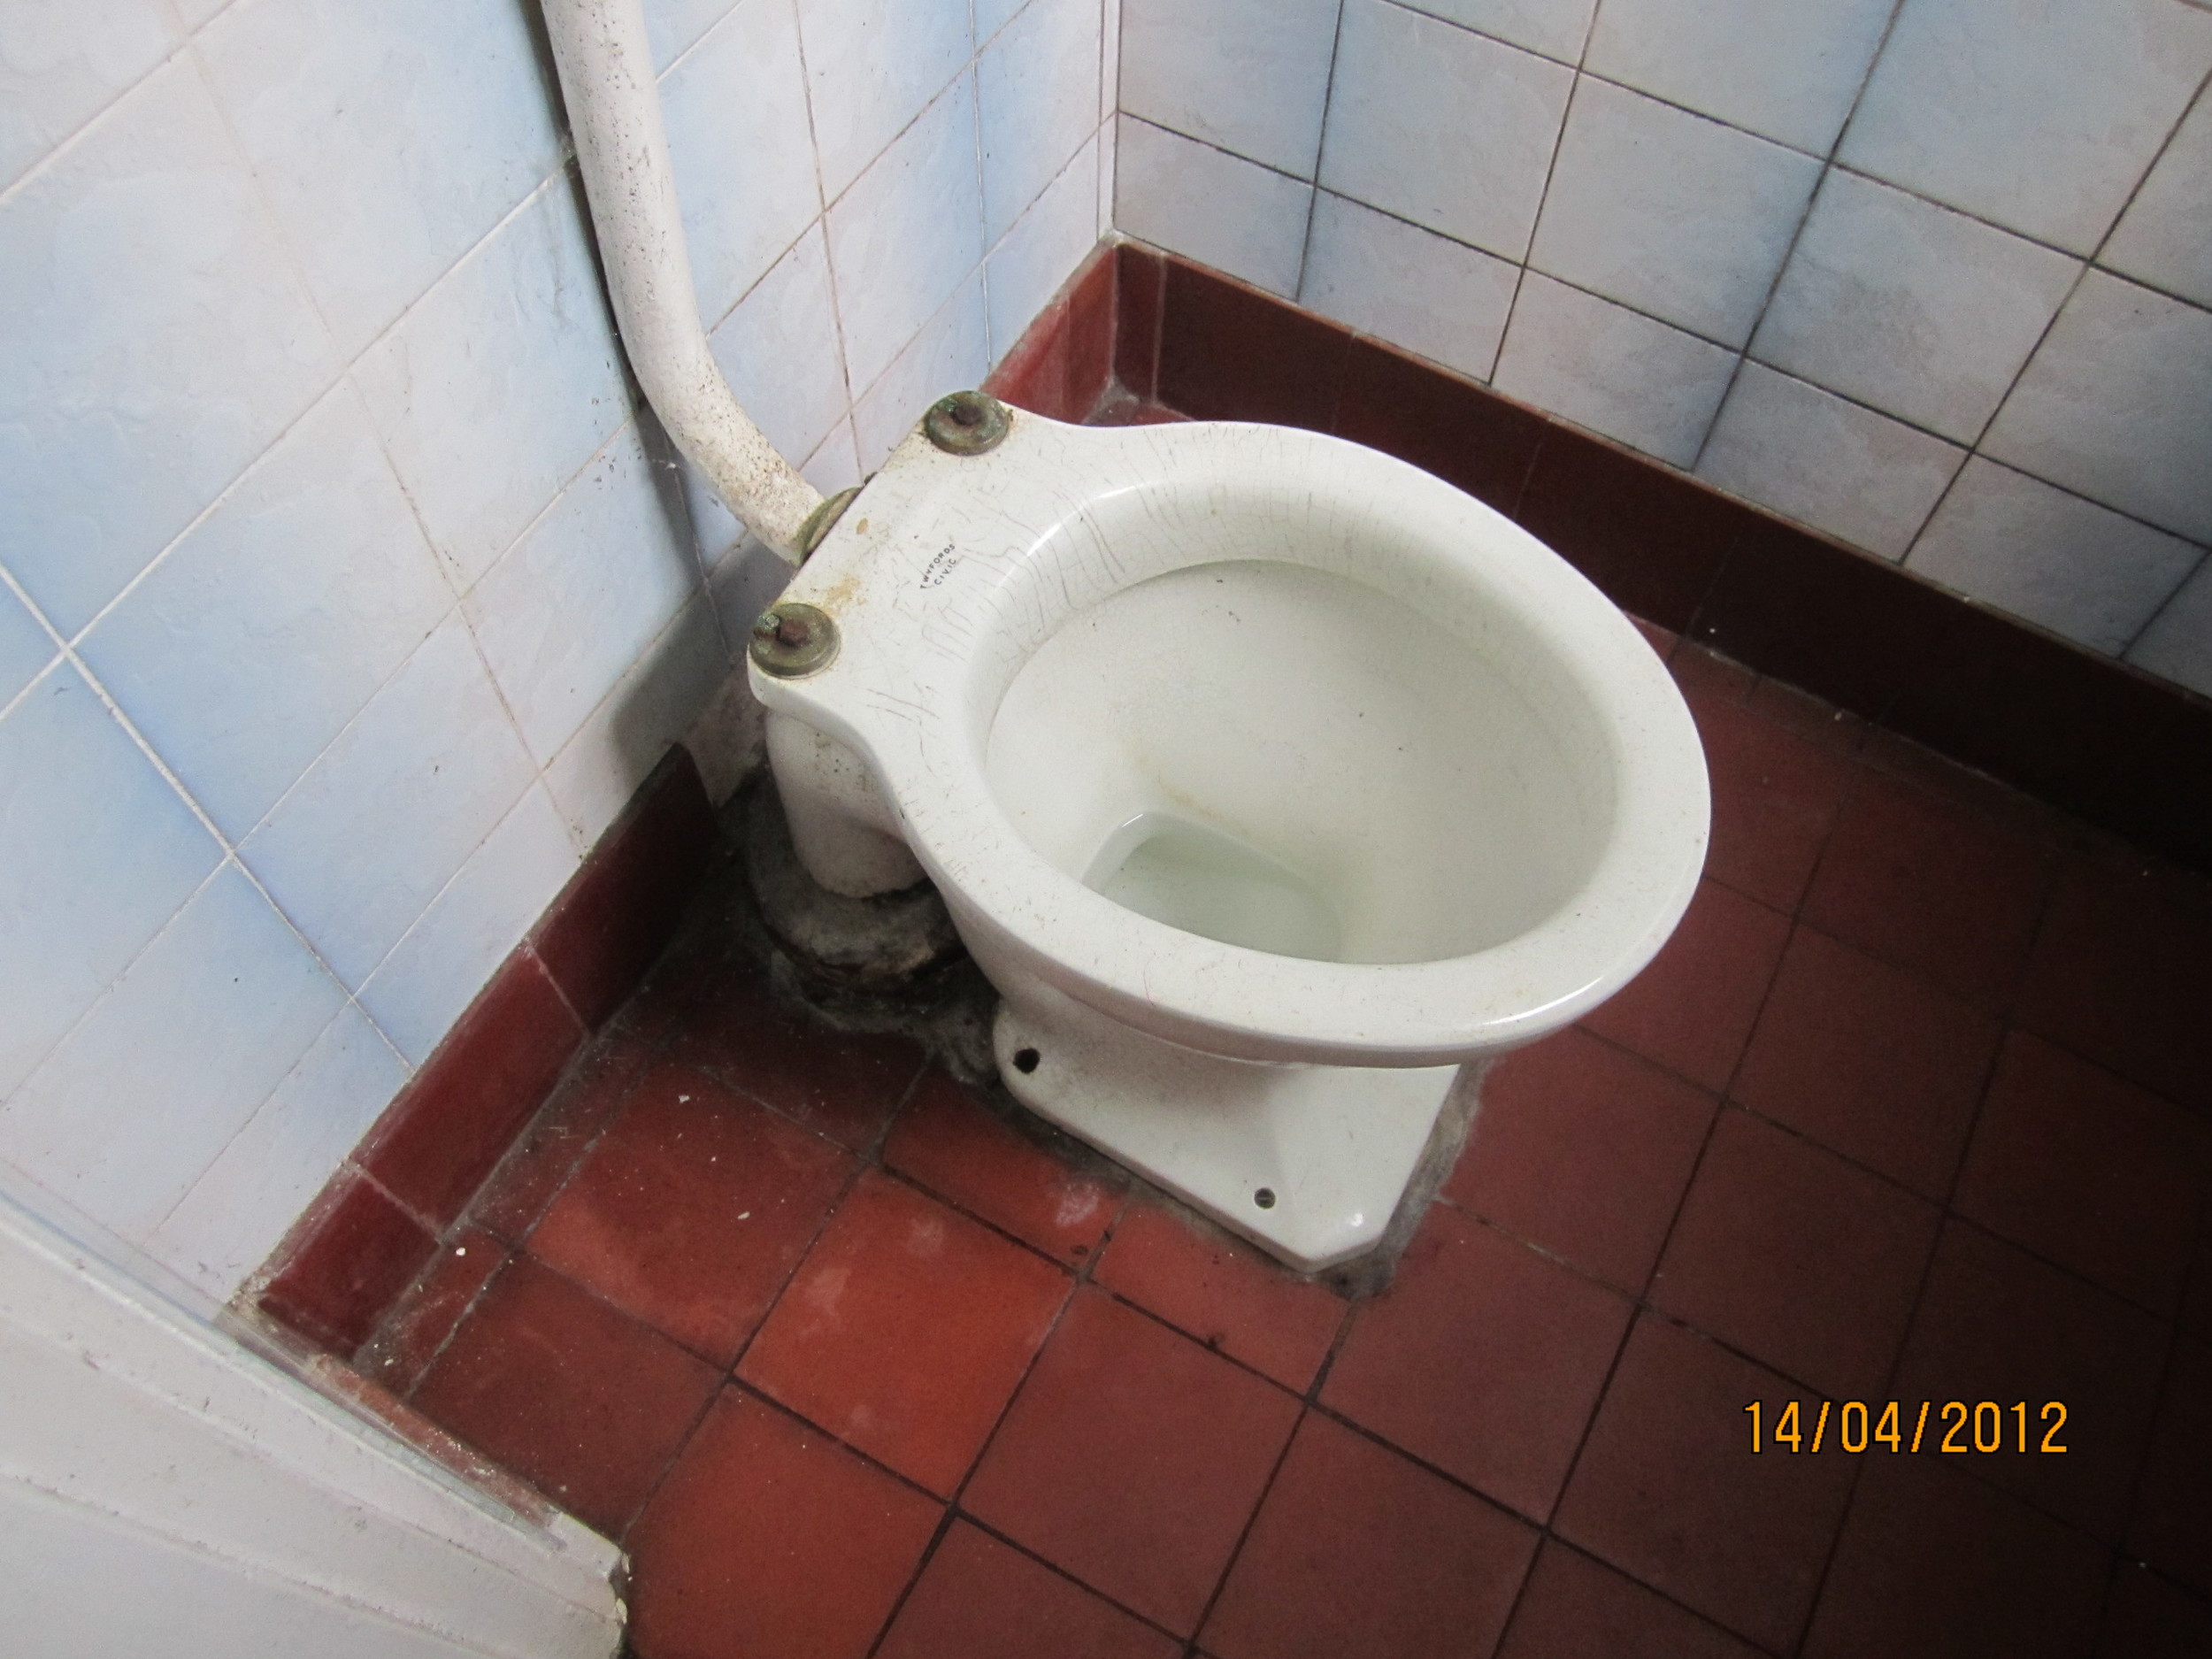
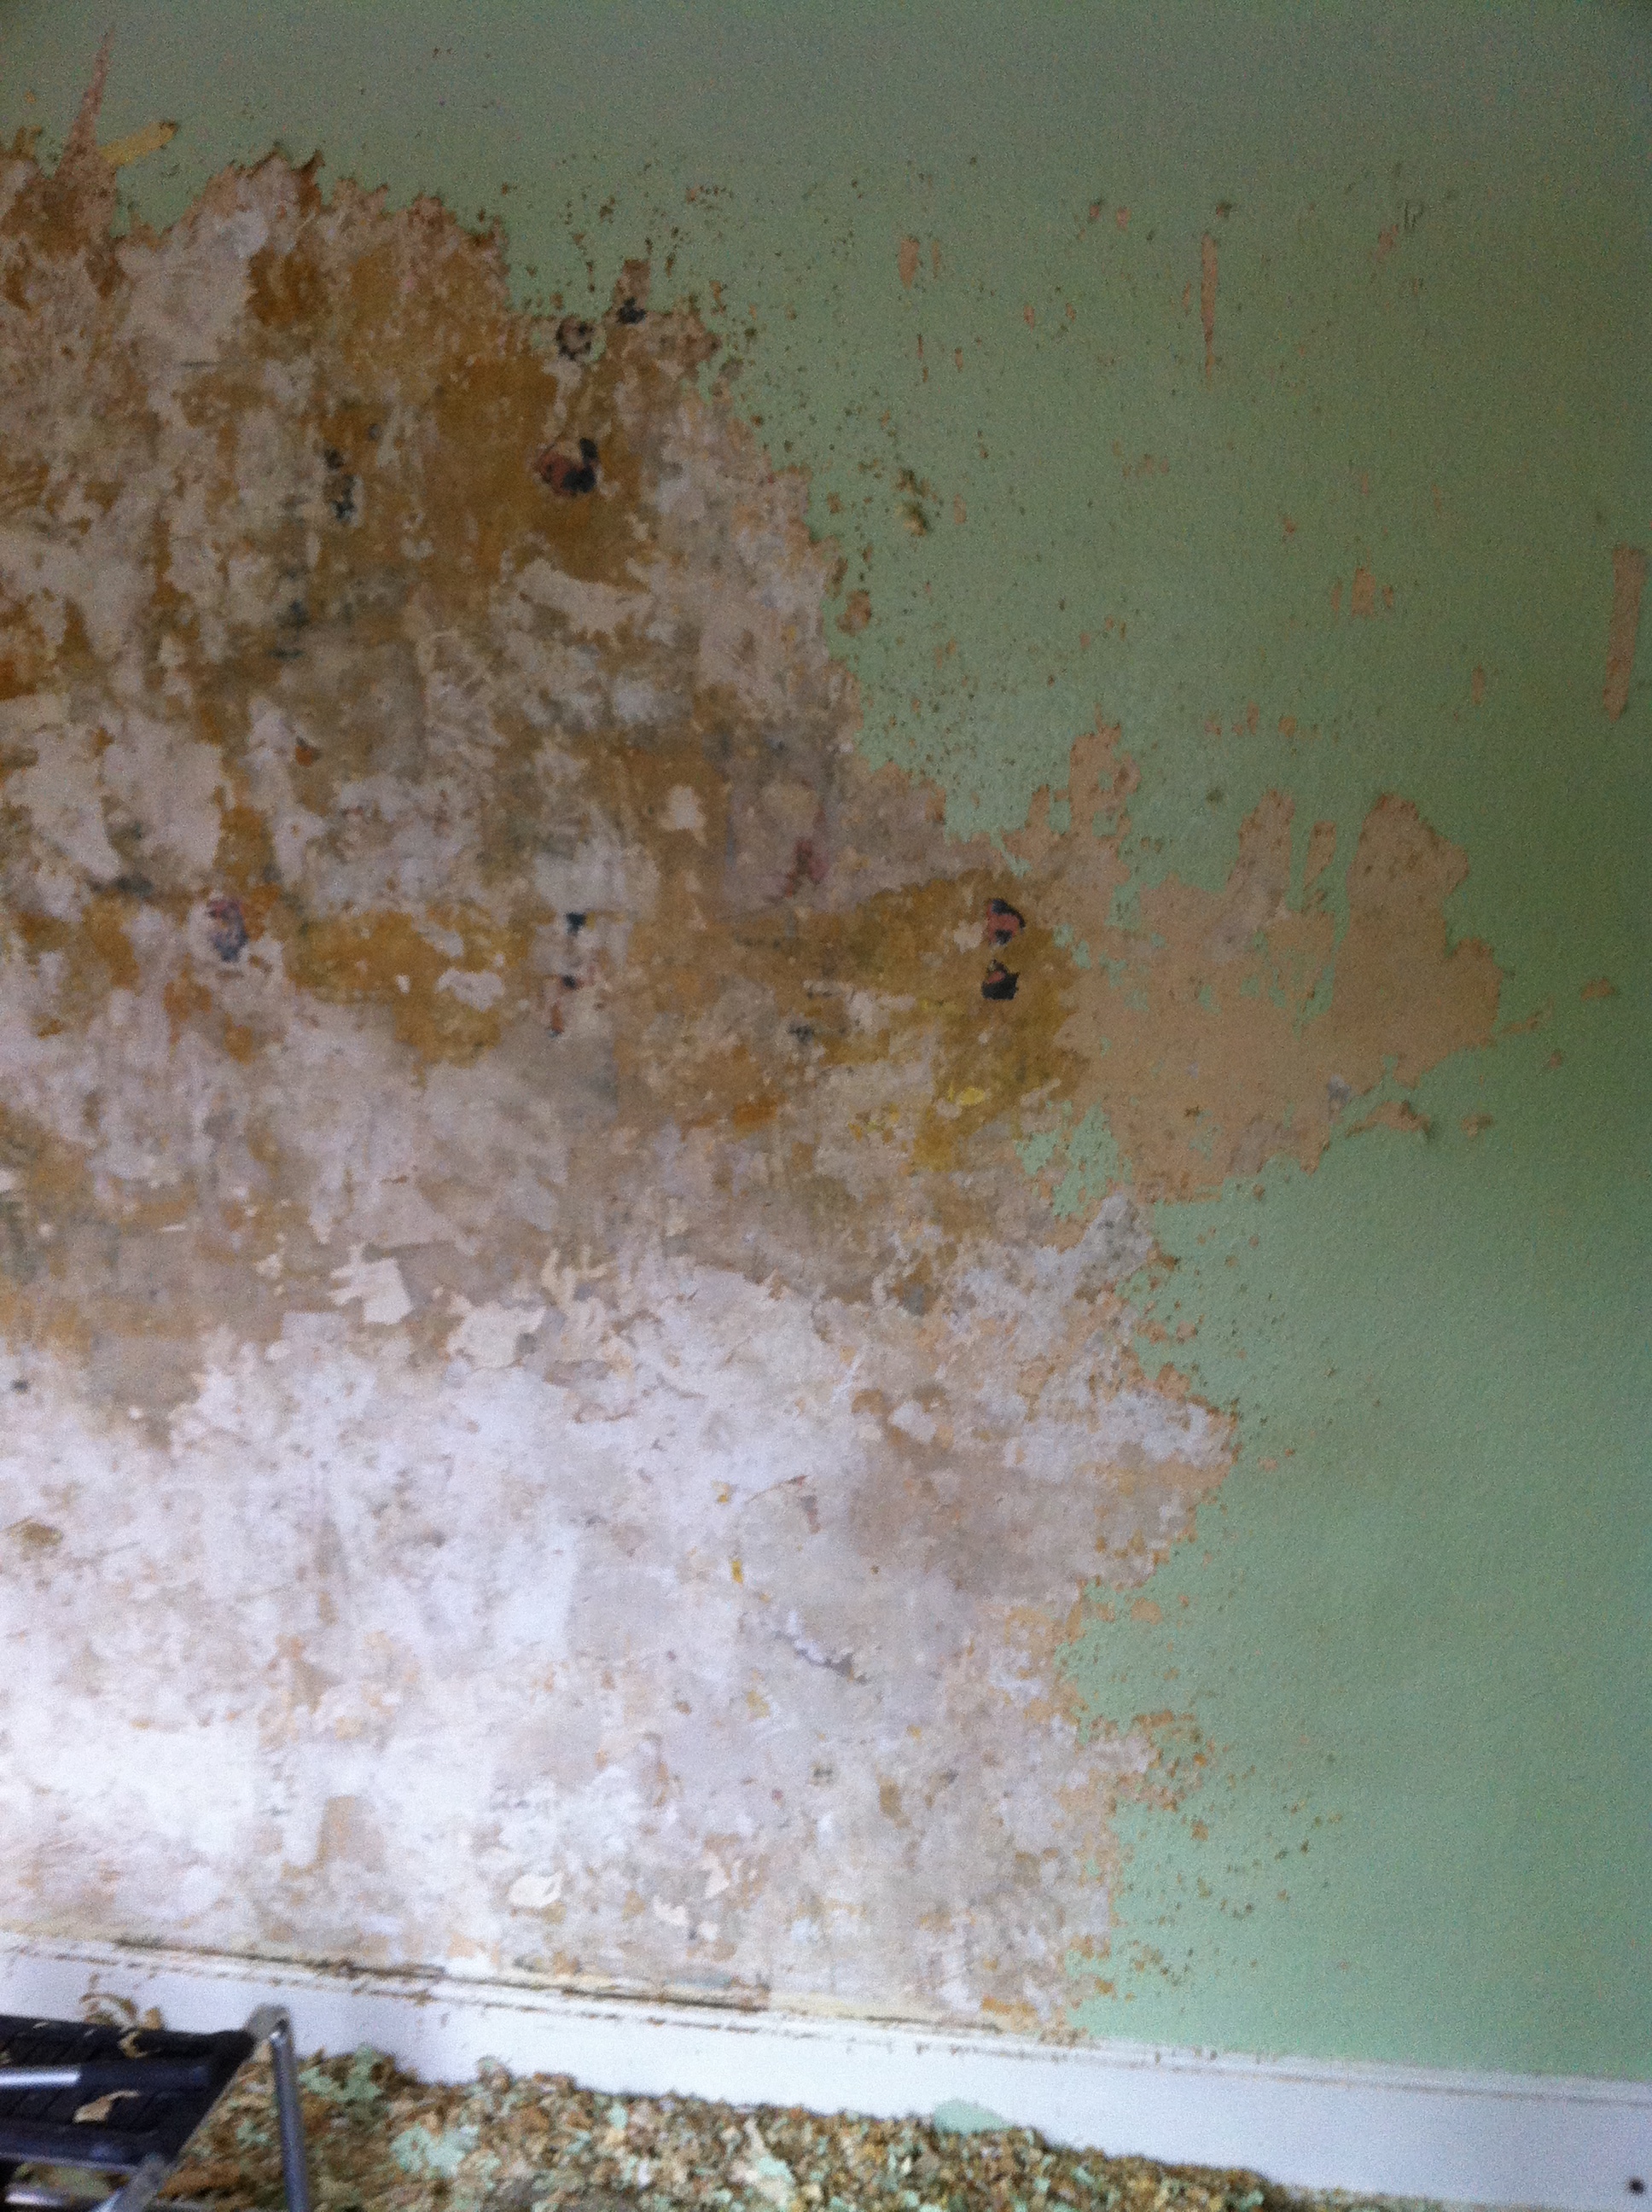
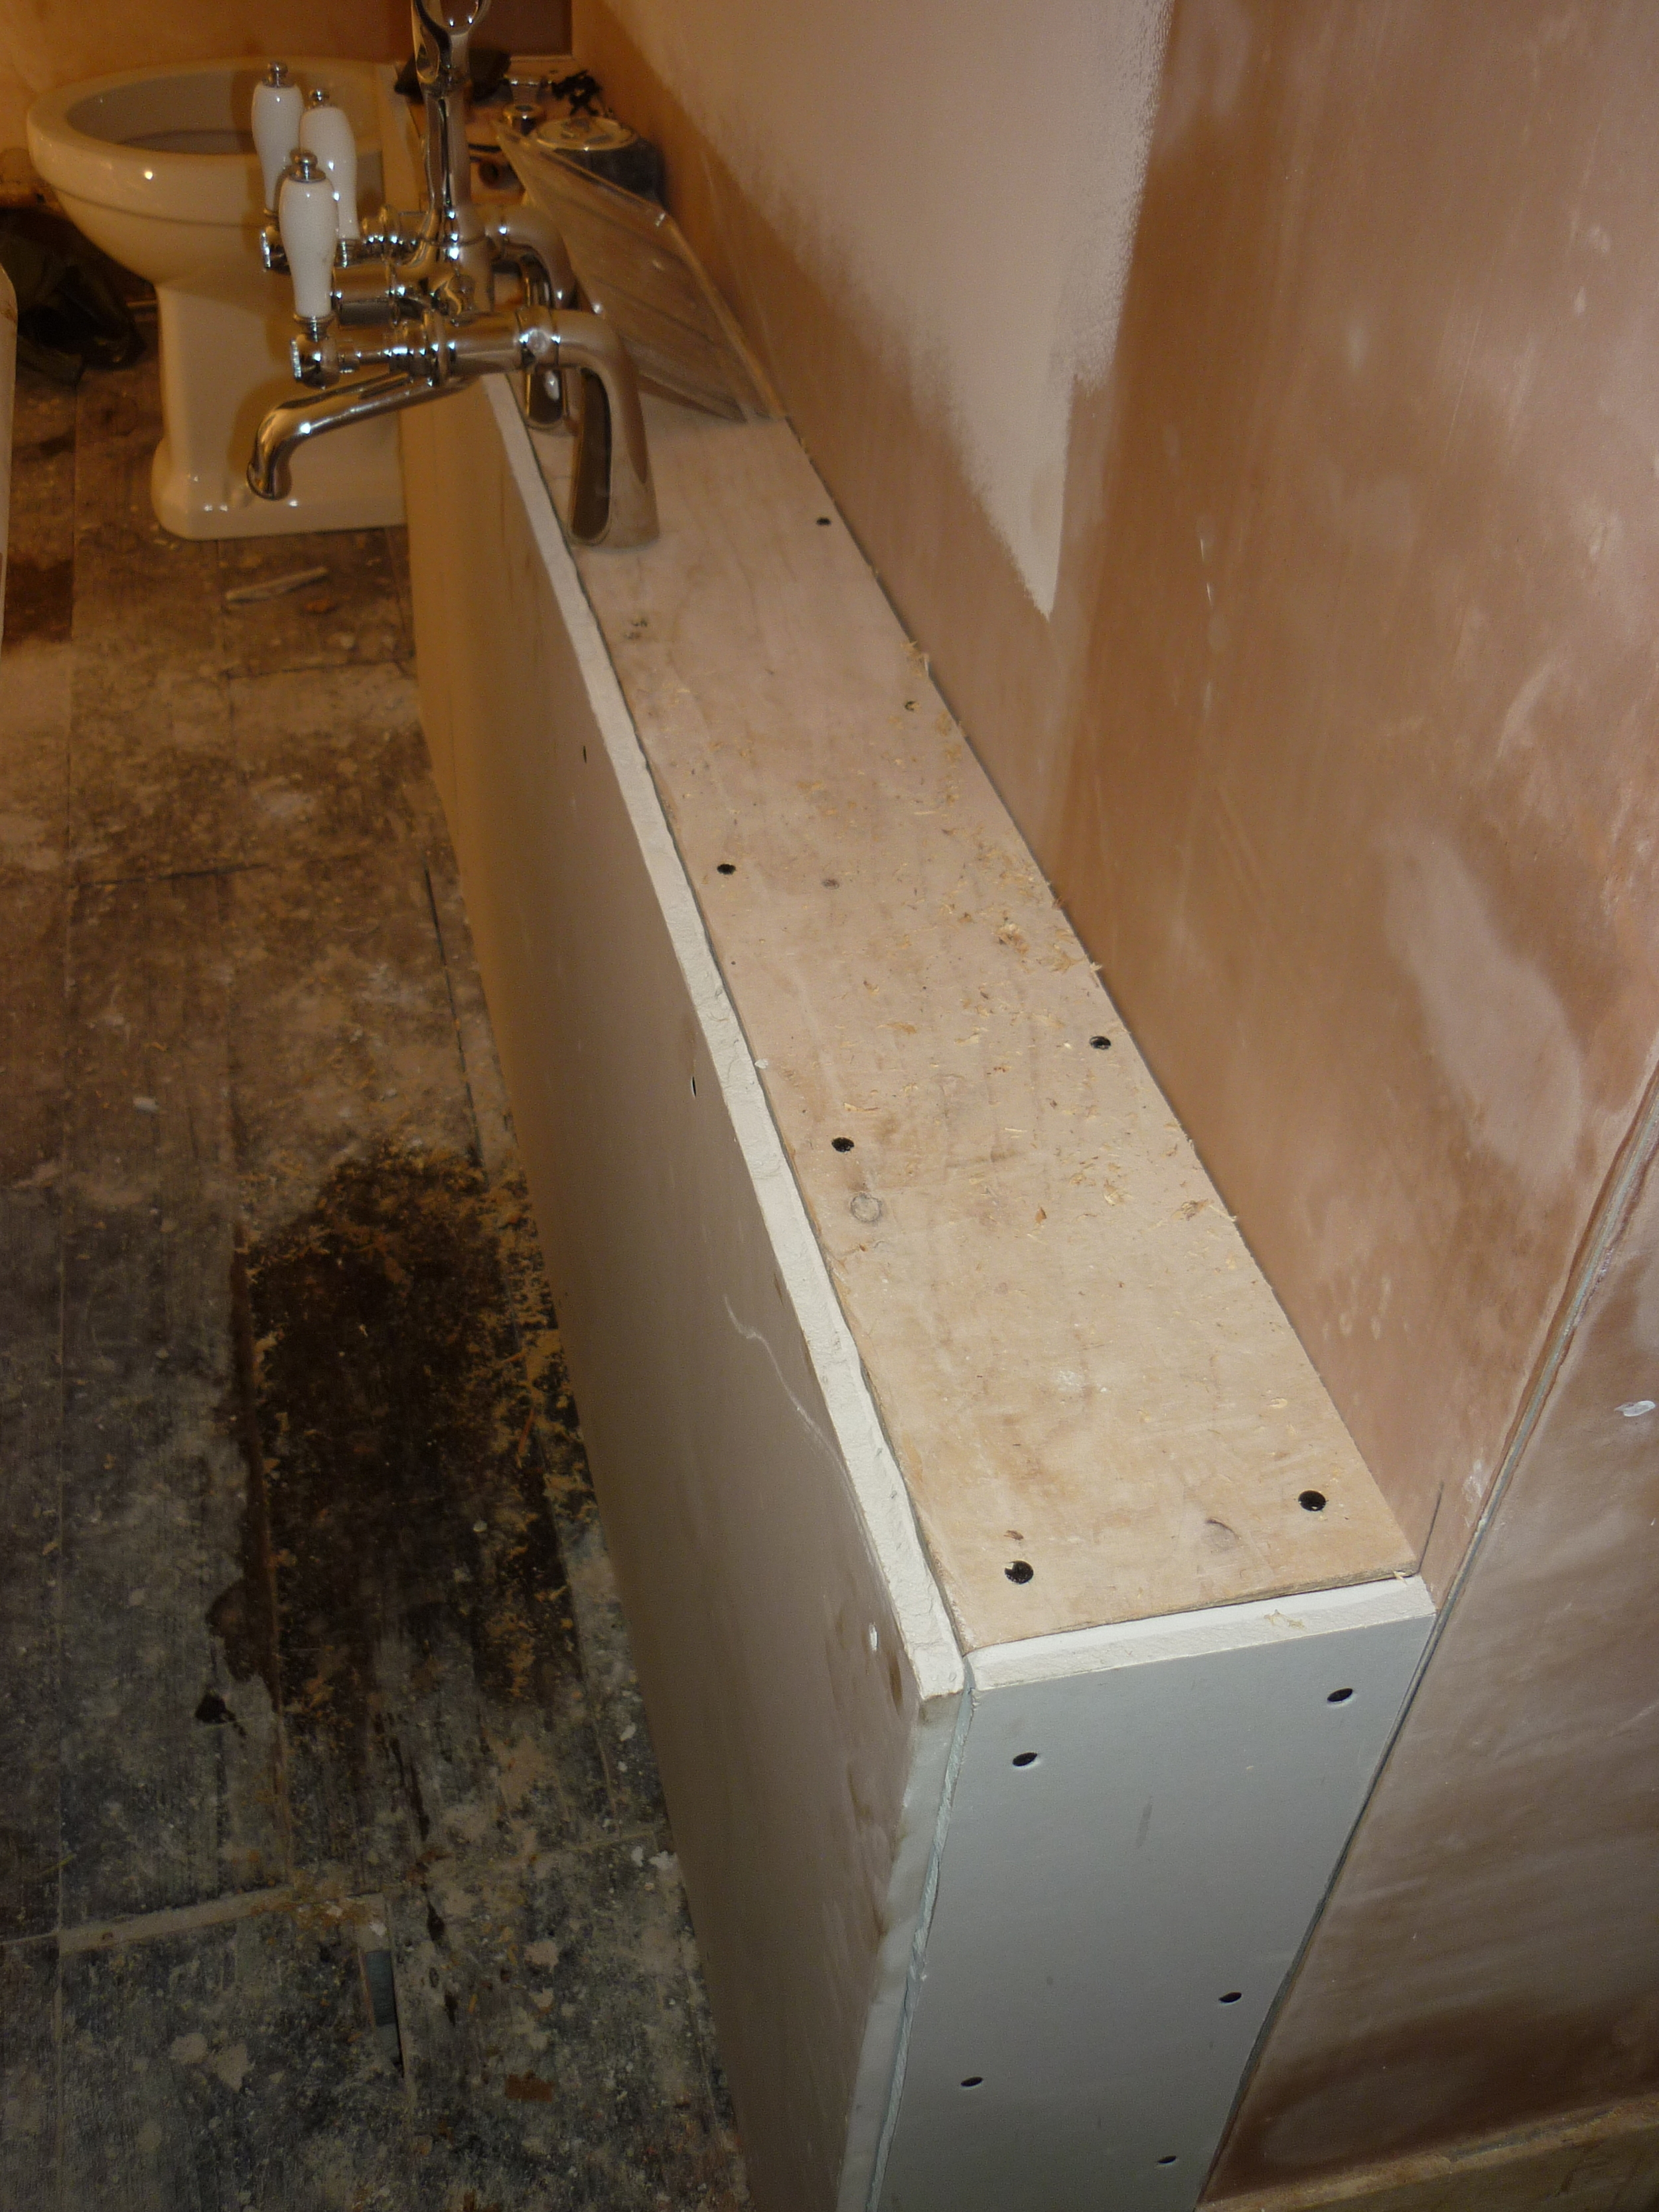
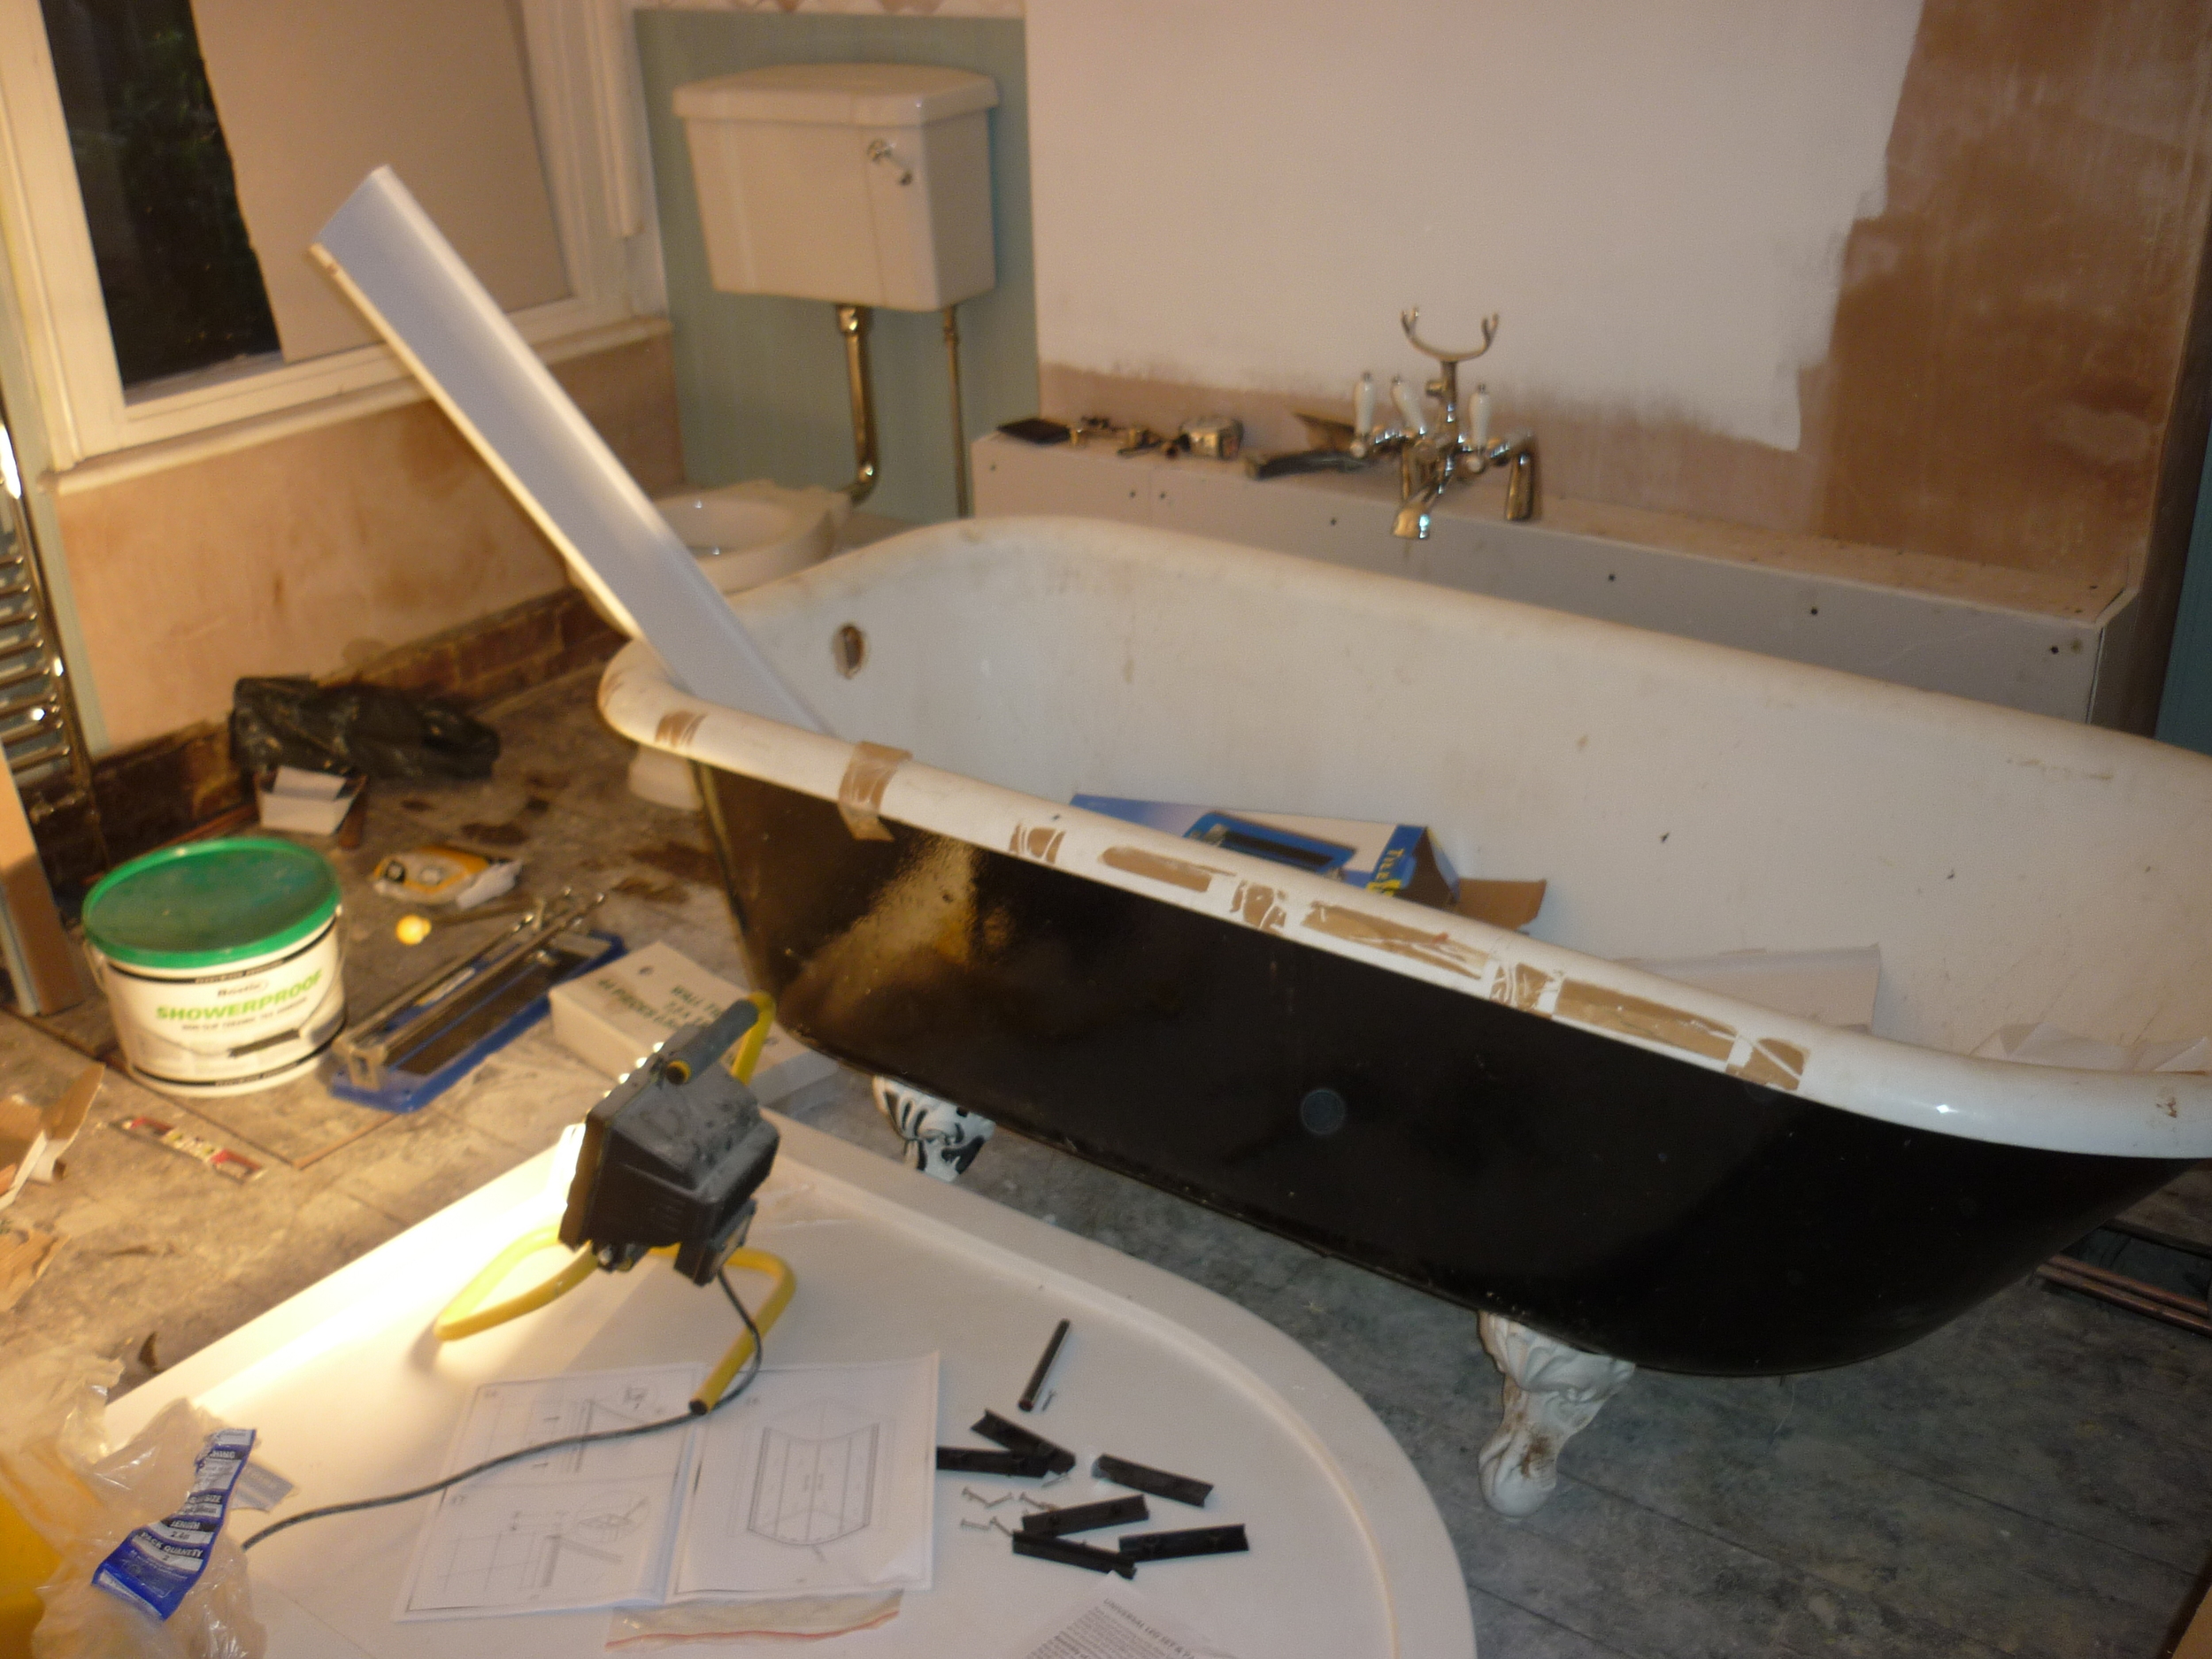
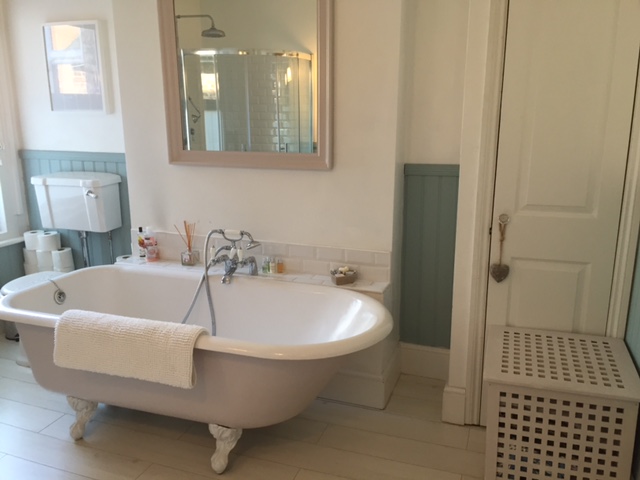
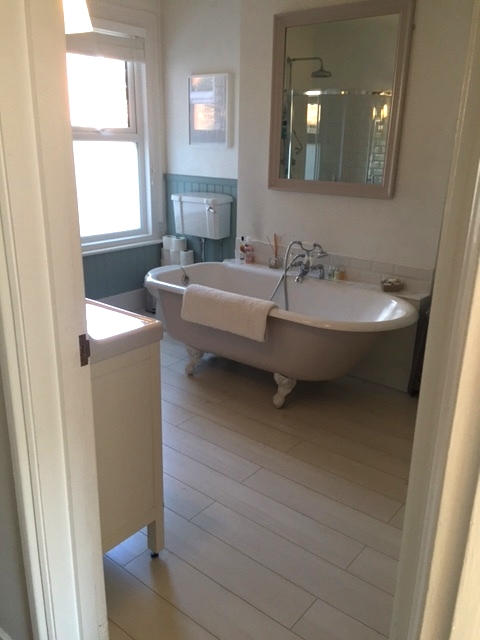
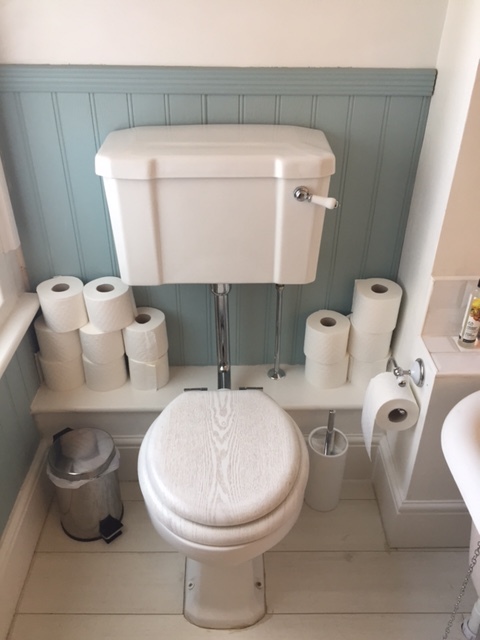
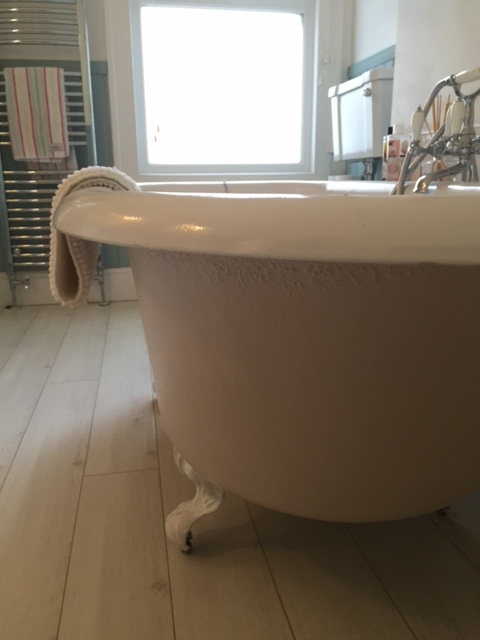
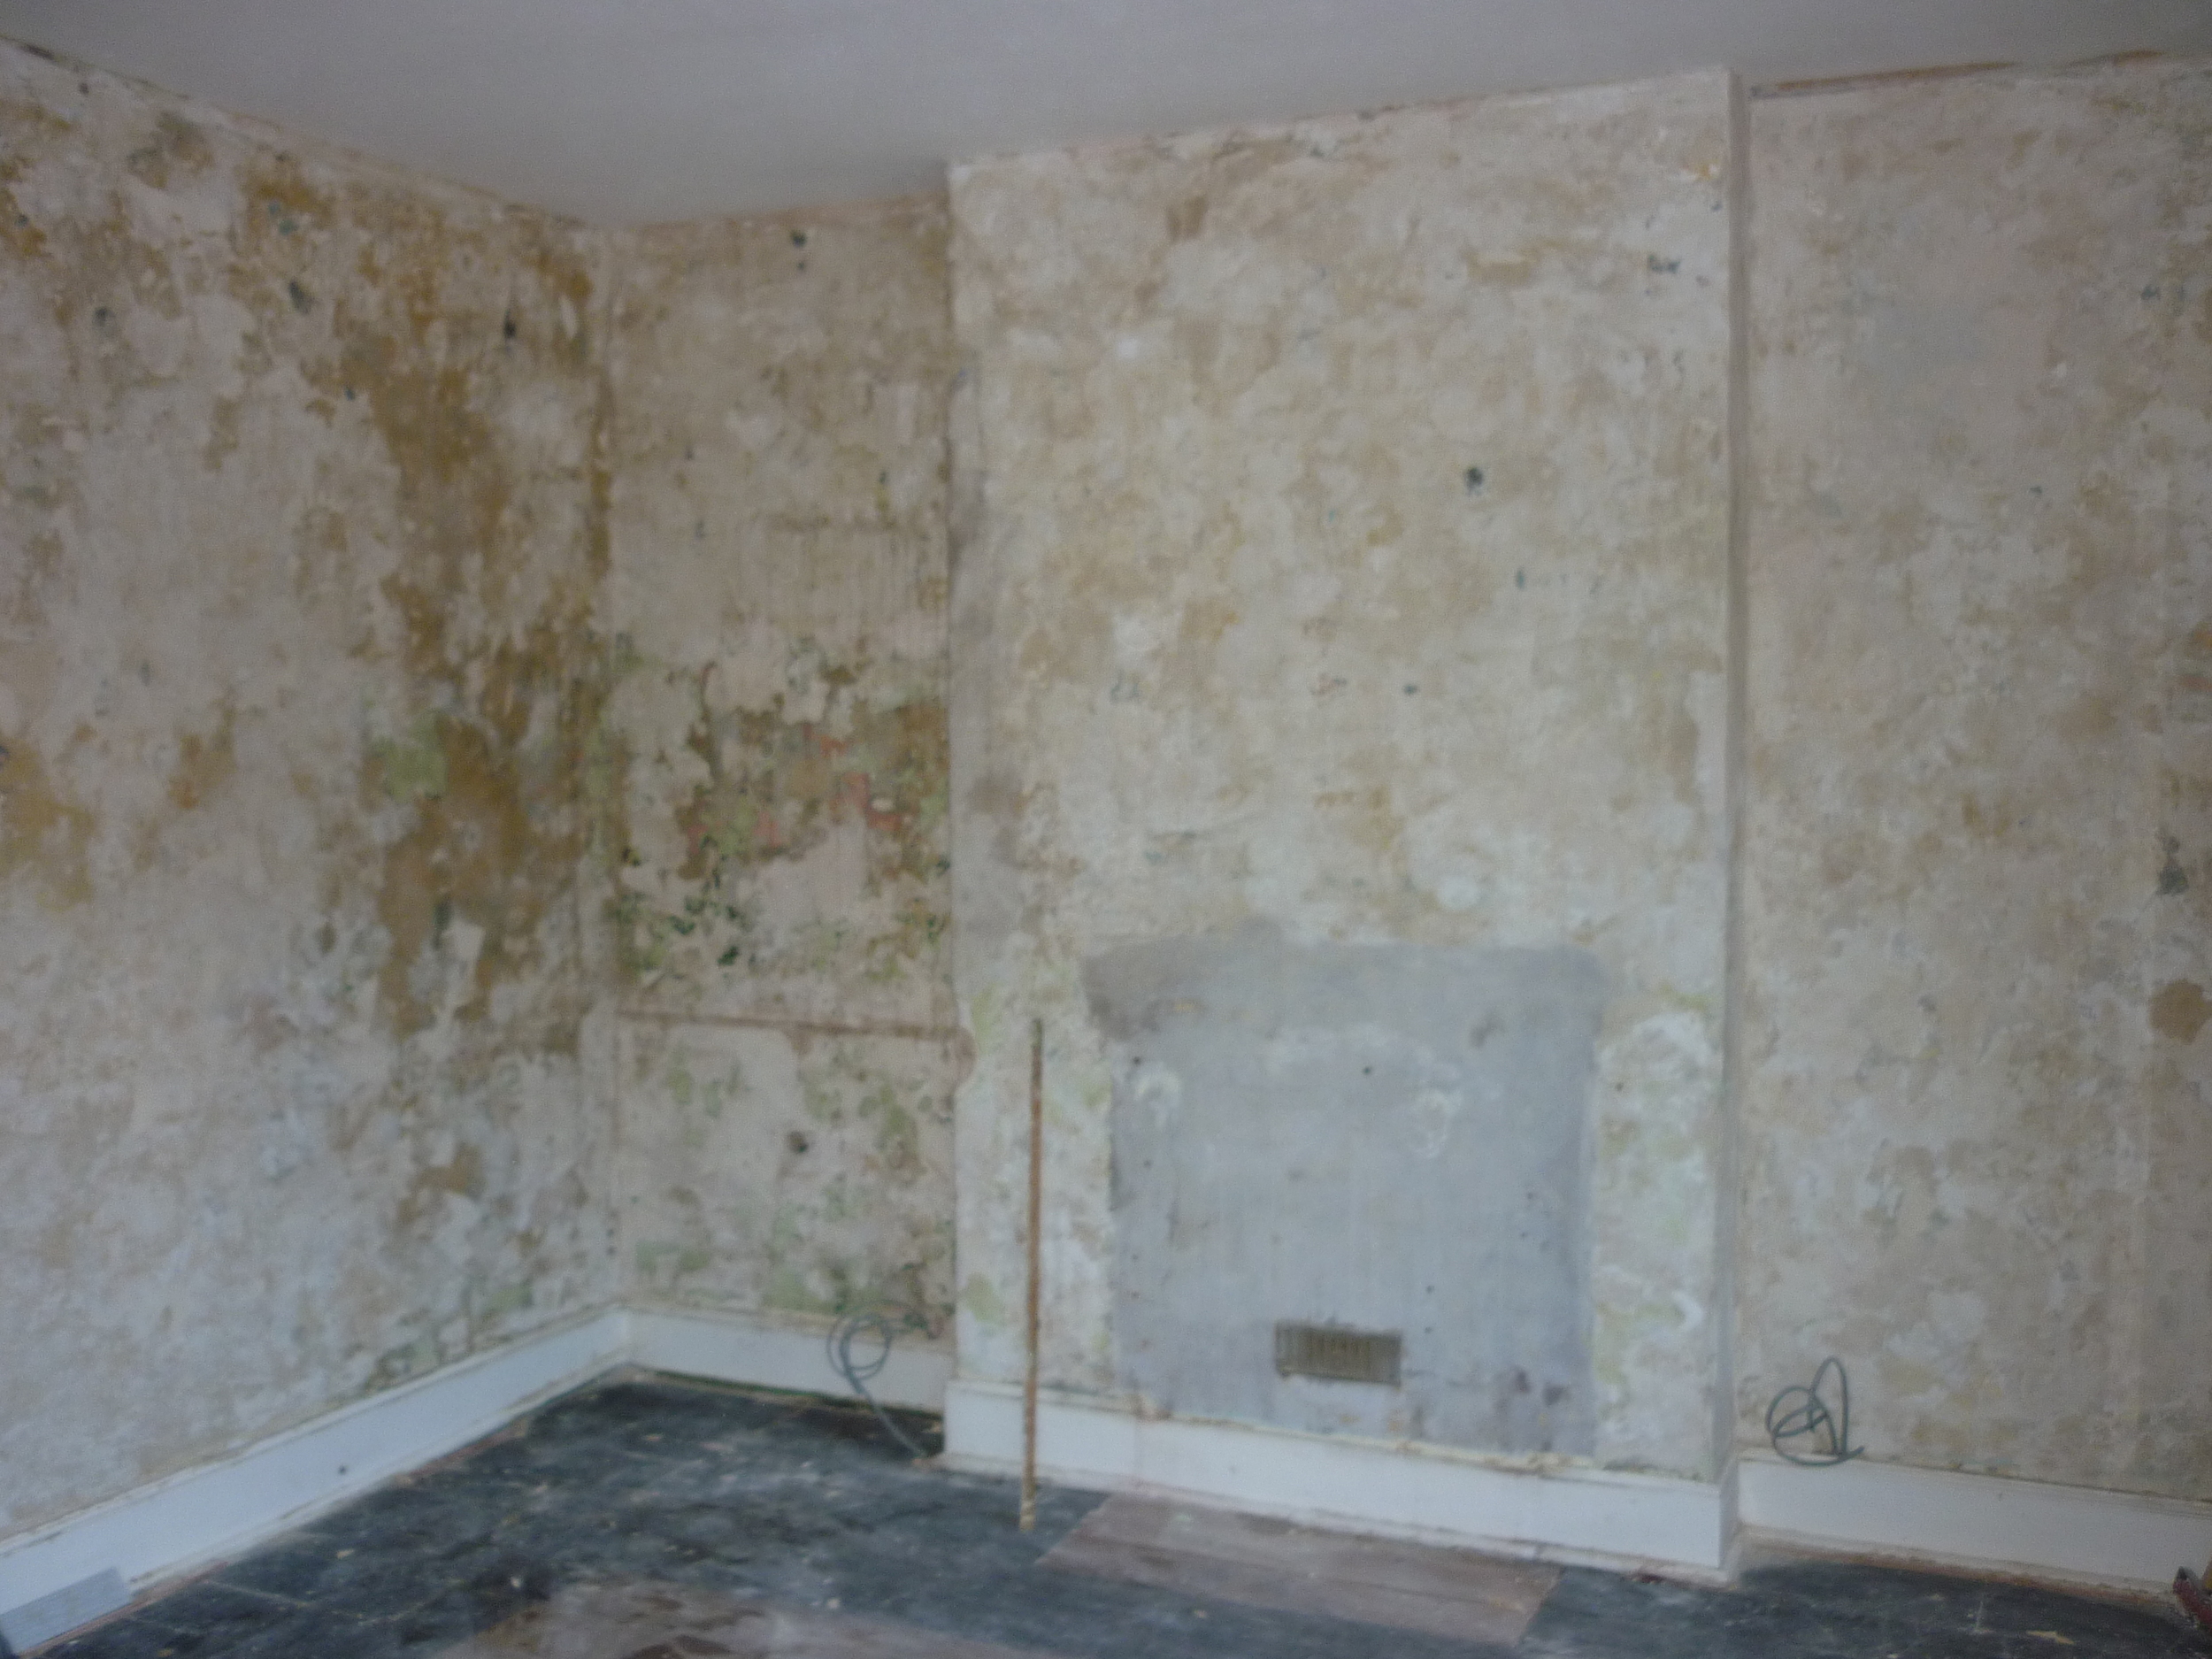
The ground floor looking out into our garden: The left window was the office, right was the sun room. The far left was a bathroom we turned into a utility room.

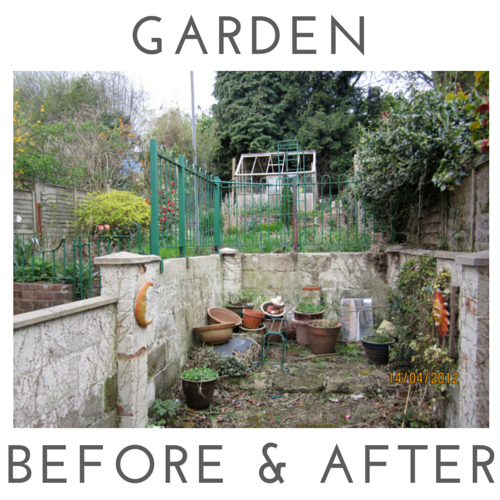
A large clump of heathers took up a lot of room in the top half of the garden. This is where our extension and patio were built out to.

The sun room (now part of our new dining area).

Other side of the sun room - we’re currently restoring the fireplace.

View from the sun room - we removed the laurel arch to create a bigger garden for the boys.

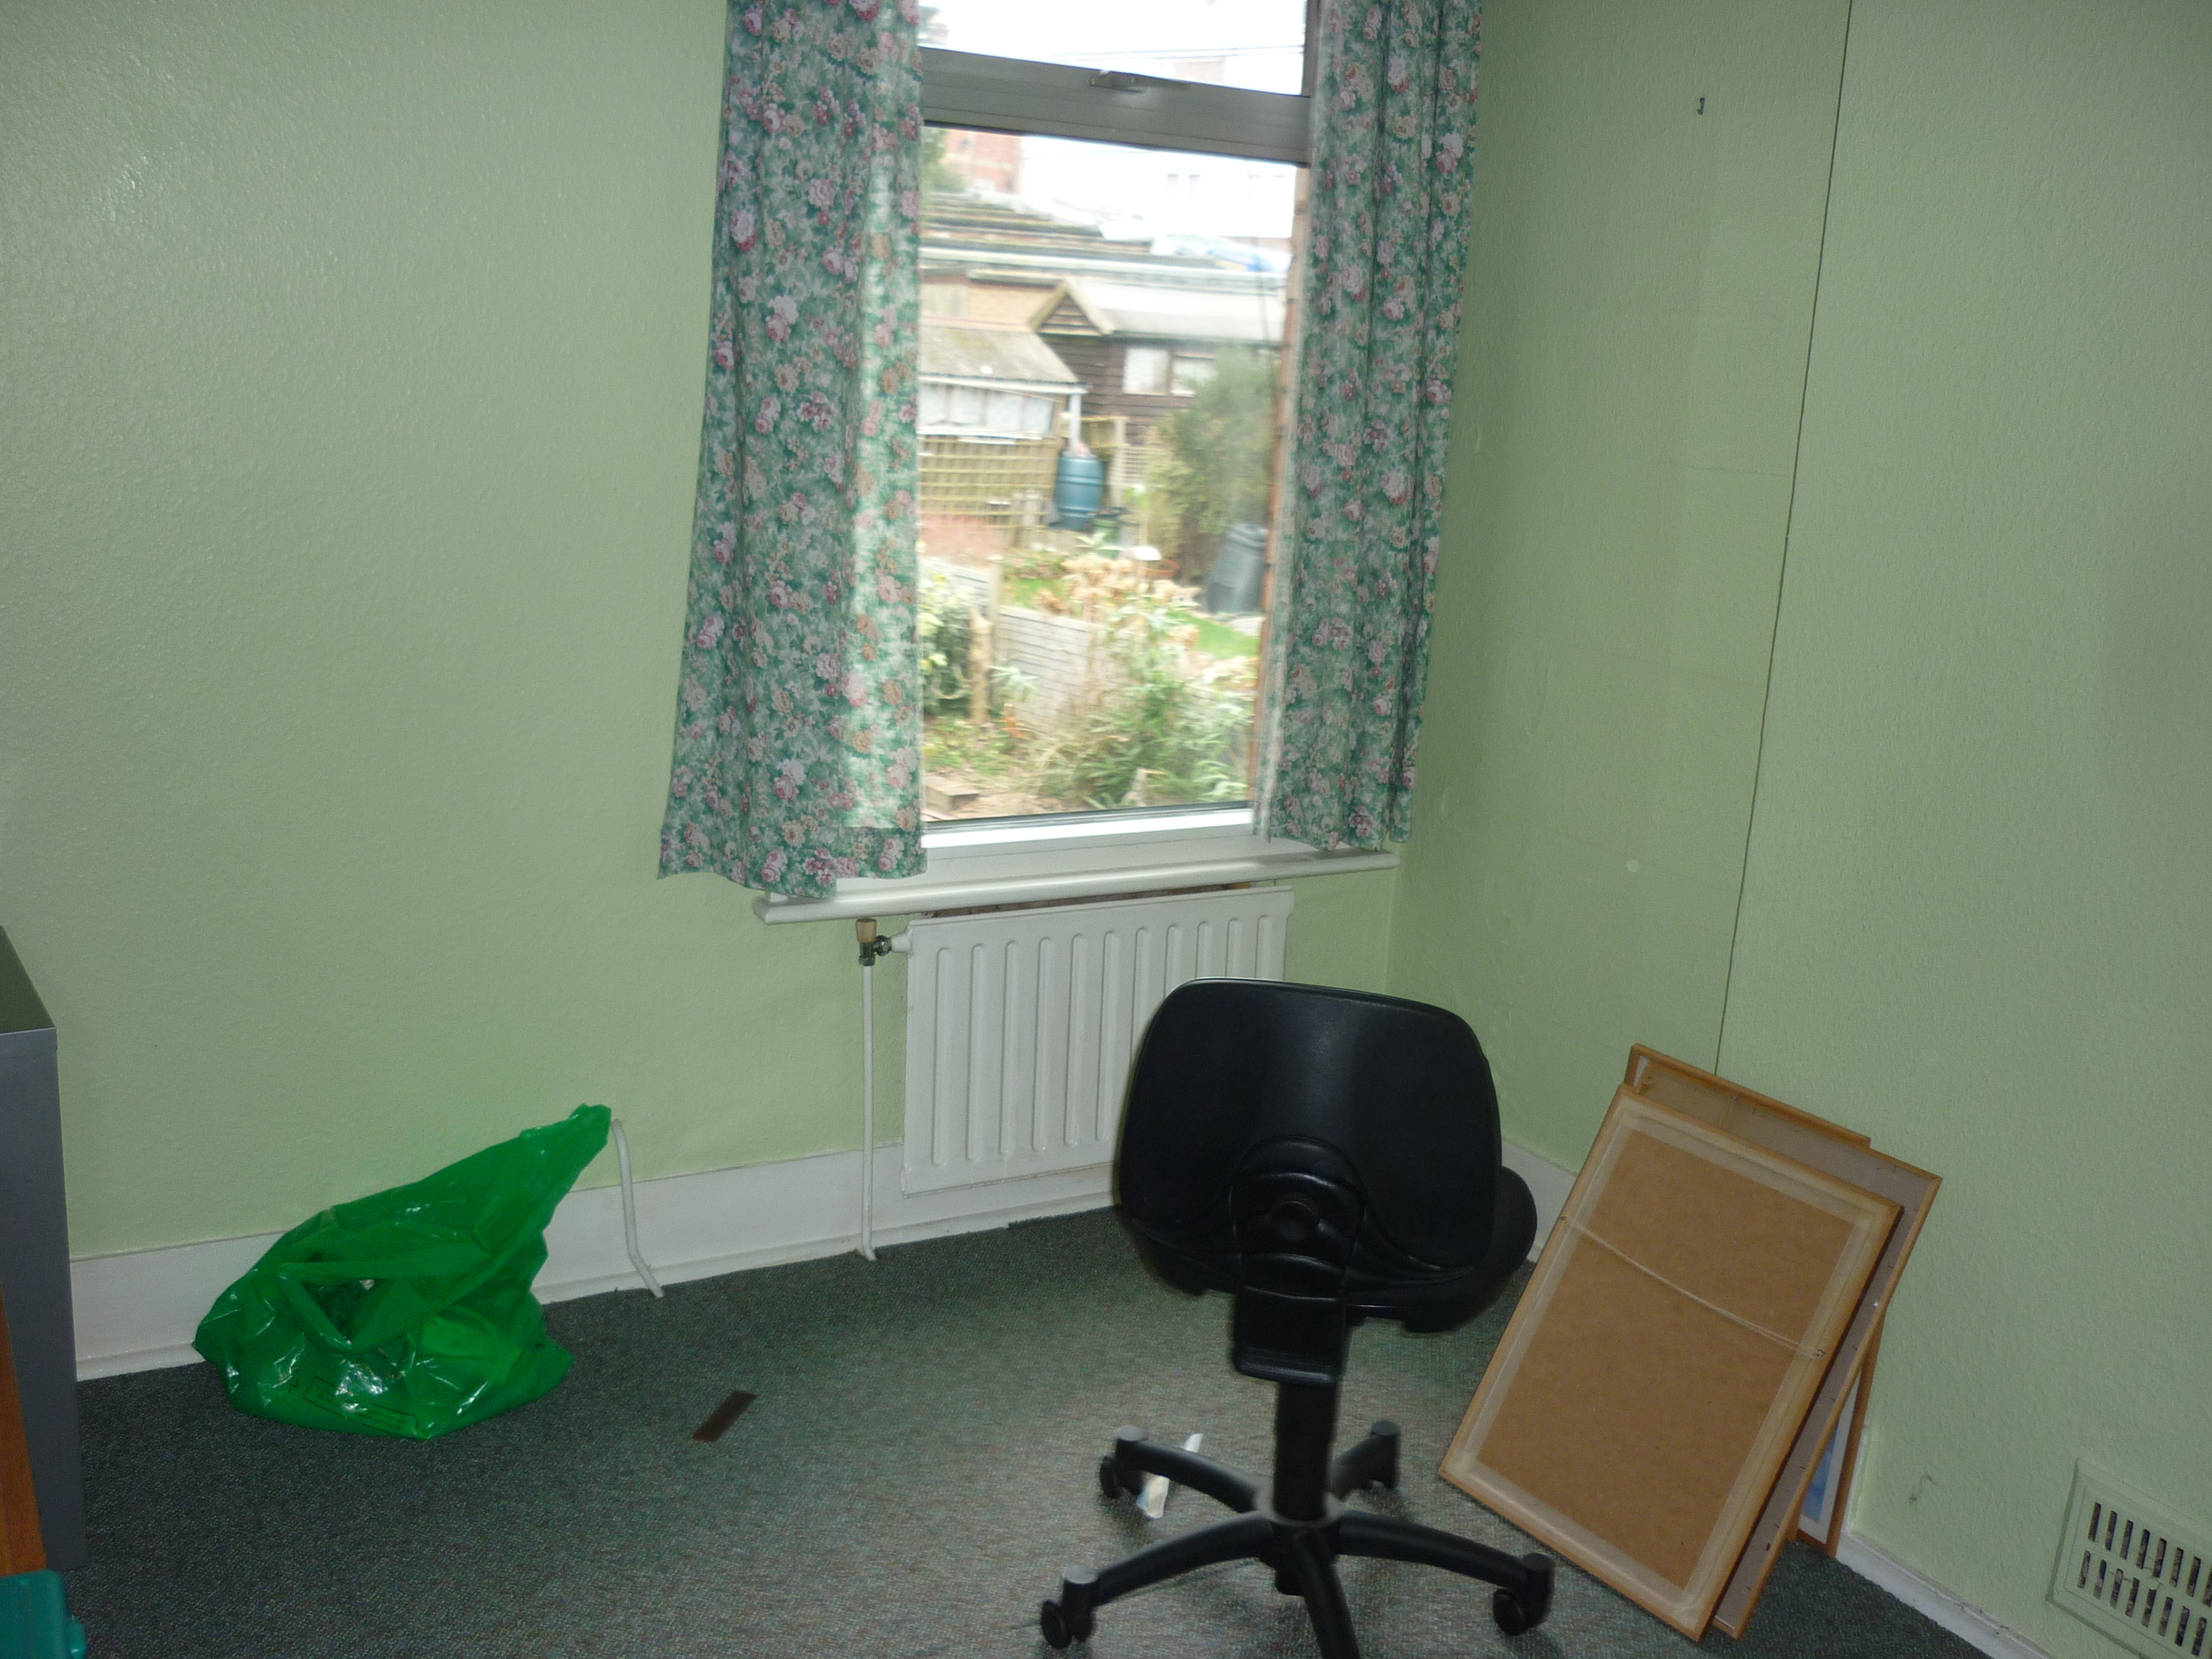
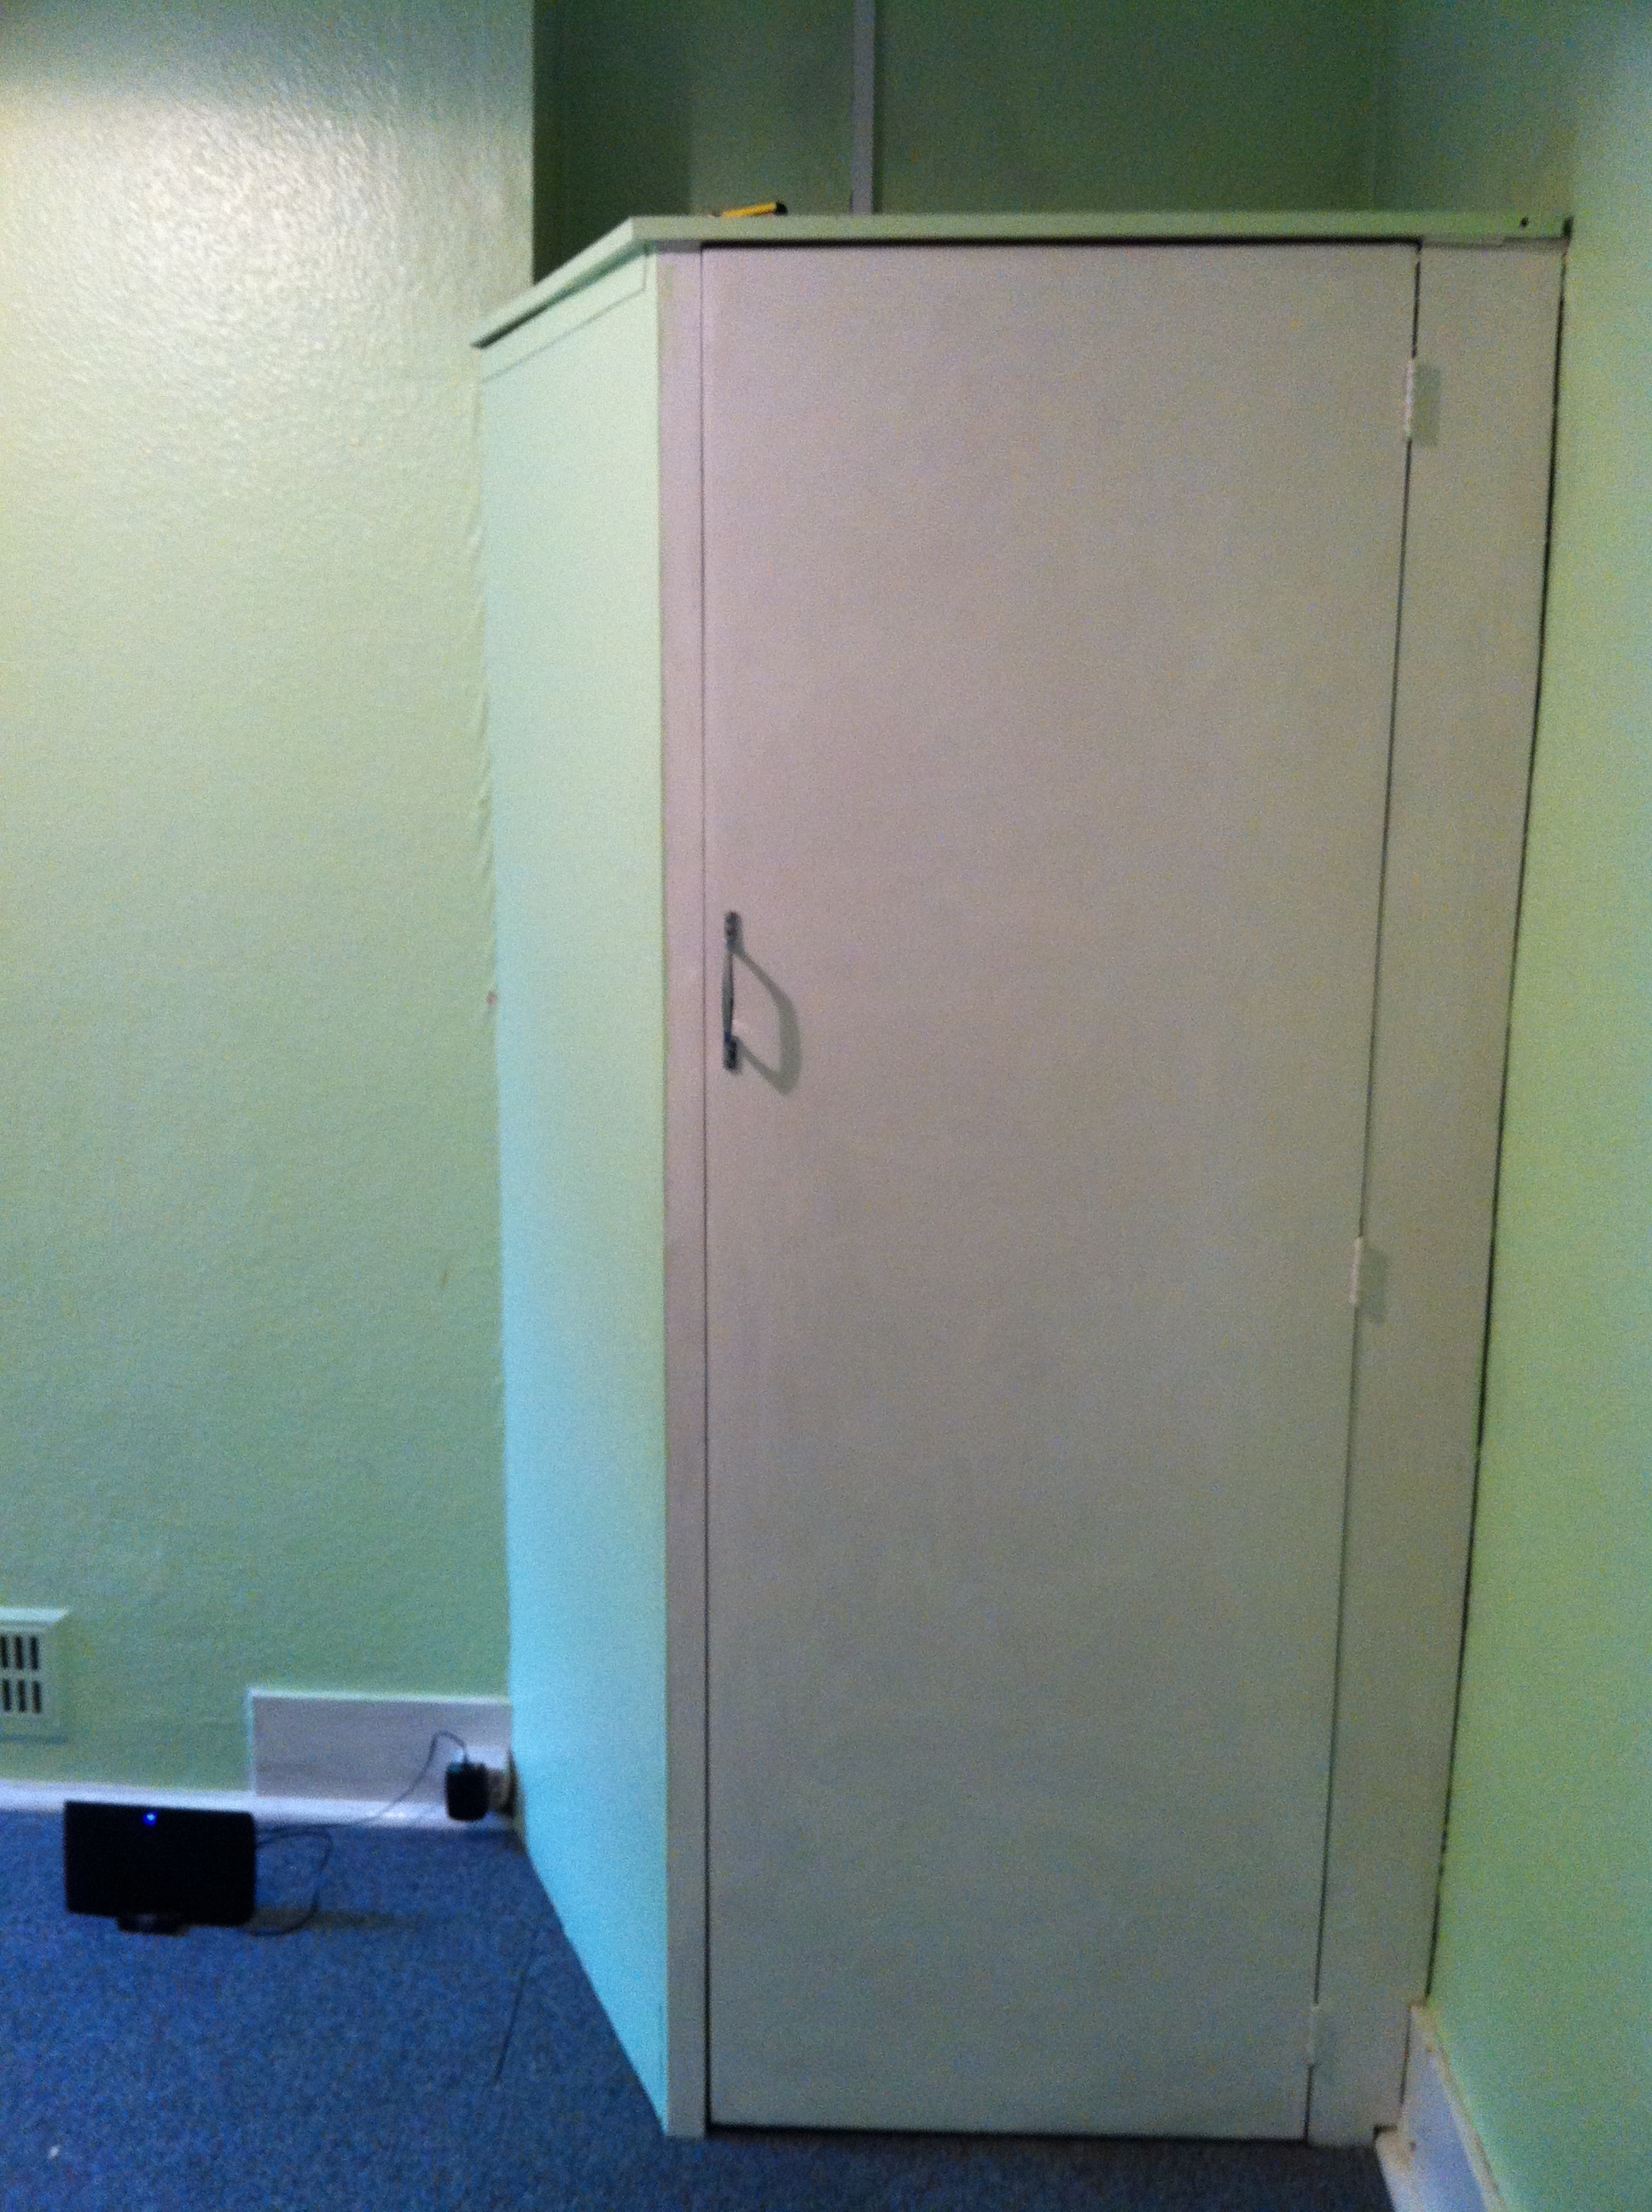
The office. Ignore the furniture - these photos were taken when we viewed the house!
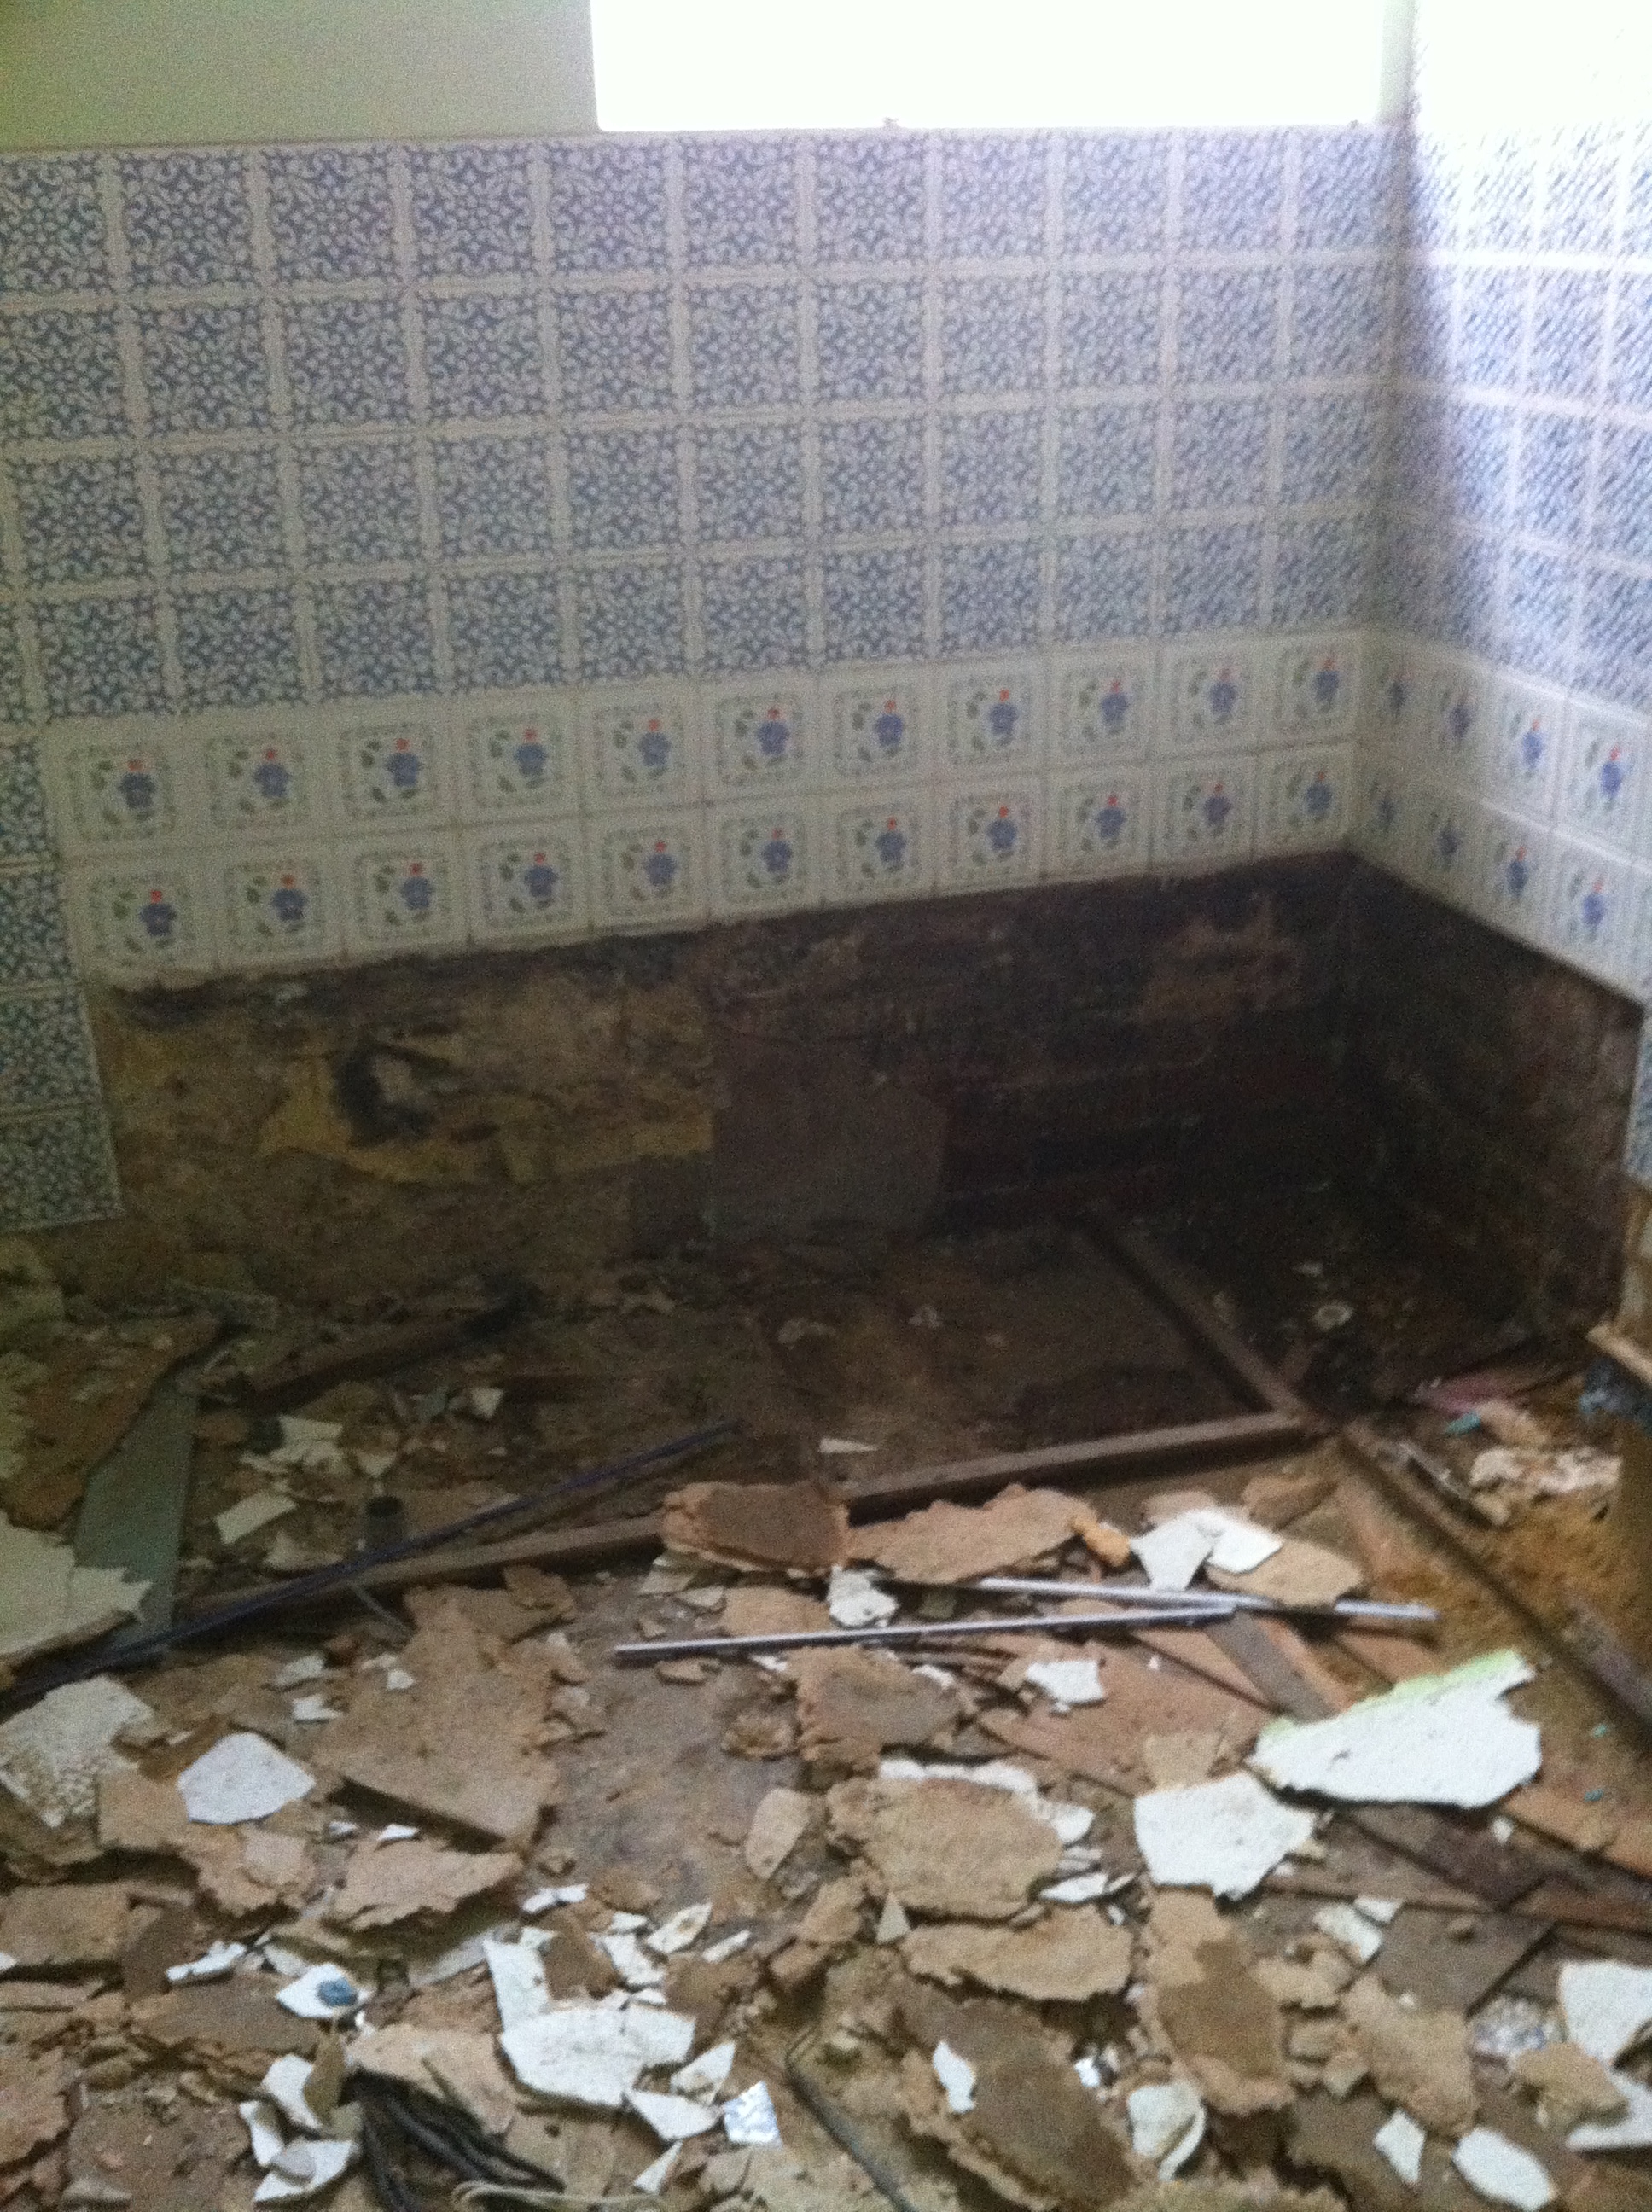
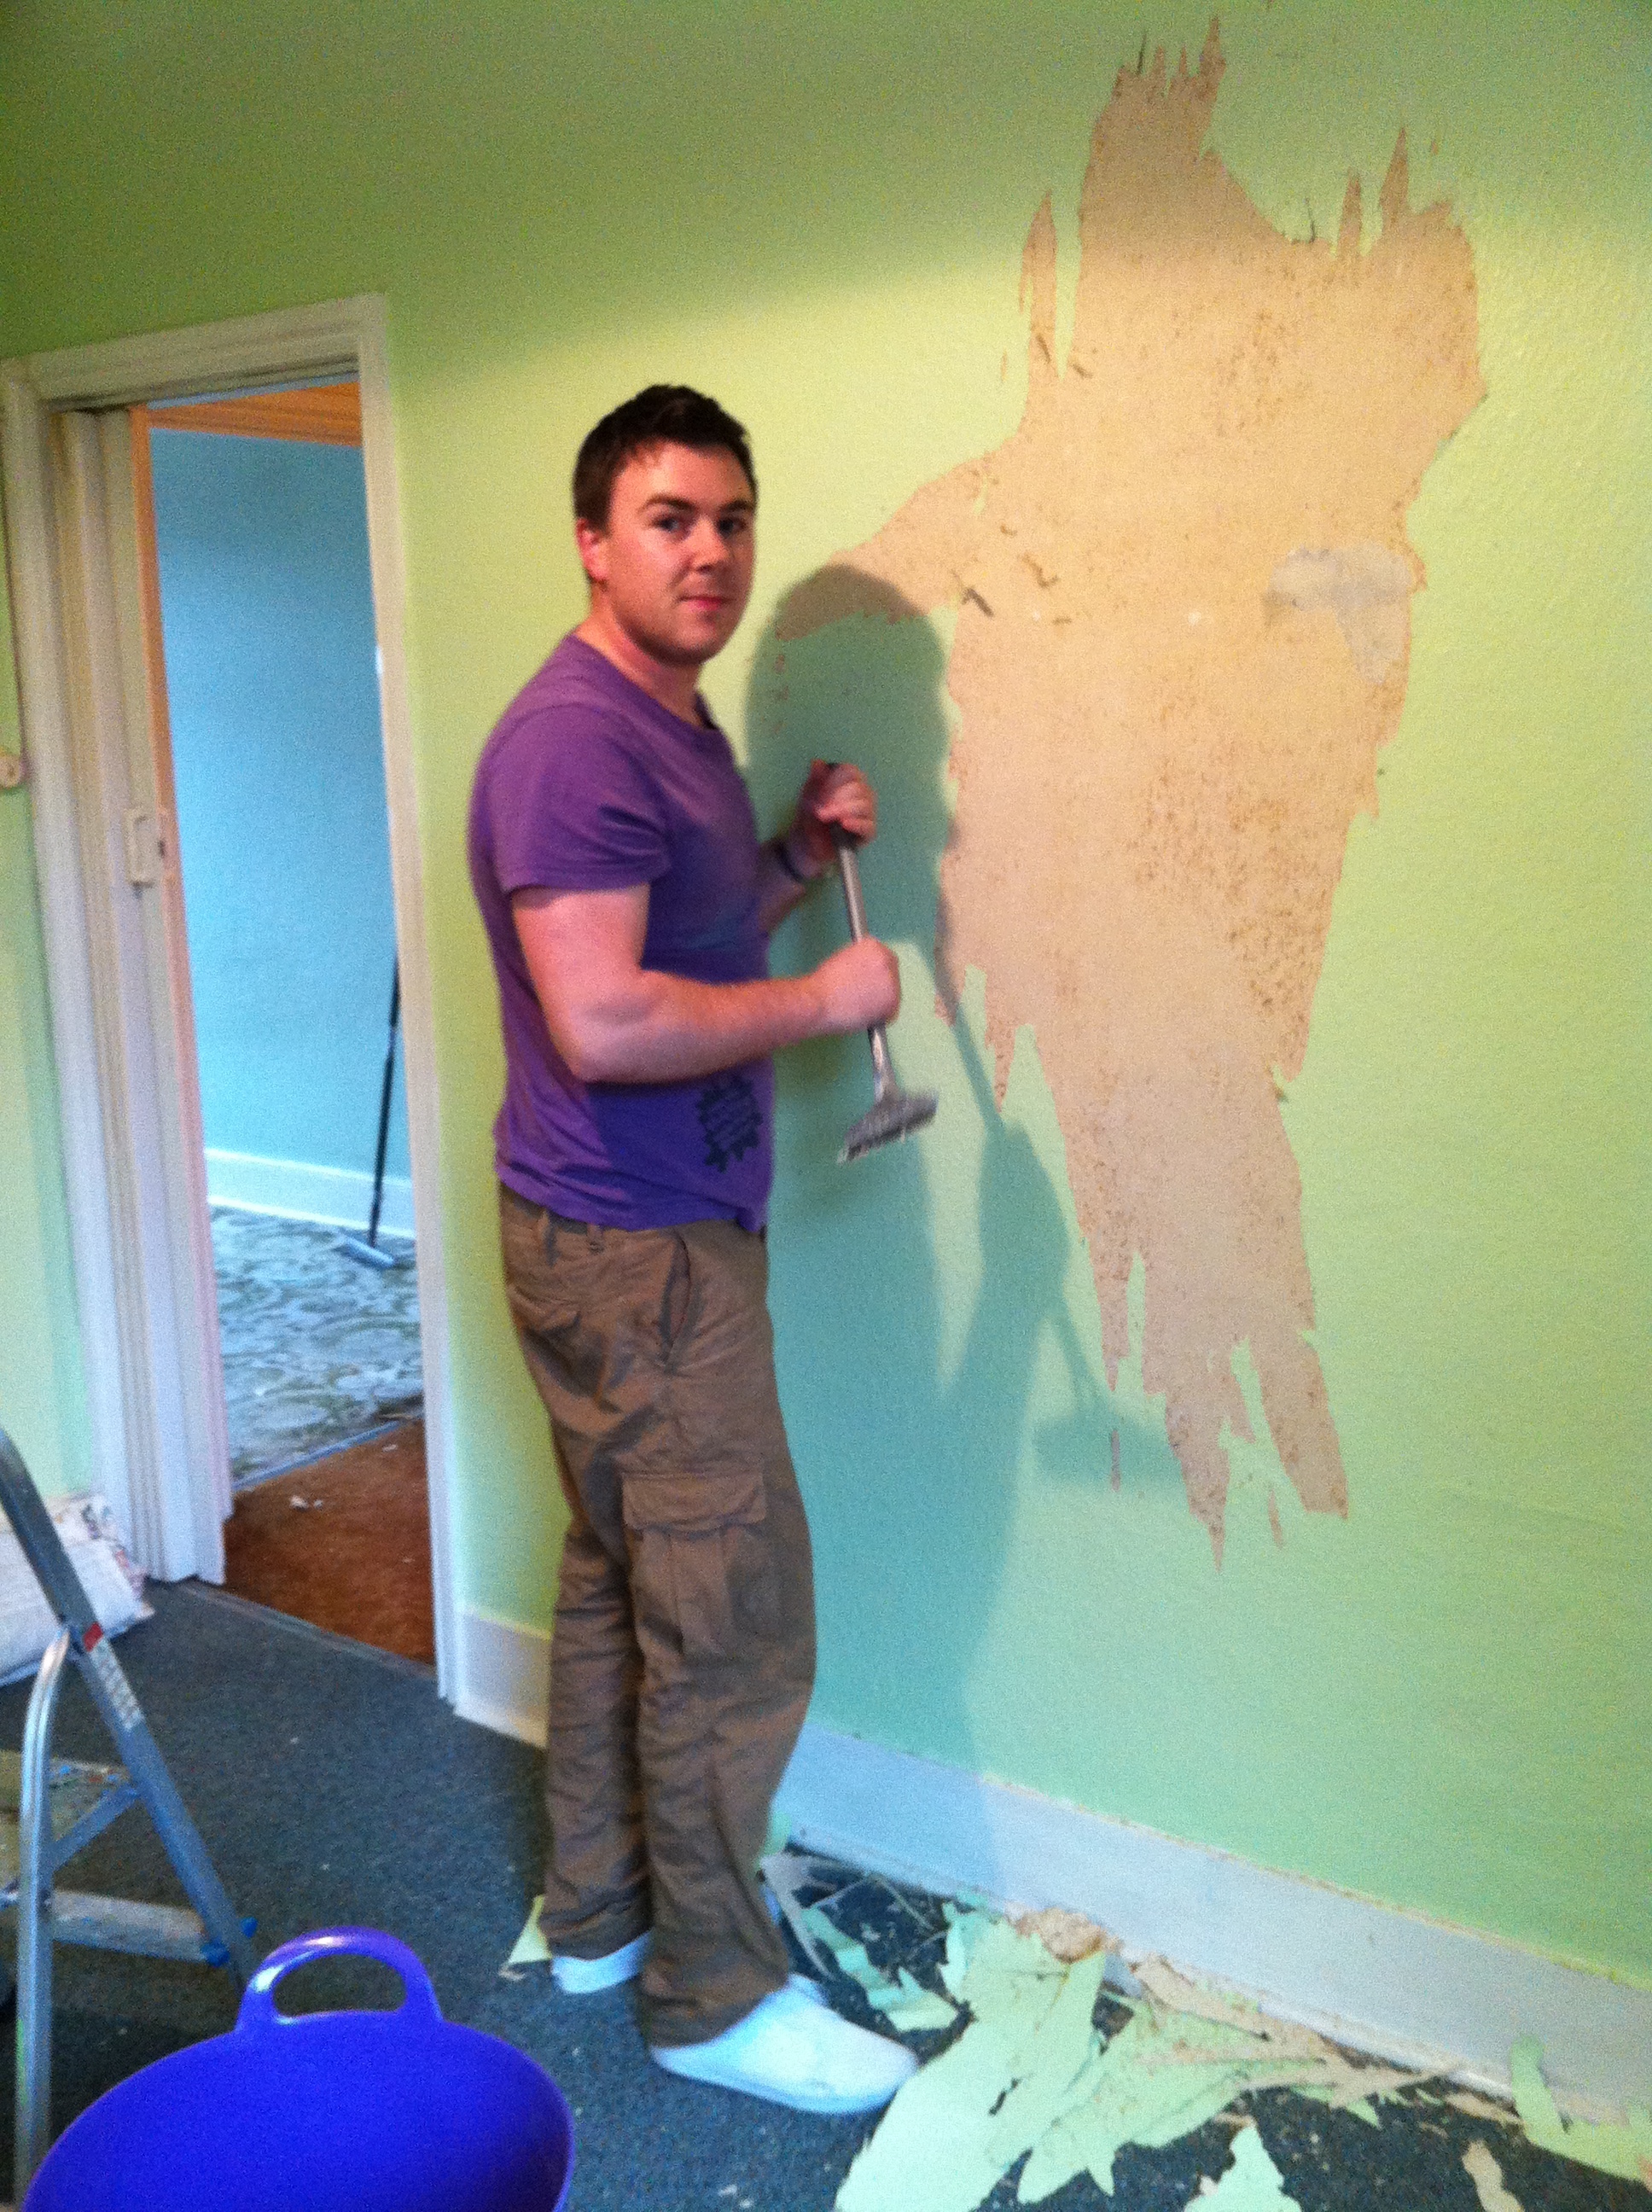
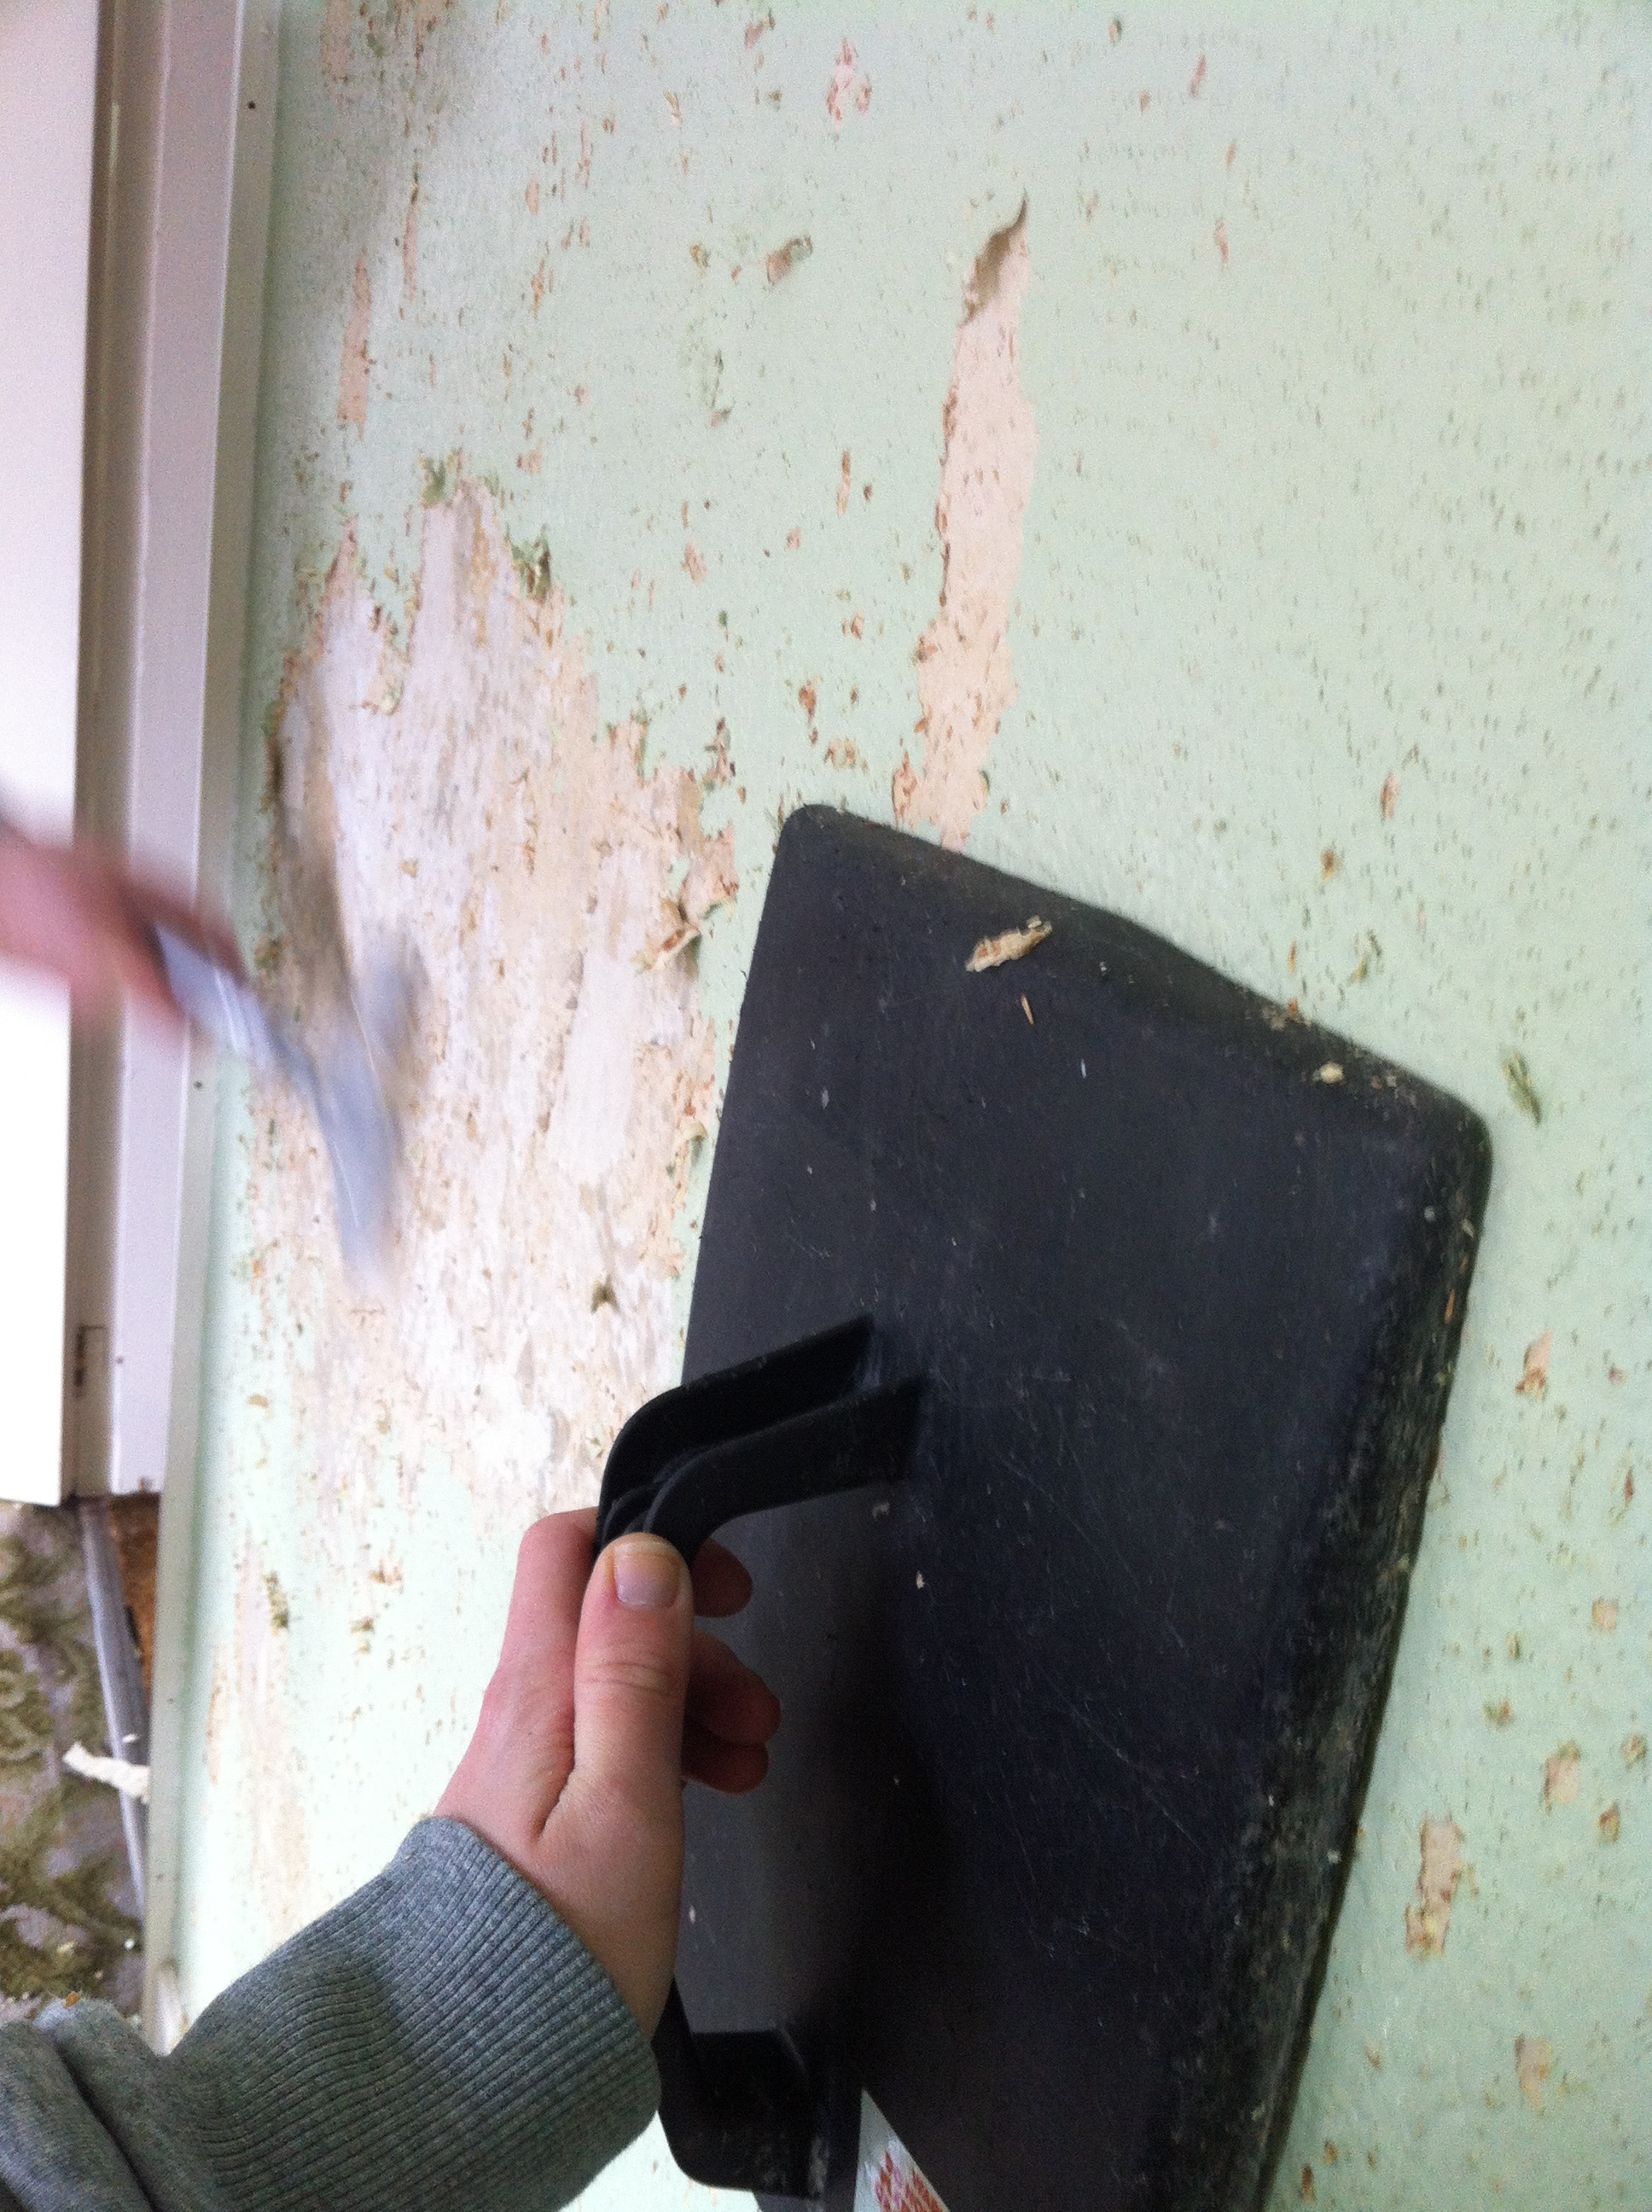
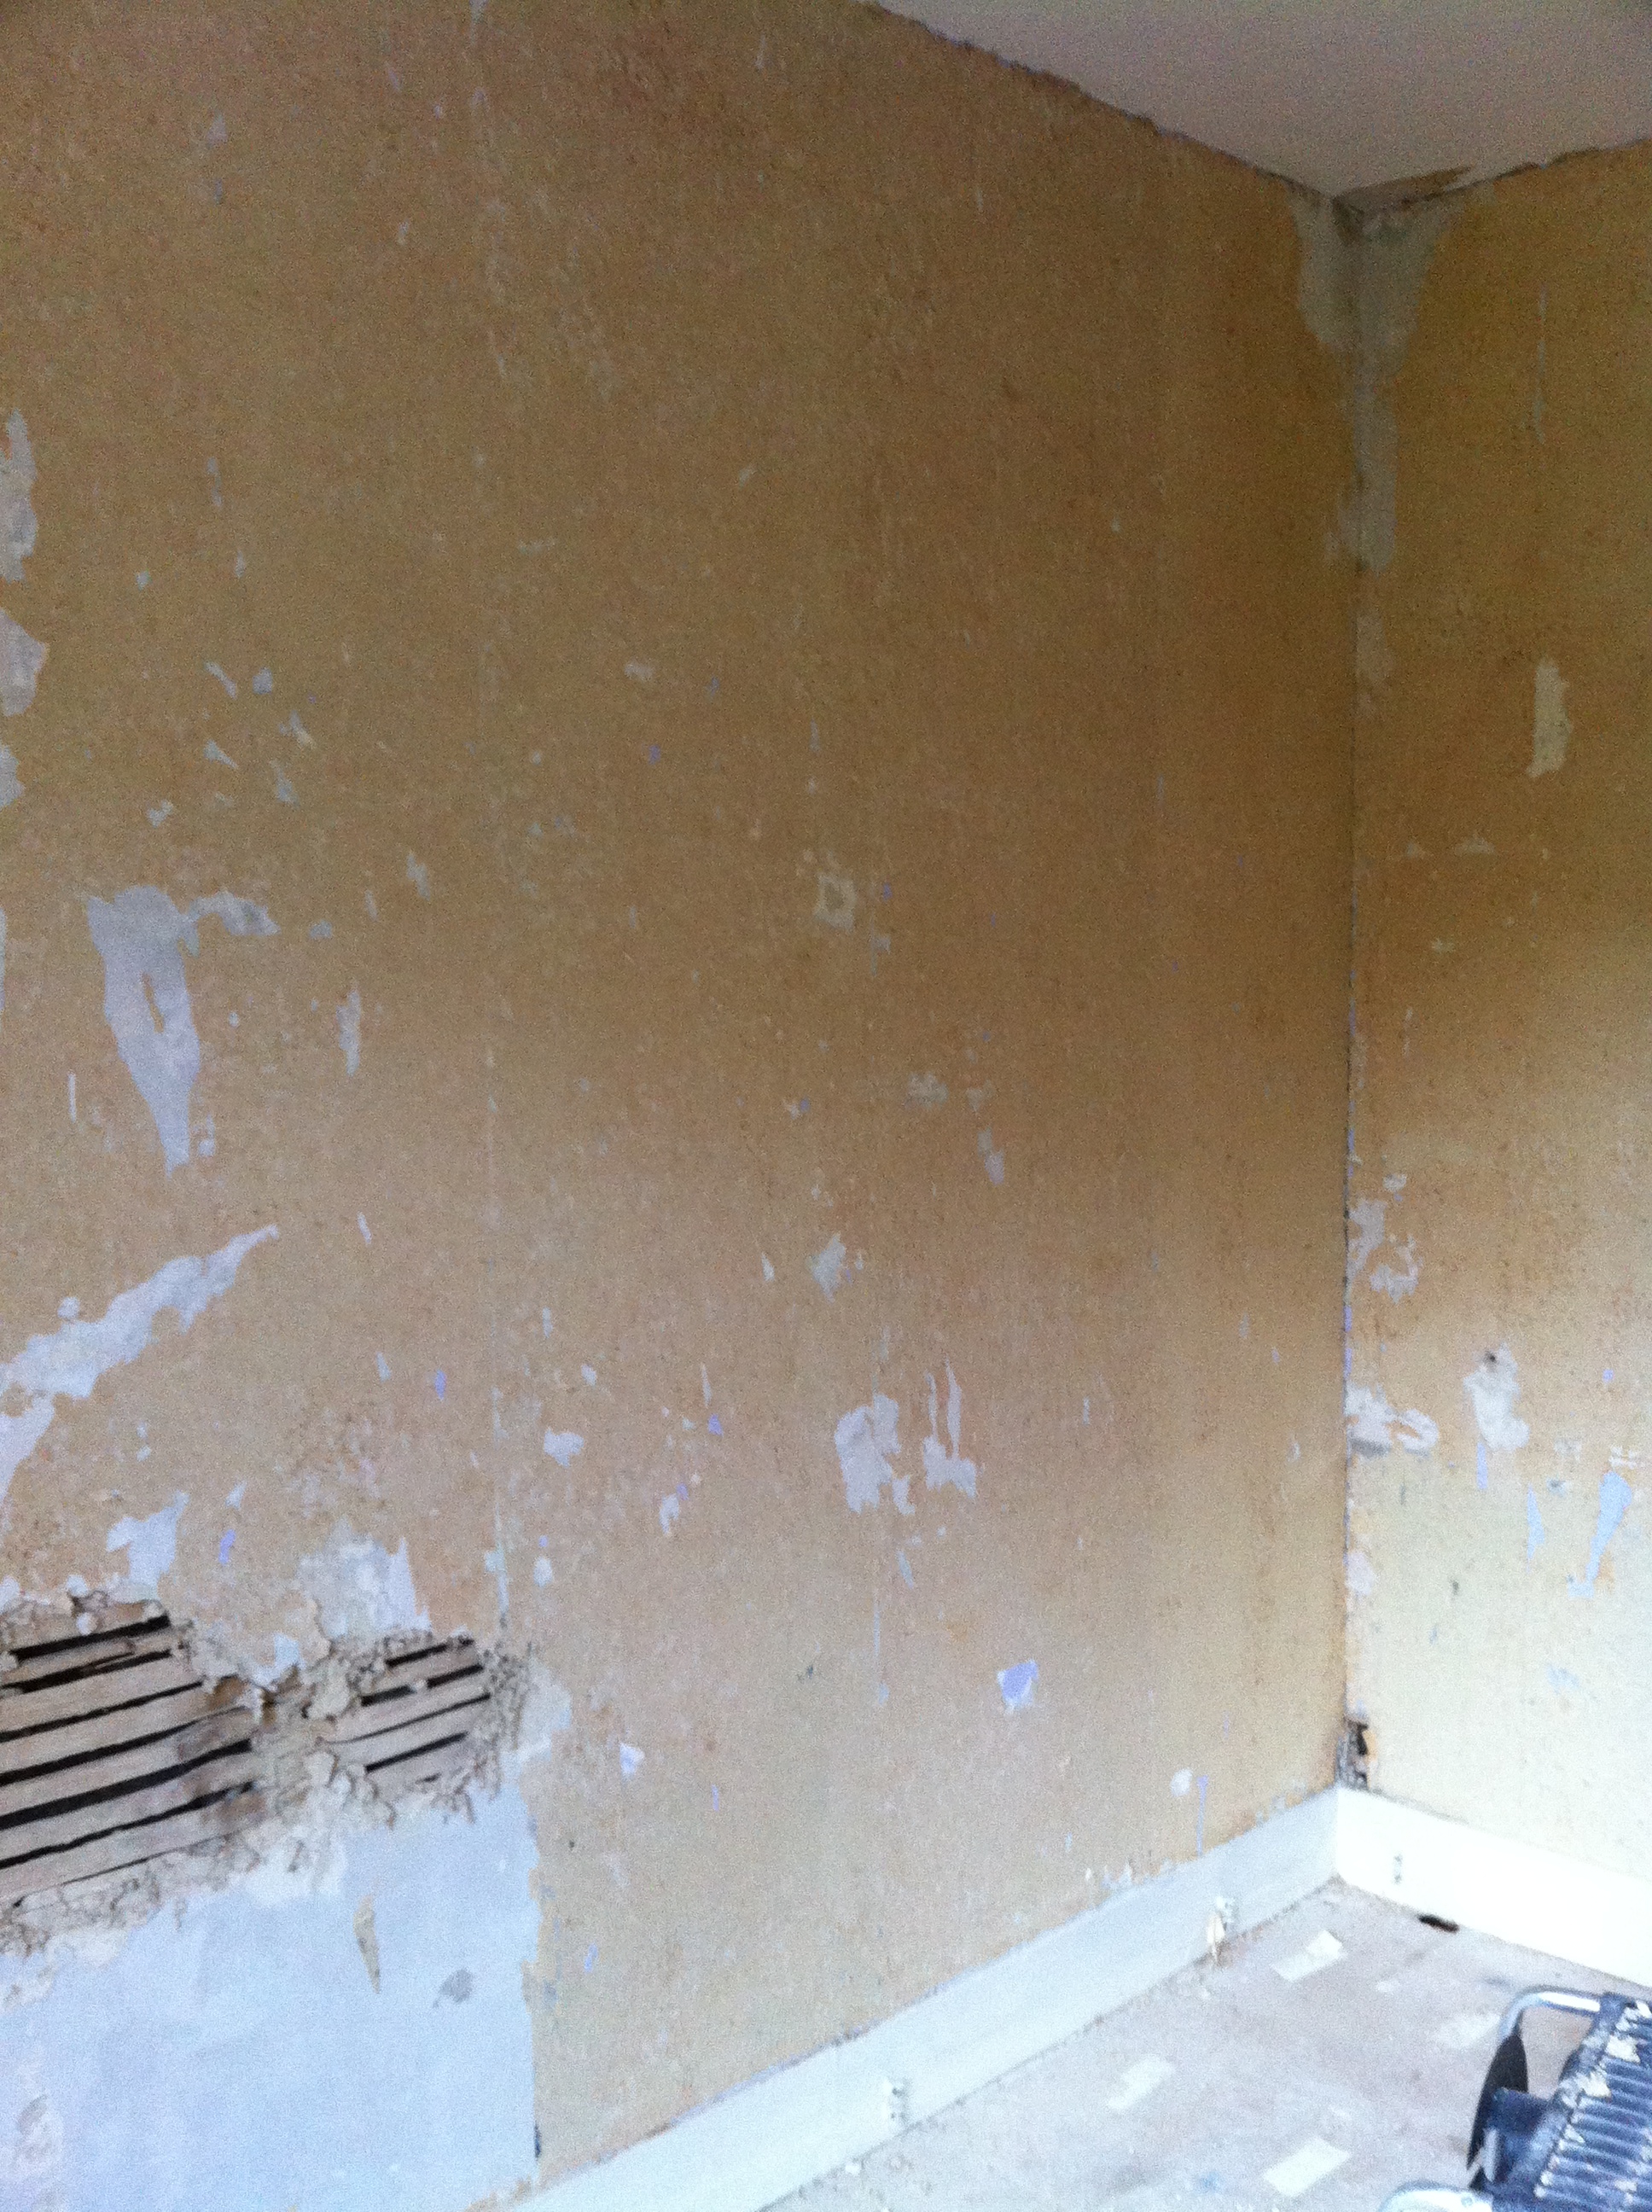
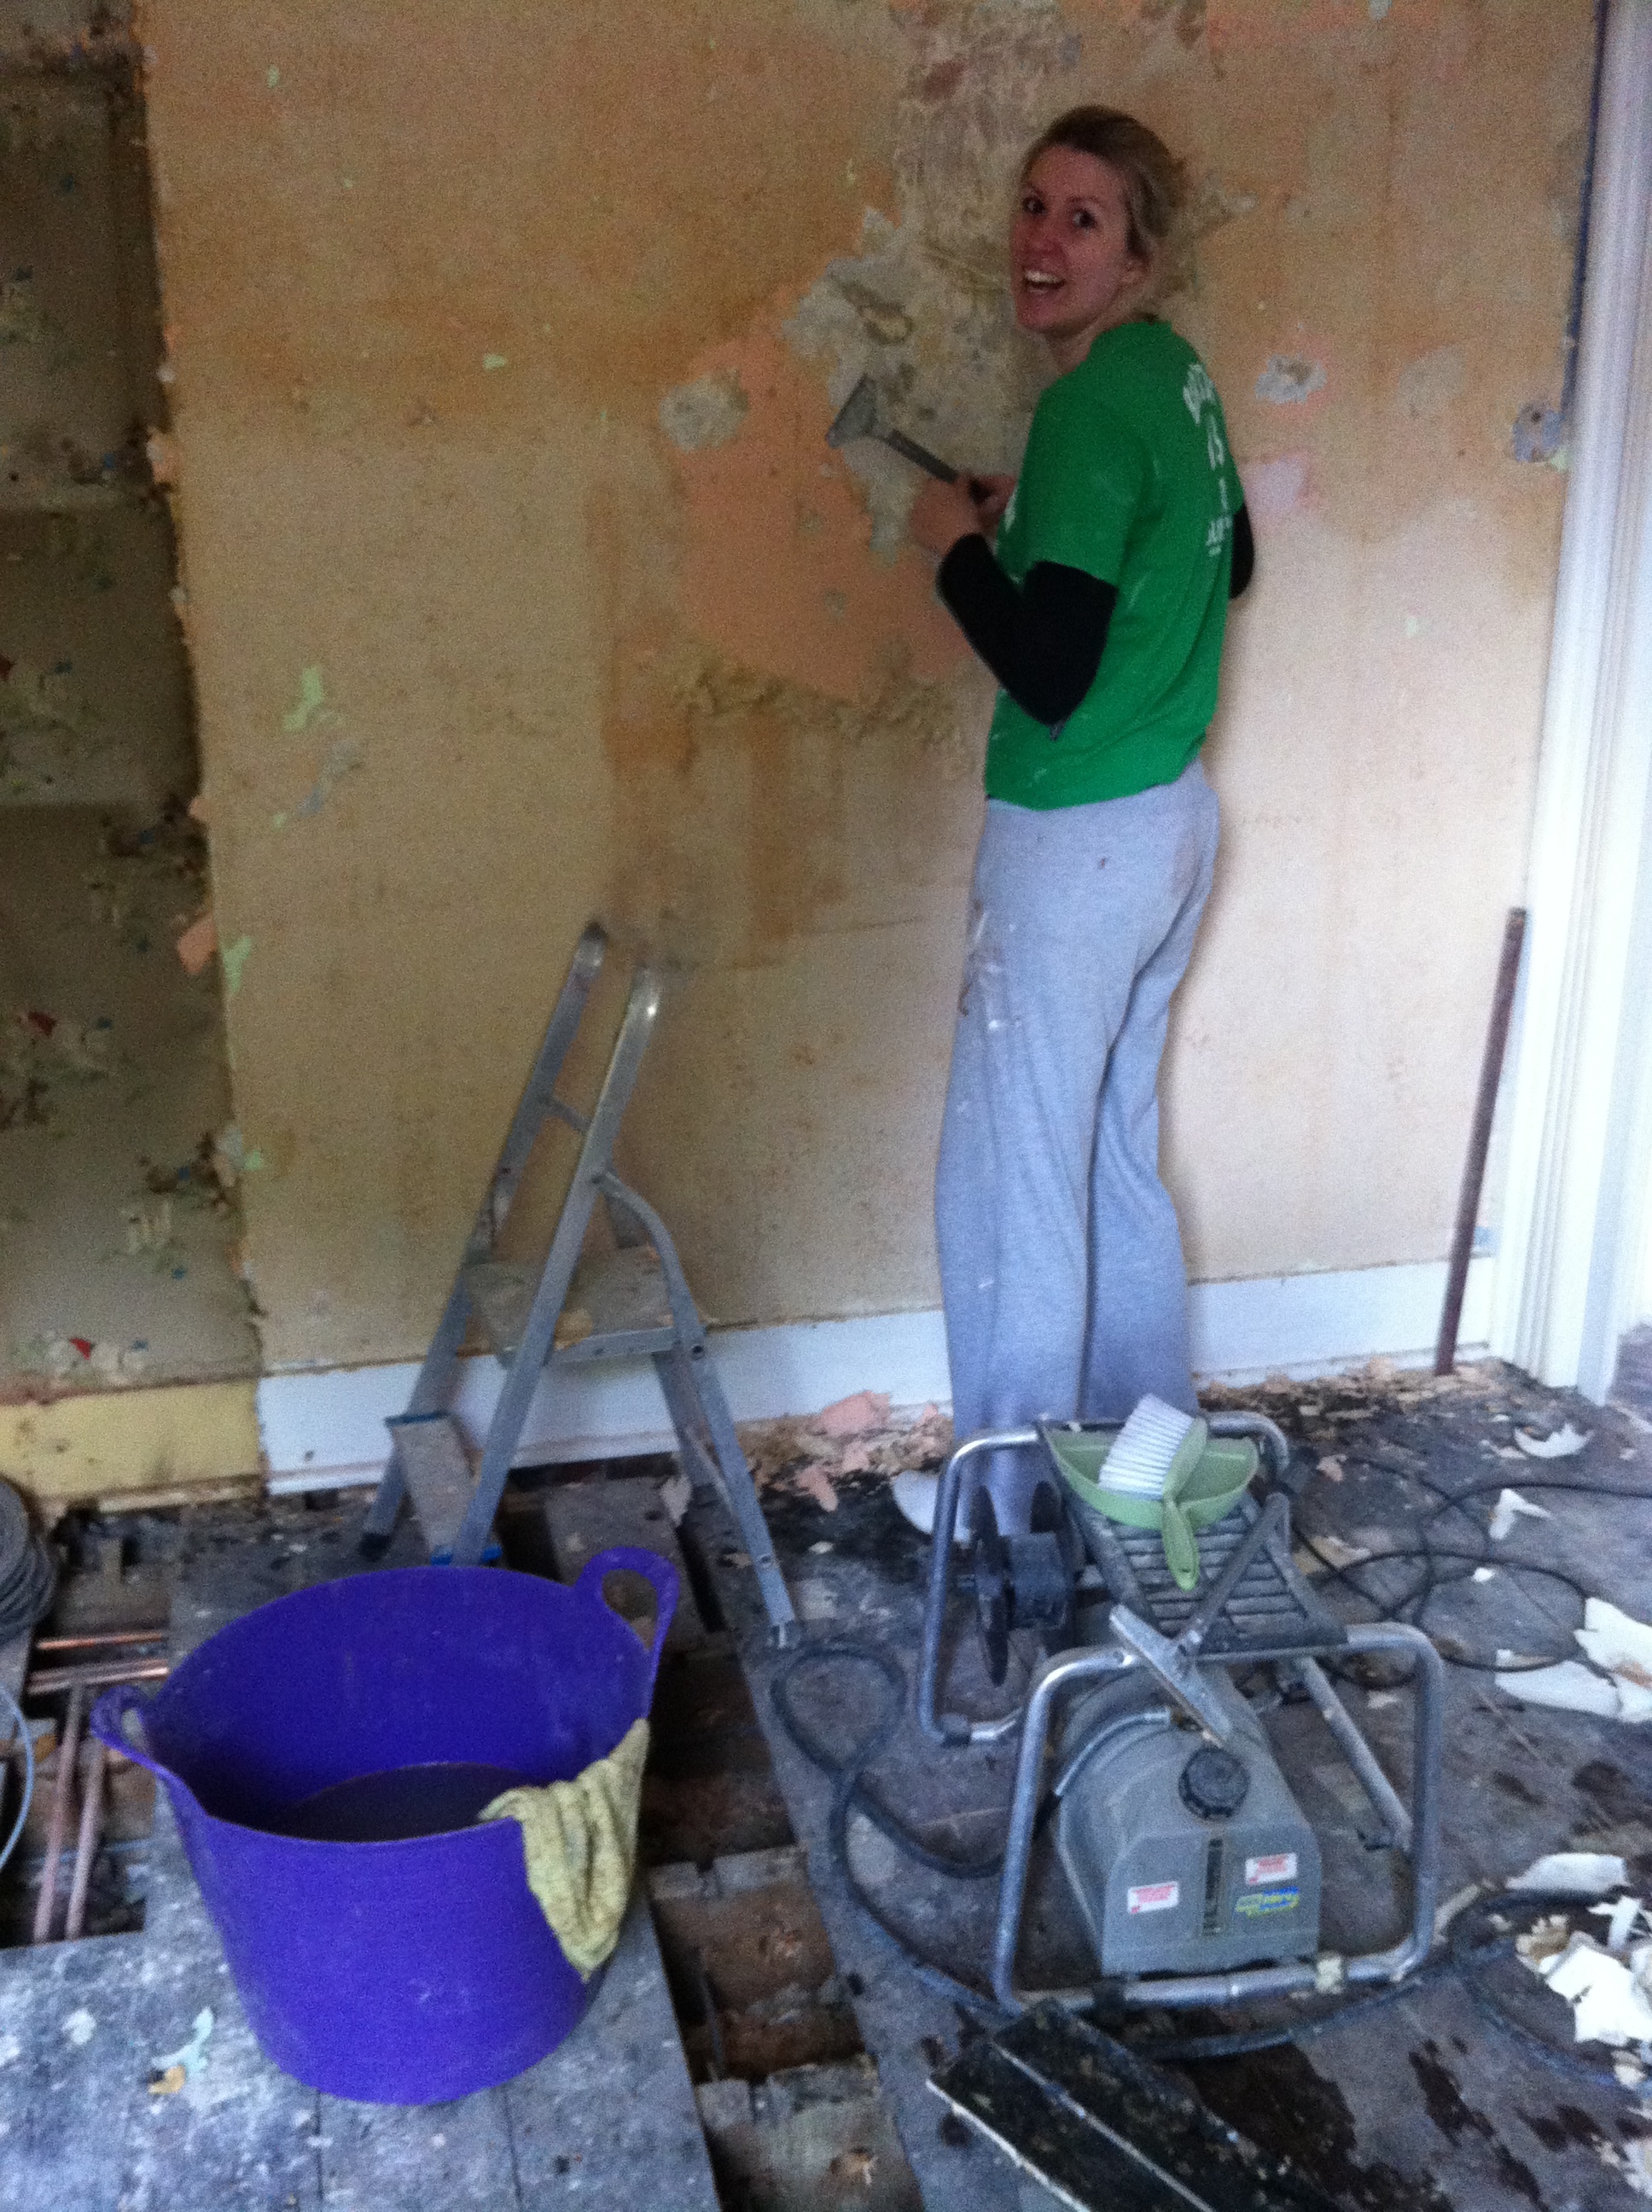
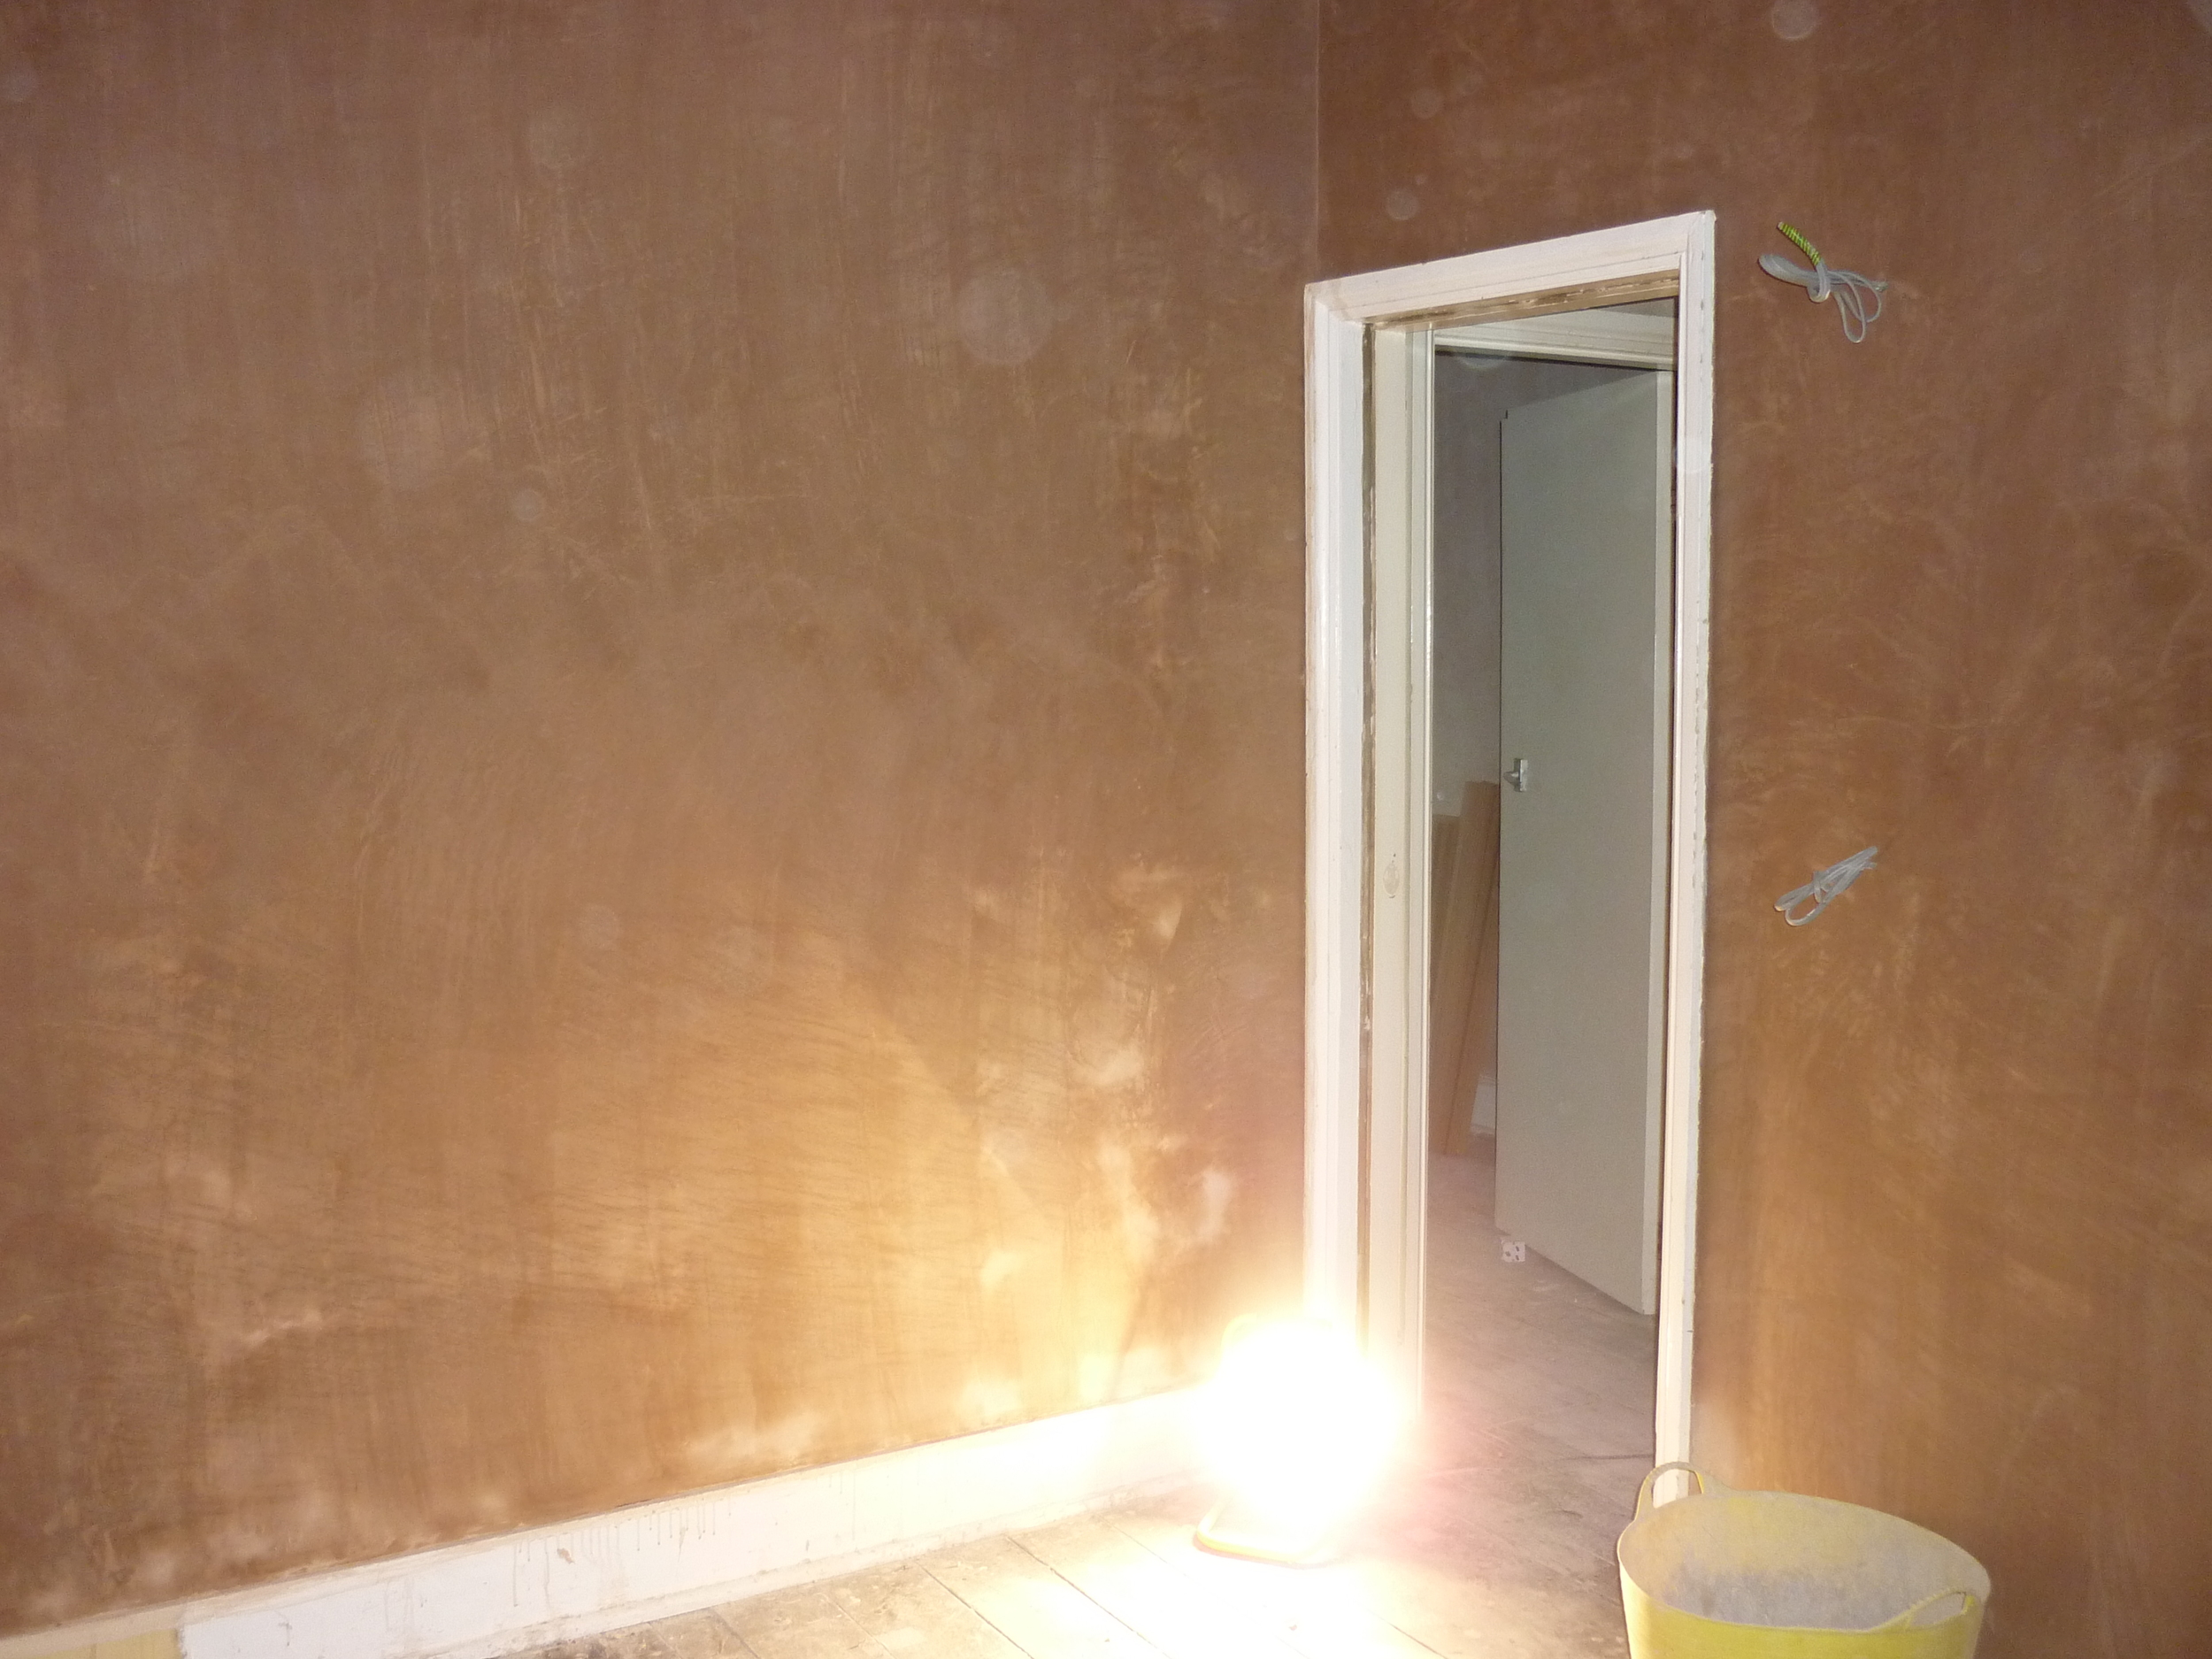
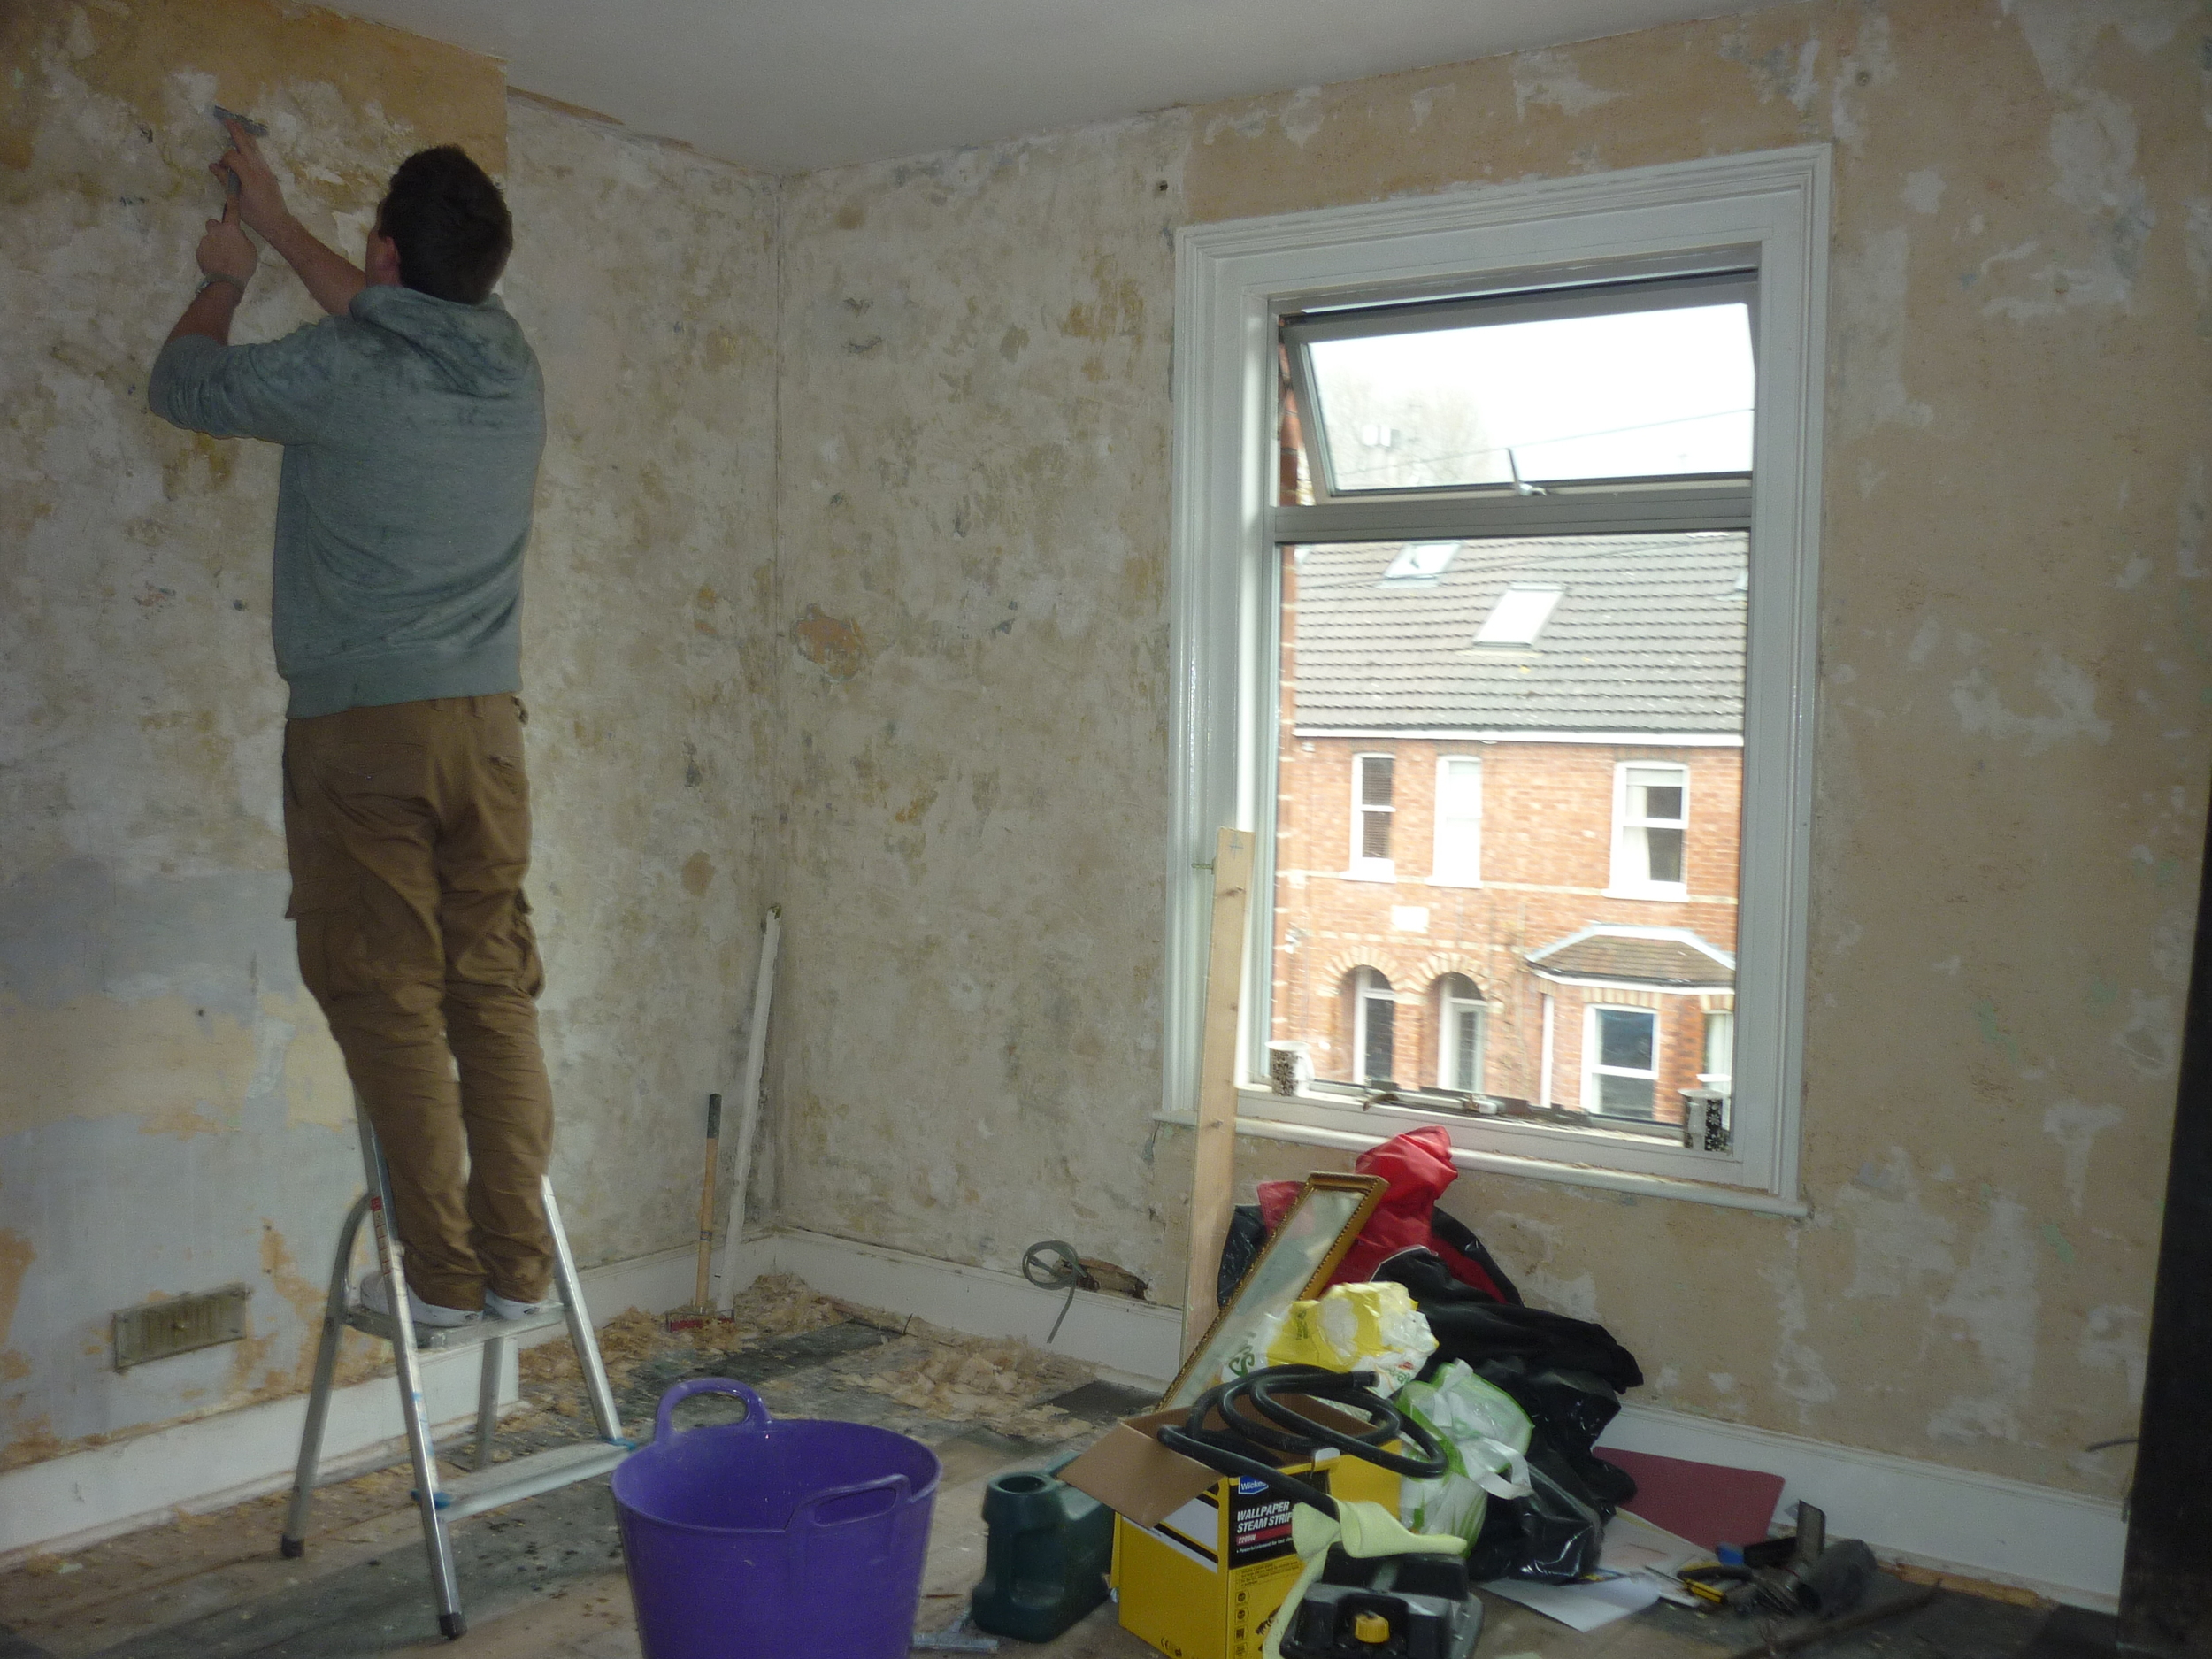
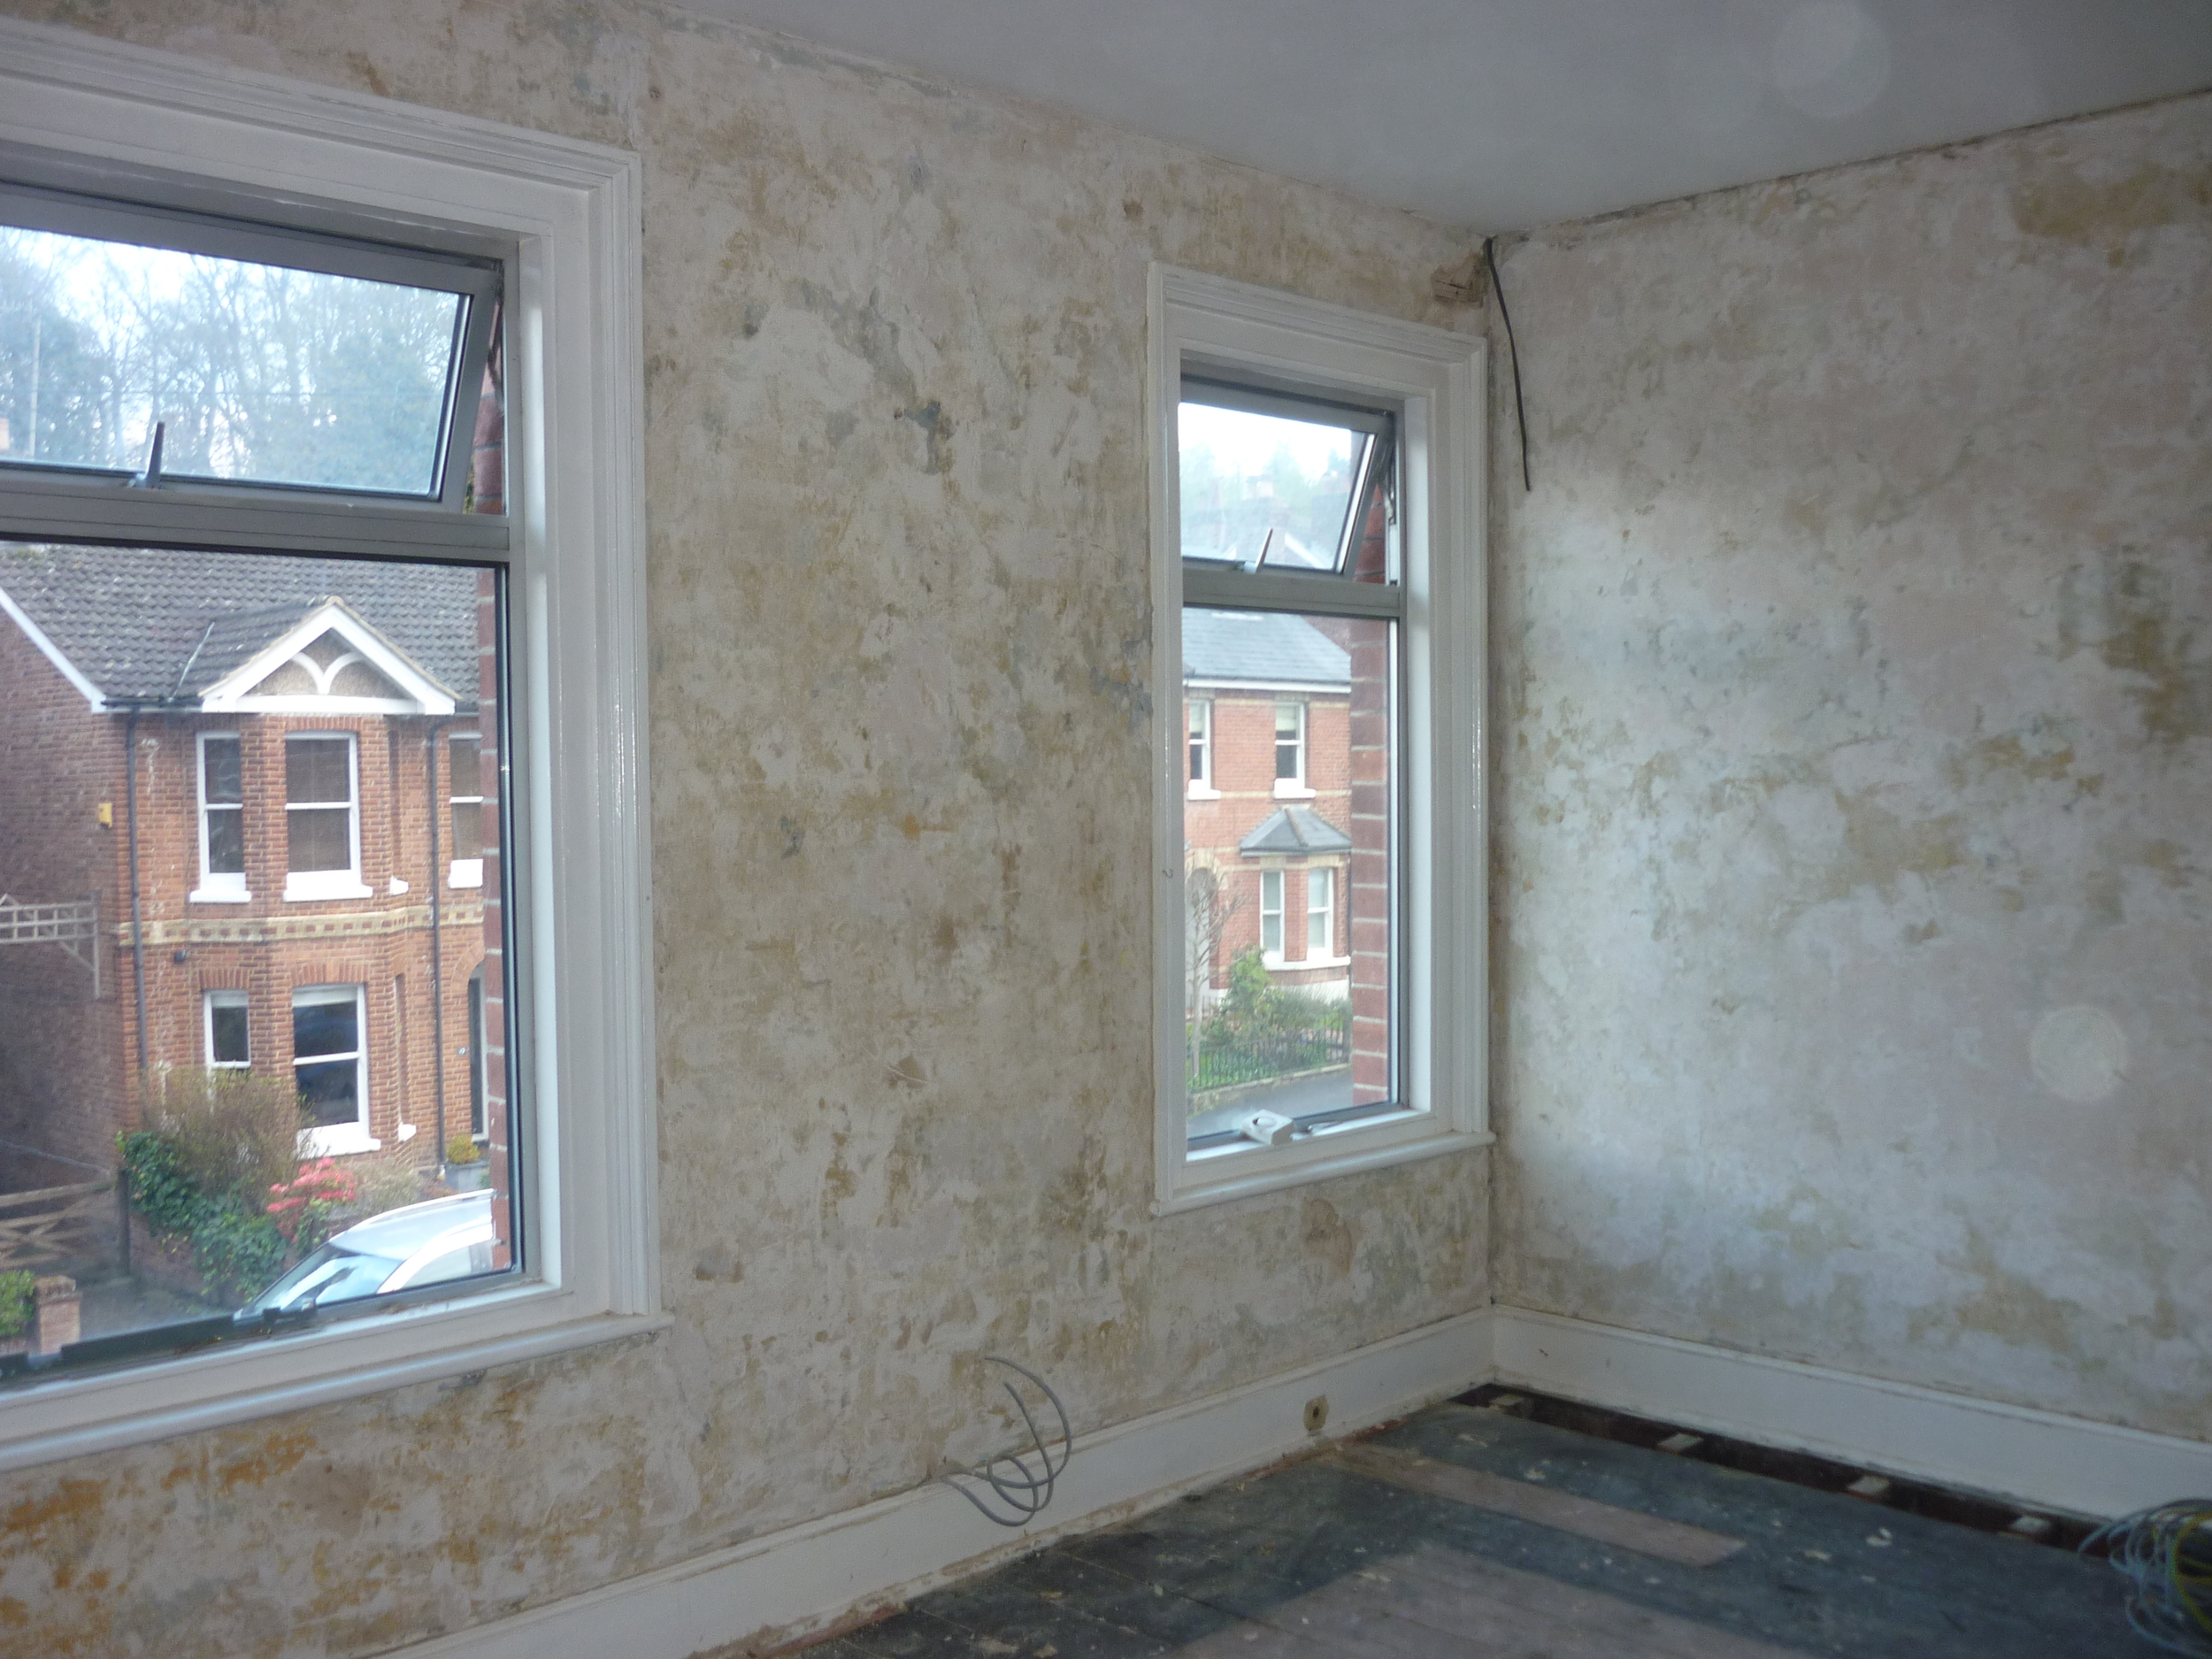
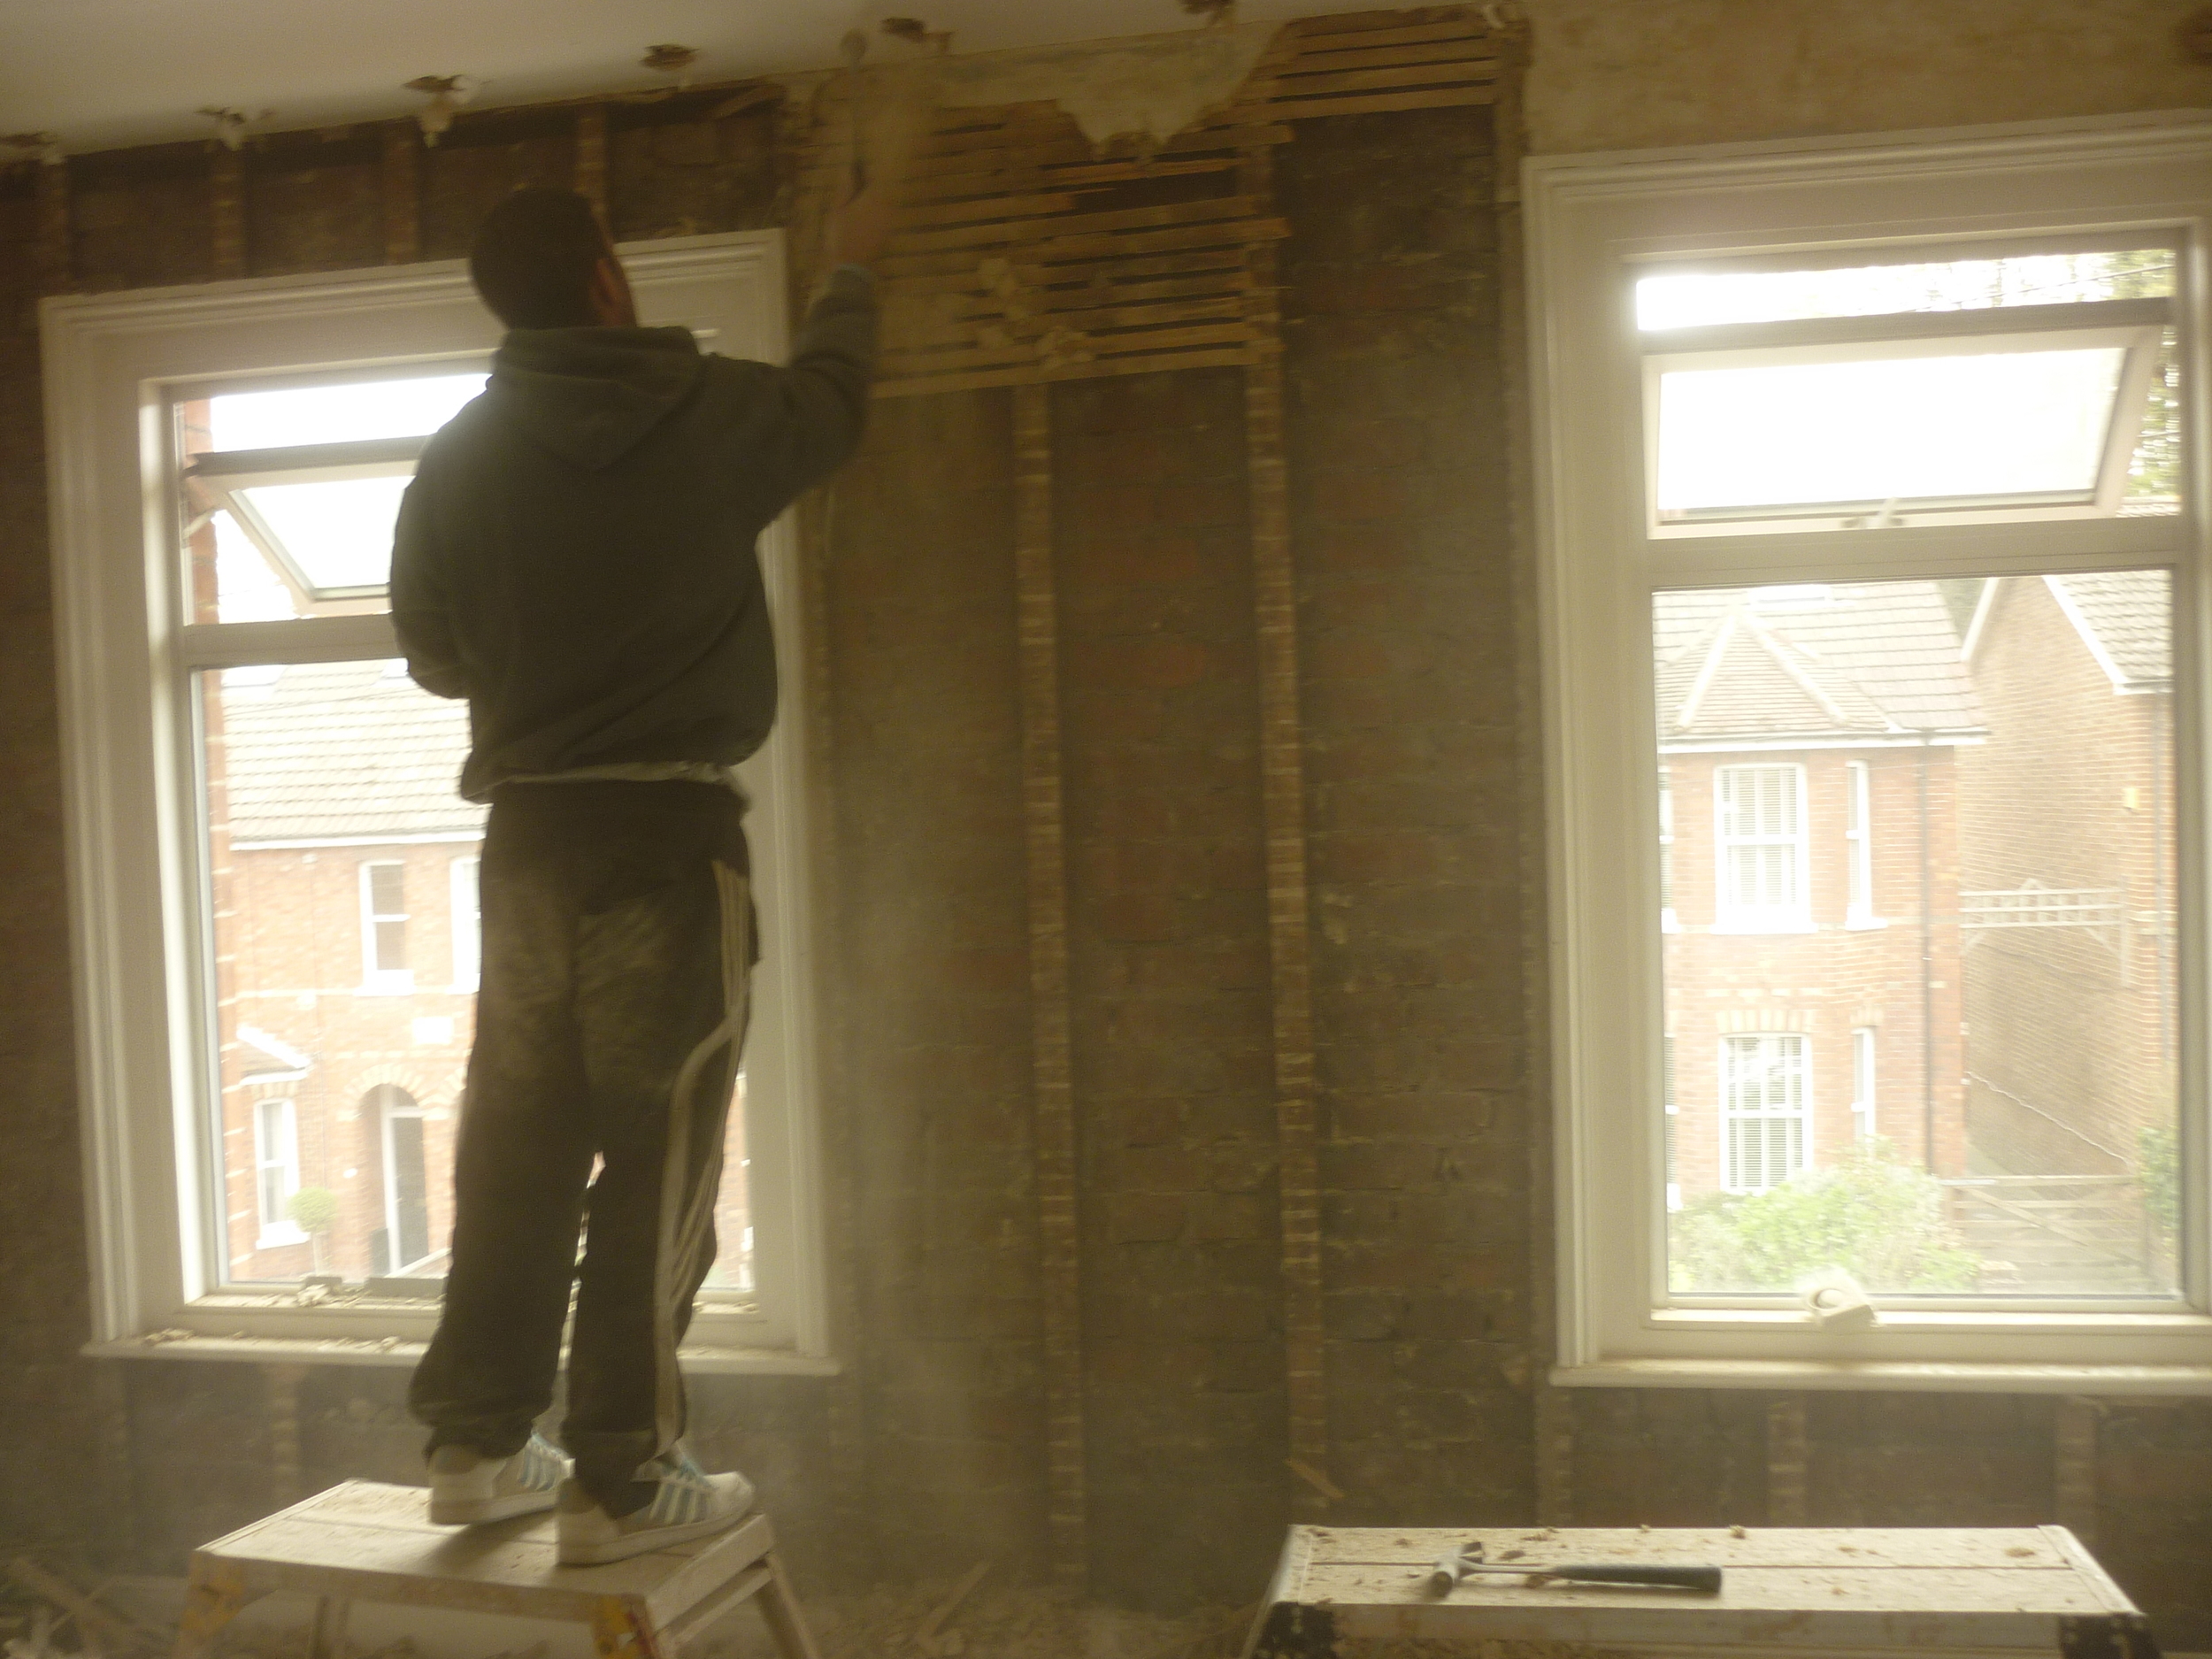
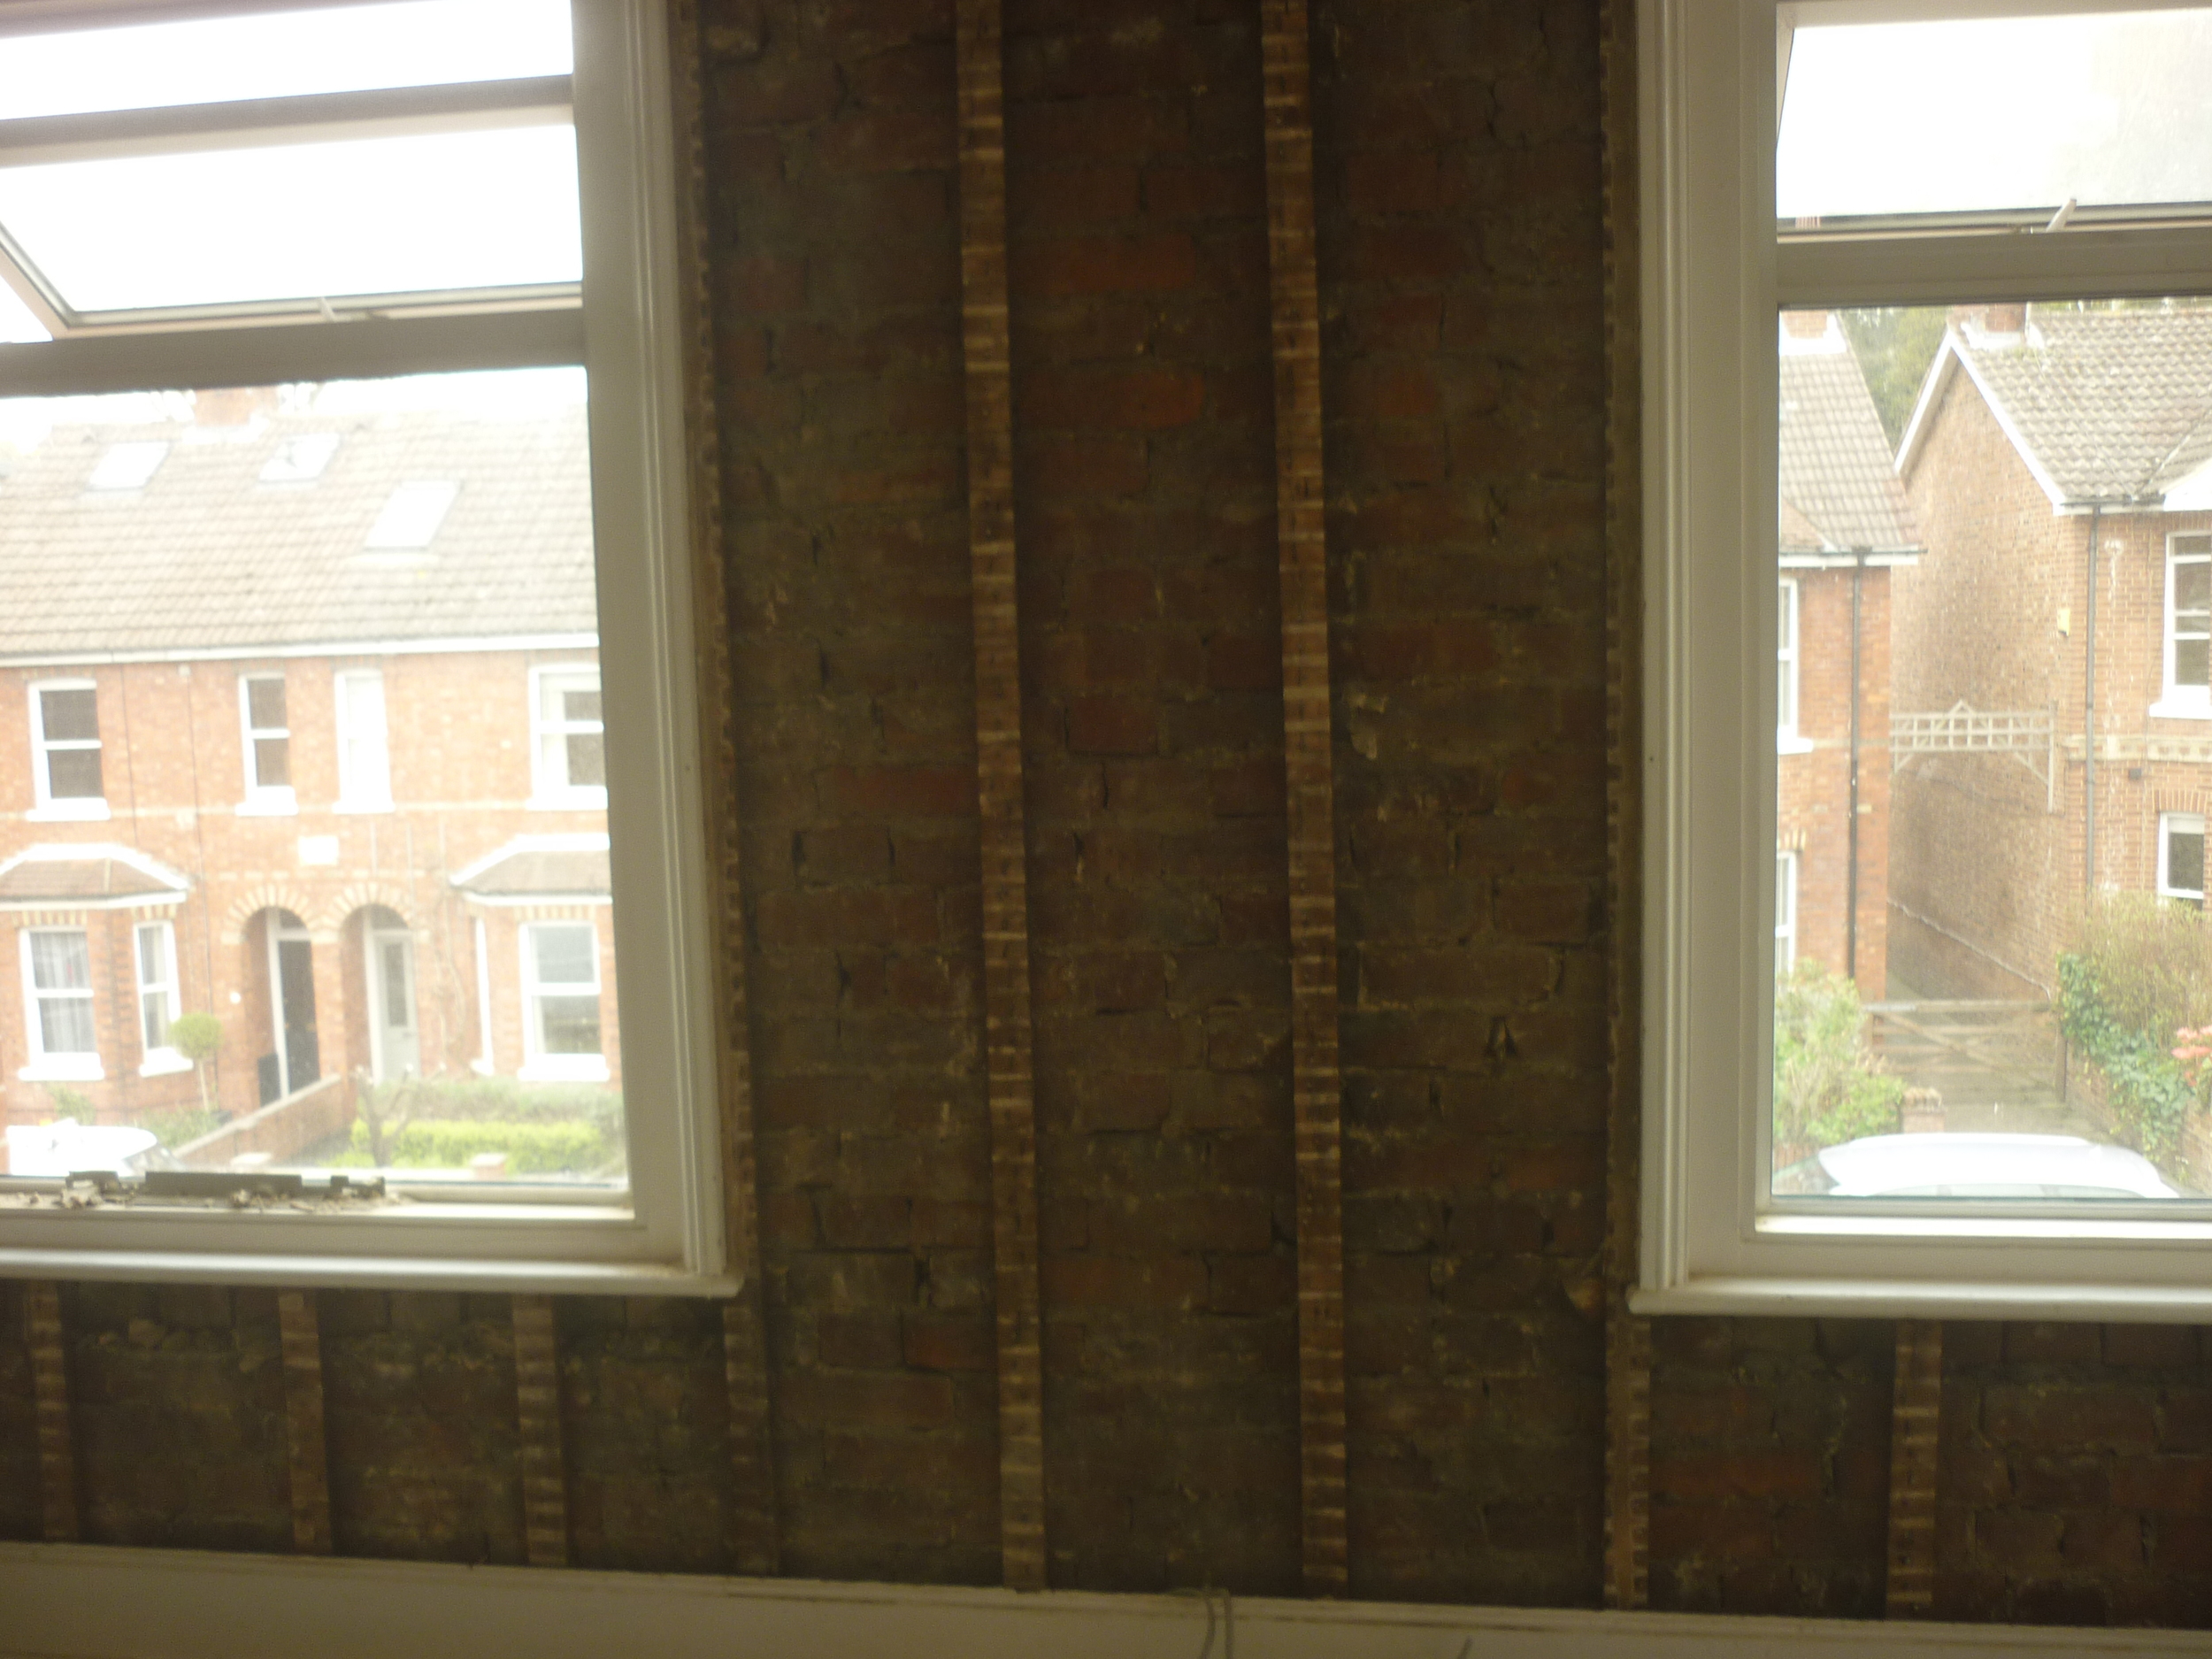
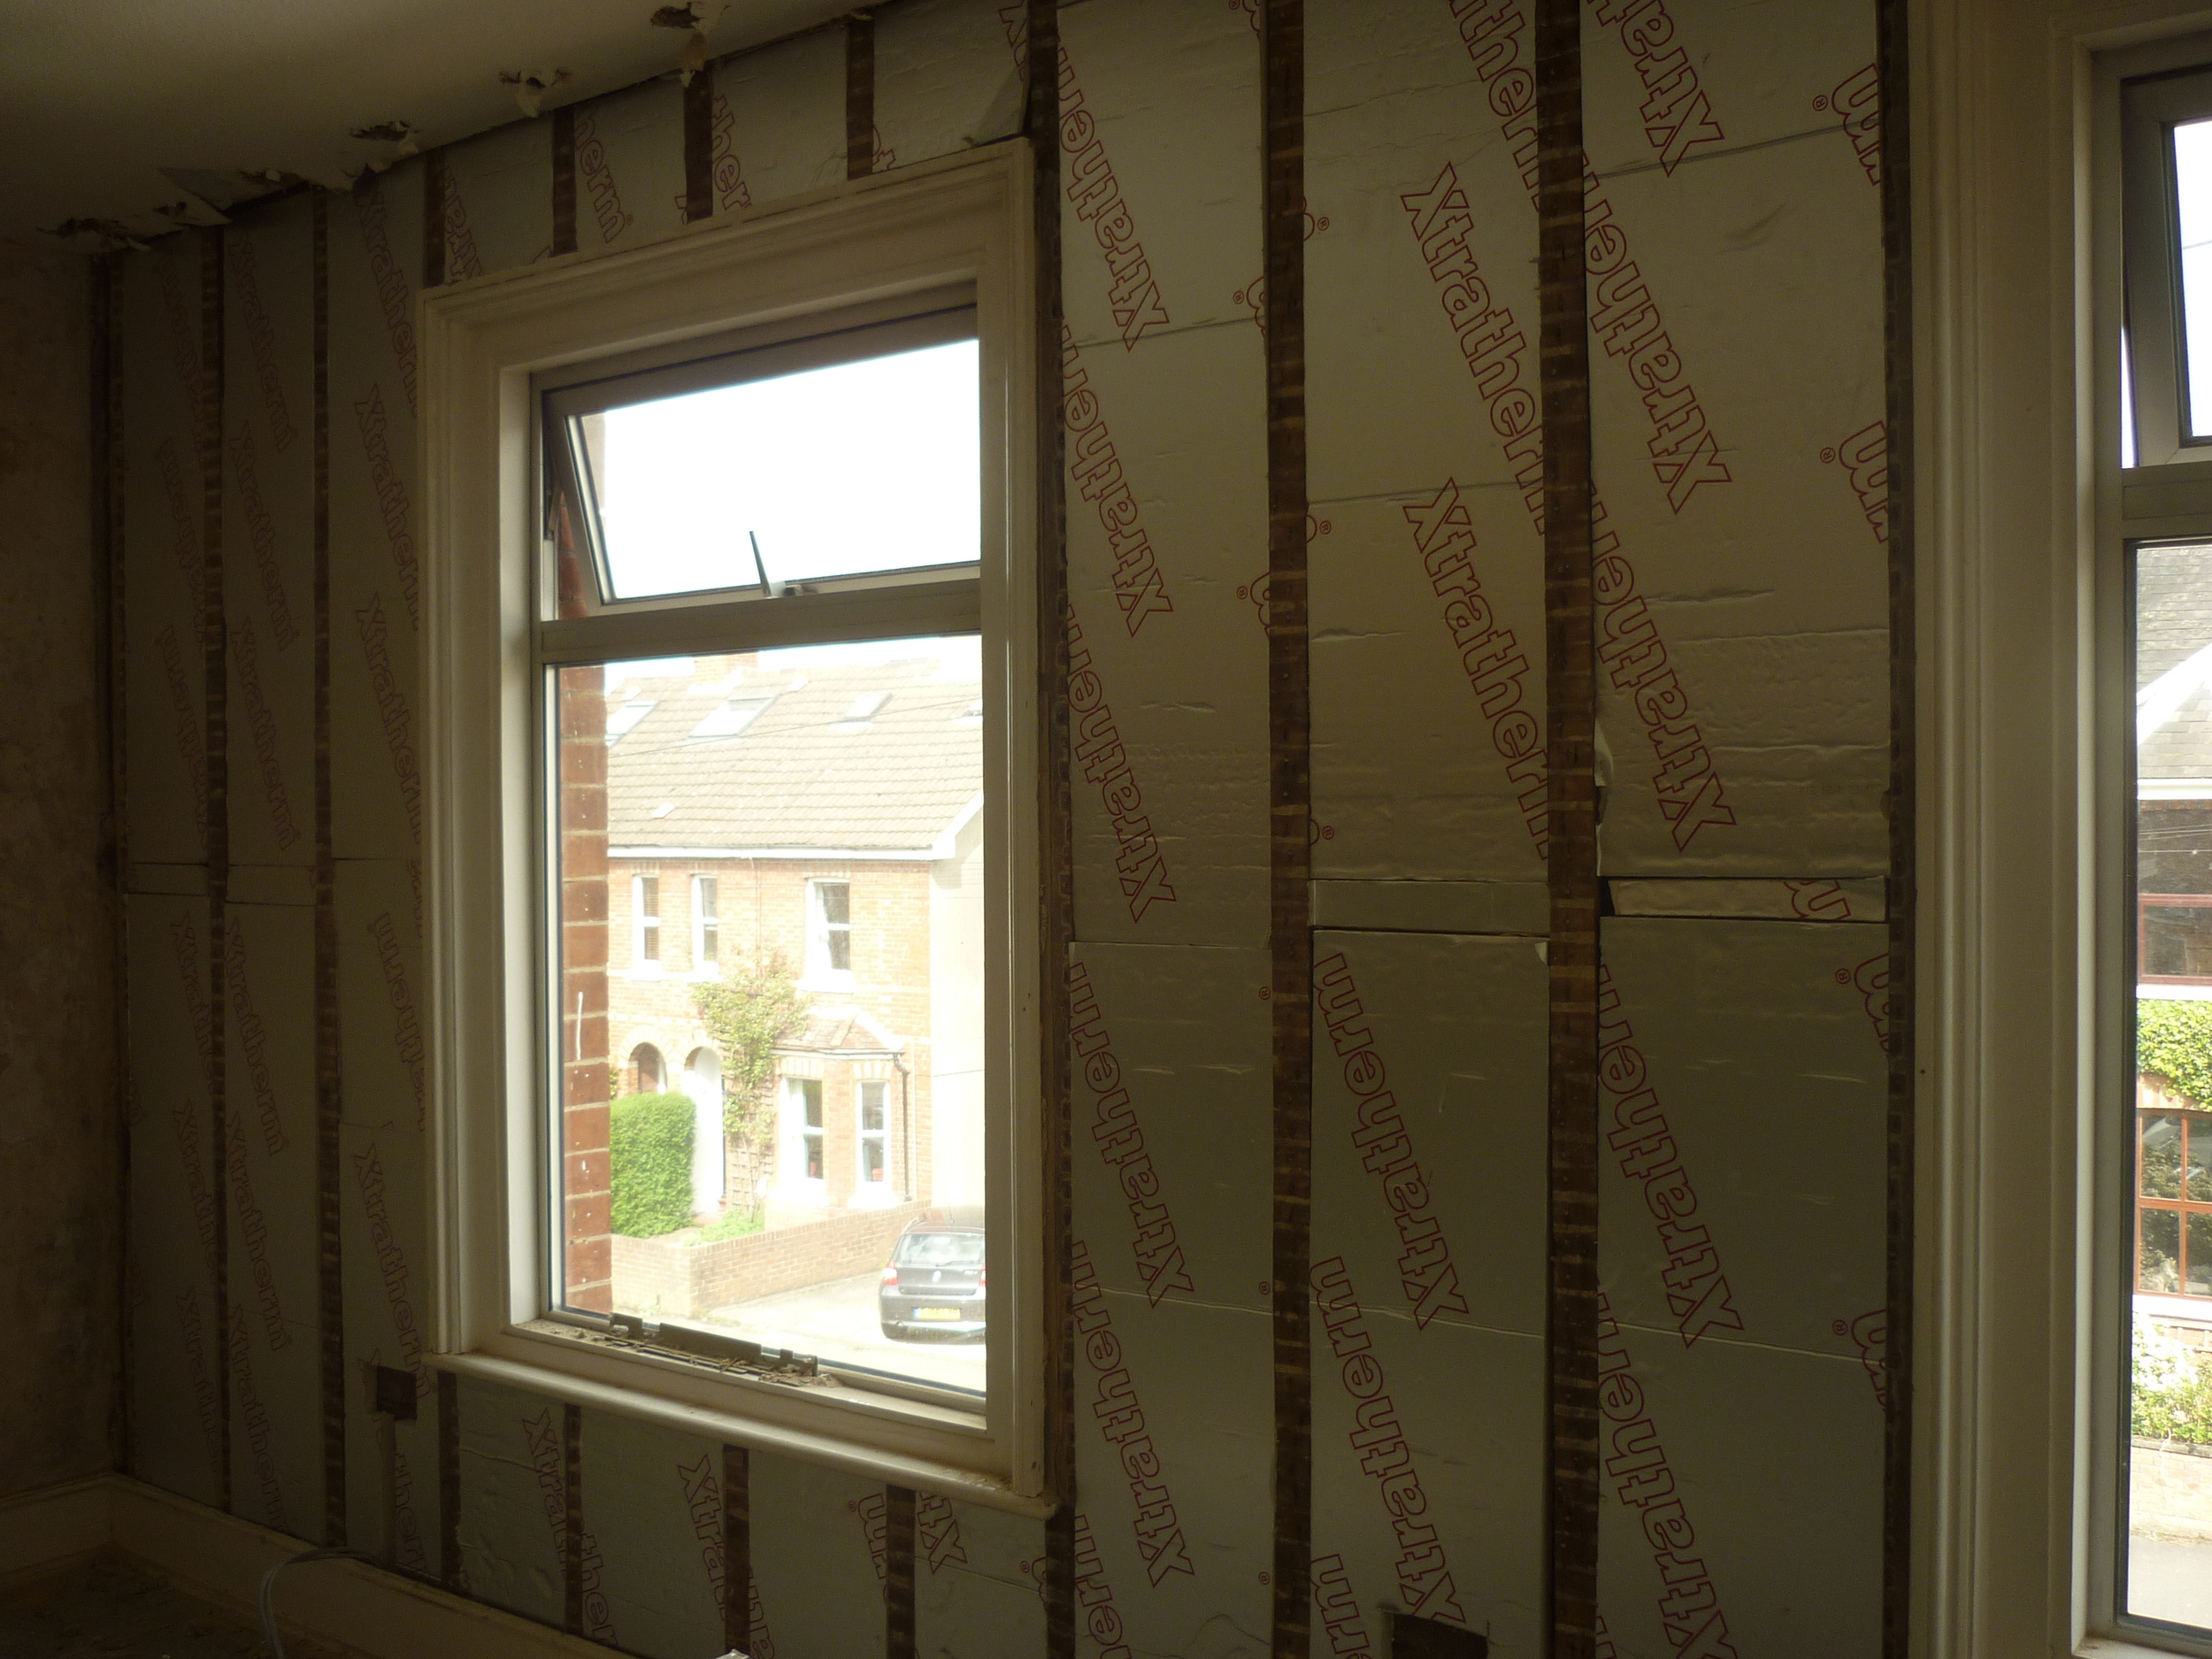
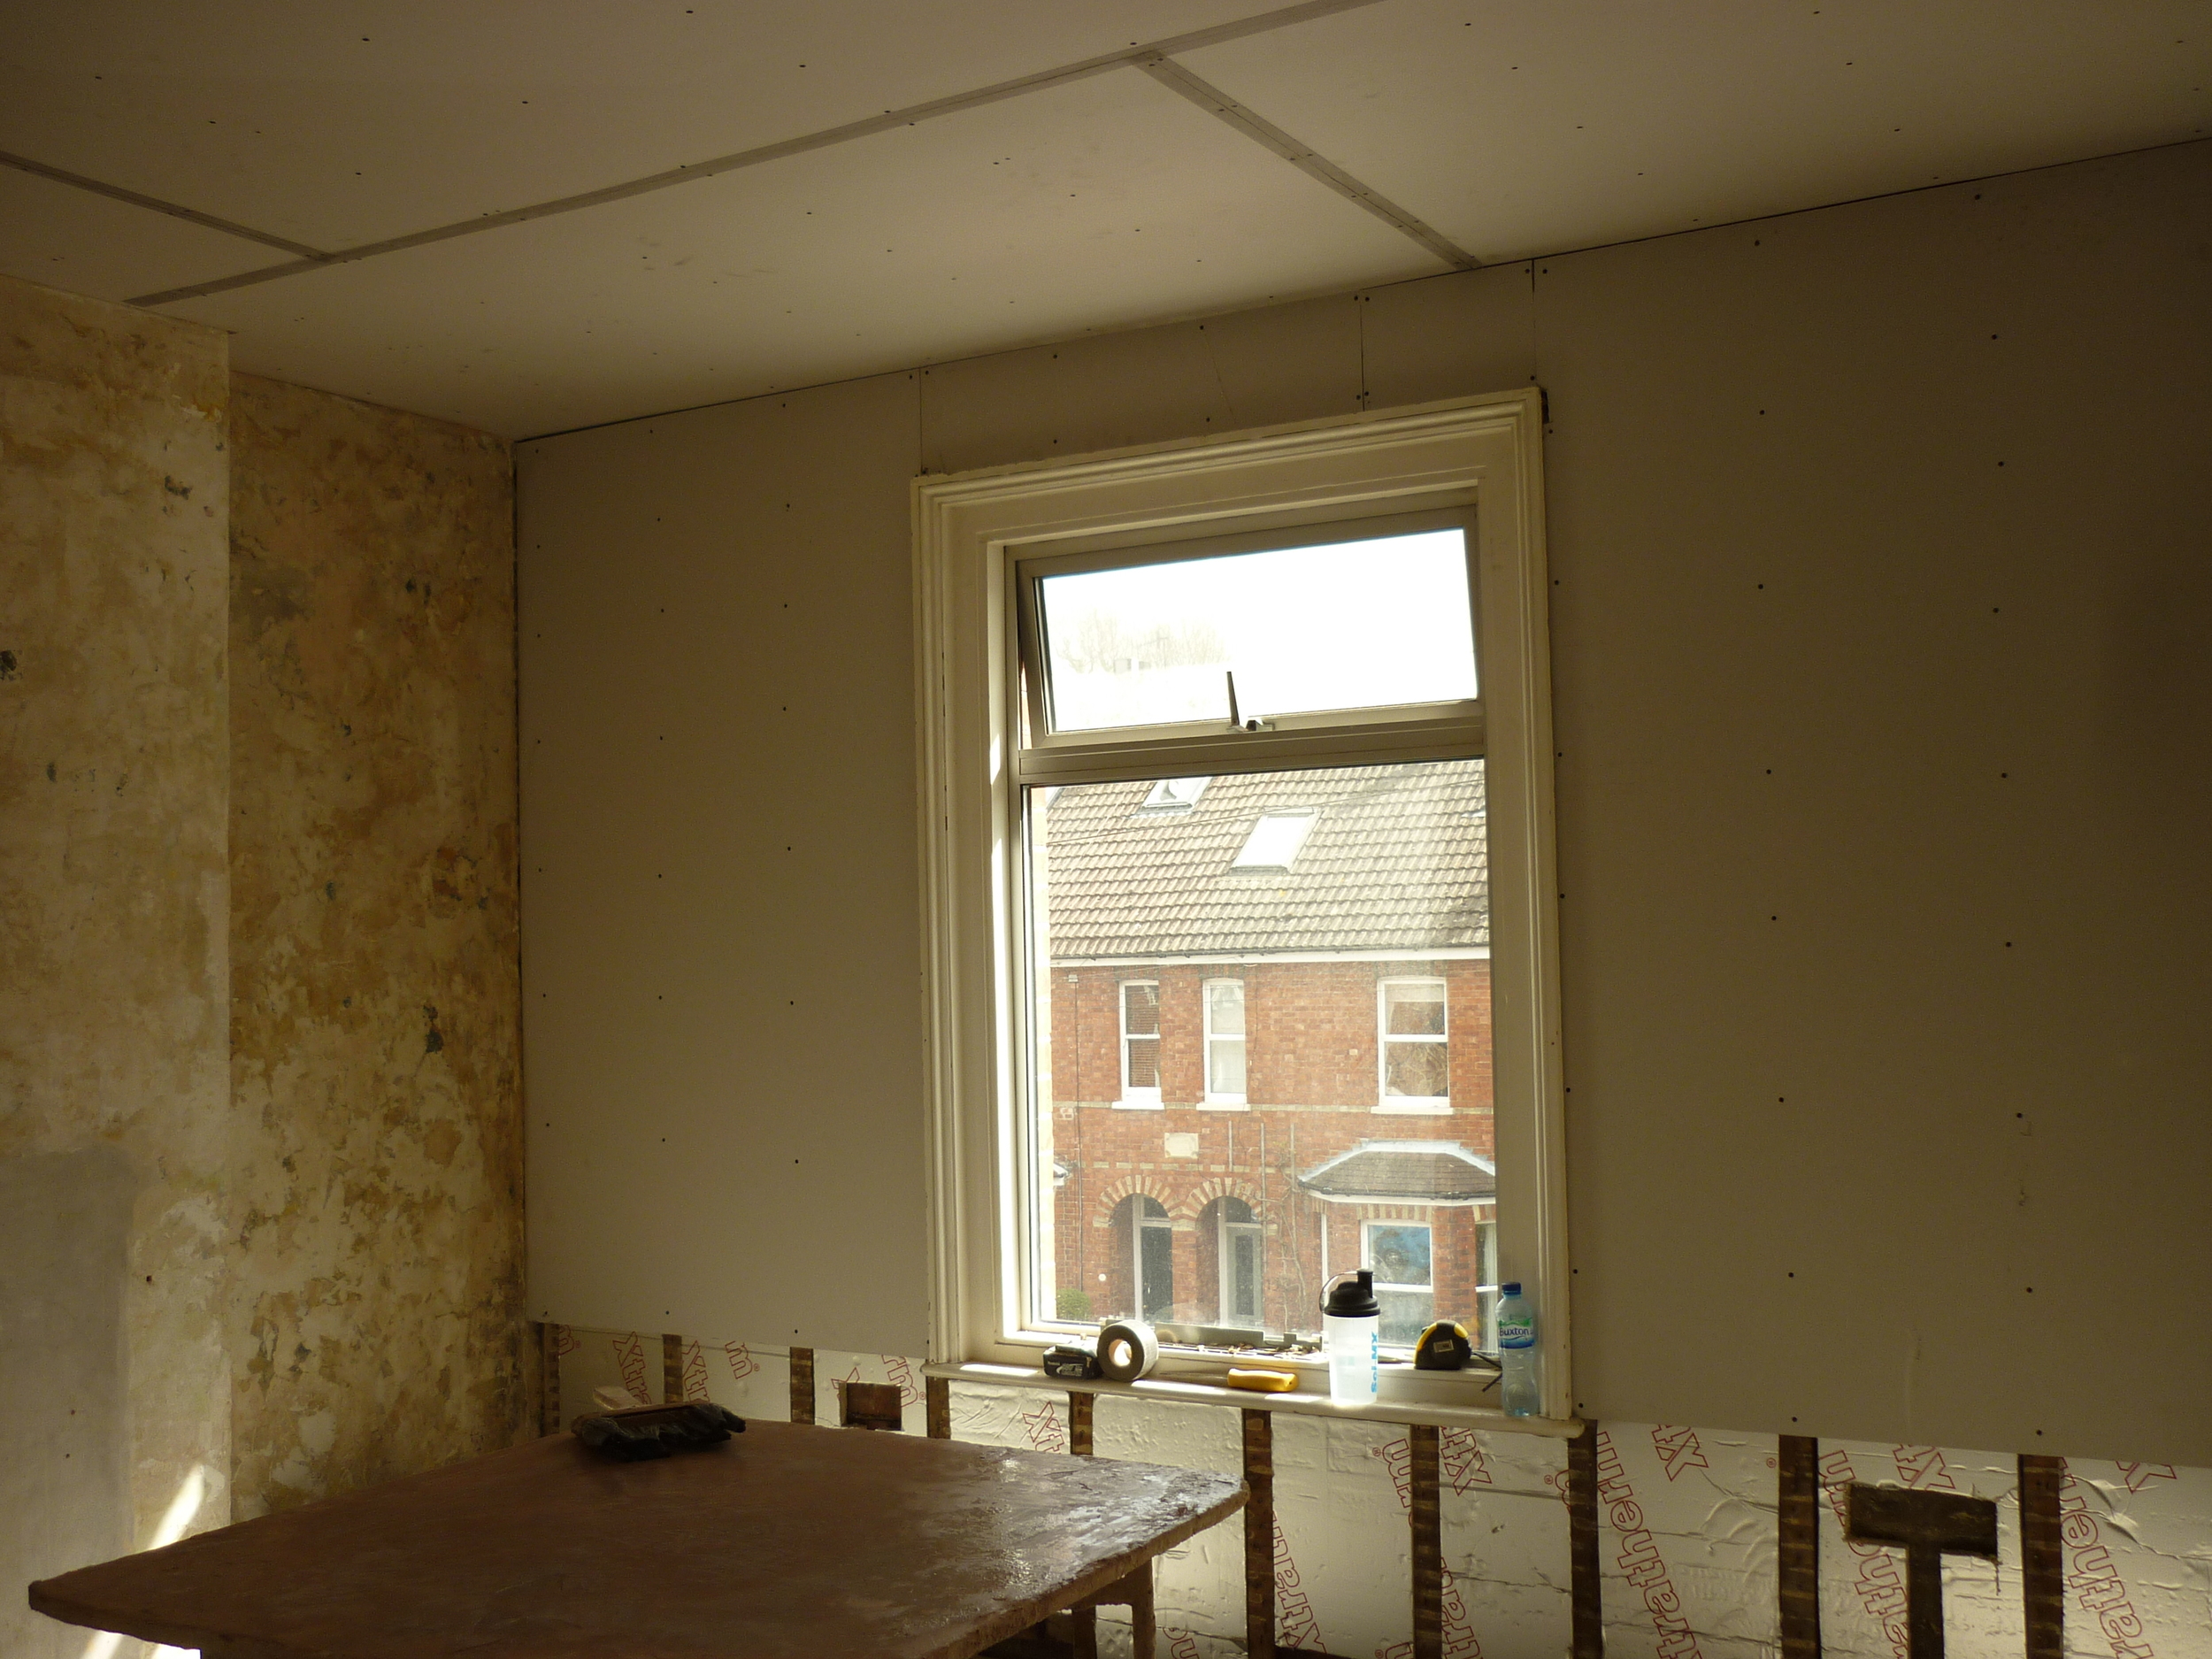
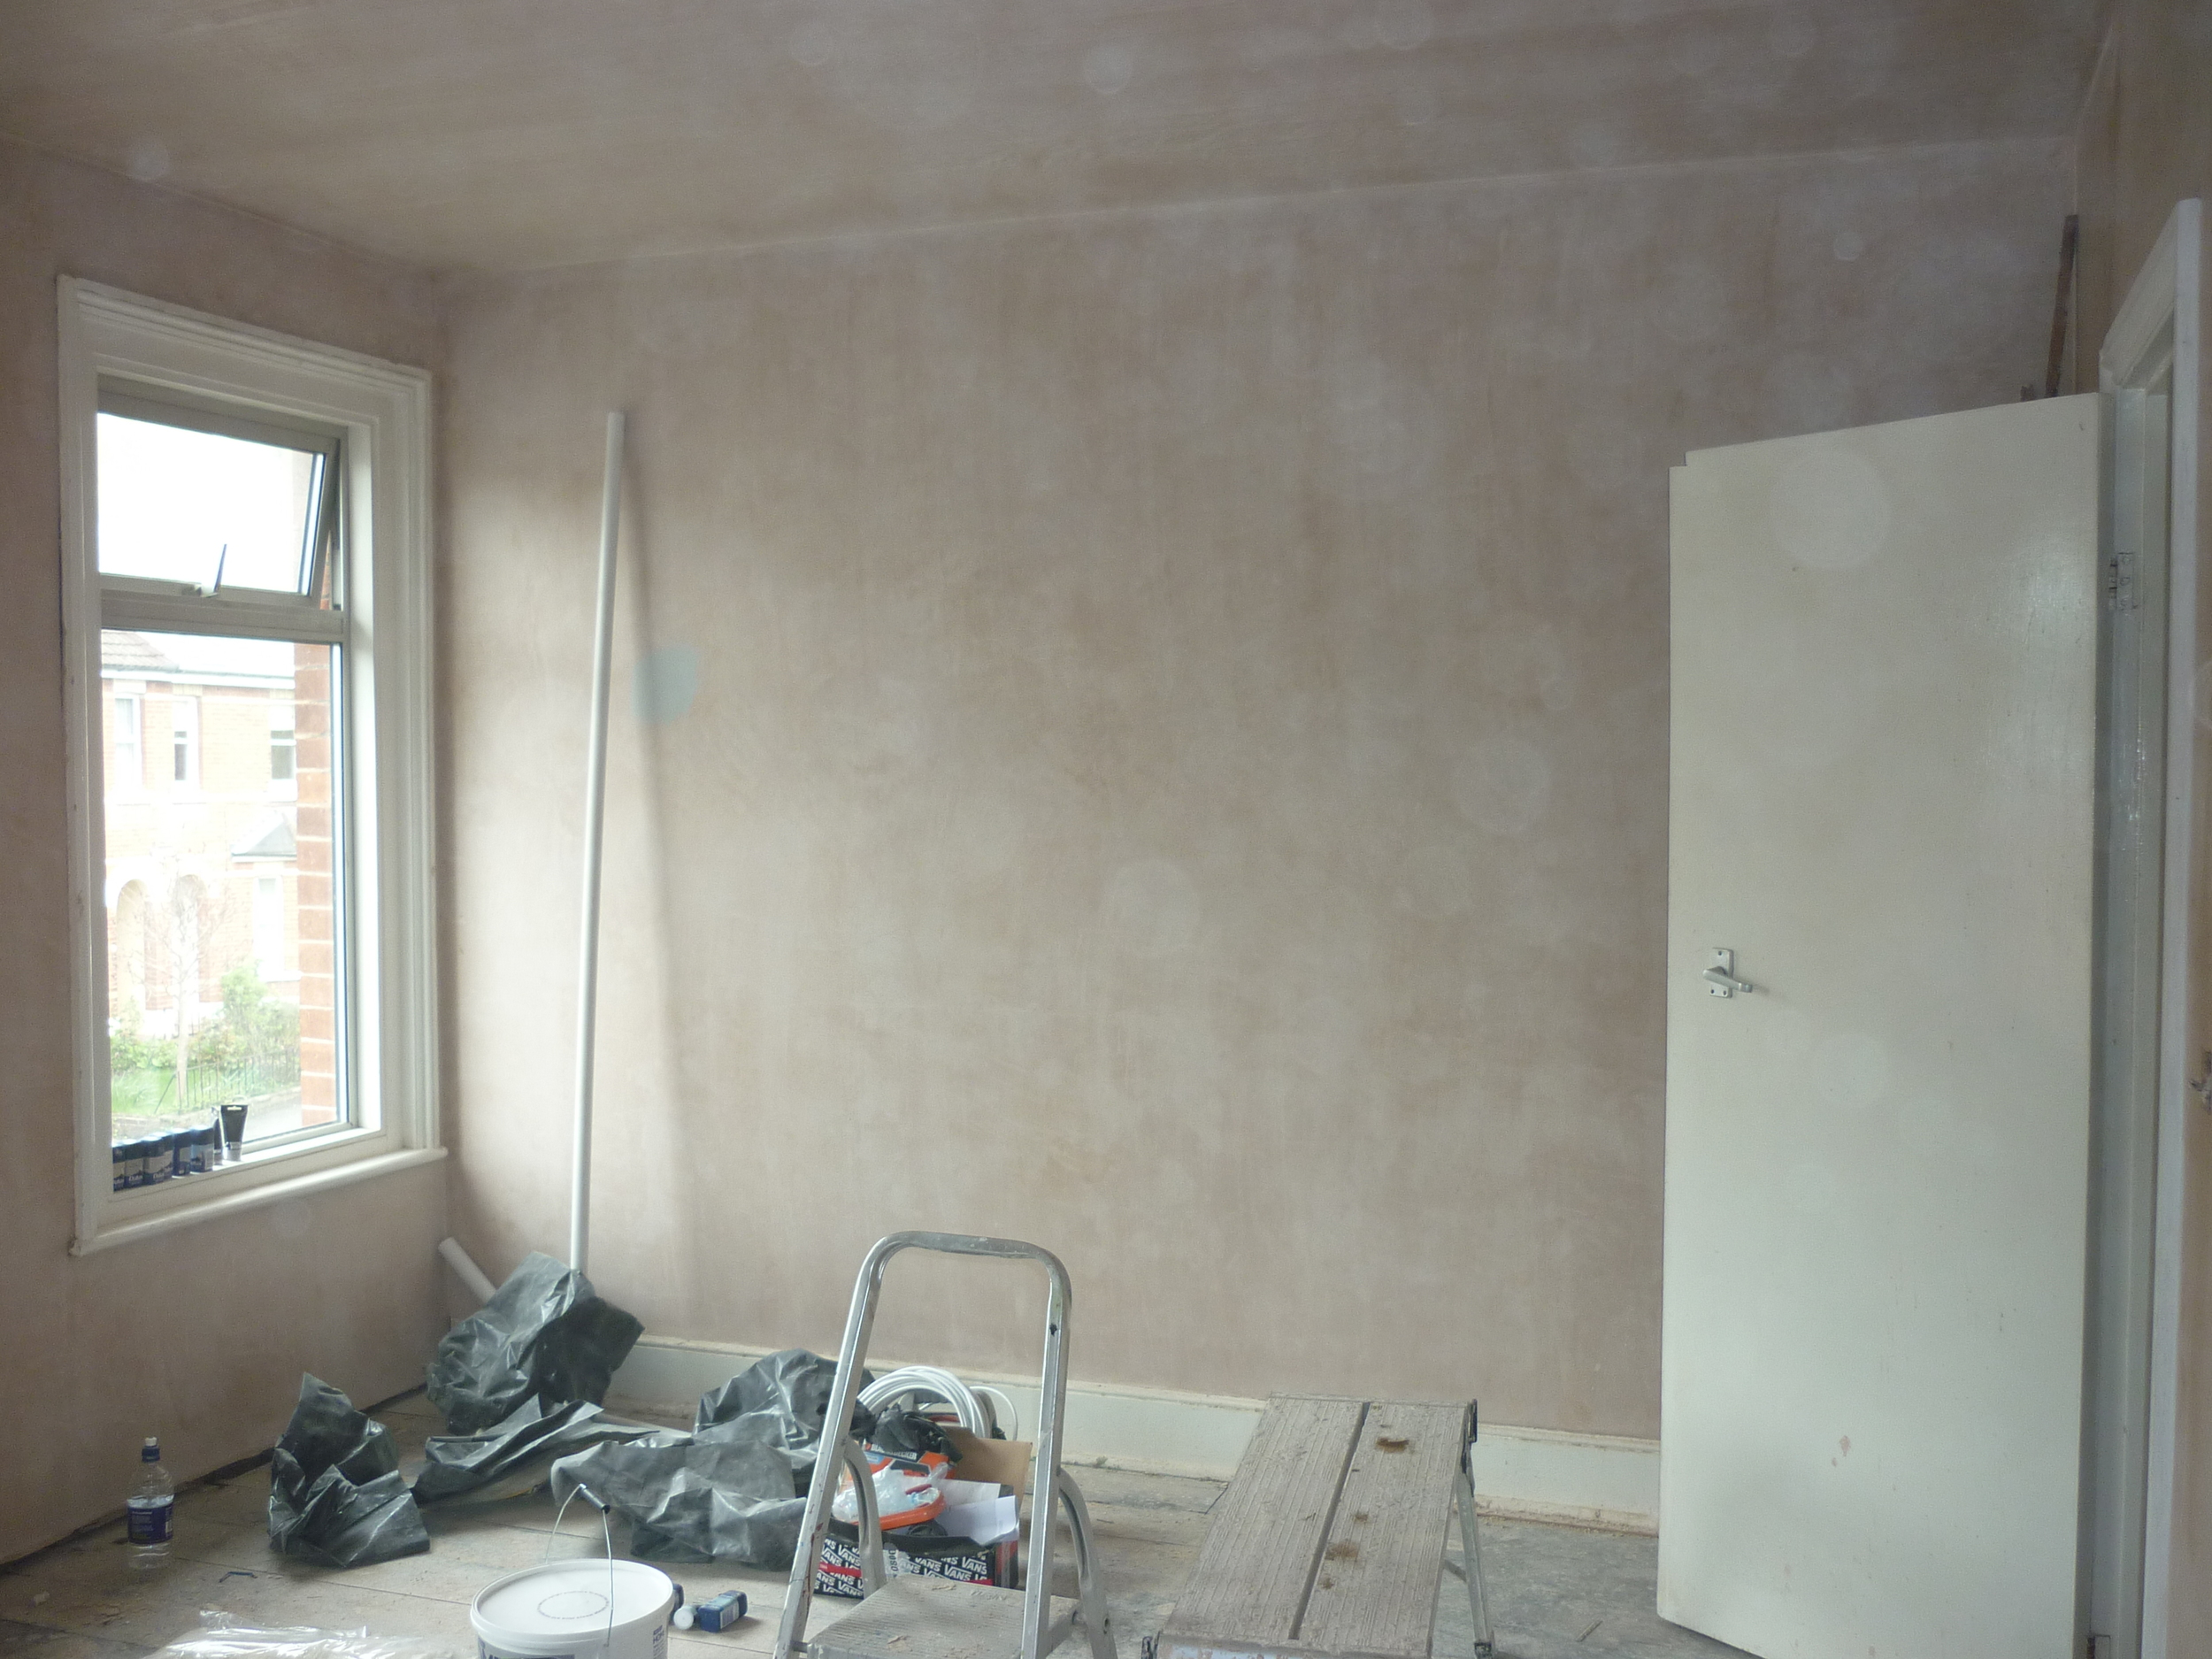
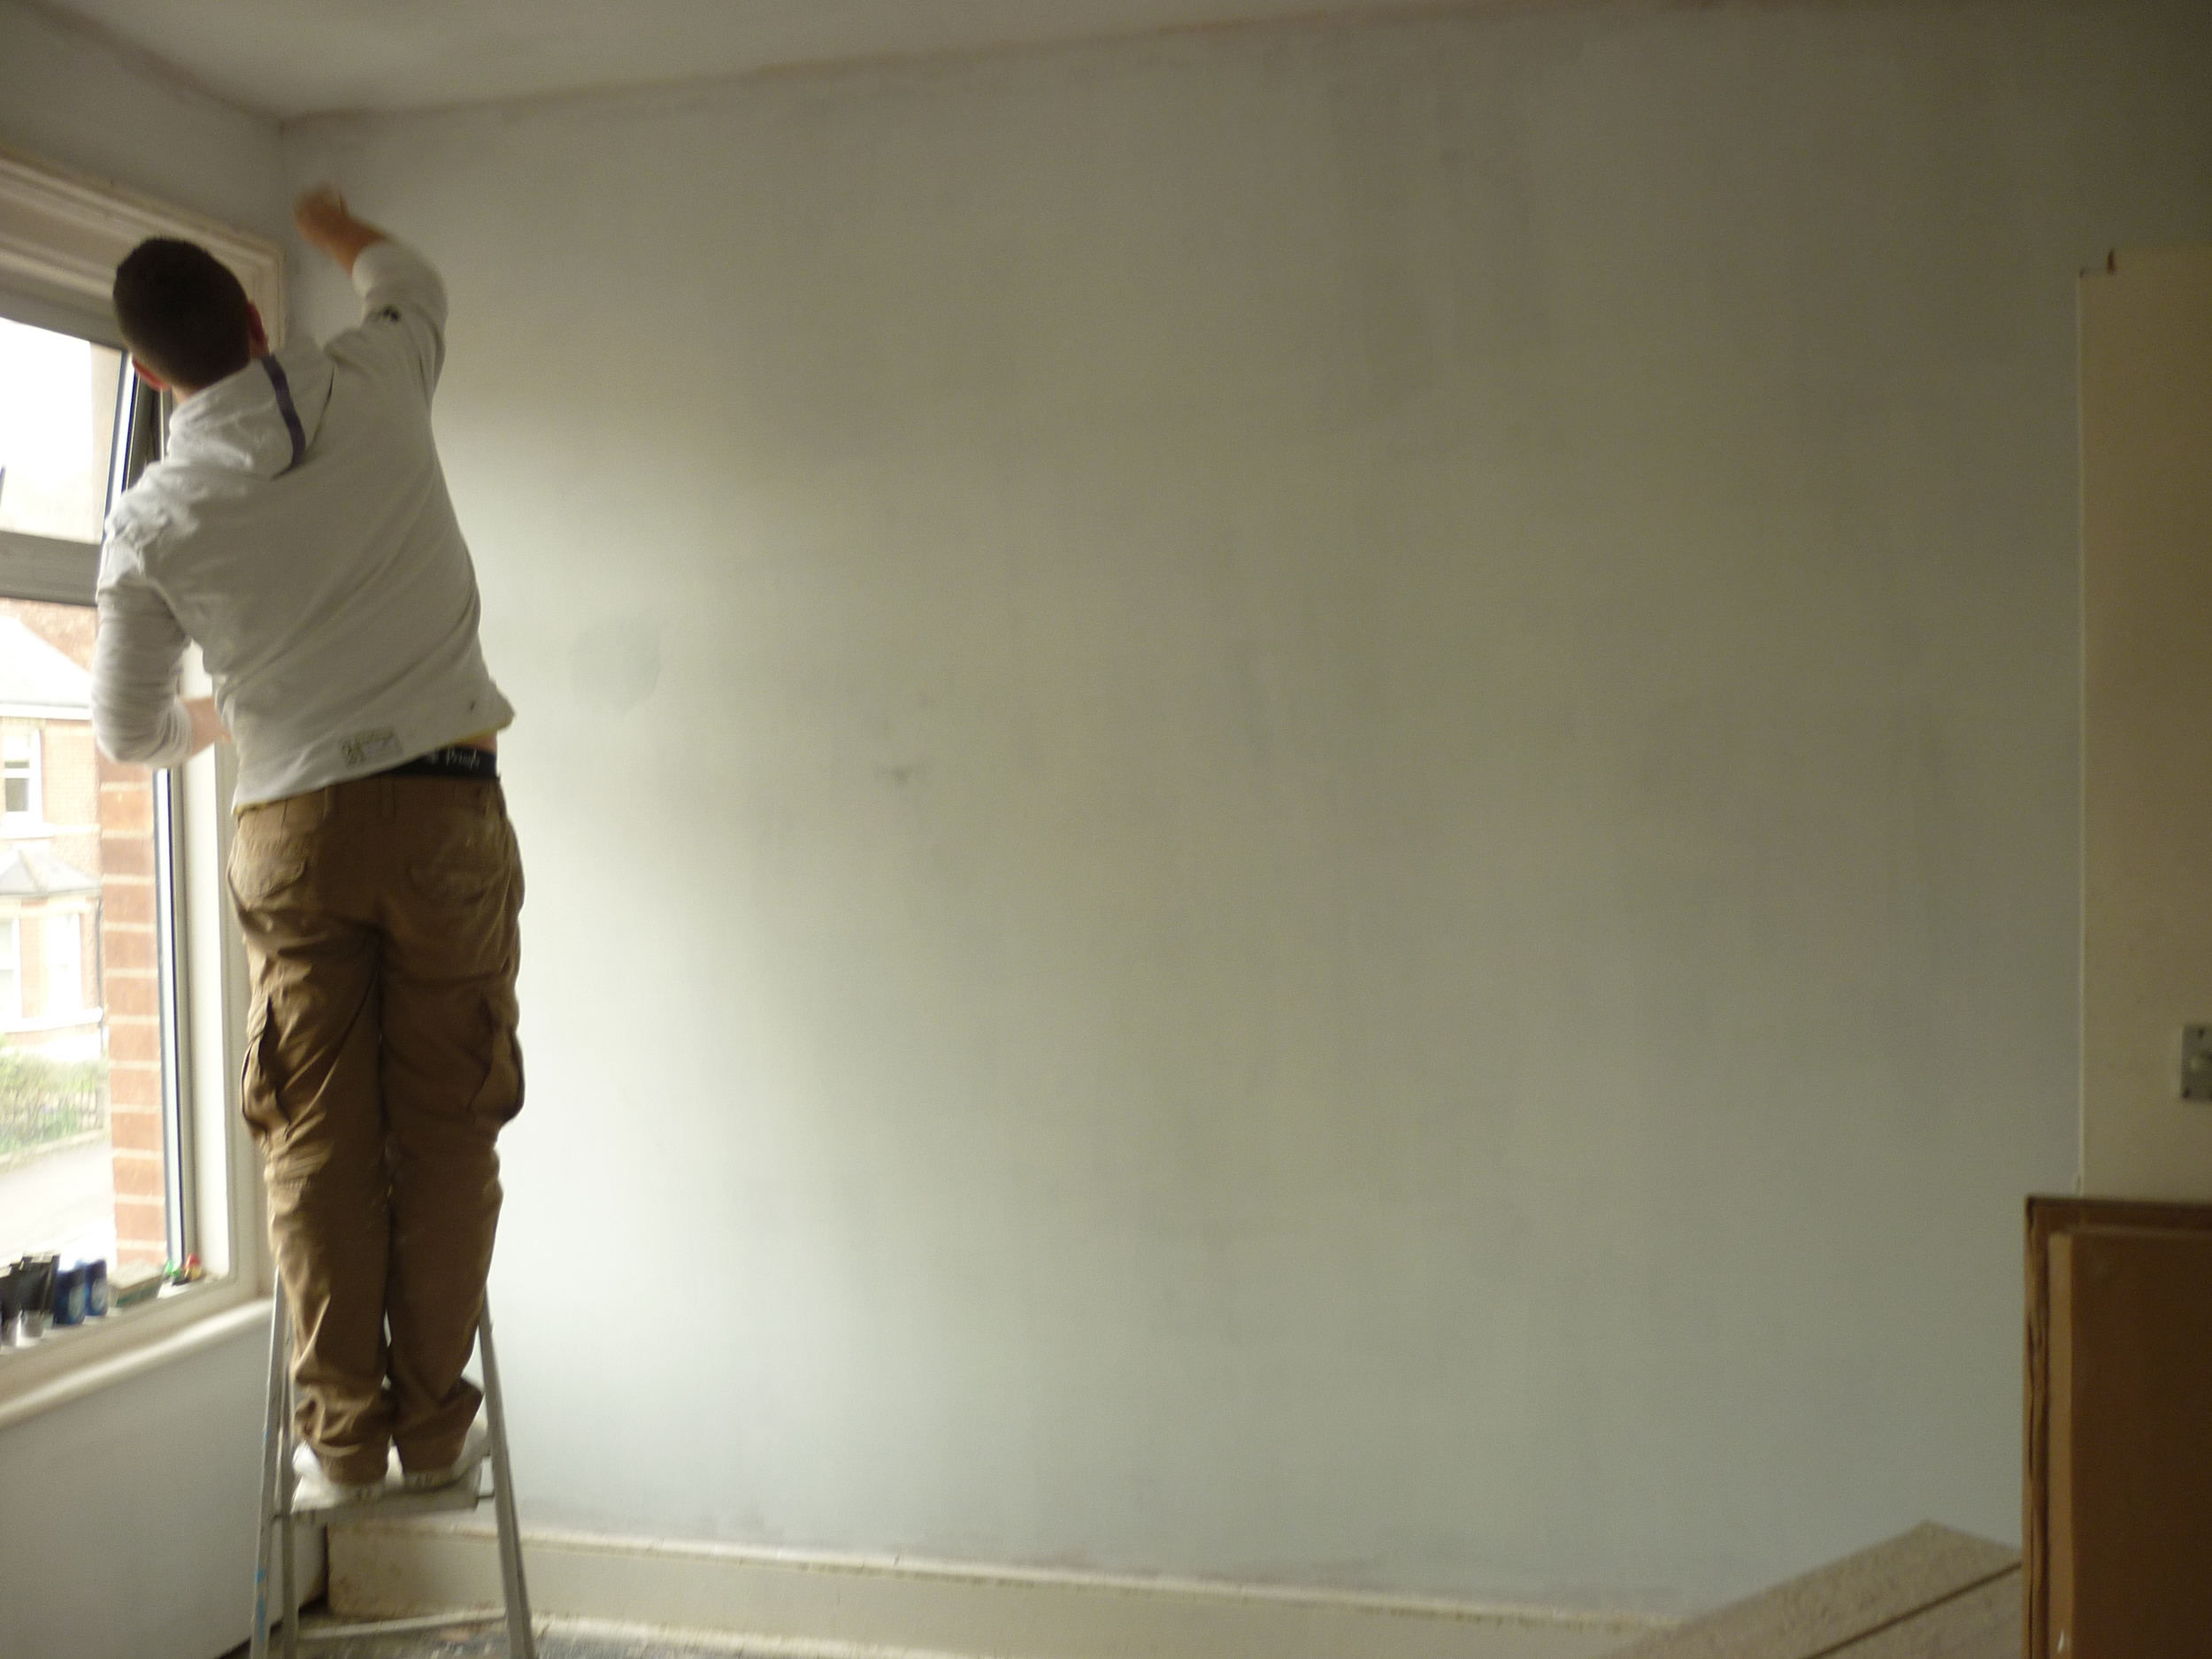
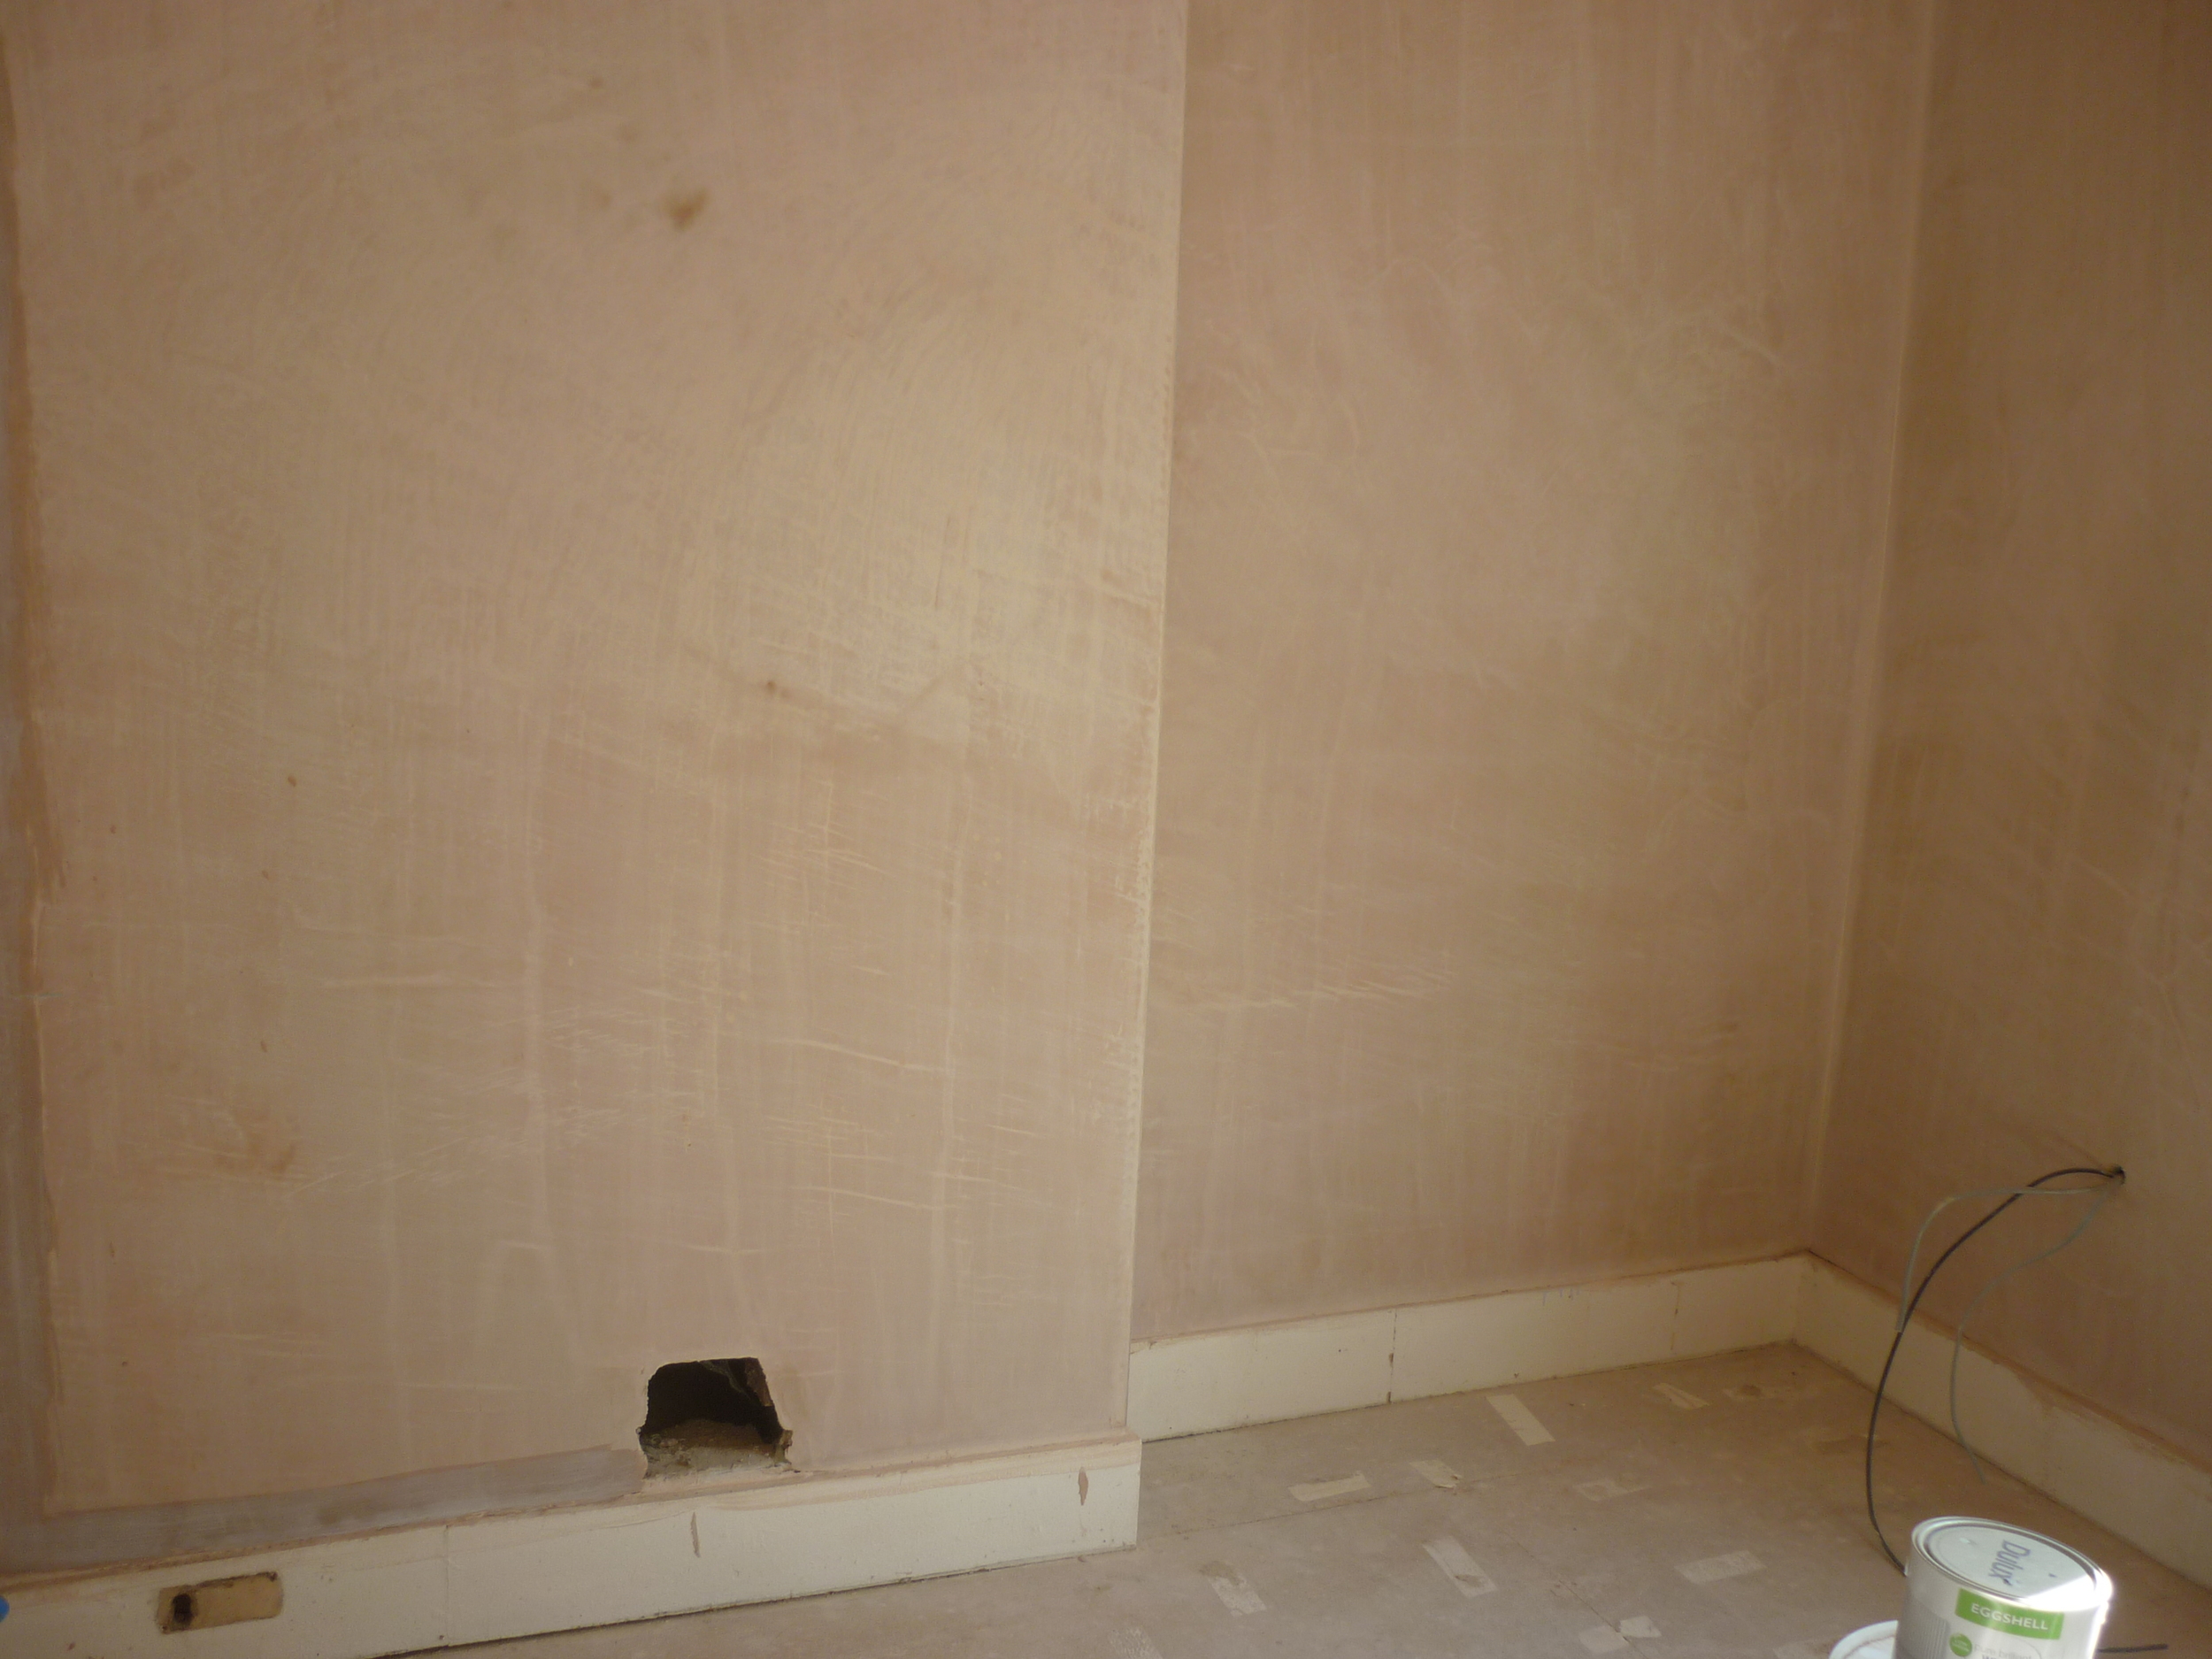
DURING
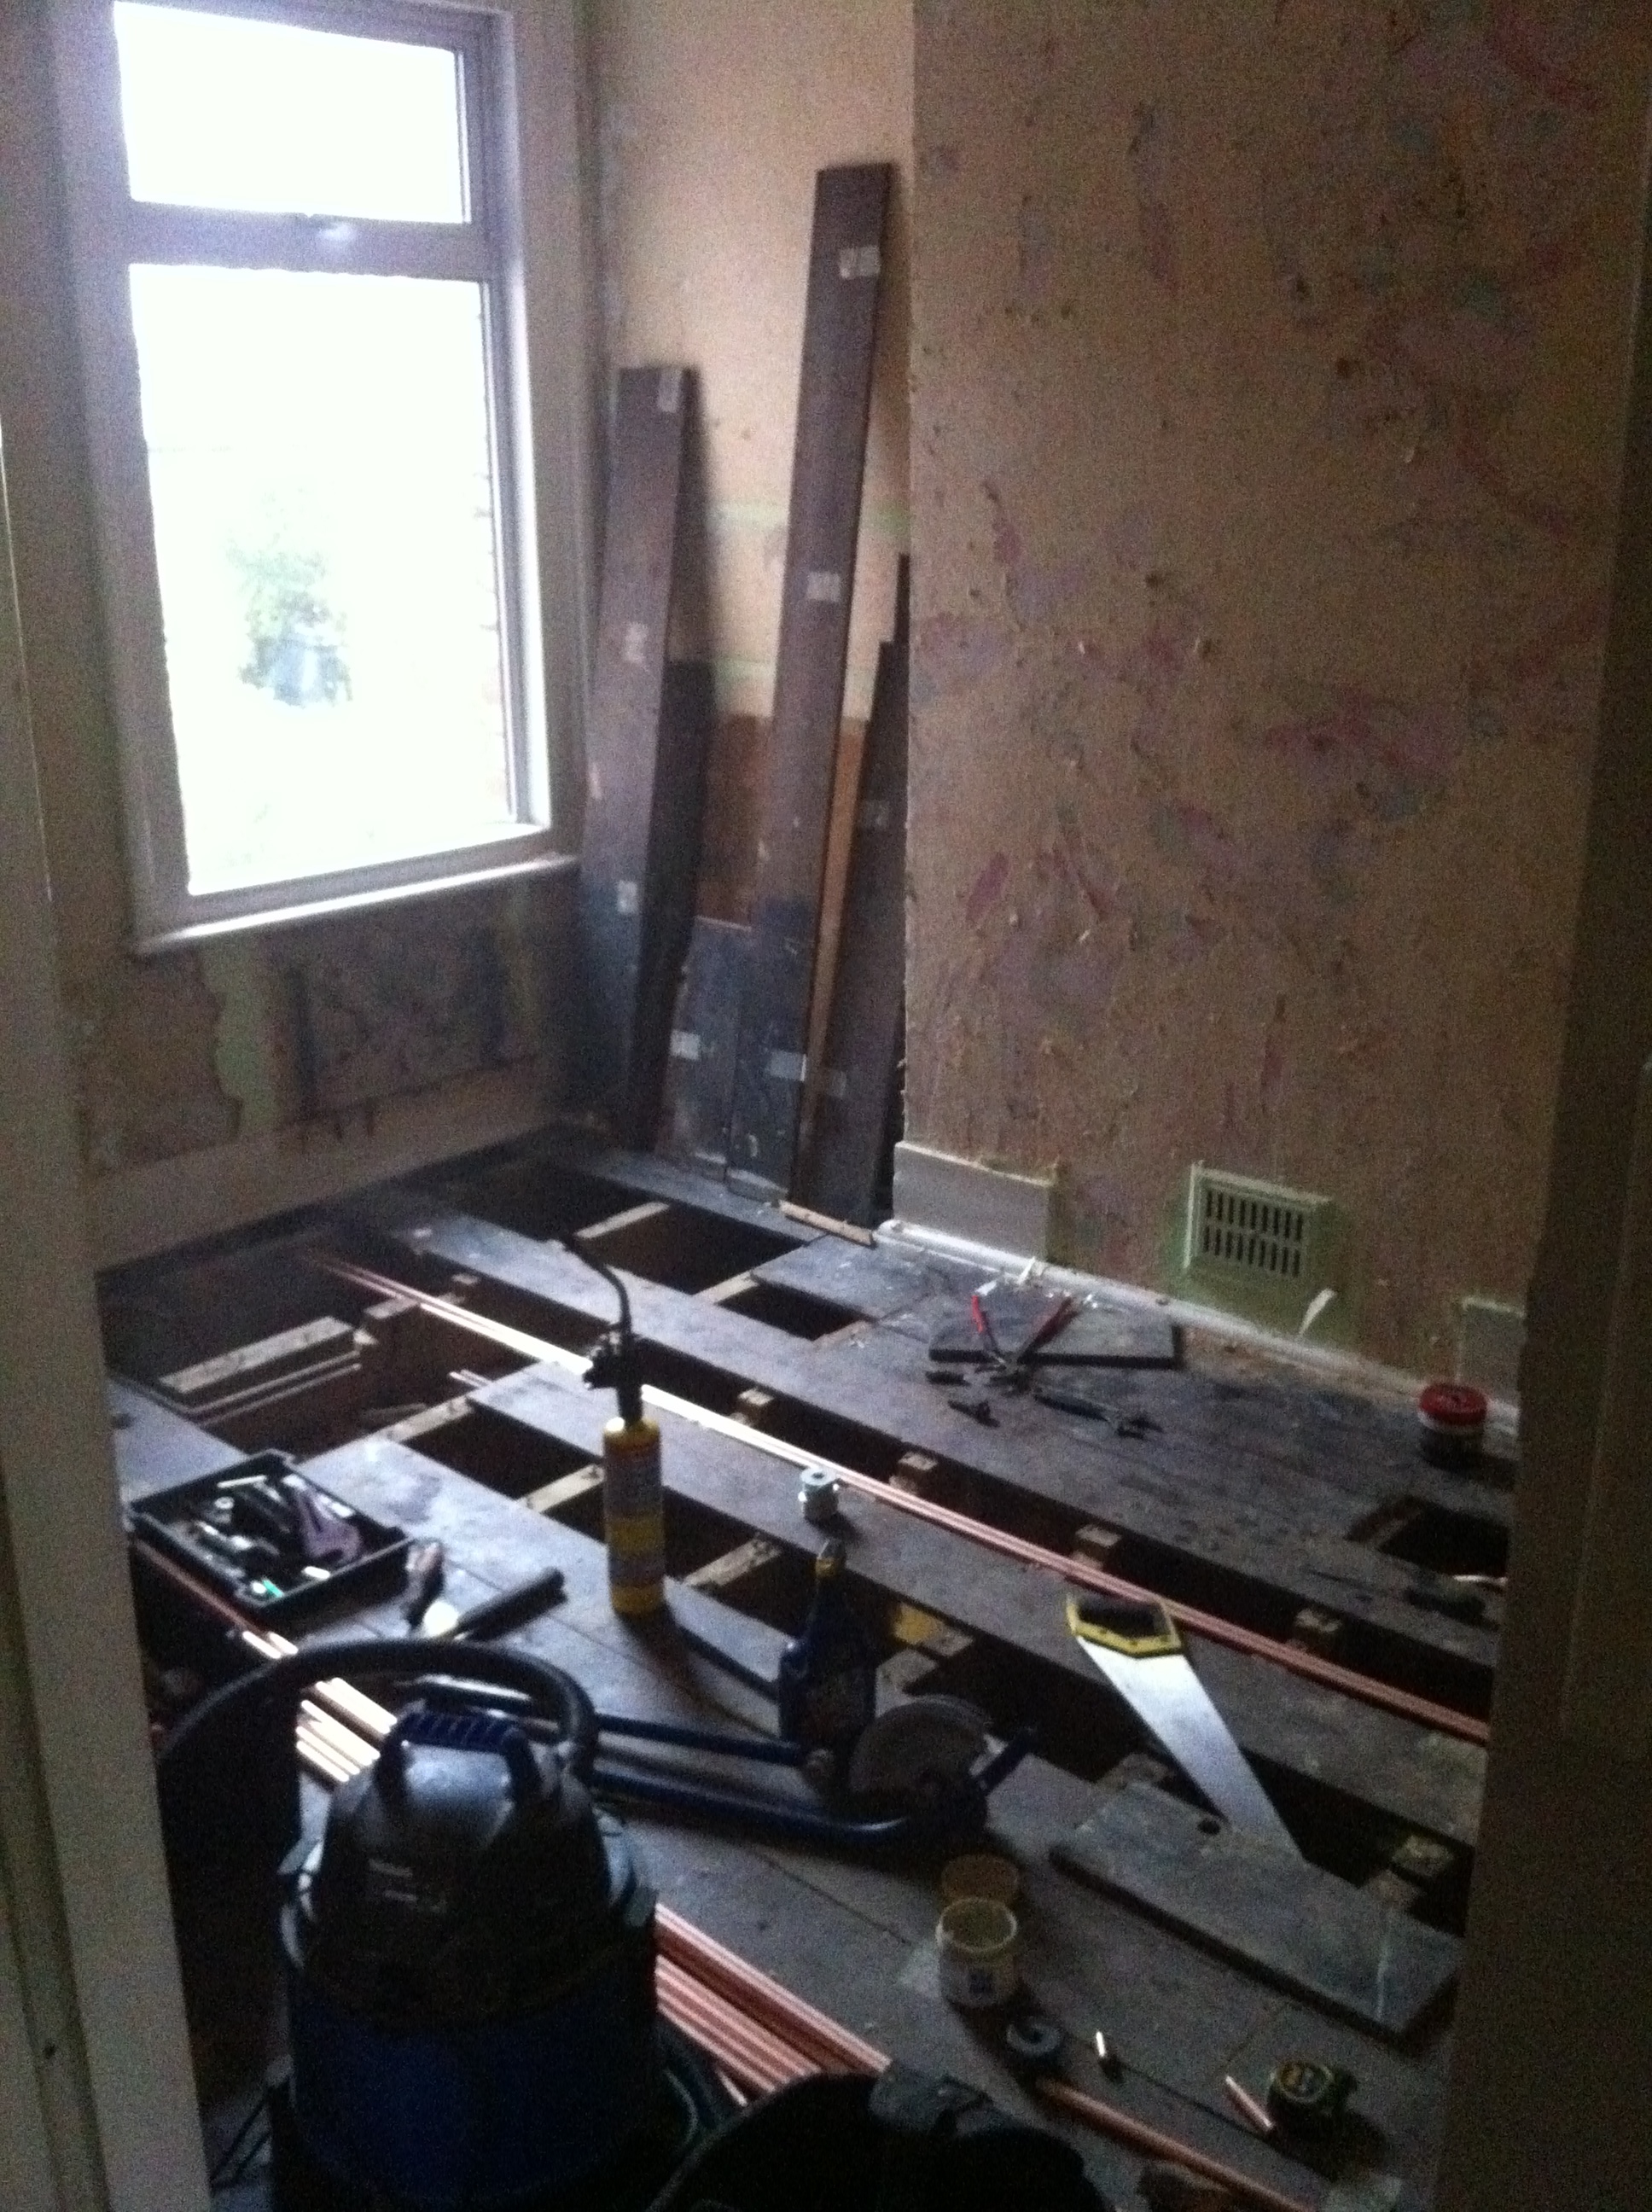
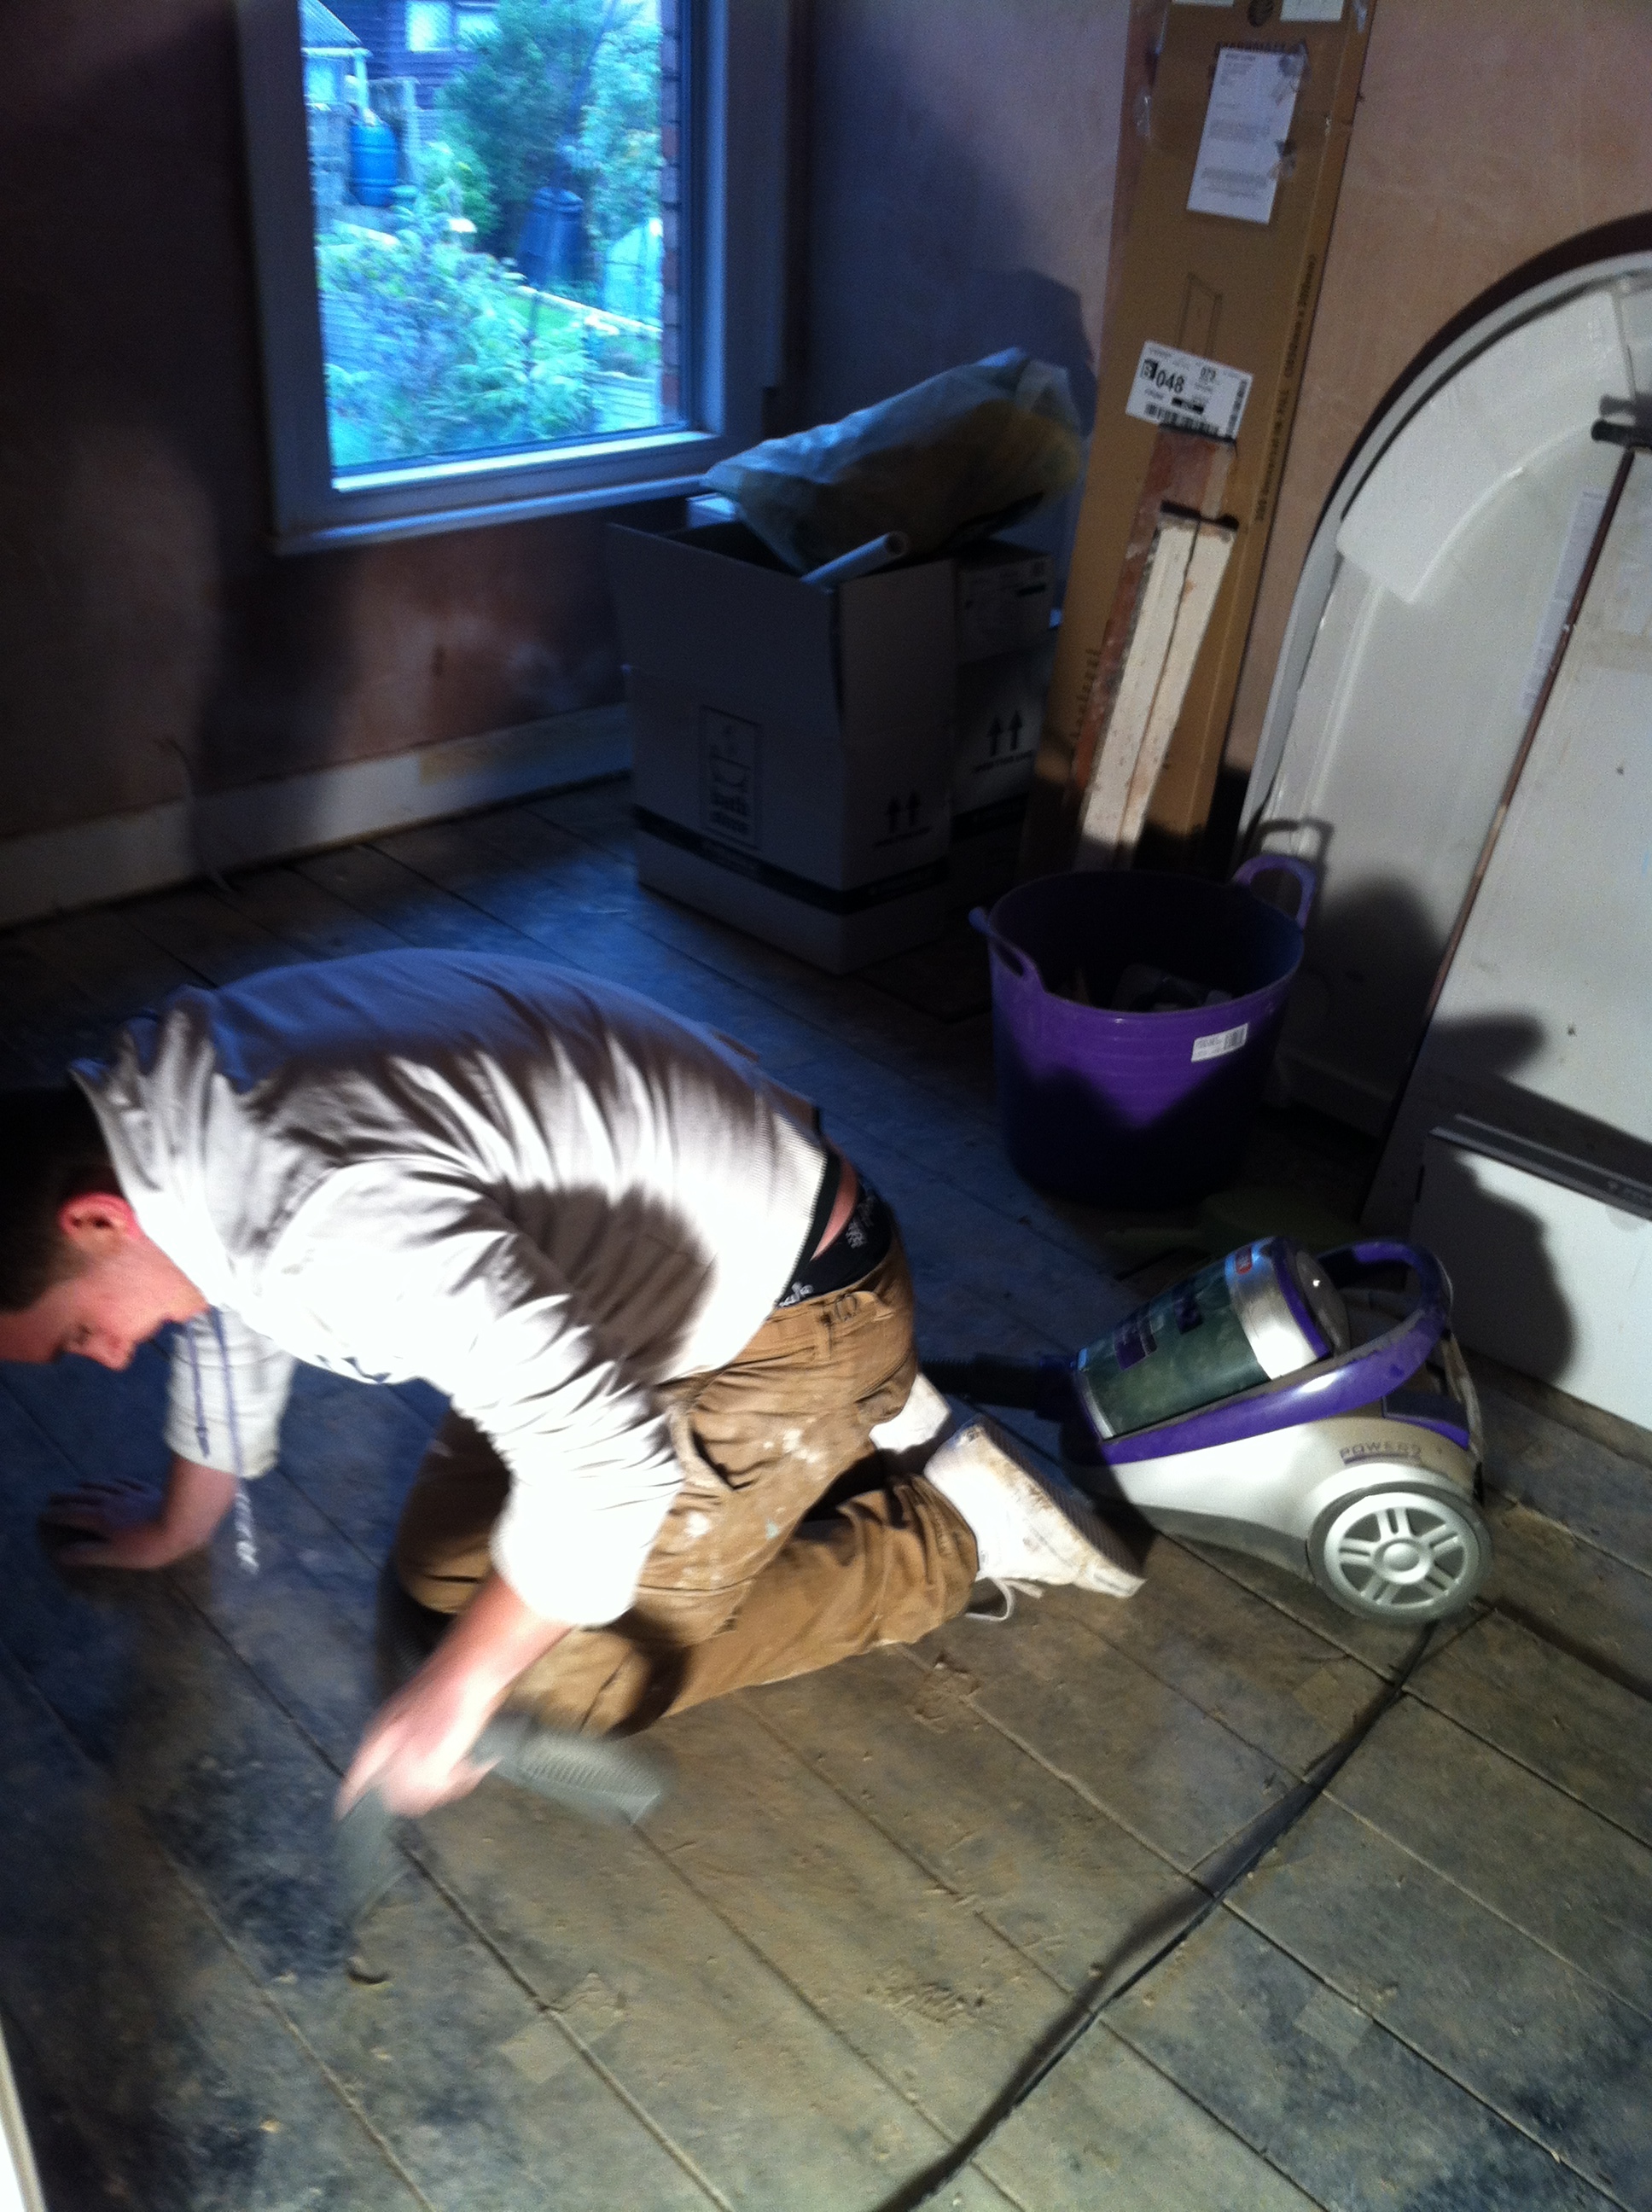
The process took roughly five months to complete. (Builder delays that were out of our control meant it took longer than the predicted two!)

Patio progress.
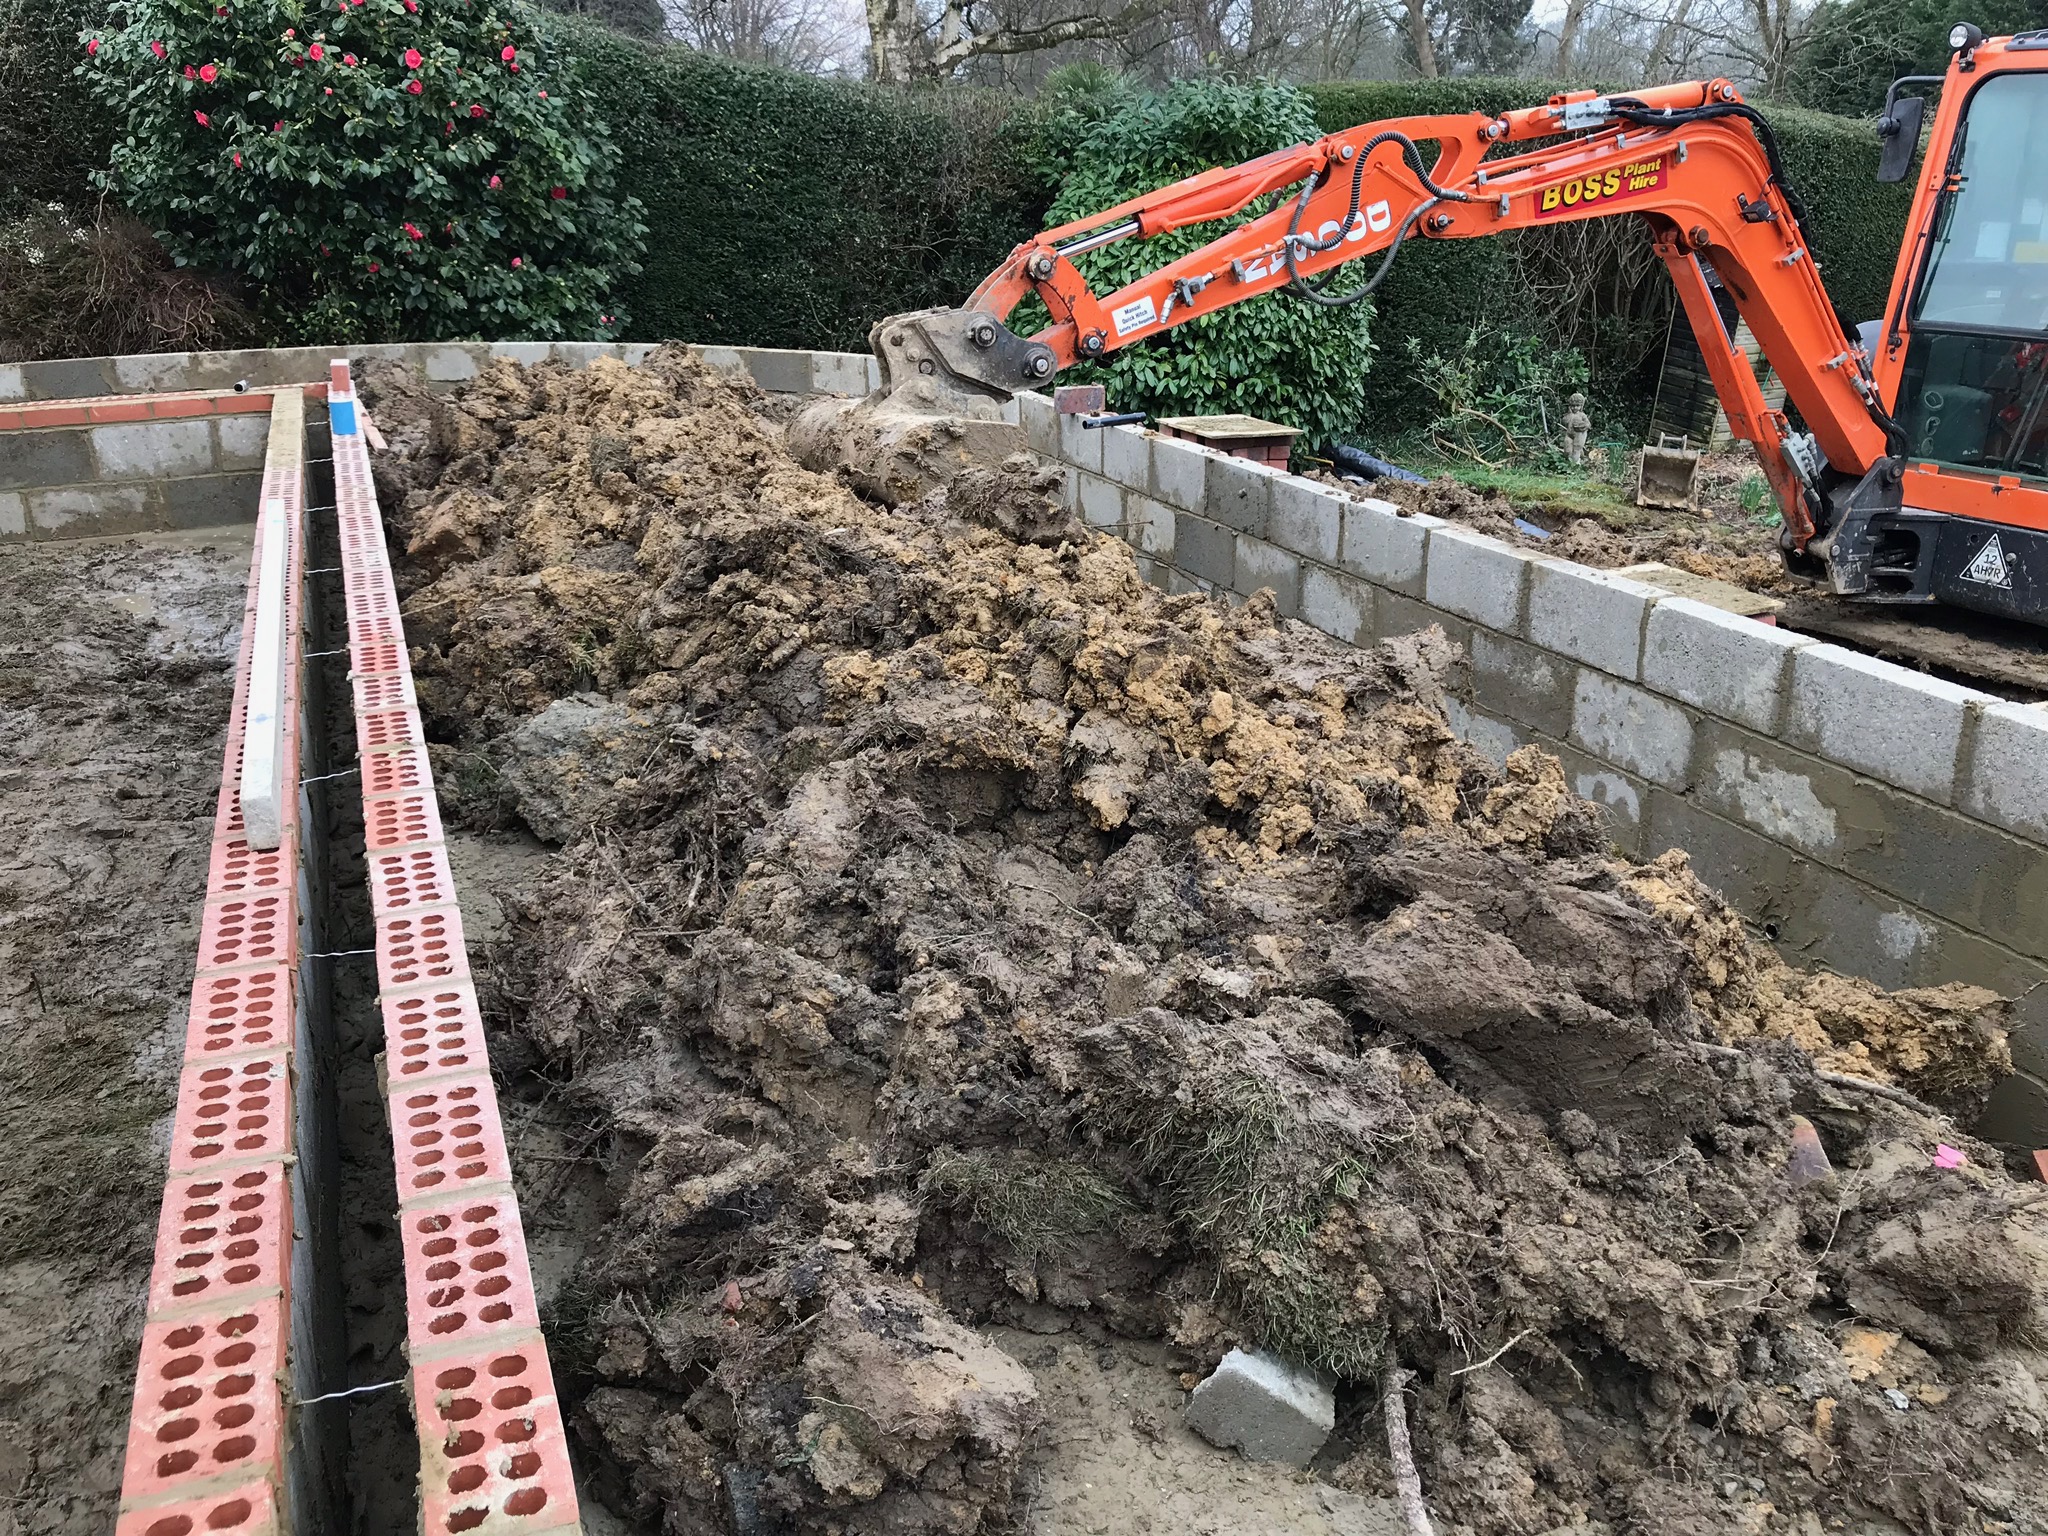
Dig, dig, dig.
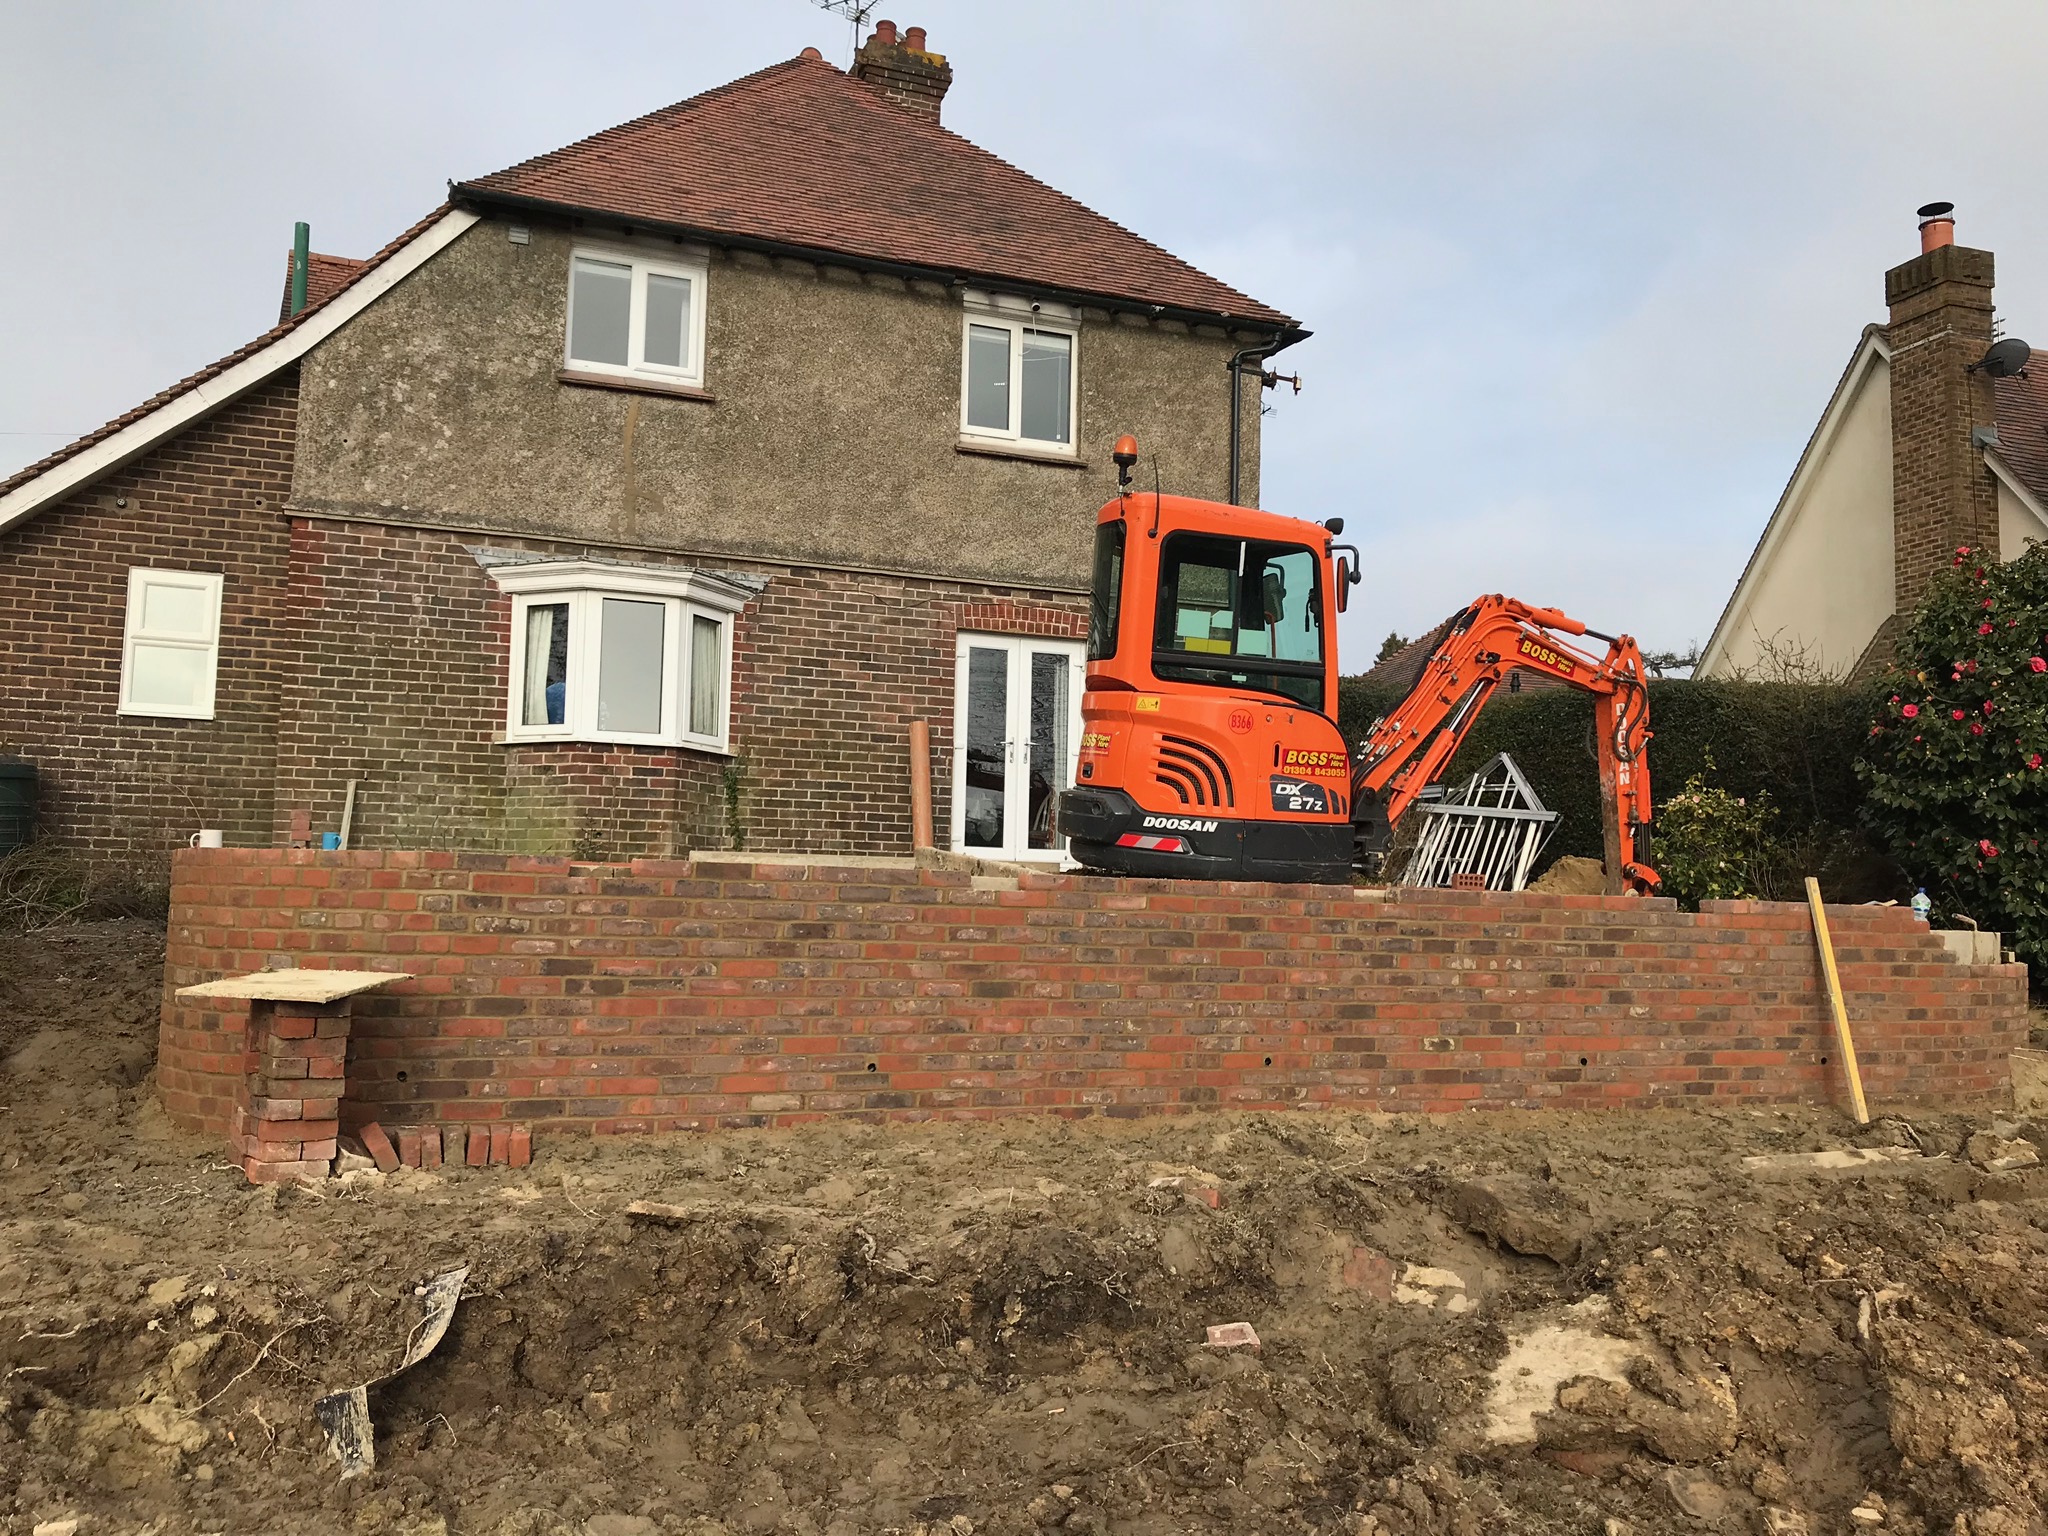
Patio shaping up.

Prepping for the steels to go in.

The big moment!

Structure begins.

Starting to shape up: The left hand side is the kitchen window area, right hand side is where the bi-fold doors are.

Old house meets new house.

Plaster goes on.

Floor goes down: Oak veneer herringbone parquet.

Mog inspecting the kitchen installation.

Cedar cladding goes on - can’t wait for it to turn grey-ish over time (and to start work on the rest of the exterior!).

Patio goes down - grey Indian sandstone (spot my bump!).
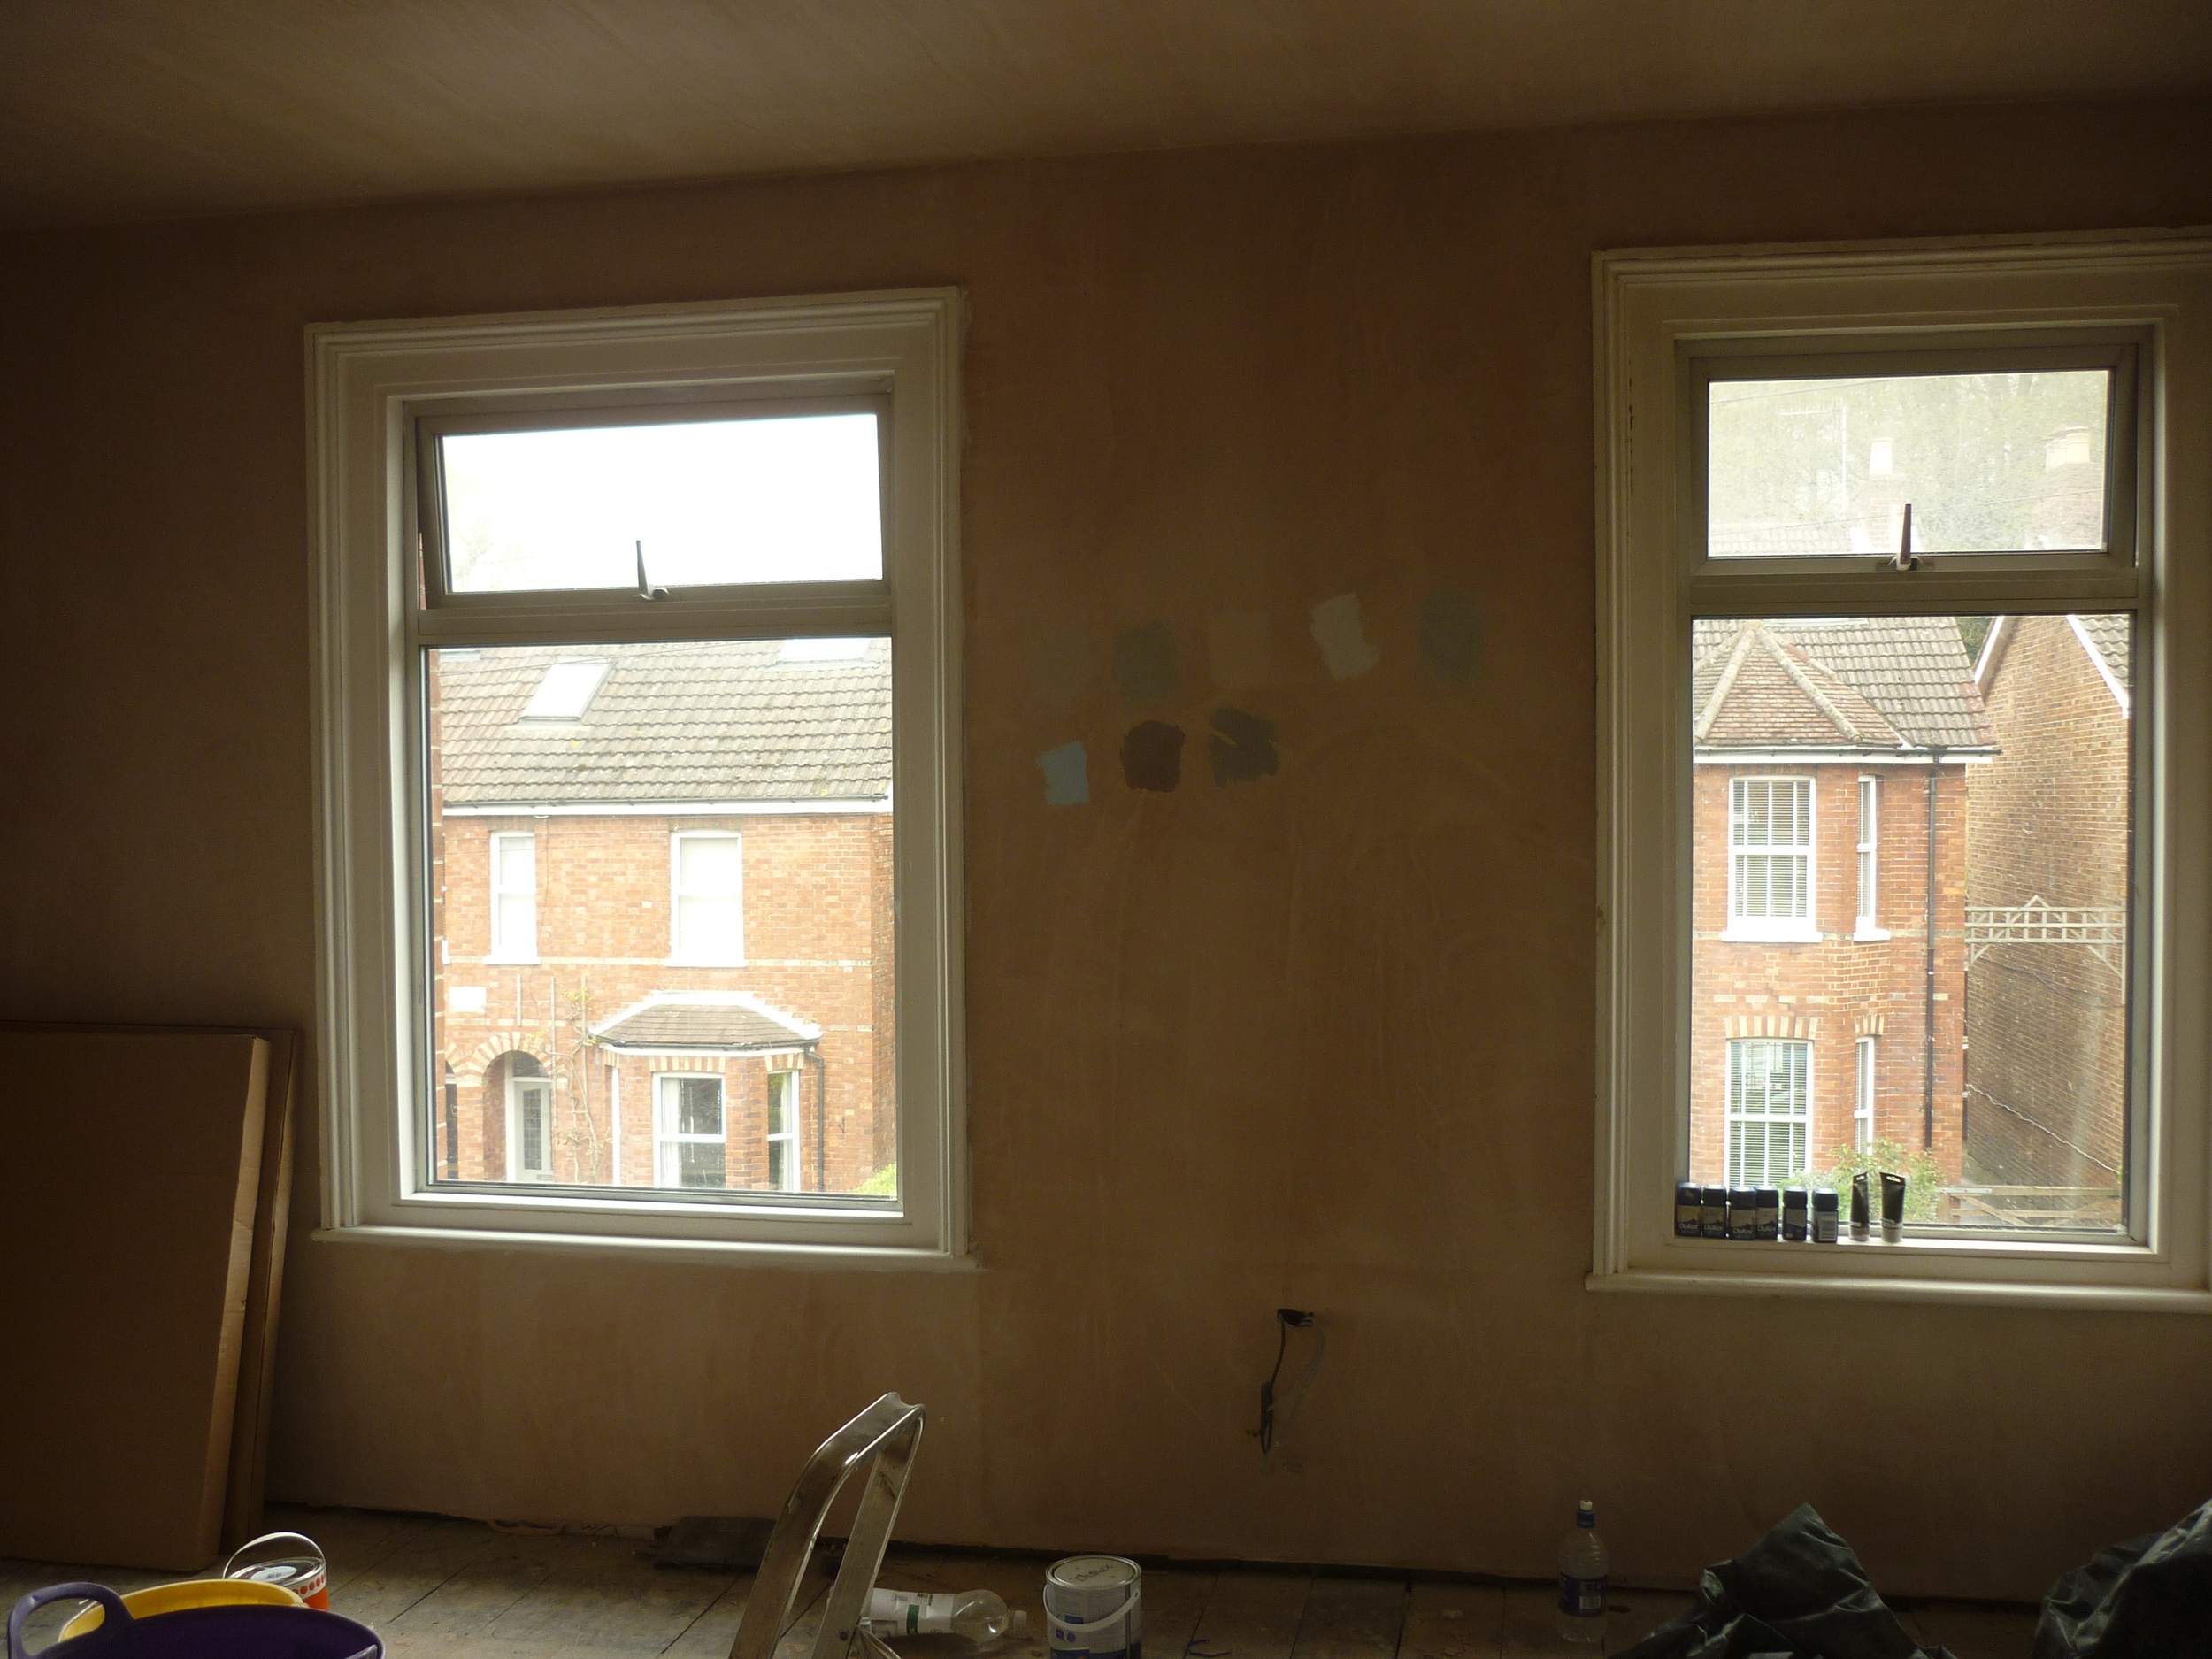
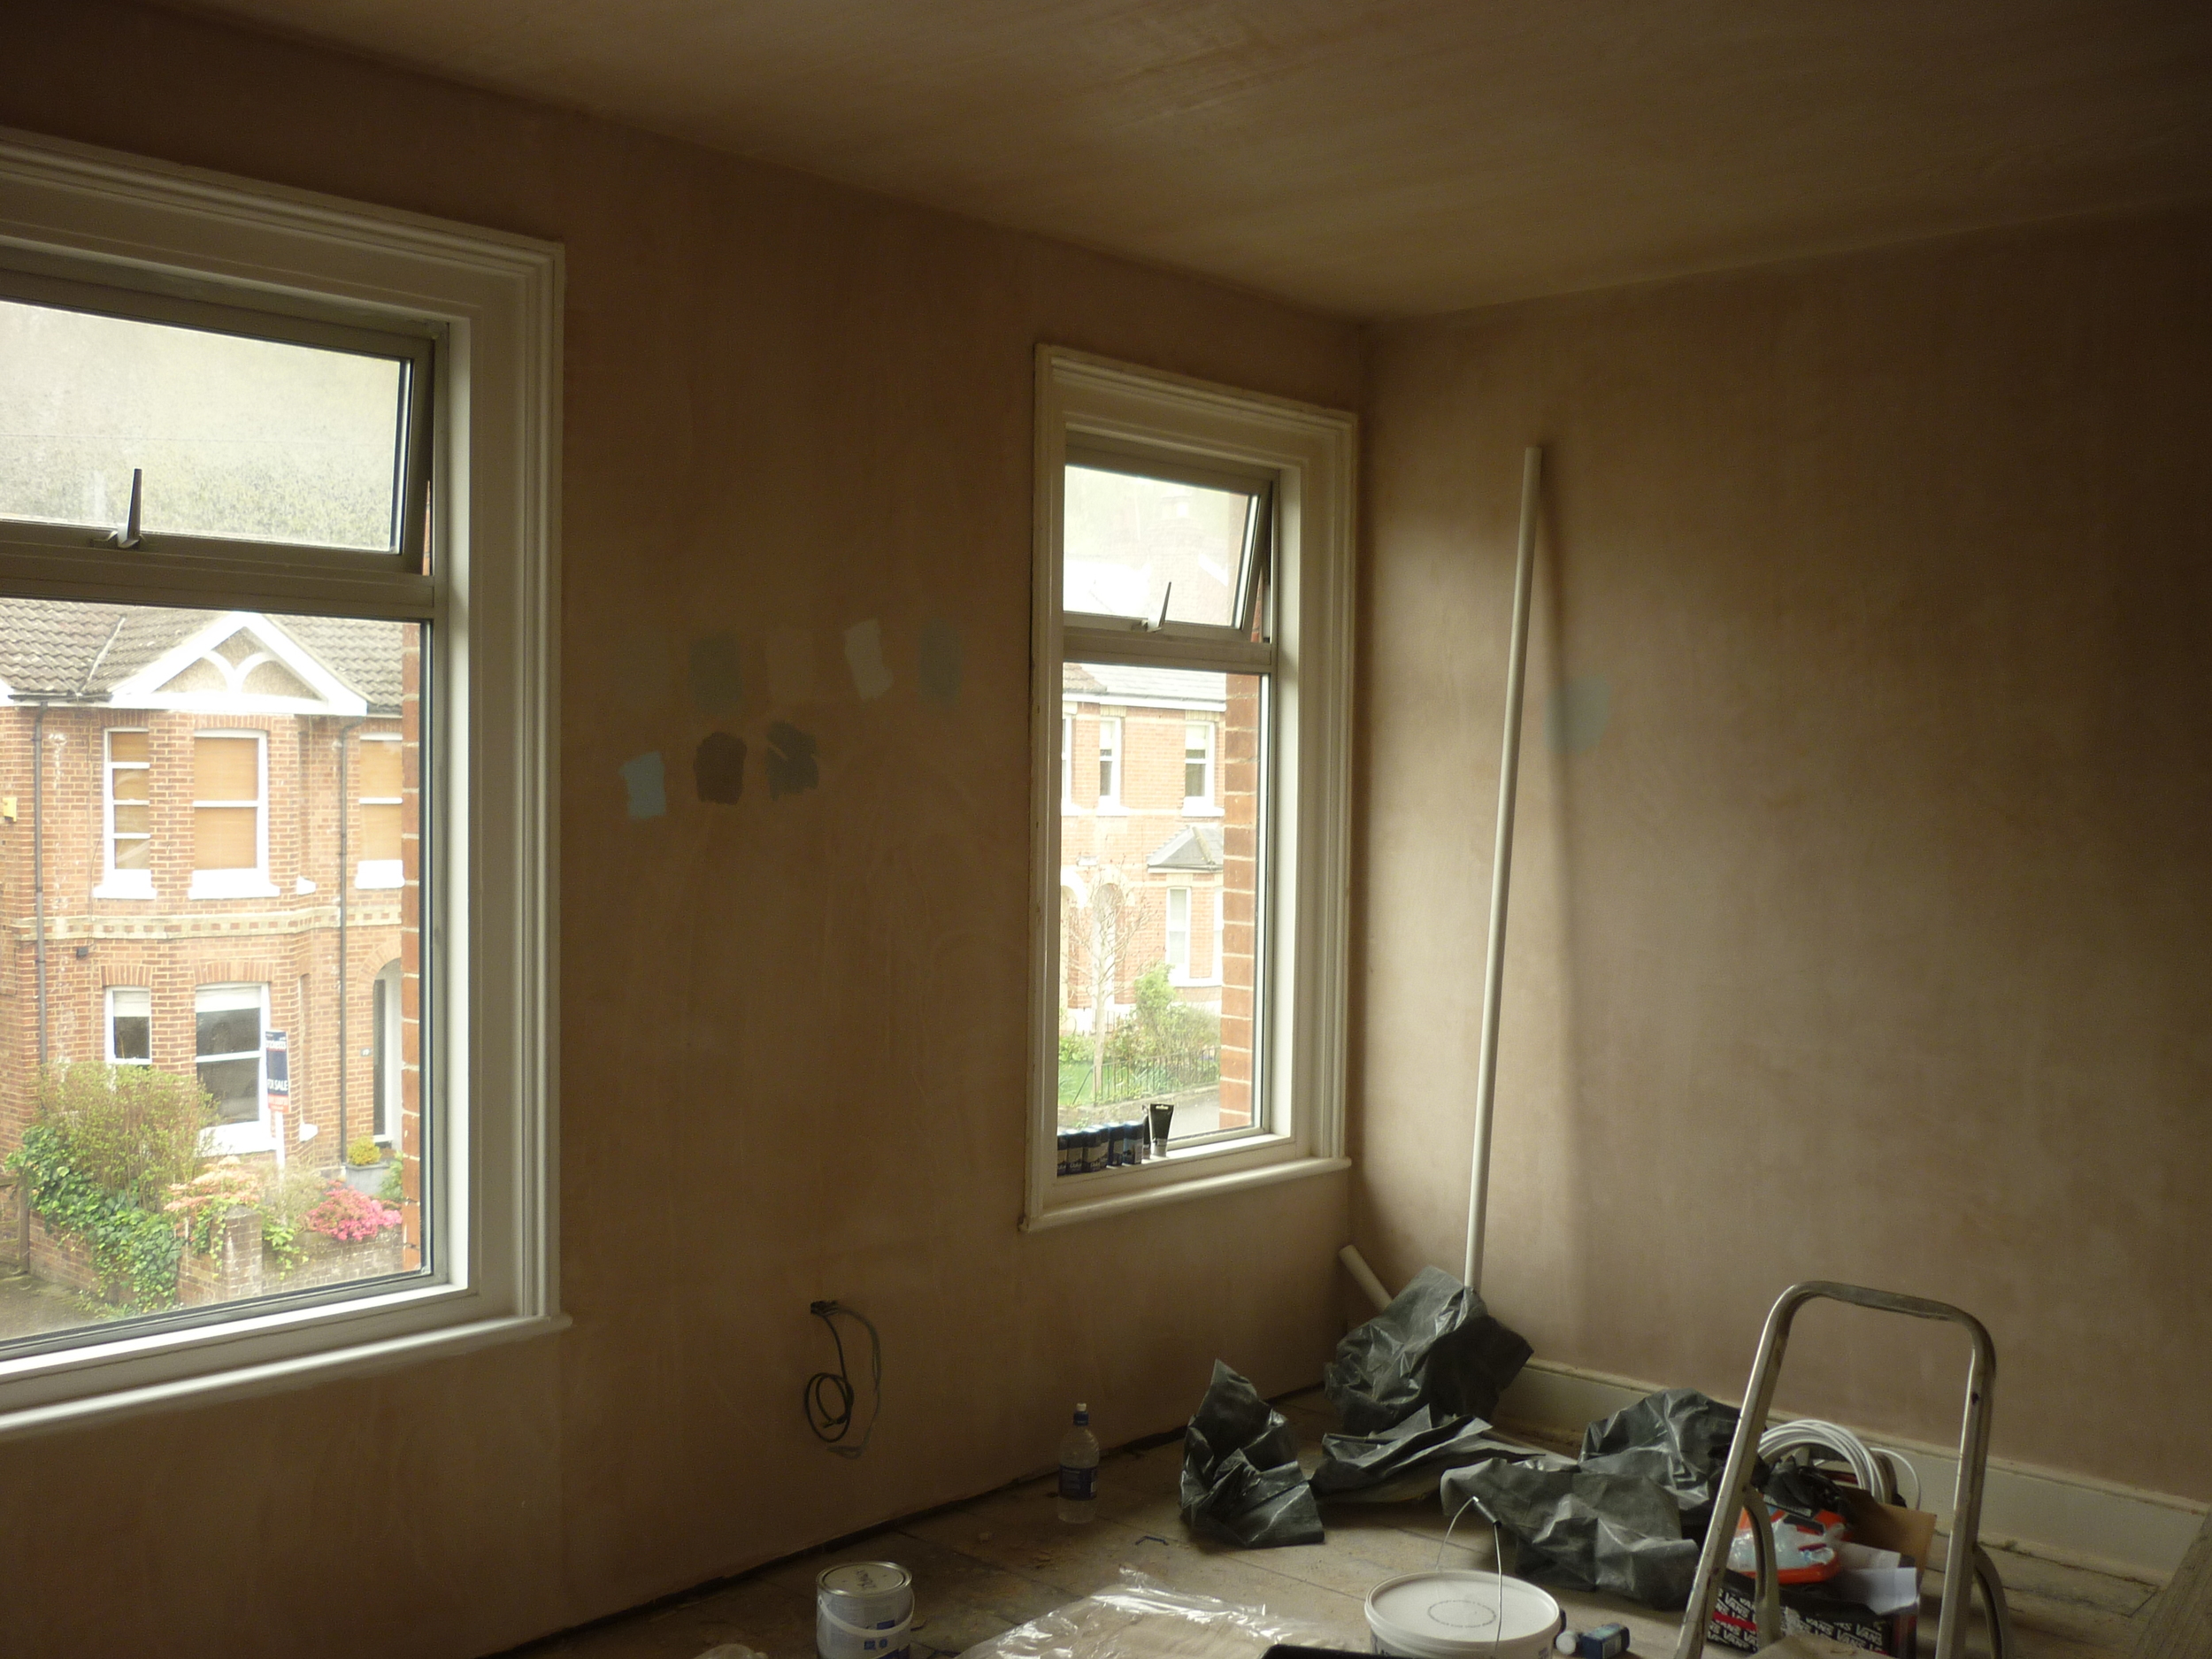
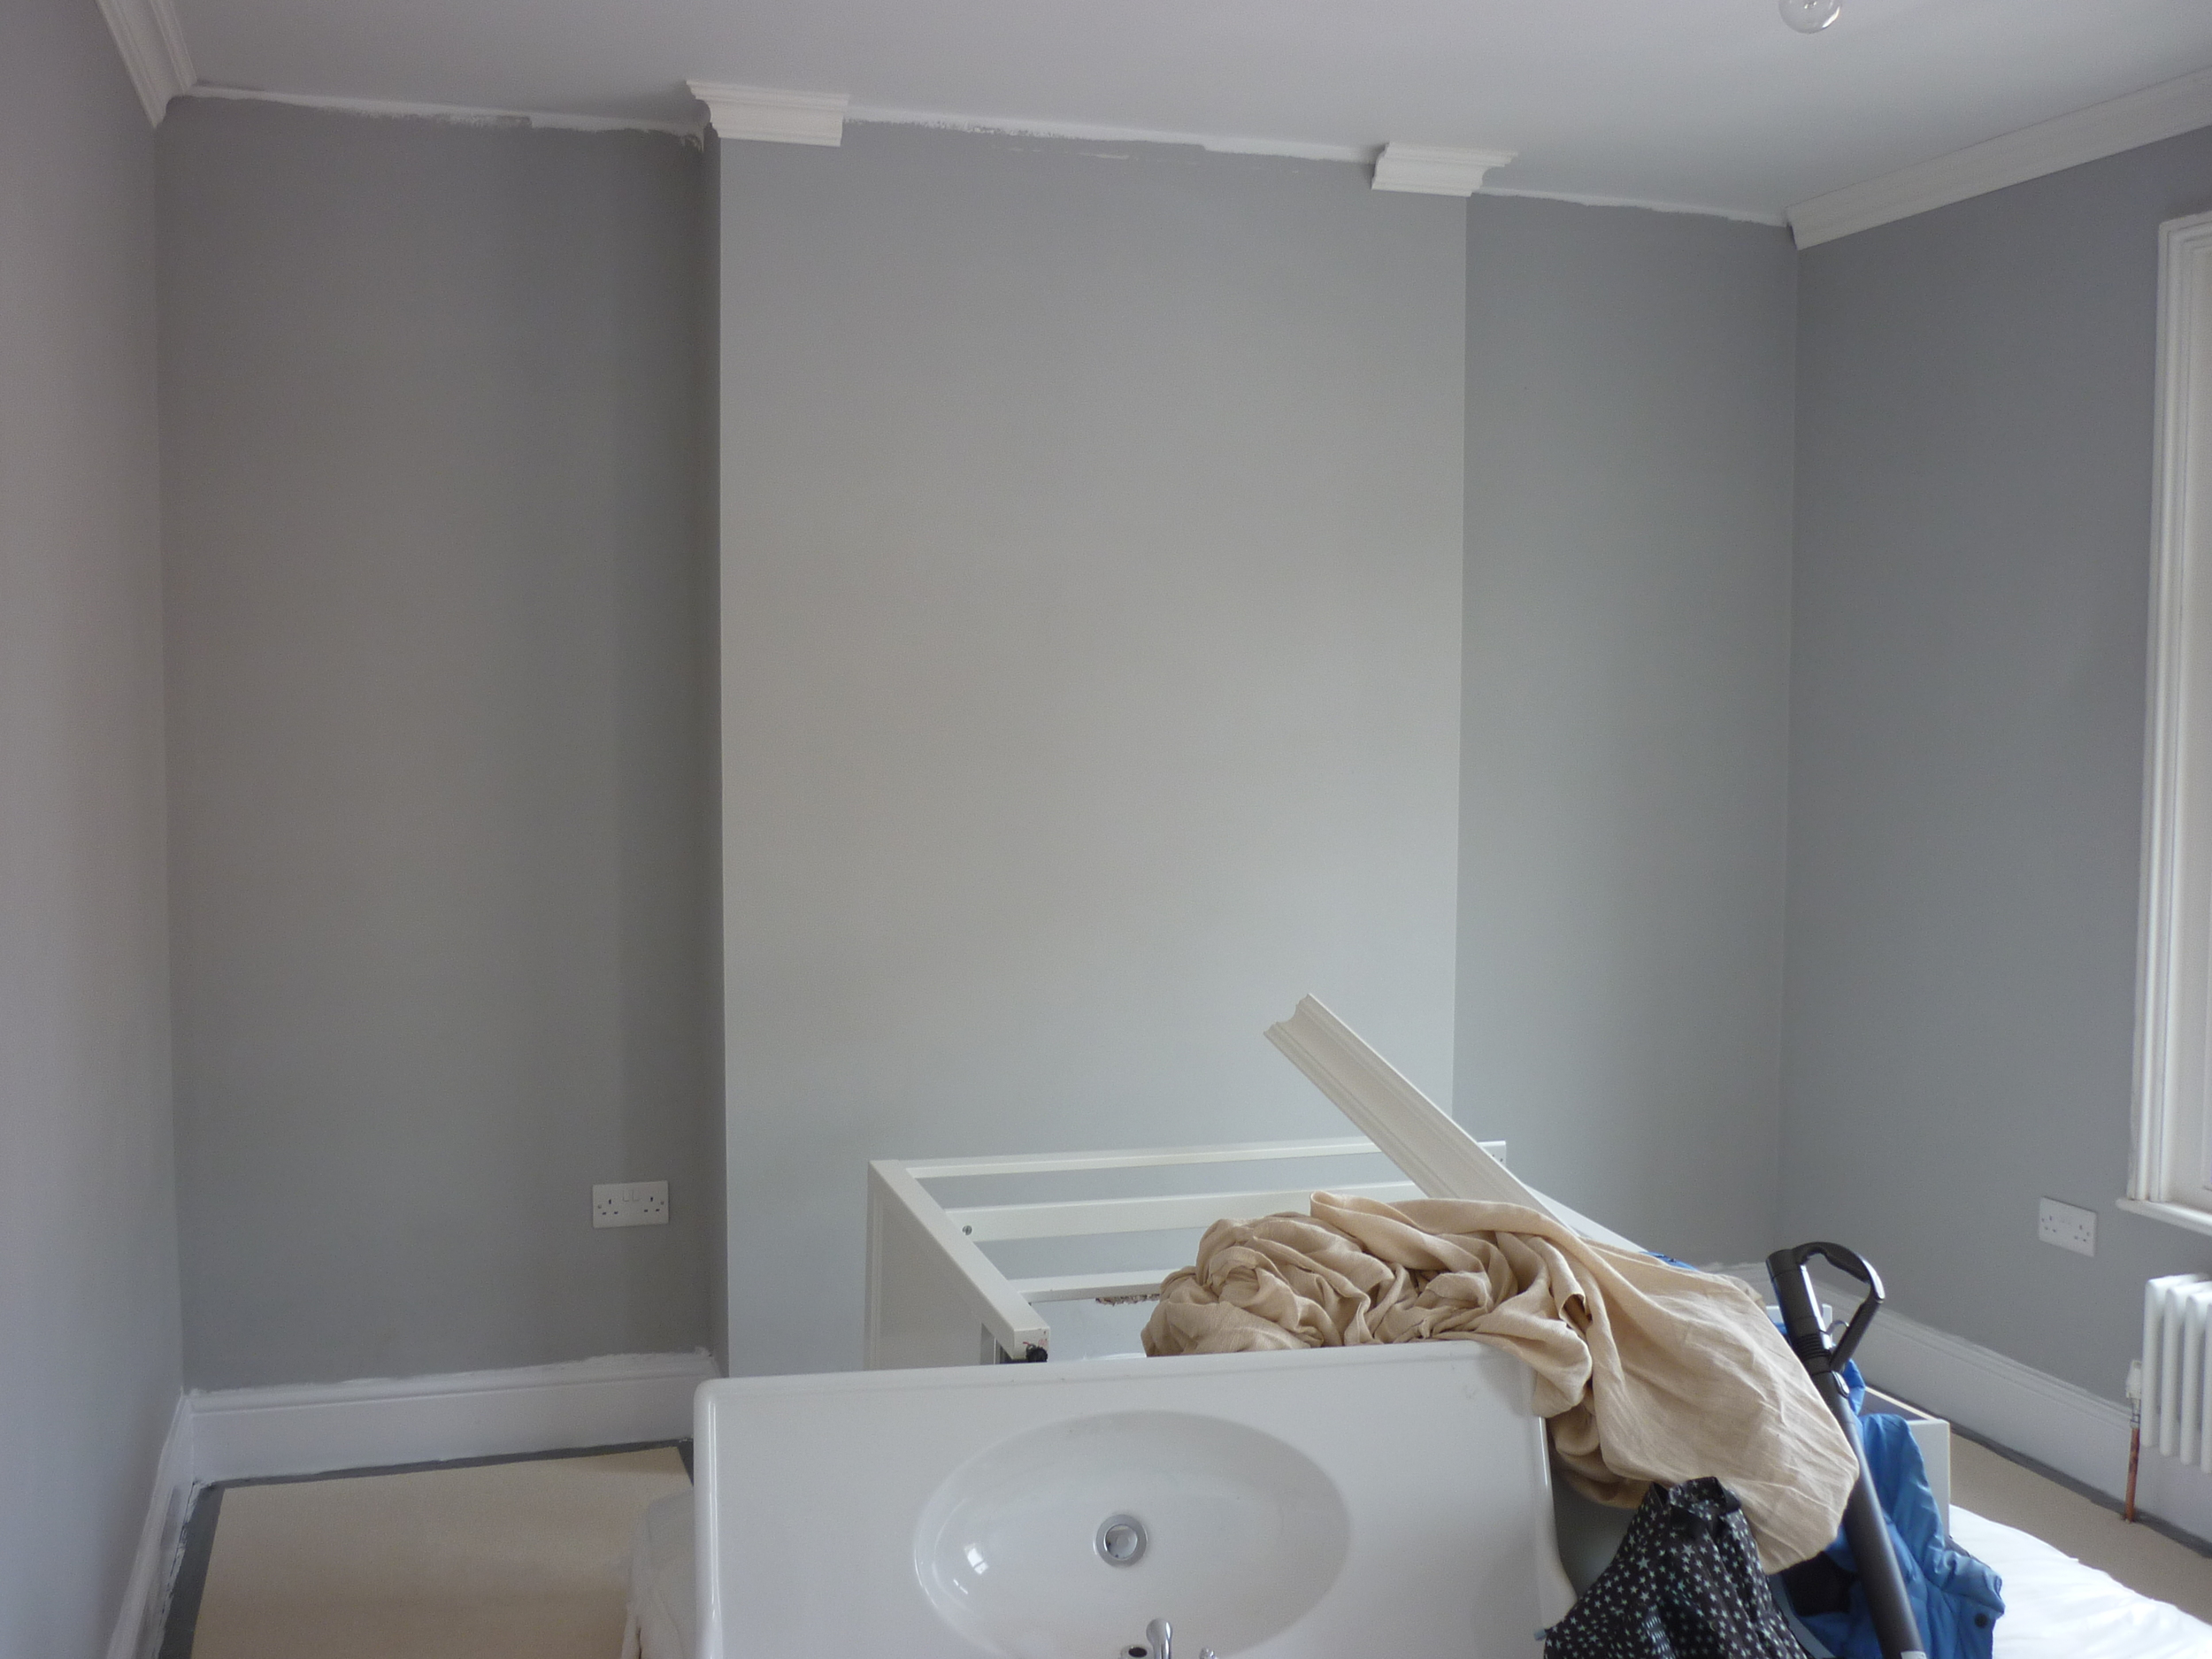
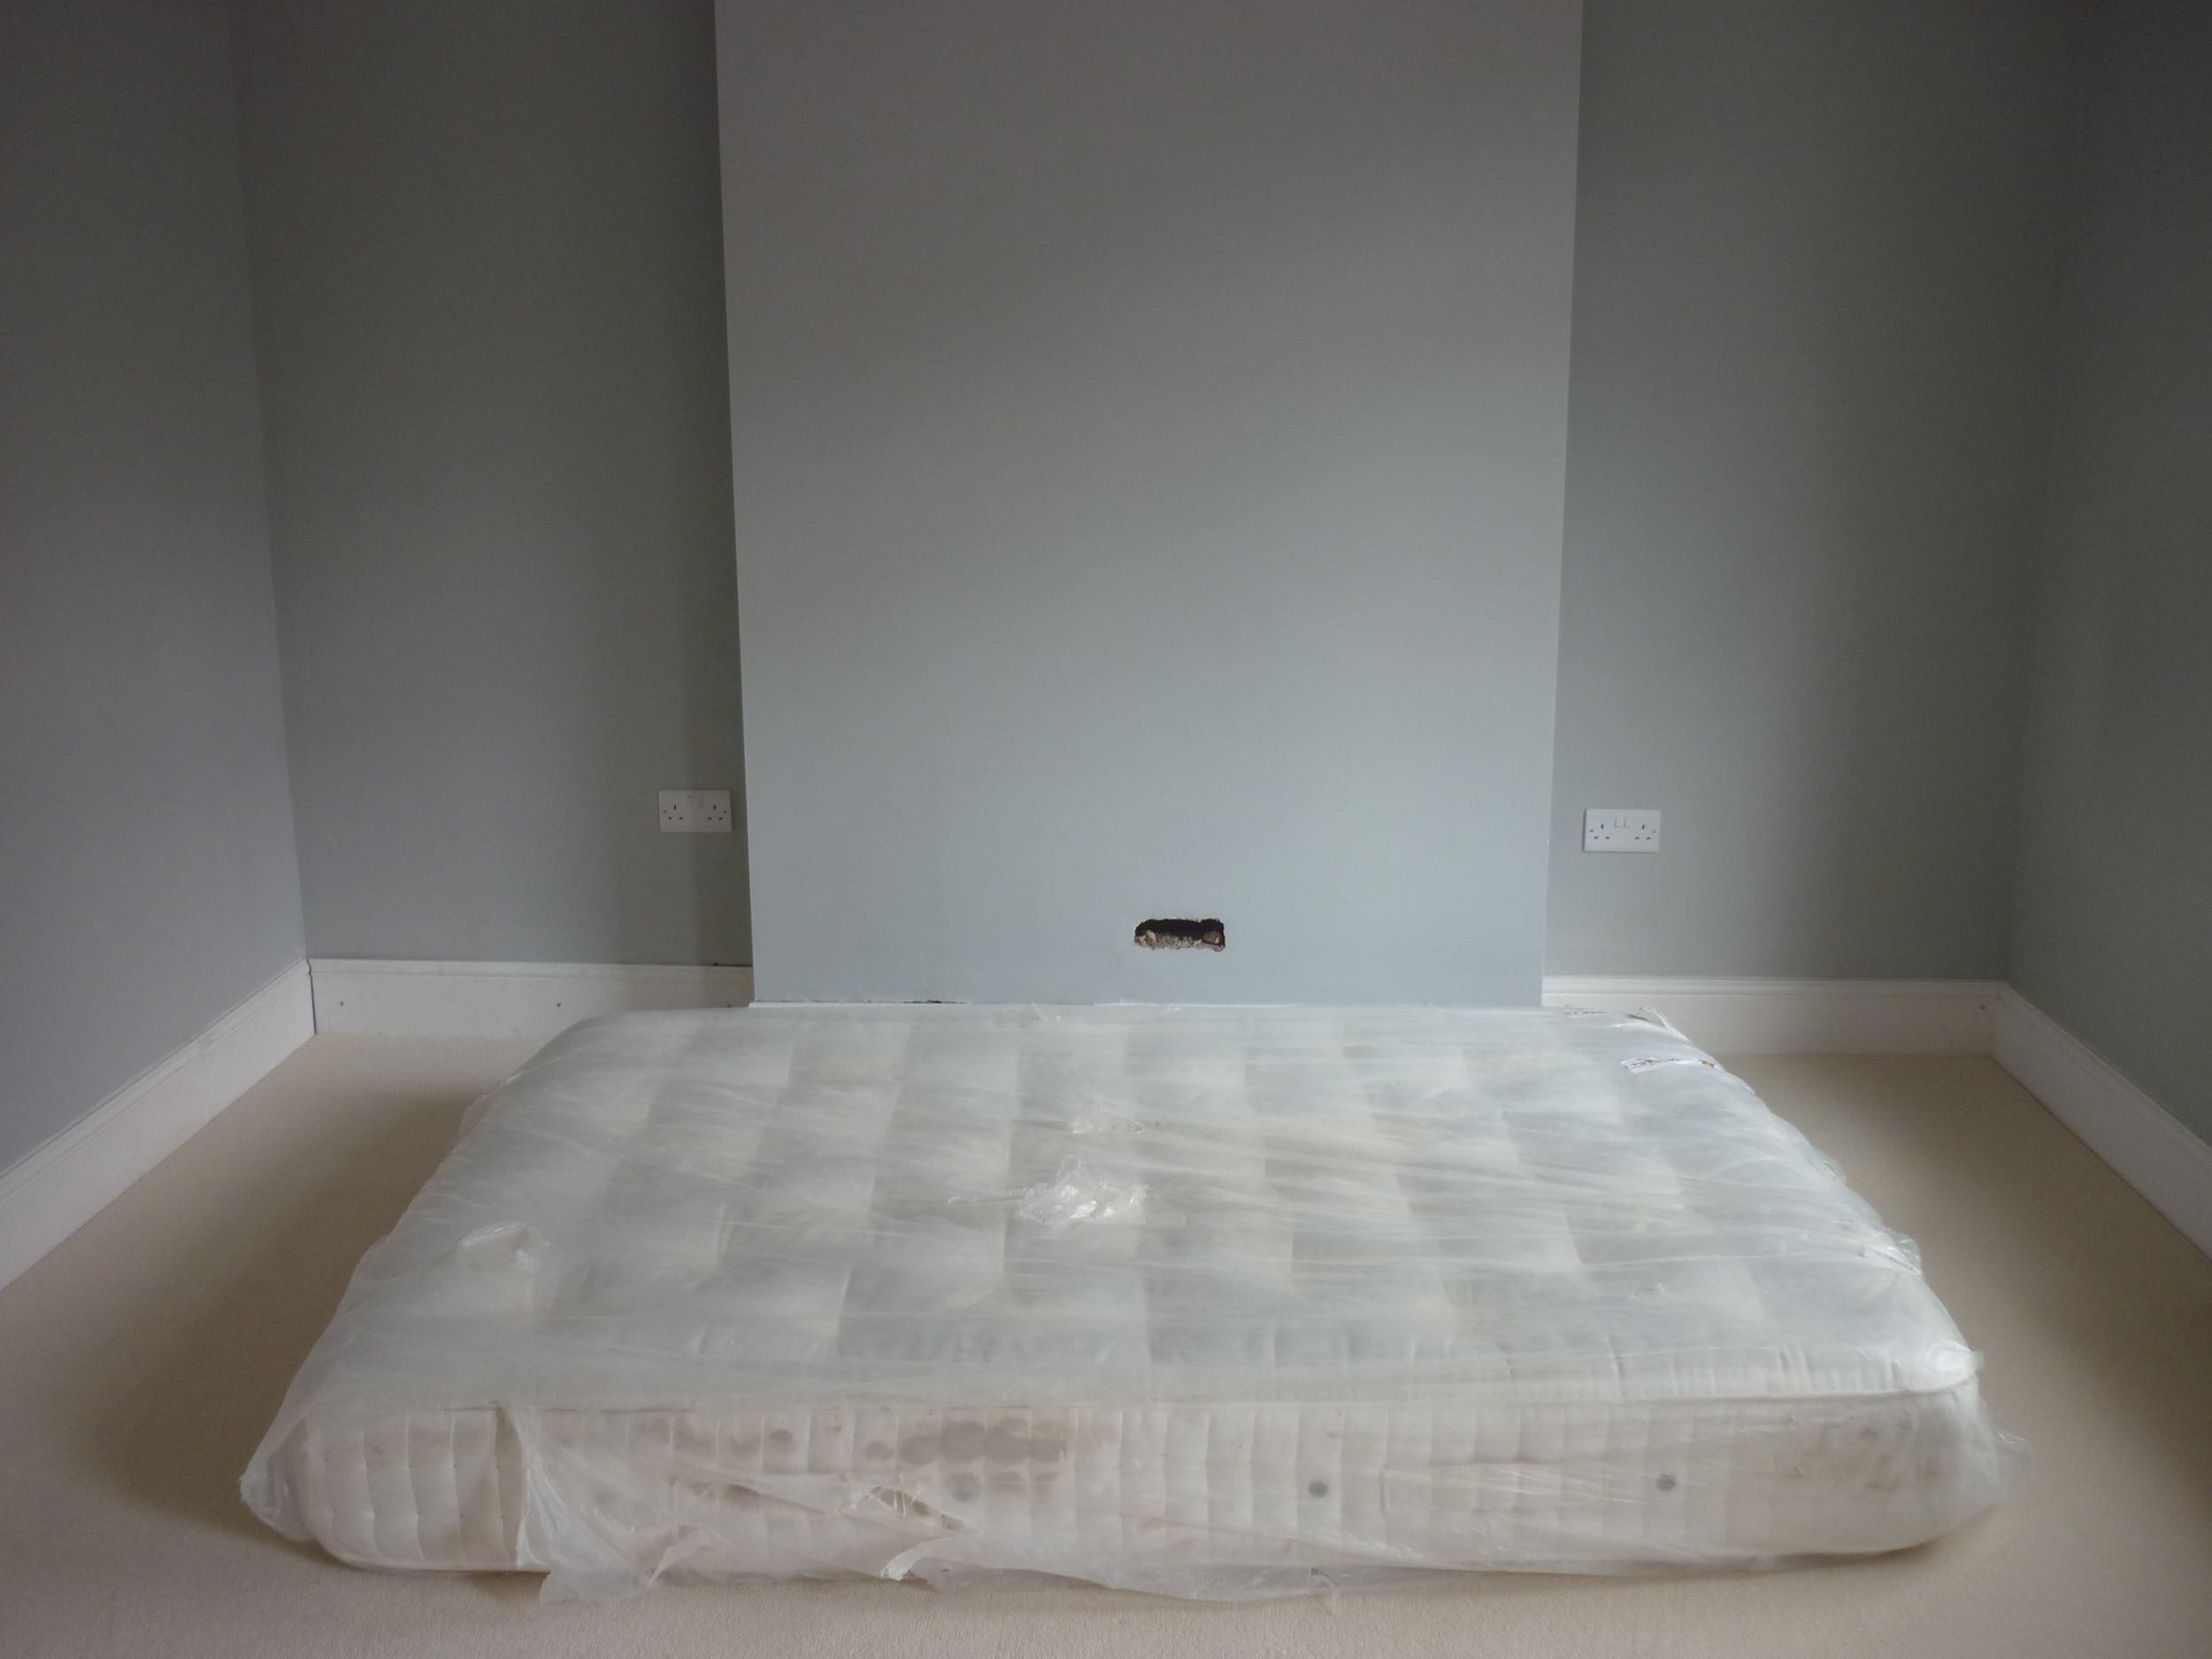
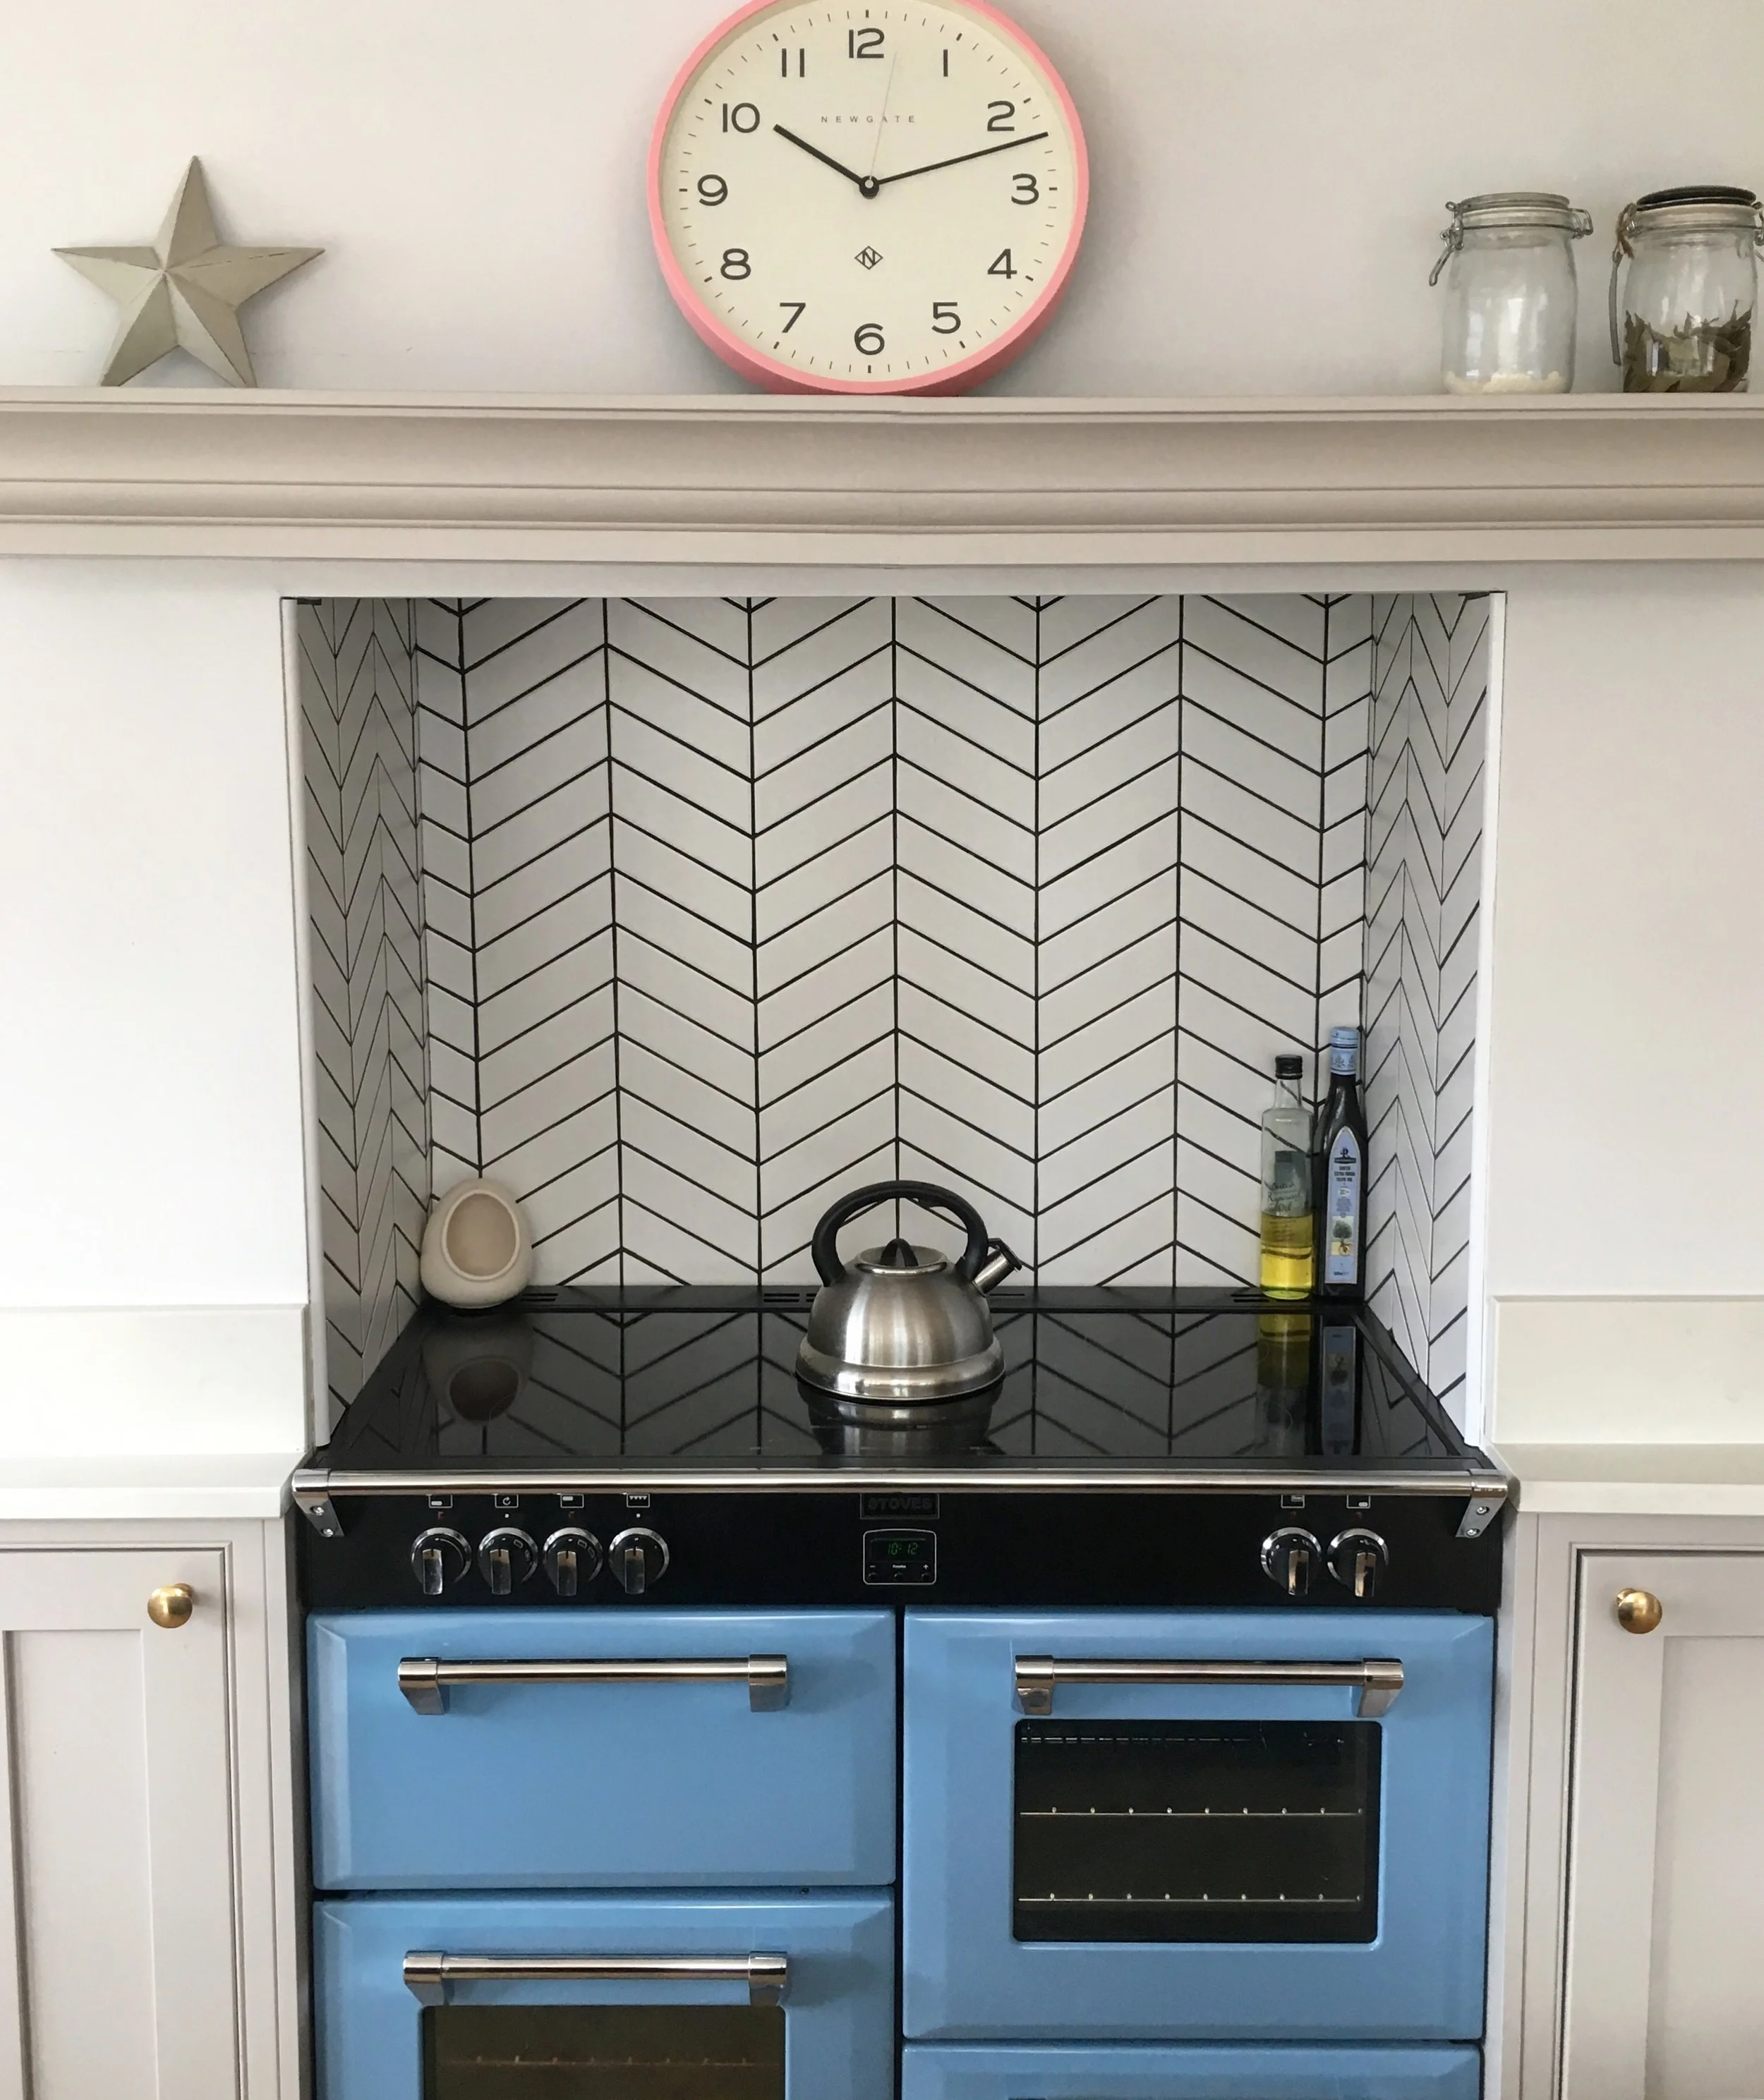
AFTER
It was amazing to finally start styling the place!

We’re still figuring the layout of the dining area - we’ll likely include some cosy seating near the bi-folds in the summer and move them to the fireplace in winter.


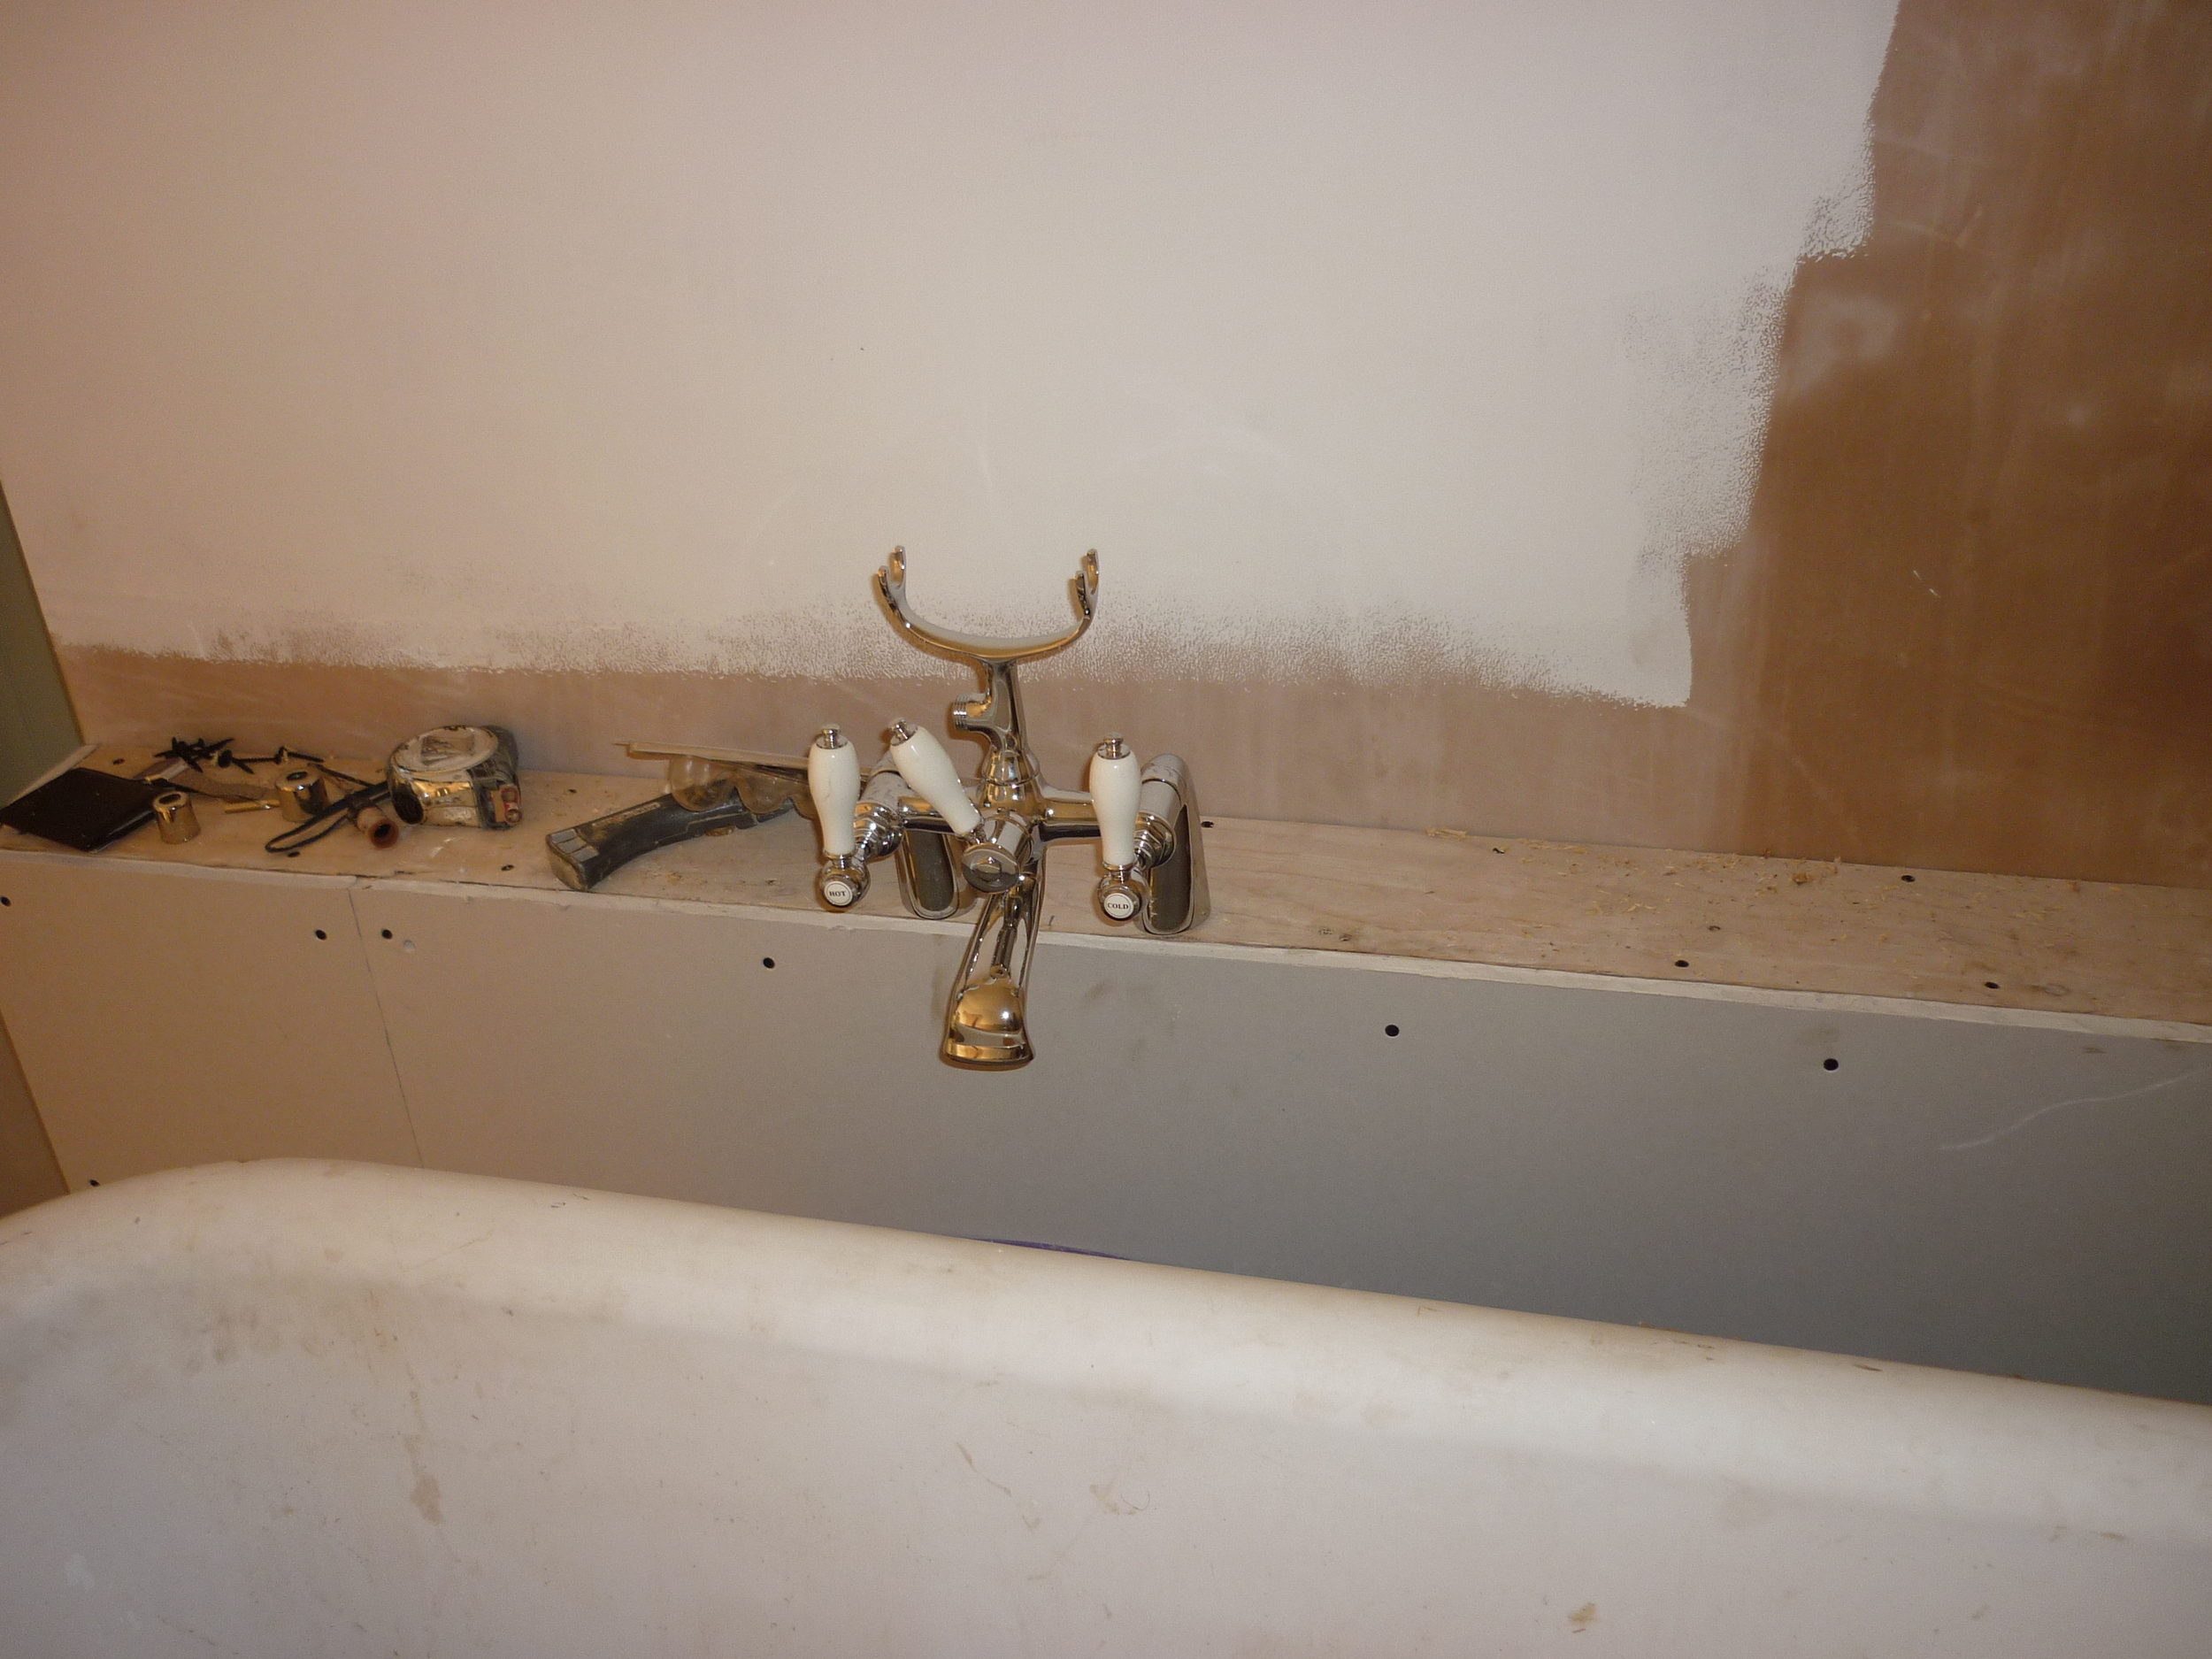
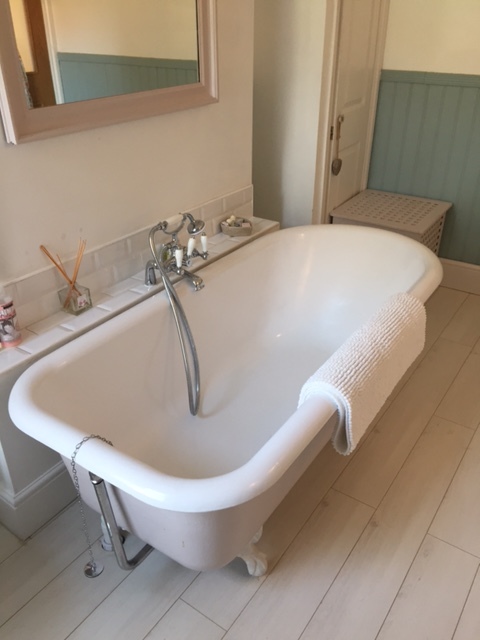
Utility room / Mog’s digs.

We went for anthracite colour radiators to match the window surrounds and outside drainage.

Feel so lucky to have a view. We’ve popped a bird feeder by the patio so the birds fly right up to where the boys (and Mog!) can see them.


We’ve borrowed a dining table from Mama & Papa B for the interim.


Enjoying the extension at Christmas time.


Bespoke railings created by a local ironmonger, as our patio is curved and it added that vital safety element. (Going to plan a toddler-safe gate to block the steps off for the interim!) We added some steps down to the garden and at the side for easy access.

We went quite simple with the railings due to budget but we managed to have some monkey tails included to add some detail.
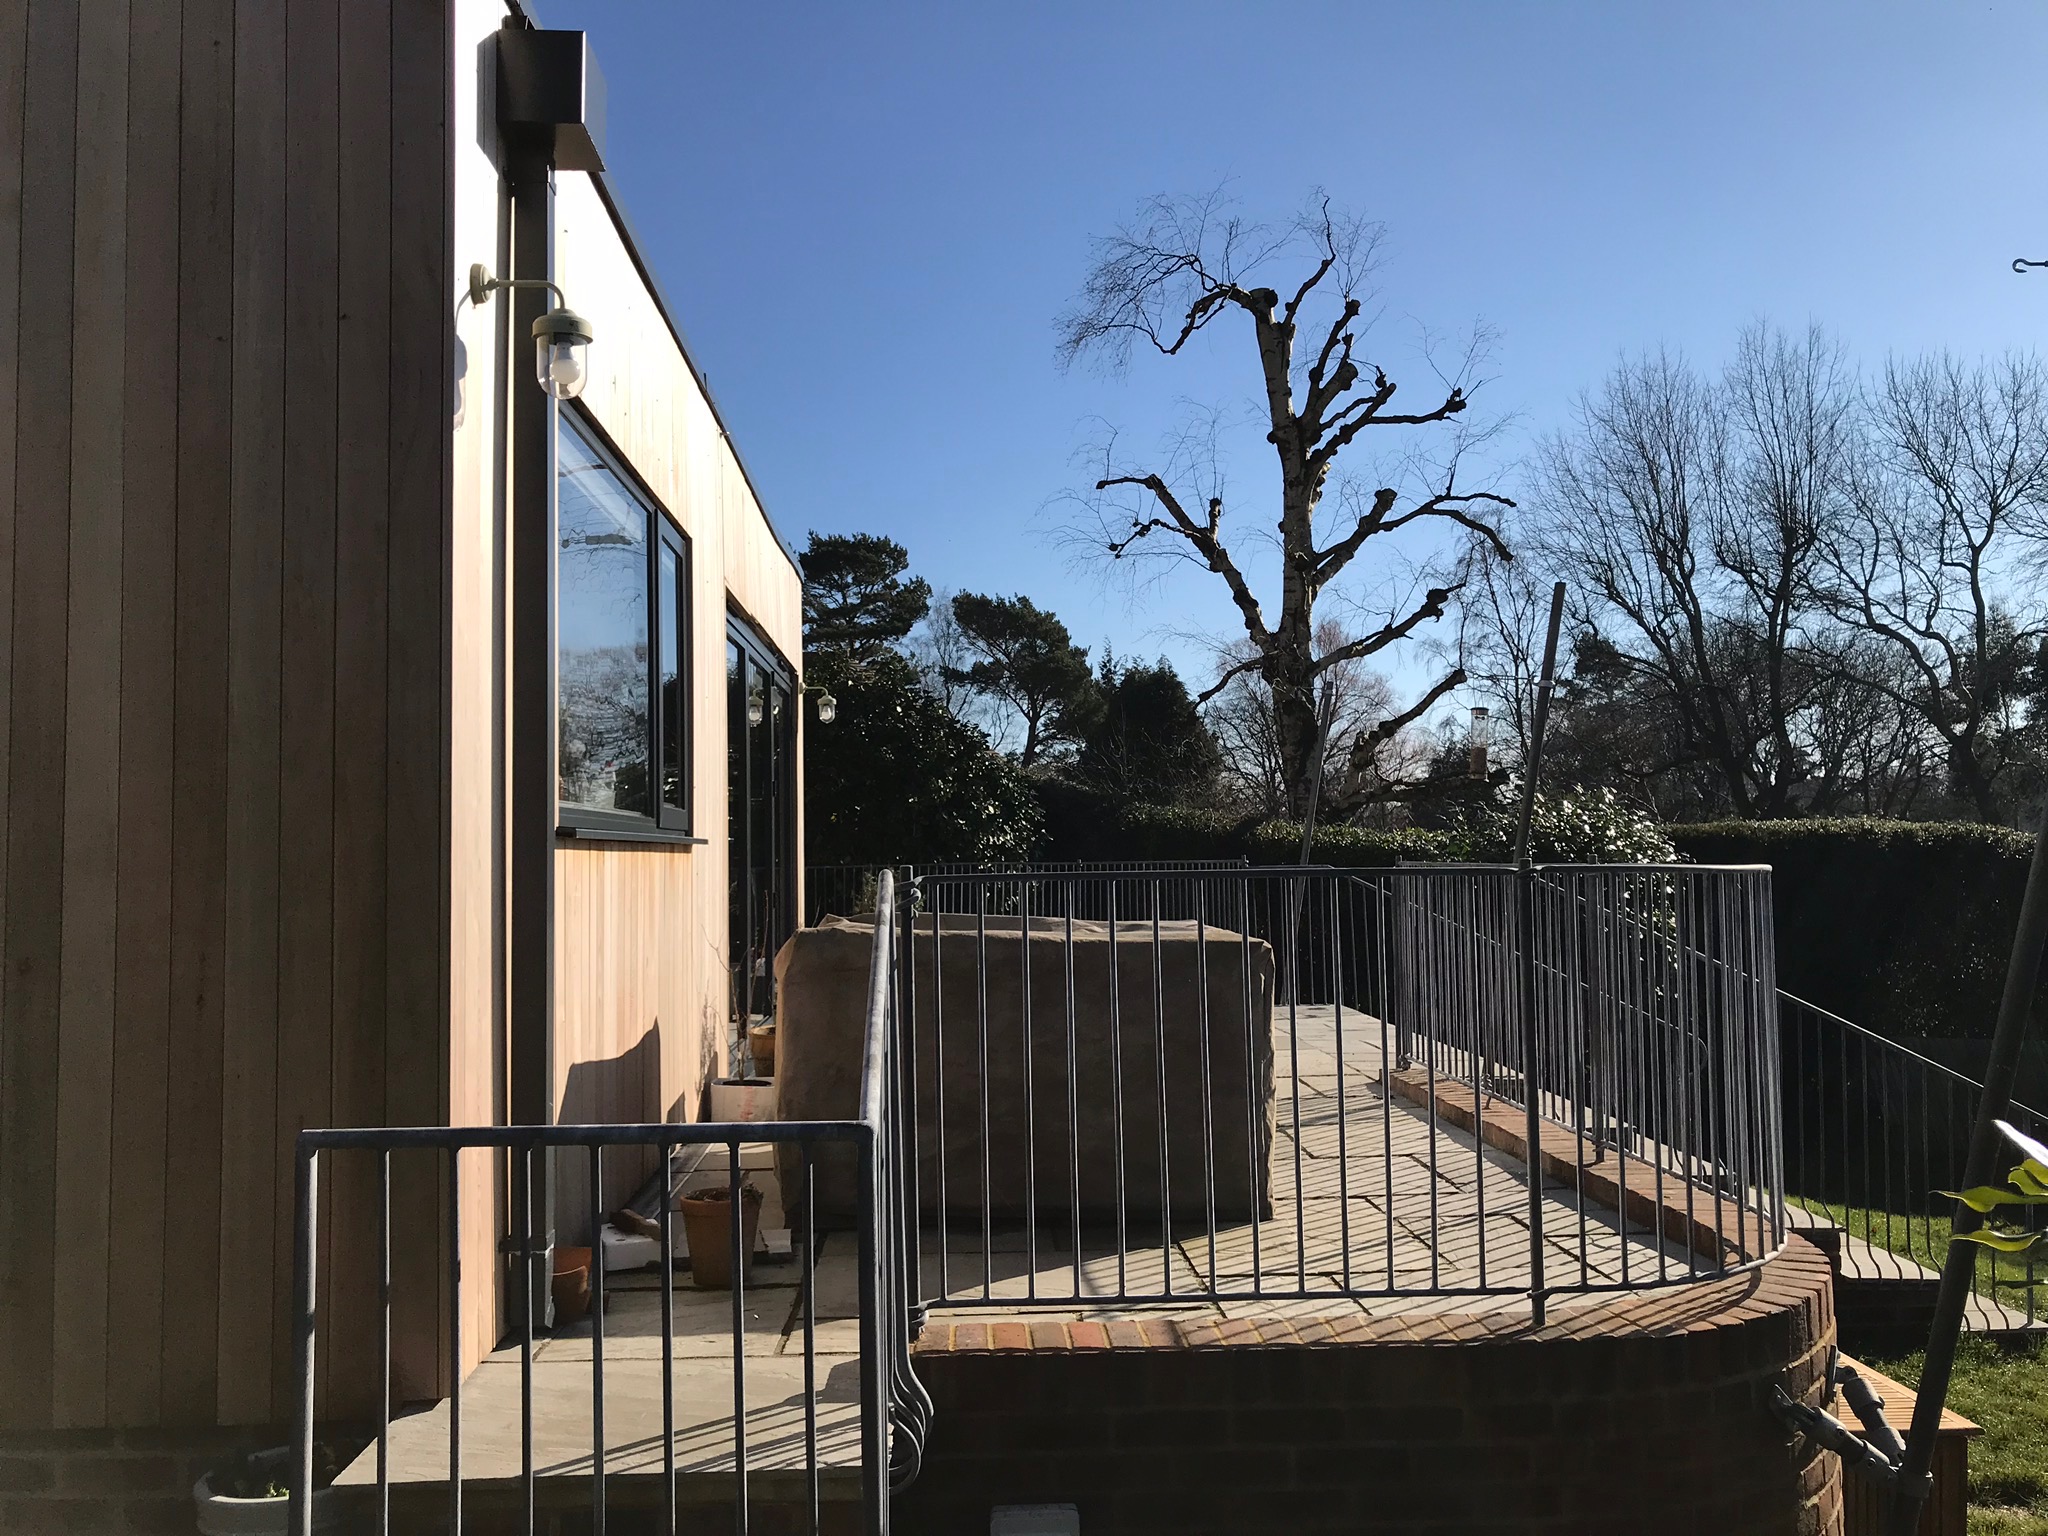
Ignore the patio clutter - that’s our next project!
LESSONS LEARNED
If you have good organisation and budgeting skills and know a thing or two about construction, consider project managing an extension yourself and avoid hiring one builder to do the lot. We did this towards the end of the project and were so glad we did.
If you have a tight budget, consider going direct to an online kitchen retailer and hire a freelance kitchen designer to make your vision happen.
If you have an intricate floor, make sure you allow a fair amount of time for it to go down before your kitchen is installed.
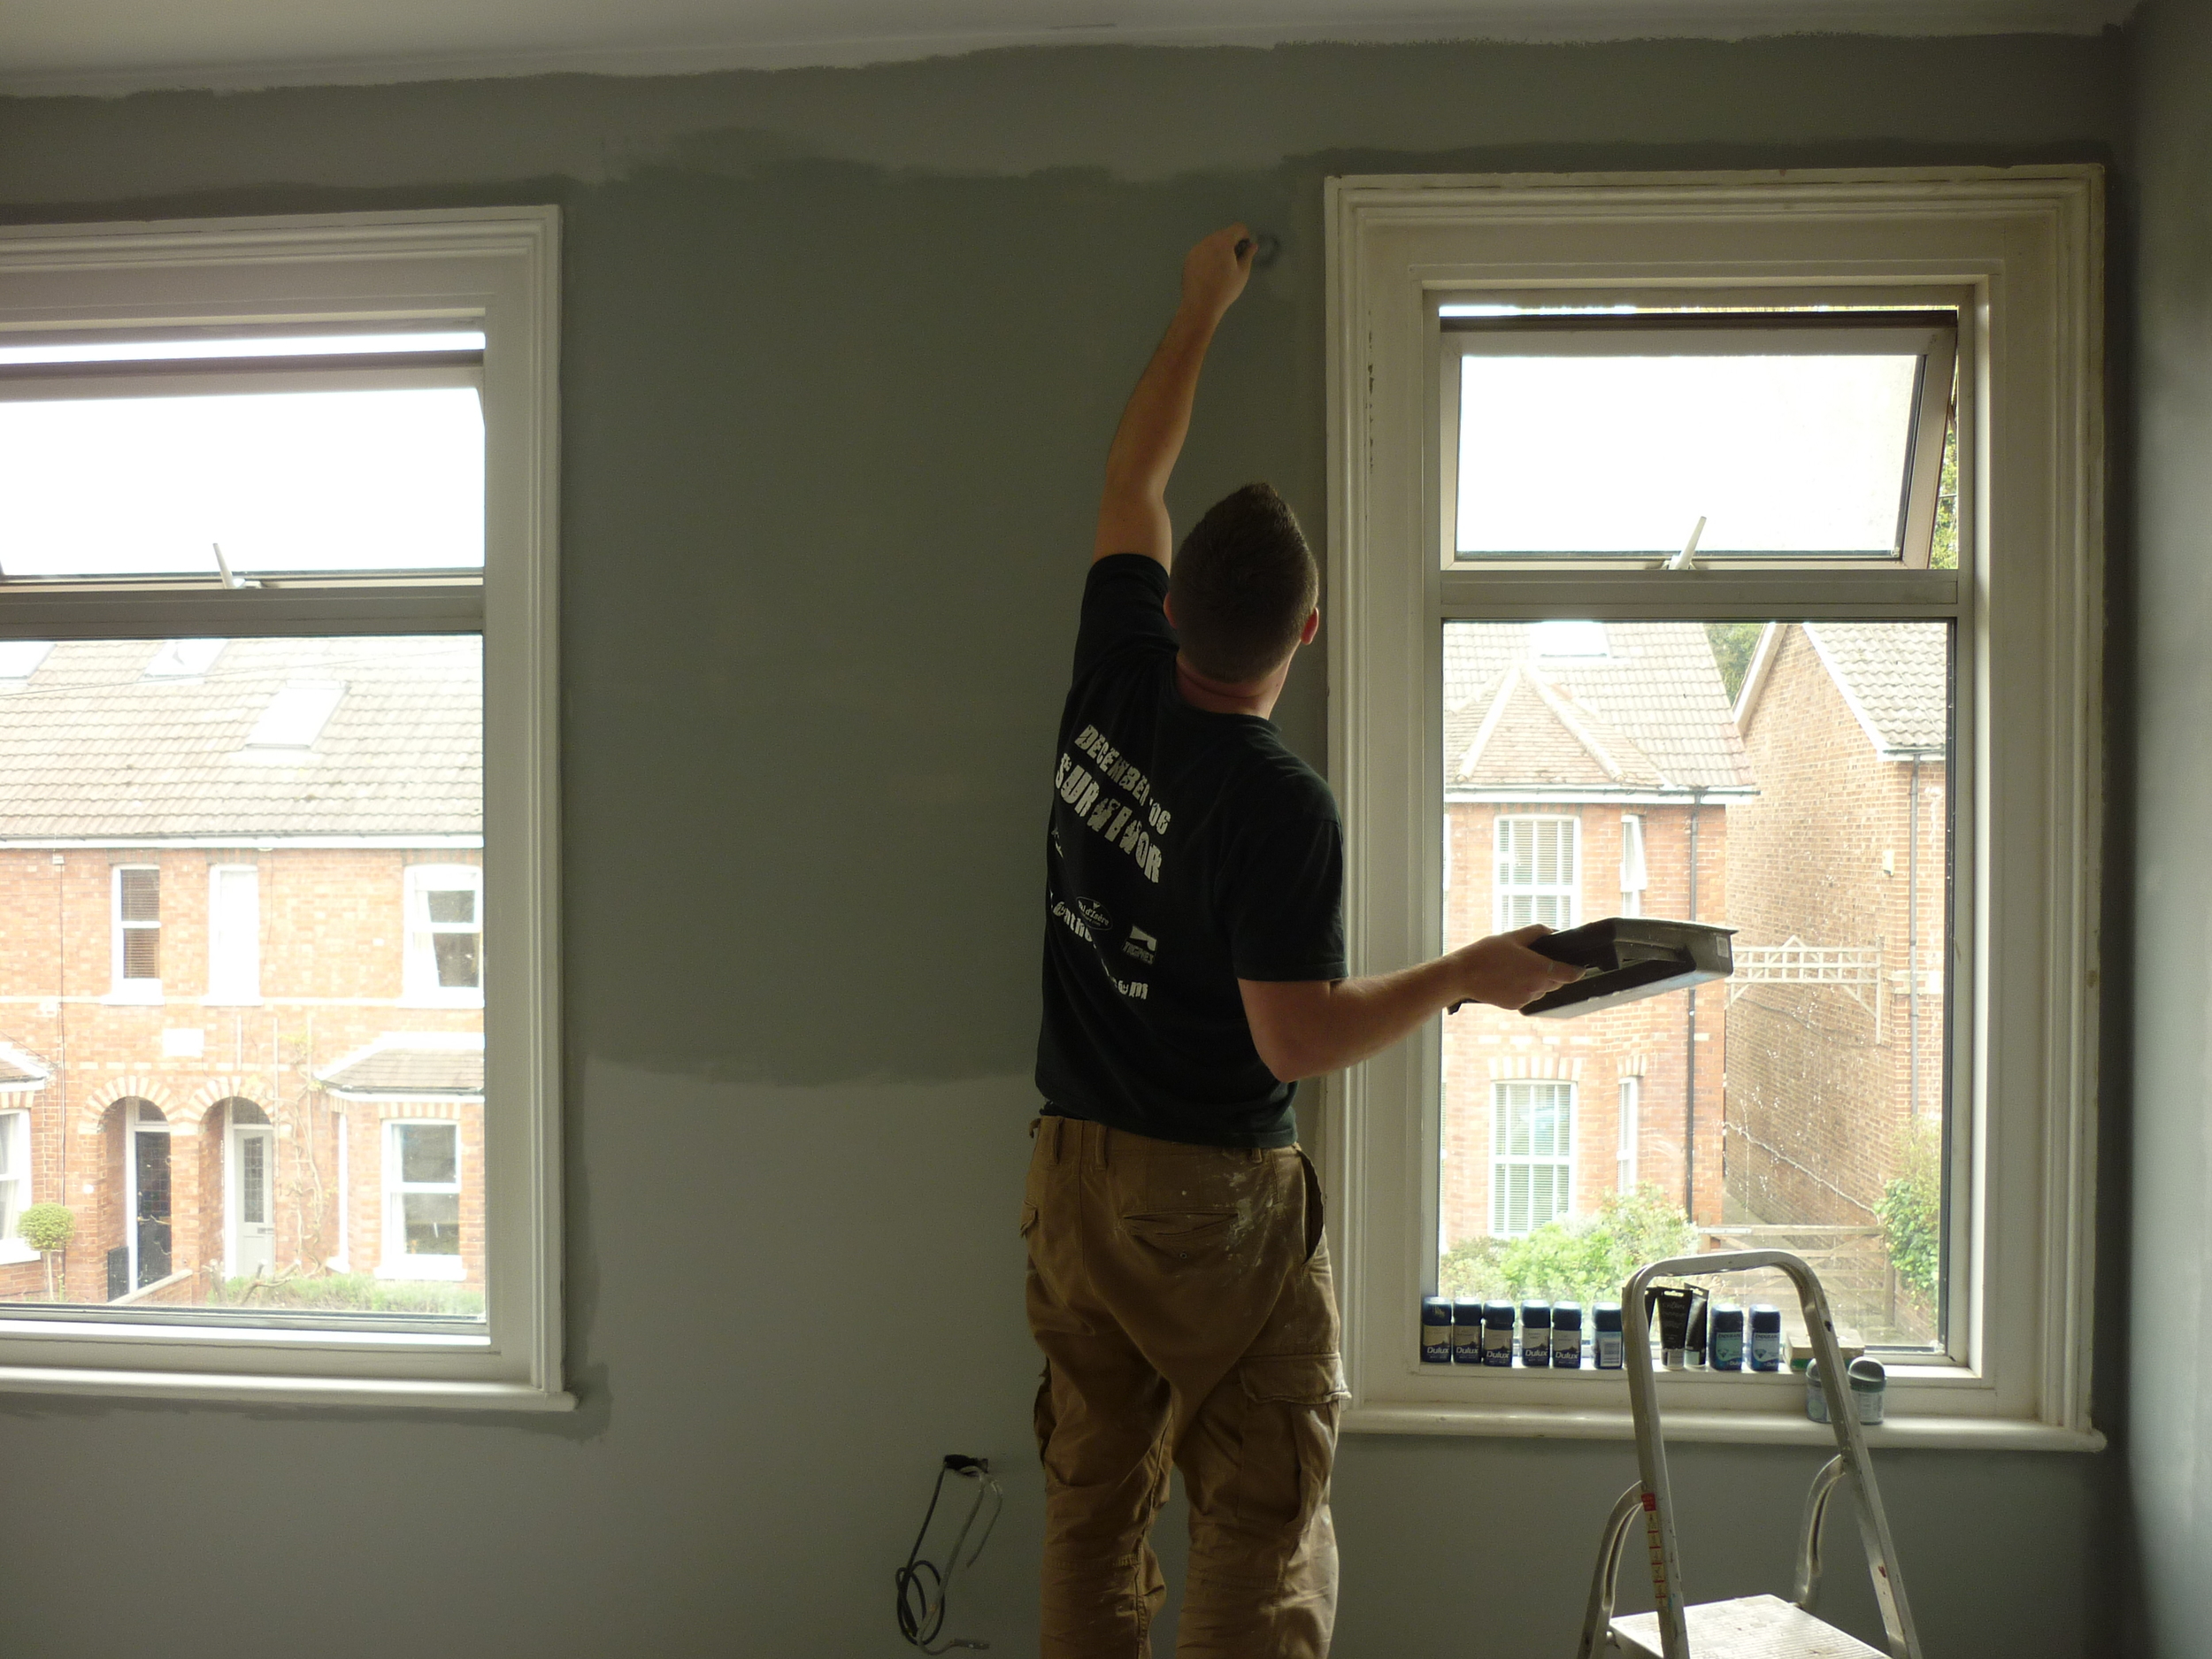
Paint your kitchen walls before your kitchen is installed, otherwise it will take longer trying to paint around the cabinets and above the worktop (not necessarily the whole room just where the kitchen meets the wall).
Remember to consider outdoor lighting as well as indoor if you’re doing work to the back of the house.
Also consider adding an outdoor tap to a rear extension to help with gardening etc.
Walk through every single detail. From where you’re likely to use appliances in the kitchen for socket locations to how far your doors will come out to when open / what not to put there!
Don’t be shy. If you’re not sure your builder’s done something right or you’re questioning a decision you’ve made - discuss it. You have to live with it so speak up as there could be an easy solution at the time.
Consider lighting in all forms - spotlights, cabinet lighting, table lamps, floor lamps, etc. We added a neon sign to jazz things up a bit (and I’m always up for adding in some pink where I can!).
Create a shared note on your phone for a house to-do / to-check list. We found this really useful when reviewing the build in the evenings and trying to remember what to discuss with our builder the next day. It also gave us peace of mind when remembering something in the middle of the night!
Those are just a few things we learnt along the way (and things we learnt when renovating our previous house). Hope some of the info proves useful if you’re starting an extension project.
LINKS
Kitchen cabinets are Langton in-frame from www.kitchencollection.co.uk (grey cabinets are cashmere colour, island is charcoal).
We soured the brass handles from an Etsy seller called YesterHomeUK (make sure to buy some brass polish to keep them looking shiny! We made a stencil out of acetate to put around each handle when cleaning to avoid damaging the cabinets.
Floor: Oak veneer herringbone parquet in biscuit oak colour from www.hardwoodfloorstore.co.uk
YOU MIGHT ALSO LIKE…