kitchen before and after

Skylight Blinds

(AD)

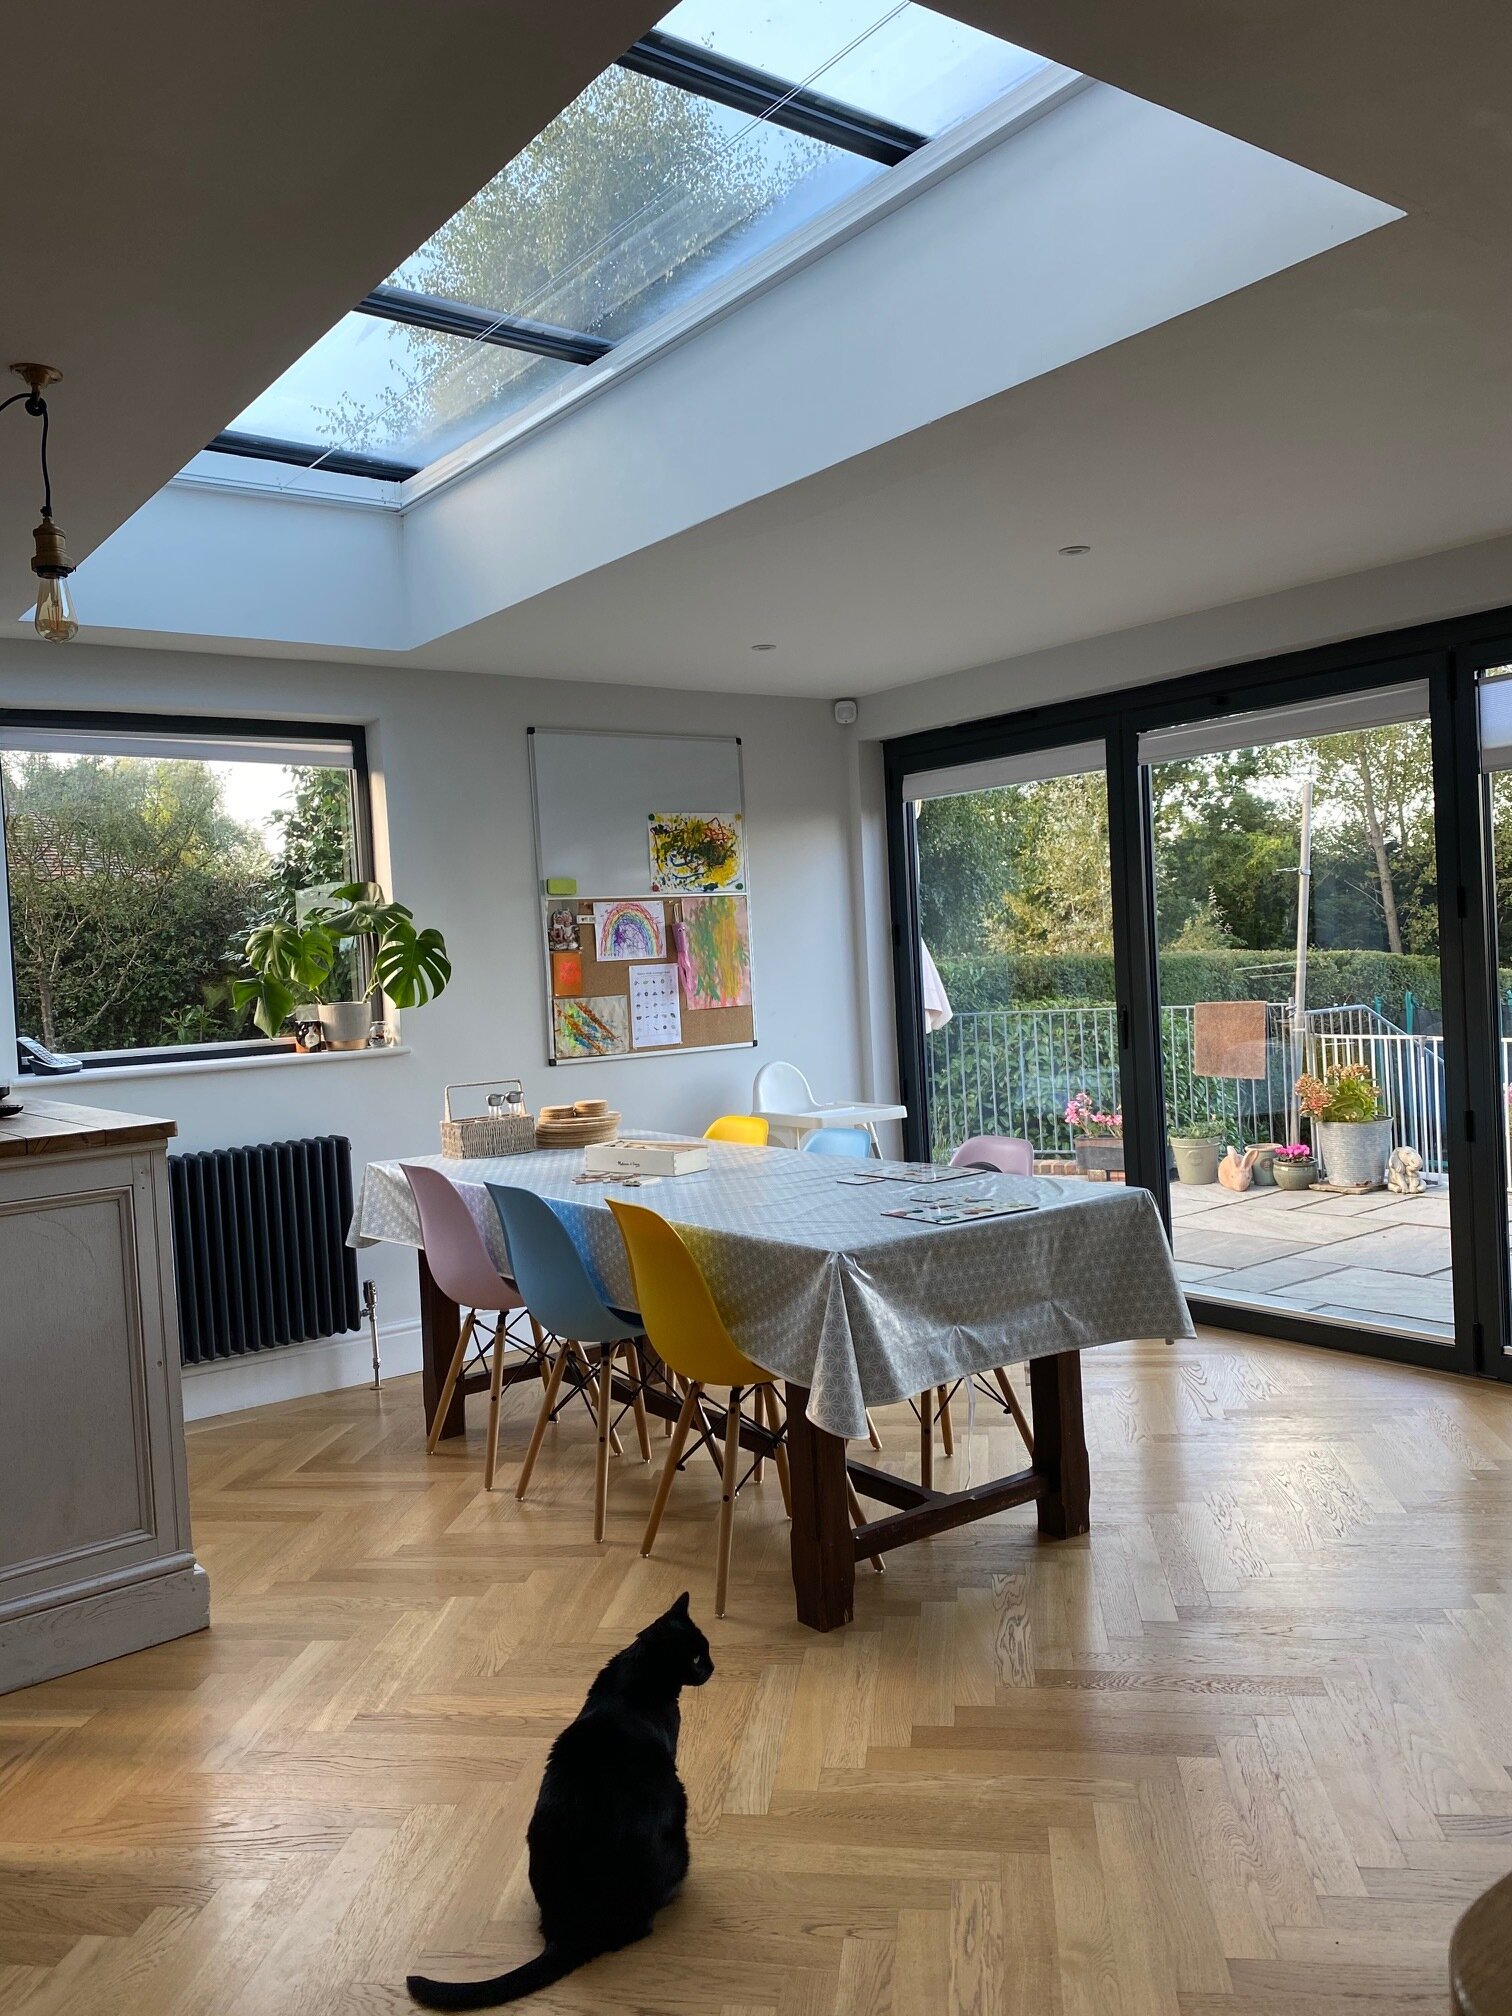
We completed our kitchen extension a few days before Jake was born (almost 2 years ago now-!). Our diner side has very much been a room of requirement with the boys - I have some big plans for styling this room but every time I scroll through my Pinterest boards, I have to remind myself that we have two boys under 4. Now is not the time to invest in a nice rug (loving this French Connection one atm), sofa (oh the day I can tuck into Loaf’s pudding sofa), table or lamp.

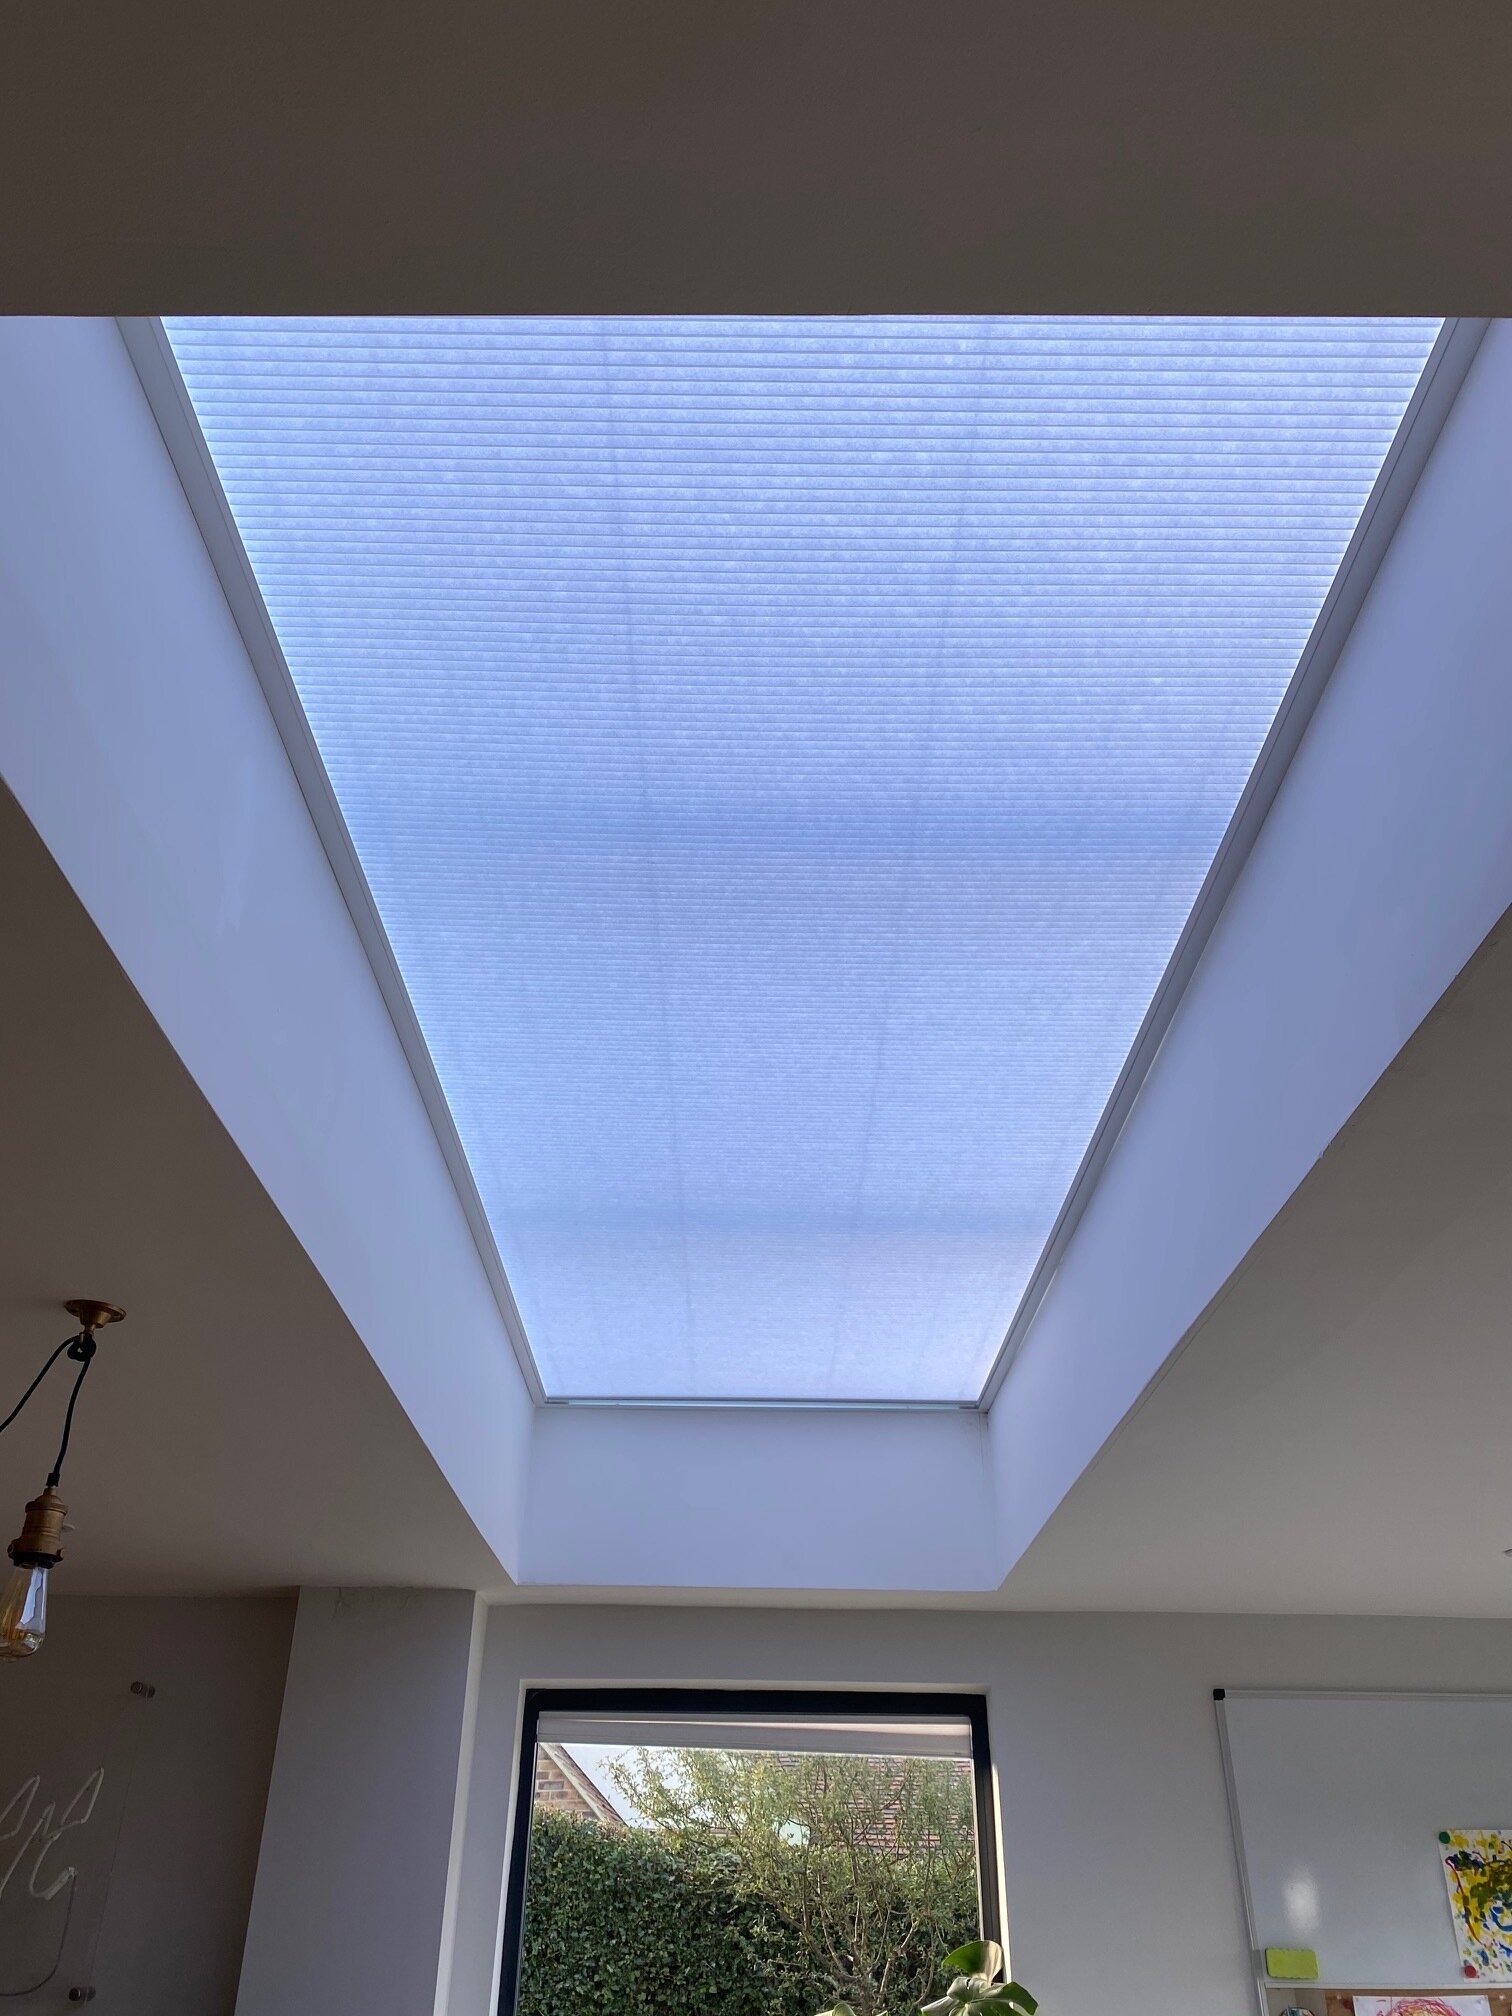
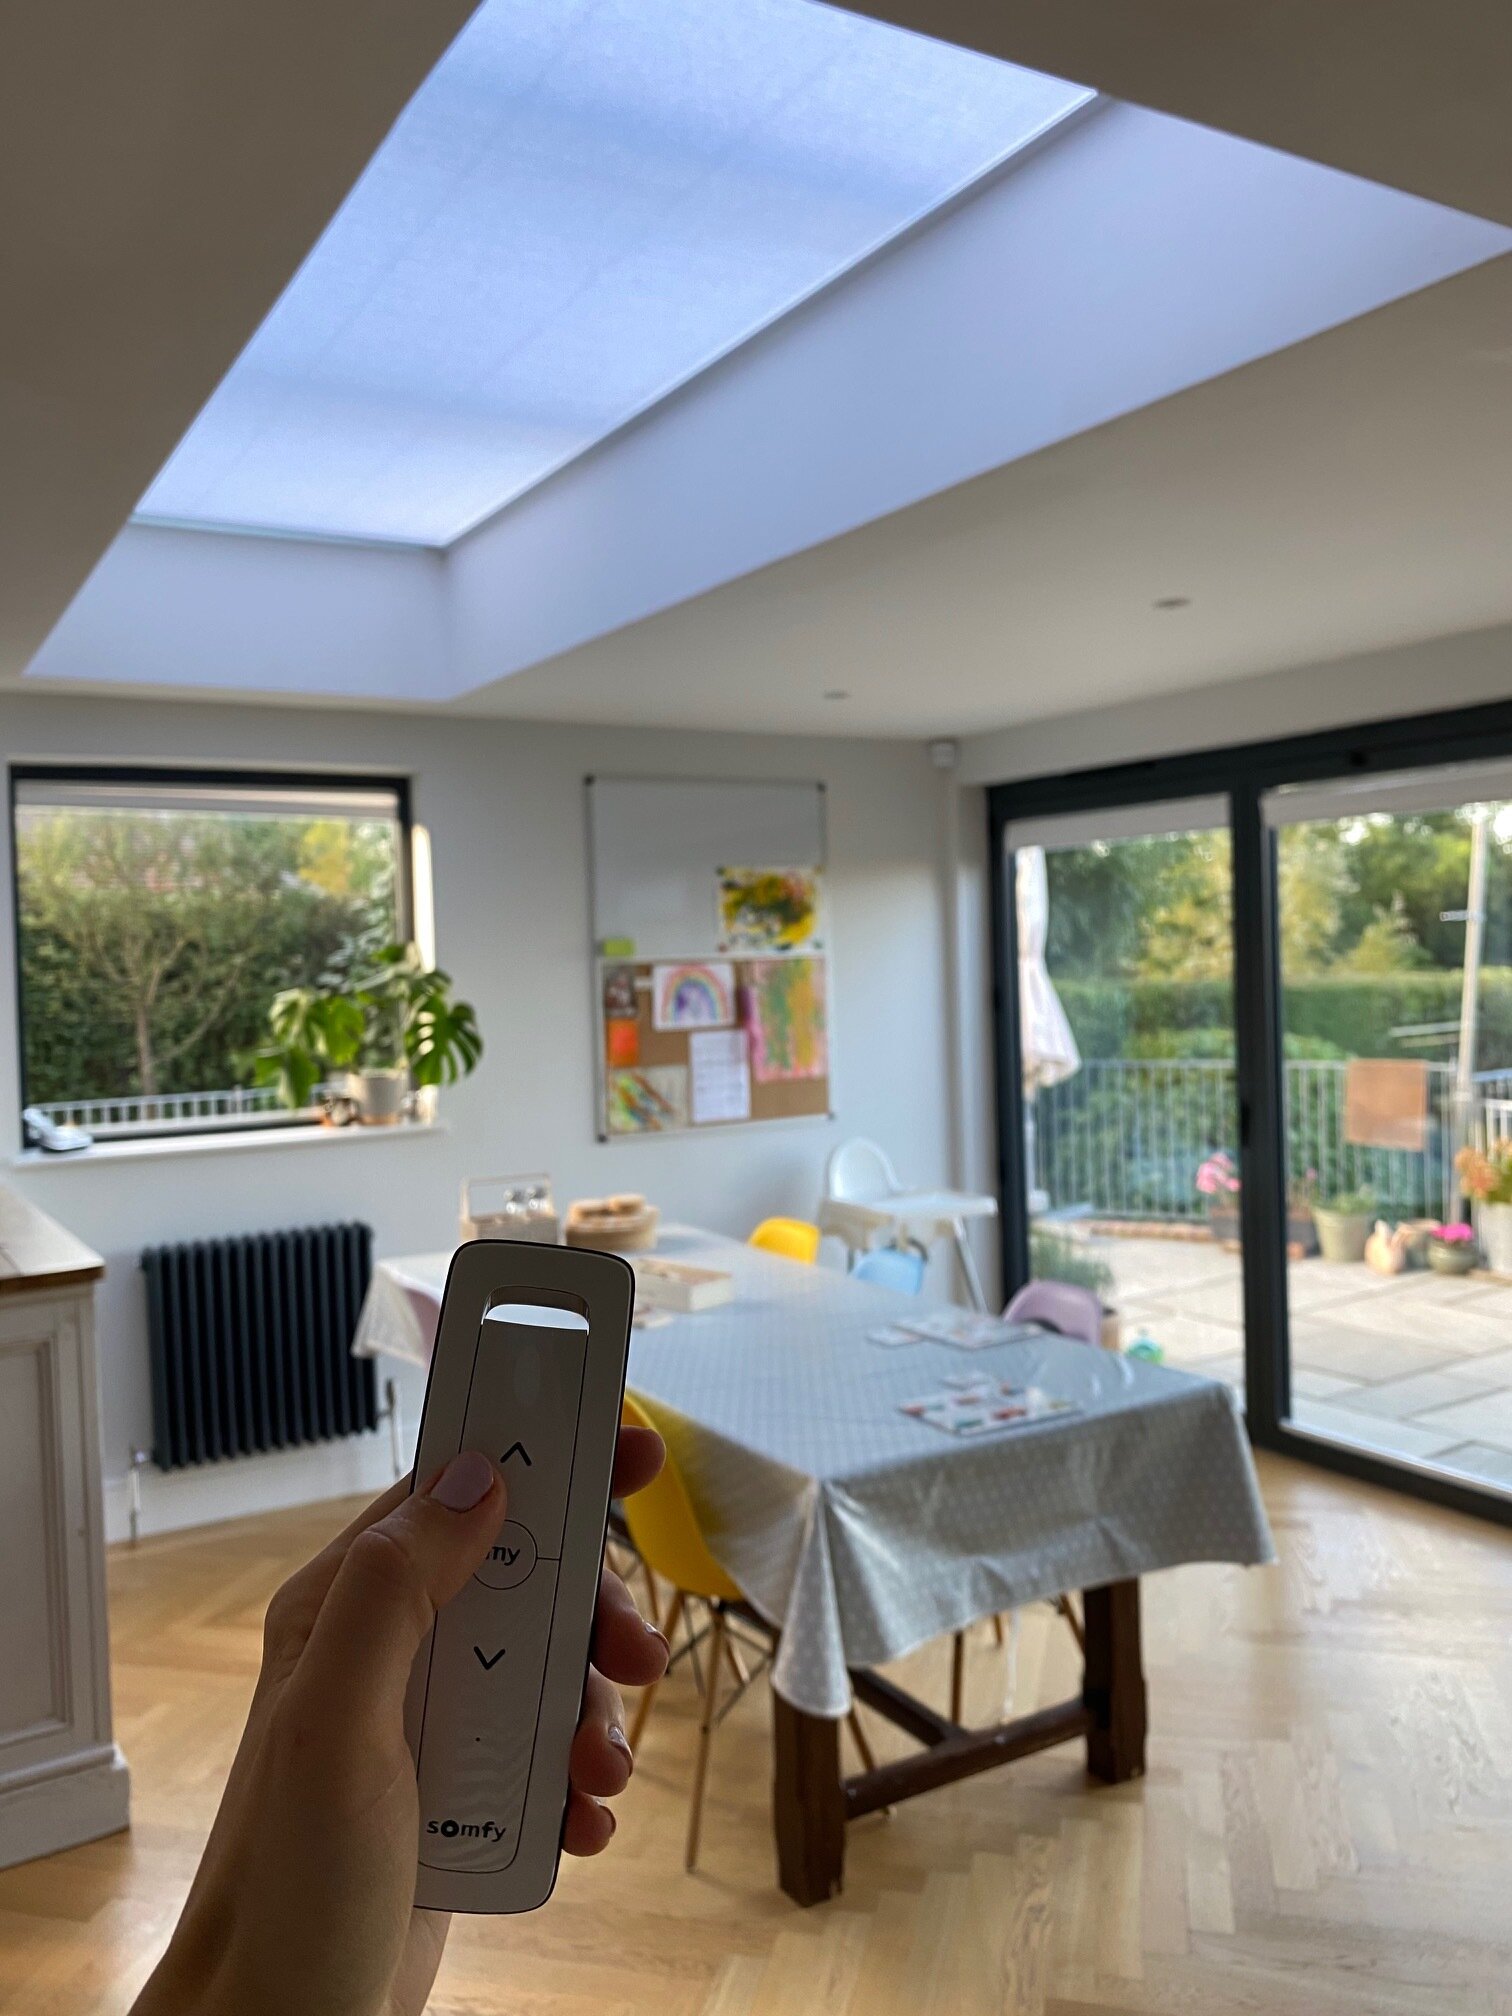
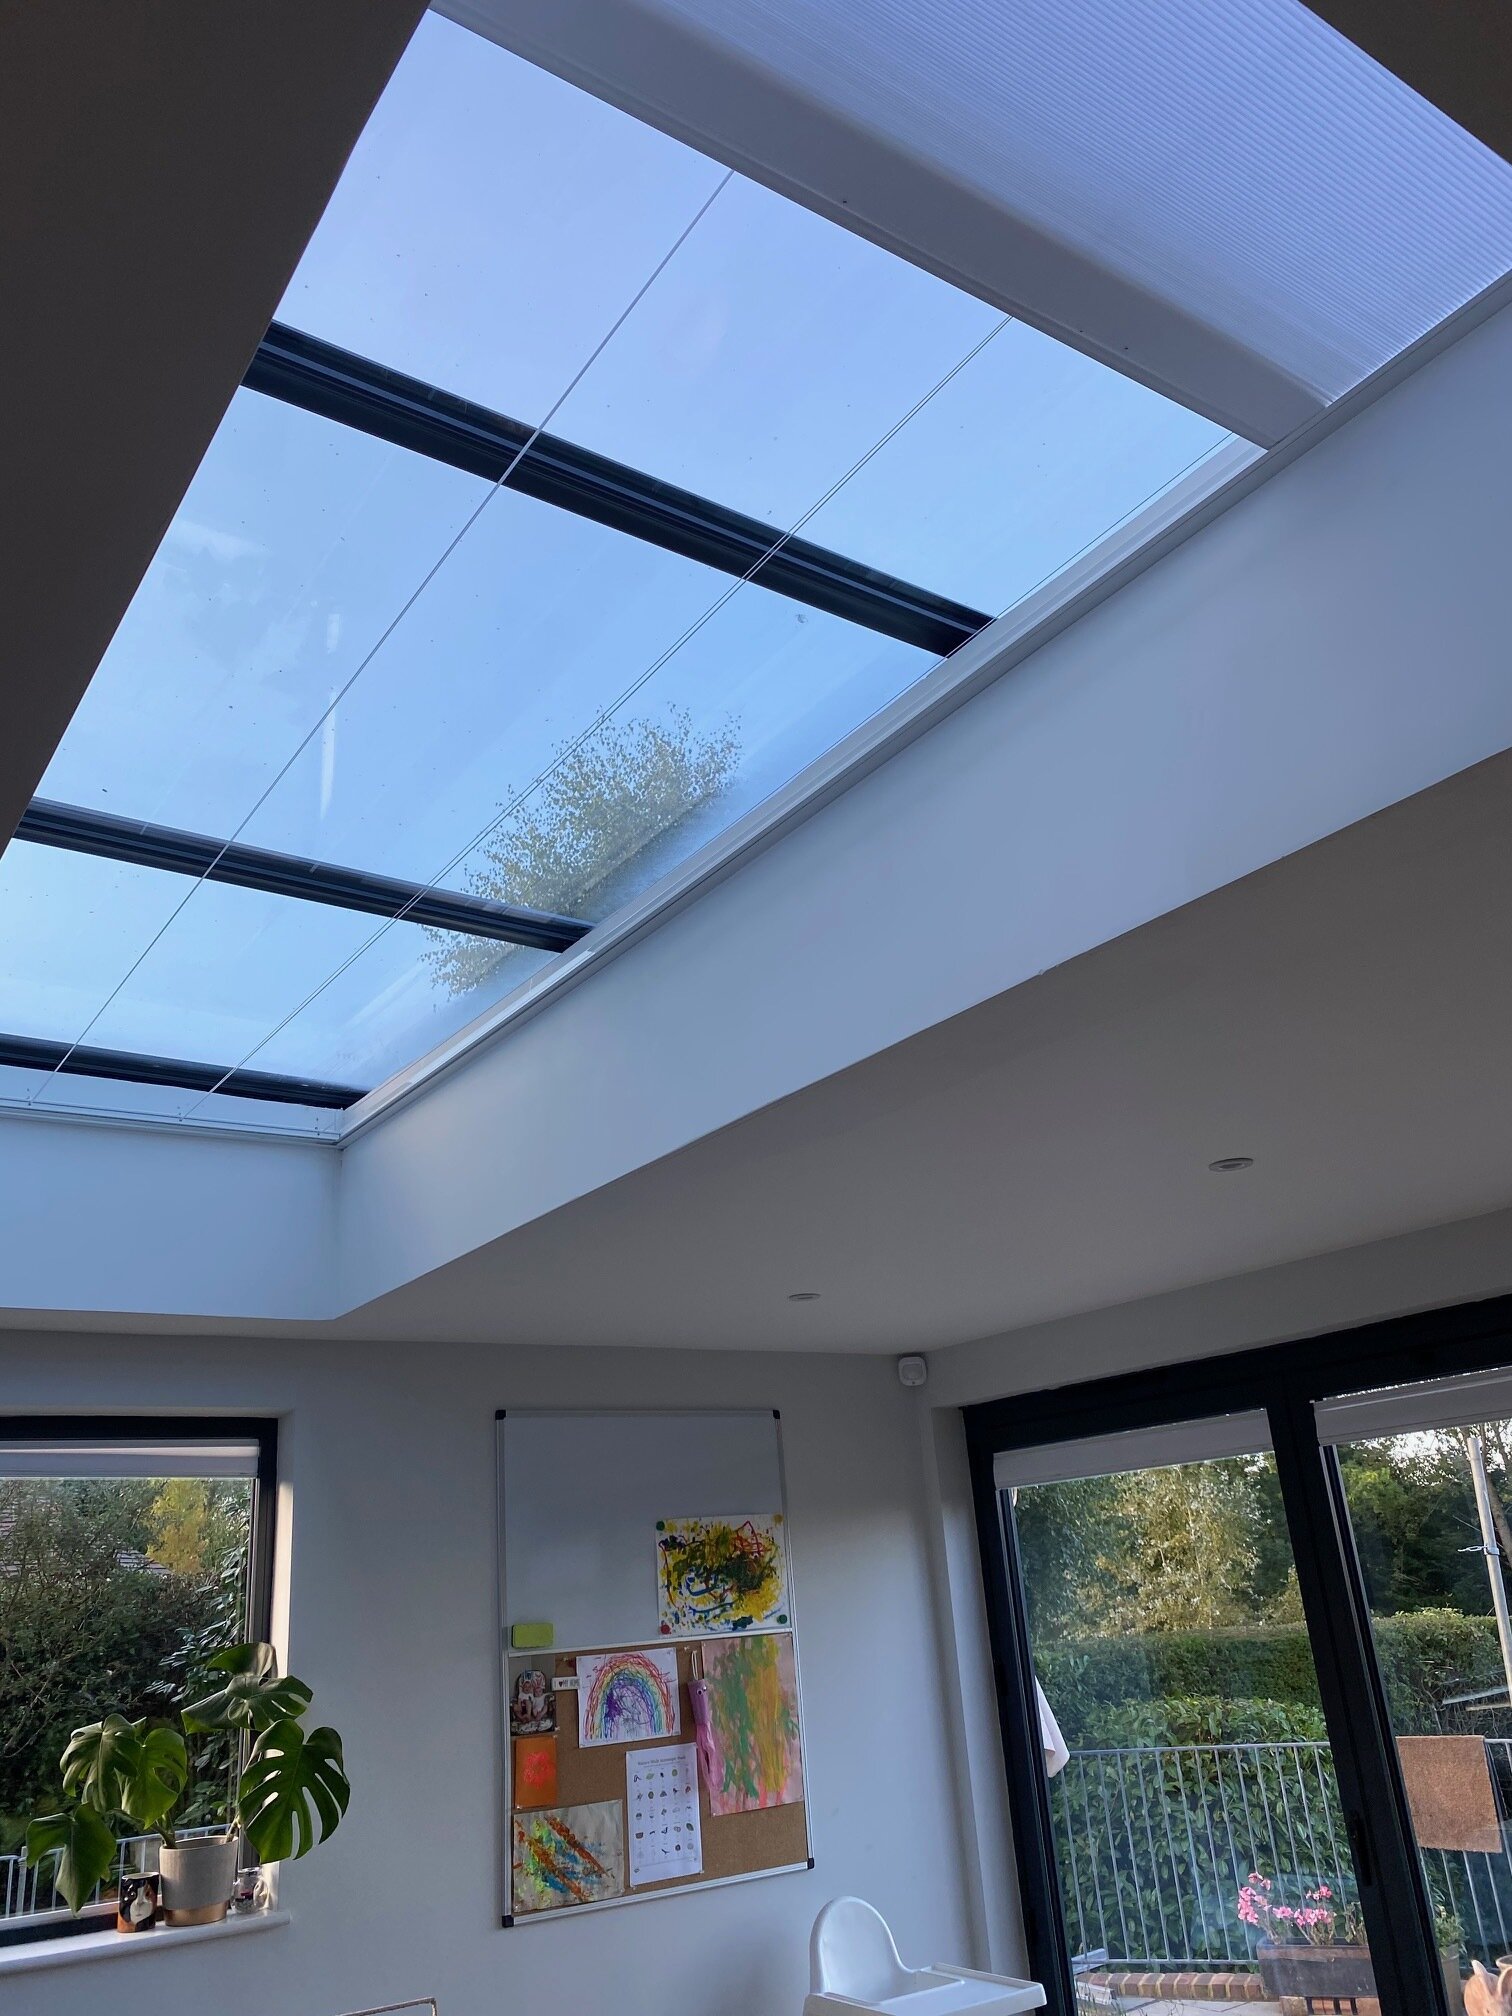
But what we have invested in this year is our skylight blind from Skylight Blinds Direct (@skylightblindsdirect). The room was becoming a bit of a hot box during the hotter days and especially during lockdown - we all got a bit hot and bothered-! We’re really happy with it as it’s been keeping us cool during summer and is set to keep the room warmer in winter. Our particular one was the LanternLITE™ The Honeycomb Overhead Blind - The DIY Orangery Roof Blind - Thermal Blinds (full details here).

BEFORE

IMG_0049.JPG

AFTER

The video below shows it in action (please ignore Jake’s screeching in the background - an unavoidable feature of family life-!).

And the best bit about this particular investment?? The boys can’t reach it!

Please note: We purchased this blind as normal and loved the quality - this ad came about due to my happiness with the product’s quality, and that it solved a very big pain point with our kitchen/diner. I will only work with brands that I know are great quality and that I think my followers would be interested to hear about.

YOU MIGHT ALSO LIKE…

Kitchen: Before & After

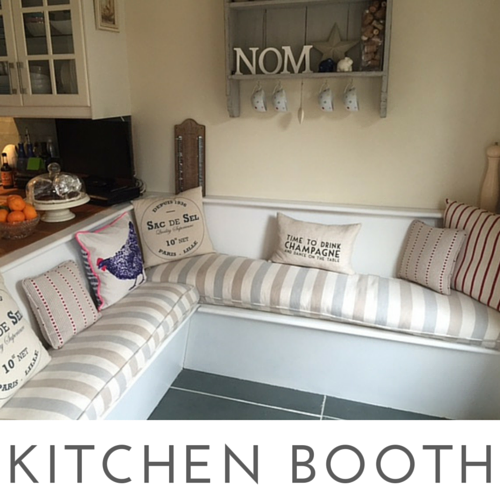
Our kitchen used to be three rooms: a kitchen, bathroom and separate loo - all of which had reached 1975 and decided to stay there. We knew we'd spend most of our time at home on the ground floor - relaxing, cooking or entertaining - so we decided to turn an upstairs bedroom into a bathroom to give us space to create a kitchen/diner.

Walls came down, a new ceiling was added and a fresh set of electrics were wired in. We knocked a big hole into the back wall for french doors, allowing better access to our garden and adding much-needed light. L laid underfloor heating before setting down large grey slates (a massive shiver-saver during the colder months. The cats think it's the best thing since catnip.) A new kitchen was installed and we added an L-shape seating booth to maximise space. A new back door went in and the old draughty windows were replaced with double glazing. This was the biggest room transformation of our refurb.

Scroll down for my top tips...

BEFORE

DURING

AFTER

TOP REFURB TIPS

  • Make space for the rooms you'll use the most.
  • Do scenario 'walk-throughs' to work out light switch, cupboard and plug placements.
  • Be smart about storage. We turned our seating booth into extra kitchen storage by allowing the seats to lift upwards (great place for spare kitchen roll, tins and pet food).
  • Invest in professionals for important things such as demolition, plastering, electrics, plumbing, built-in bookcases (etc) but embrace the strip-out, painting, up-cycling, etc if you can. How do you know you can't if you don't give it a go? We saved a lot of money by getting stuck in.
  • Use Pinterest for layout and decor inspiration - it keeps you focused and motivated during what can be an exhausting mental and physical experience! 
  • I found plugging headphones in (when safe to do so) helped time go quicker during repetitive tasks as opposed to listening to the radio. It gets you in the zone and into the groove.

Know someone planning a full refurb or kitchen transformation? Why not pass these tried and tested tips onto them via the share button below?