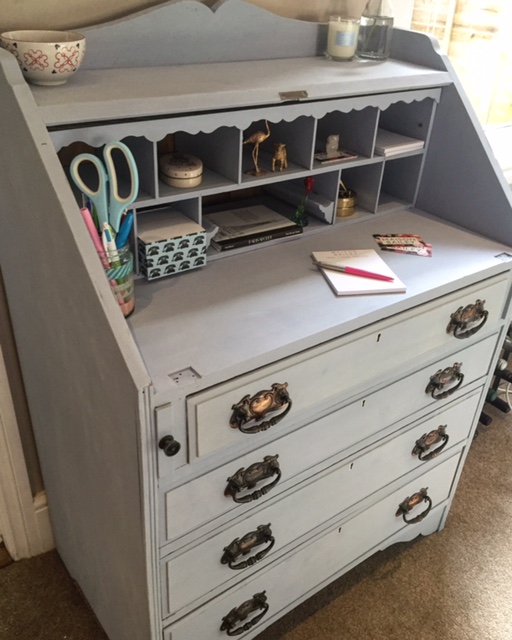
I love writing desks. There's something about the useful drawers, handy writing space and all the little cubbyholes where you can keep useful and decorative items. (Plus I'm a massive Austen fan and have always pictured having my own writing desk Elizabeth Bennet-style.)
After a couple of years looking for one that didn't break the bank, our luck landed when a kind family friend gave us one! We'd been visiting their B&B (the most beautiful place to stay if you're ever near Kelso, Scotland) and it caught our eye. Straight away they said we could have it as they didn't use it. Result!
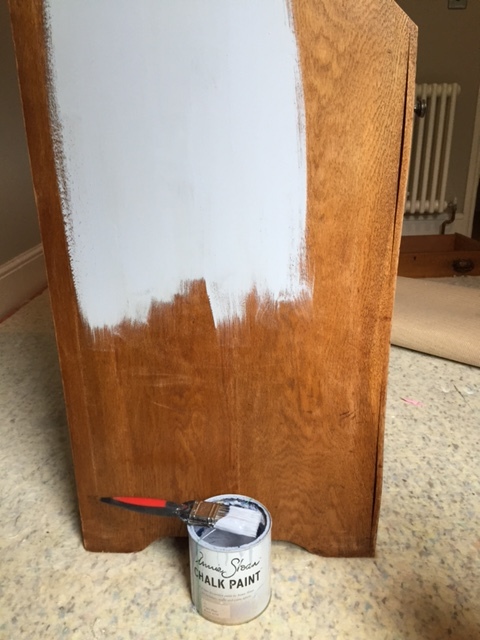
Since then, it's been moved to a couple of rooms but its dark wood wasn't working with the rest of our furniture (which is mostly white). We had come across Annie Sloan chalk paint during our wedding prep as we needed to paint some french shutters for our table plan. The benefit of chalk paint is you don't need that much prep or coats - it goes on like a dream. We had half a tin left of Louis Blue so decided to use it on the desk. Here's how we got on:

THE PROCESS

Take your piece of furniture... (the cats decided to model the 'before' photo).

Remove drawers and lid (to paint separately).

Lightly sand off any treatment to the wood e.g. varnish, otherwise your chalk paint won't go on well.

Sand everywhere you plan to paint. Not too hard, just enough to remove the top layer.
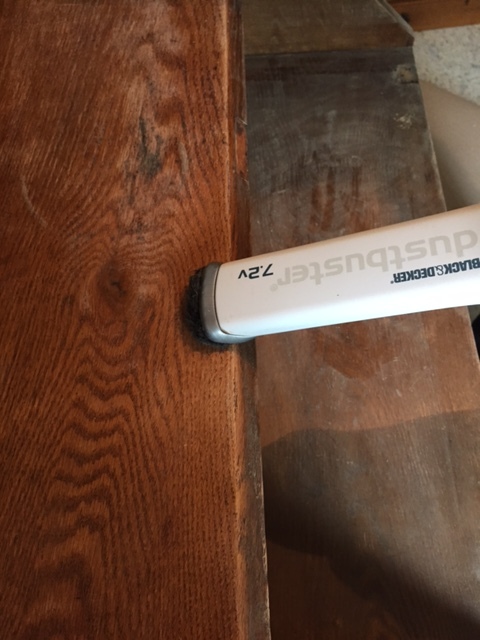
Hoover up the dust.

Wipe away the remaining dust (I used a sugar soap wipe).
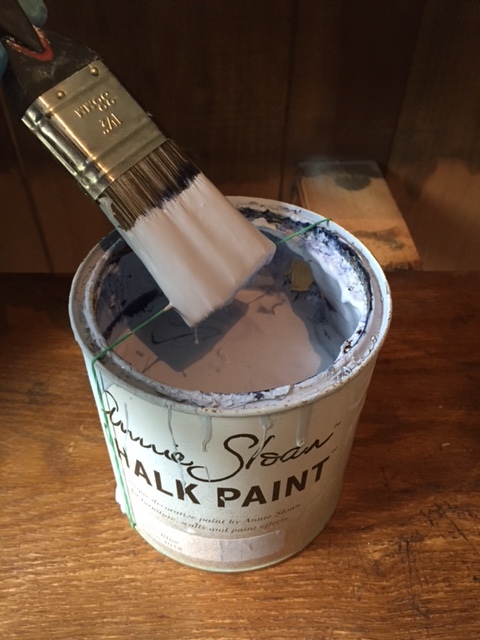
Get your chalk paint ready (don't forget this handy paint pot trick).

Get painting!
Remember to paint your furniture in a well ventilated area, and on a surface you don't mind getting paint on e.g. an old sheet. We had our carpet up for some decorating so took advantage of the underlay!

Once your first coat is dry, sand down any drips and apply the second coat.

Same painting process with the drawers (make sure to take the handles off first).

It's up to you but I didn't see the point in painting the inside of the drawers - I'm planning to buy some pretty drawer liners instead. Also I tried to avoid painting as much of the drawer that you don't see in case it affected (slightly) how the drawers moved in and out of the desk.
Give plenty of time for everything to dry, then screw the handles back on.

We decided to keep the lid off as we felt we'd be able to use it more easily.
THINGS WE KEEP IN OUR 'WRITING' DESK
It completely depends where your desk is. Ours is in our dining room / living room near to our kitchen so we keep a range of useful items in it:
- Placemats & coasters
- Tablecloths
- Pens, pencils & notepads
- Business cards
- Pinboard pins
- Spare lightbulbs
- Wrapping paper & gift bags
- Small bowl for keys & change
- Note cube for quick memos
- Trinkets from our wedding day
- Colouring books to switch off with
- Paperwork that needs sorting that week
This was our first big furniture upcycle - I was really surprised by how relatively simple it was. Chalk paint makes it so easy - all that's required is some patience to ensure the prep is done and enough time is allowed for the paint to dry. (Saying that, it's worth noting the whole project only took up part of a Sunday.)
Upcycling is a great way to make the most out of the furniture you have. Here's another makeover tip which I turn to time and time again.
YOU MIGHT ALSO LIKE: