
I love Christmas crafting during November as it gets me in the festive mood without going OTT too soon. When December dawns, I prefer to relax / eat / watch Christmas movies, knowing any homemade decorations and gifts are all taken care of. (My onions are already pickling! - Now's also a good time to get going on your Christmas cake or pudding if you're making one.)
Homemade glitter baubles have been brightening up my Pinterest feed in recent weeks, so I decided to give them a go. Not only because they look pretty but are super simple to make. You just need to order a few bits during the week and you've got a fun Christmas craft project you can enjoy for a couple of hours one weekend.
DIFFICULTY RATING: EASY
ORIGINAL PIN:

MY ATTEMPT:

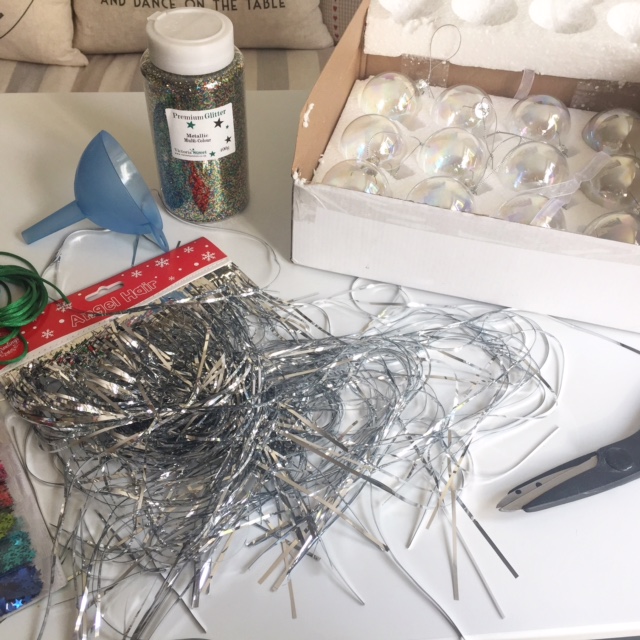
SHOPPING LIST
- Clear glass baubles (make sure the tops are removable. I sourced a pack of 12 from Ebay)
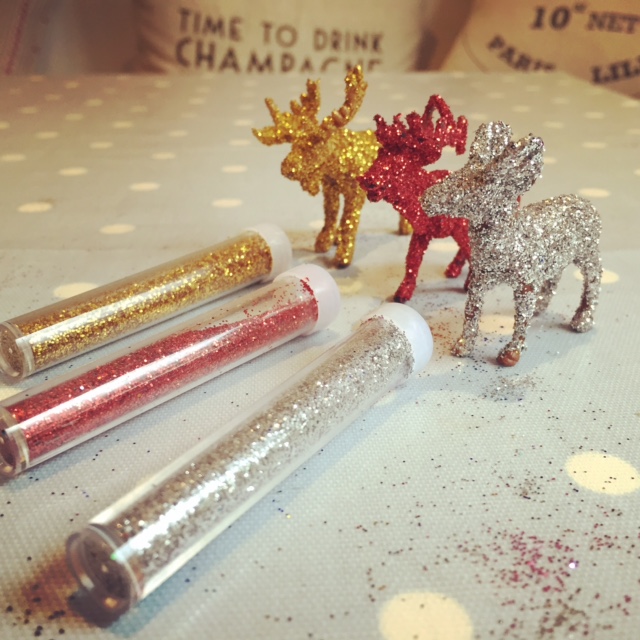
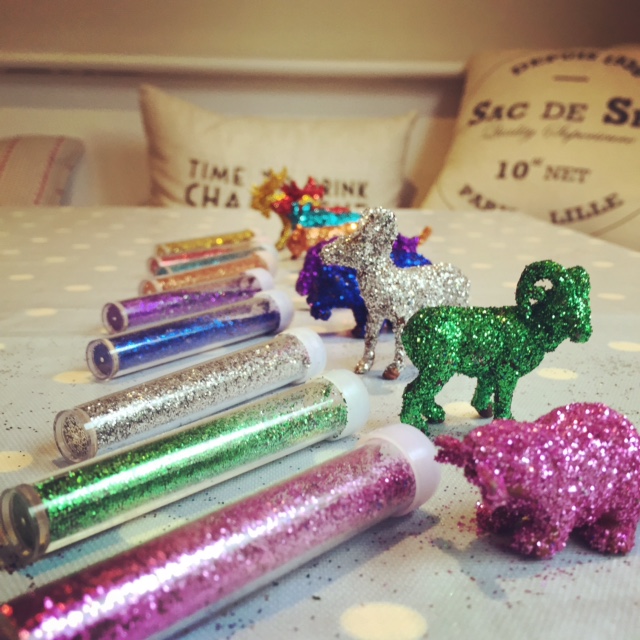
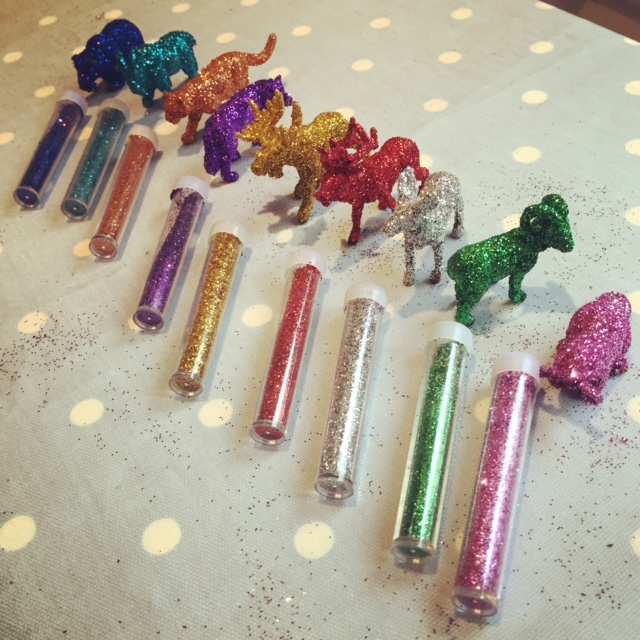
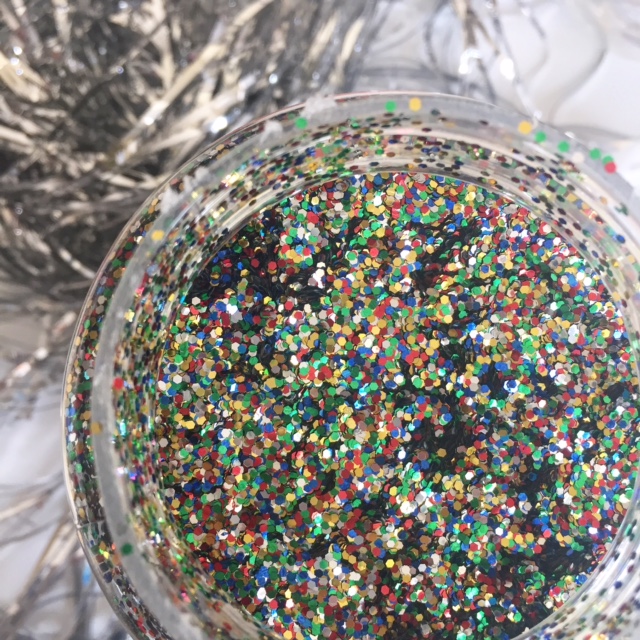
- Craft glitter
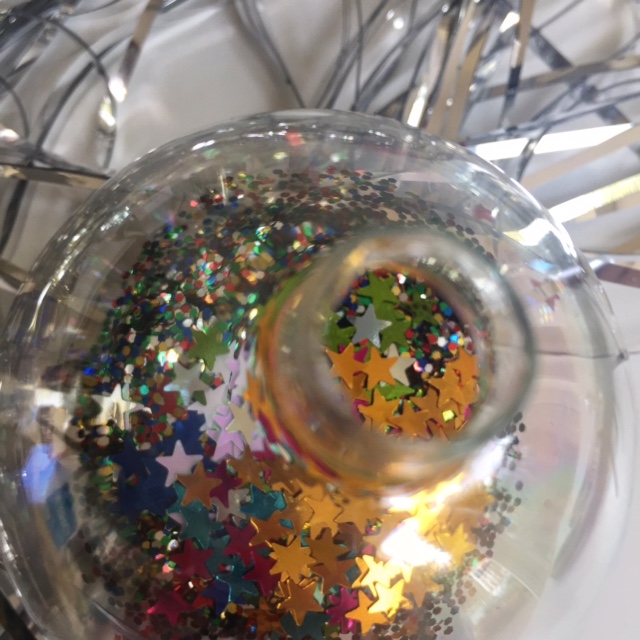
- Star confetti
- Lametta
- Nylon cord (get 6M rather than 3 as I ran out)
Colour-wise you can go for anything you like! The above list covers the colours I wanted to try: multi-coloured glitter with silver and green accents.
HOW-TO
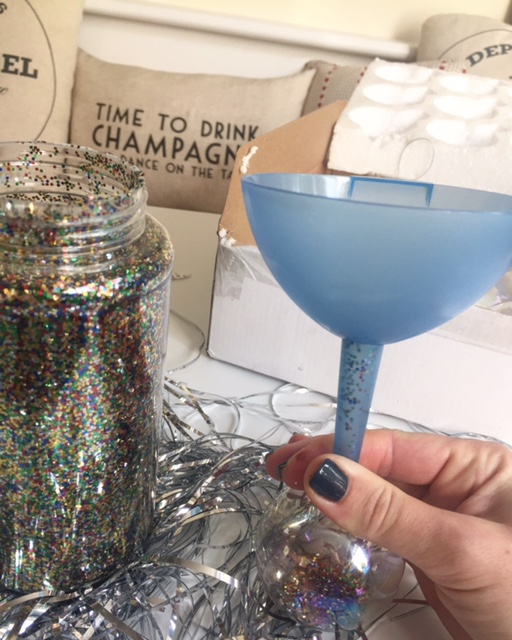
- Fill up your baubles with the glitter, confetti and cut-up lametta
- Replace the bauble string with a pretty nylon cord bow
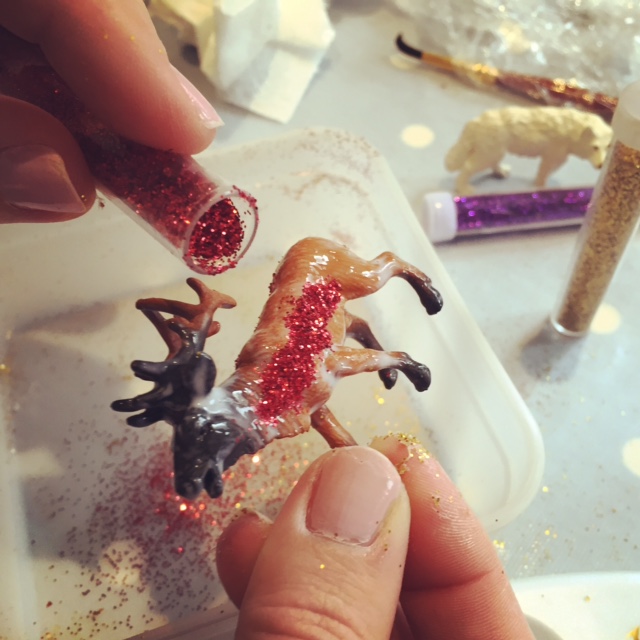
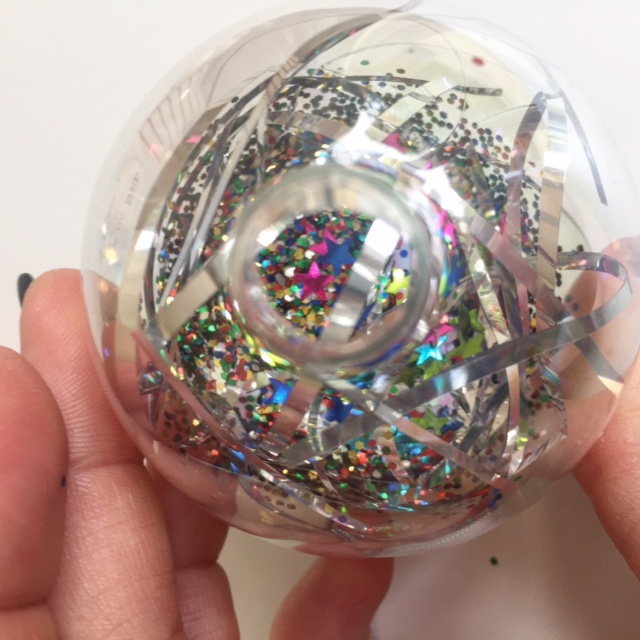
- And you're DONE! Here's some pics of the process:


TOP TIPS
- Use a funnel for the glitter otherwise it gets pretty messy! Make sure the funnel fits into your bauble before filling it!
- Make sure to split up the lametta strands before feeding them into the baubles, as they have a tendency to clump and you want that structure inside
- Give your bauble a good shake afterwards, ensuring your finger is on the top-!
- Check your tops are fixed properly - you don't want them coming off, spilling glitter everywhere!
- You don't have to put them on your tree - I'm planning to hang mine from my staircase bannister amongst fairy lights. You could also pop them in a glass lantern to create a Christmas table centrepiece, or use them as additions to your Christmas wrapping as an extra gift (be careful though as they're delicate).
VERDICT
Super easy, not too costly and they look pretty professional at the end!
For more Christmas craft ideas, take a look at my Christmas Pinterest board.
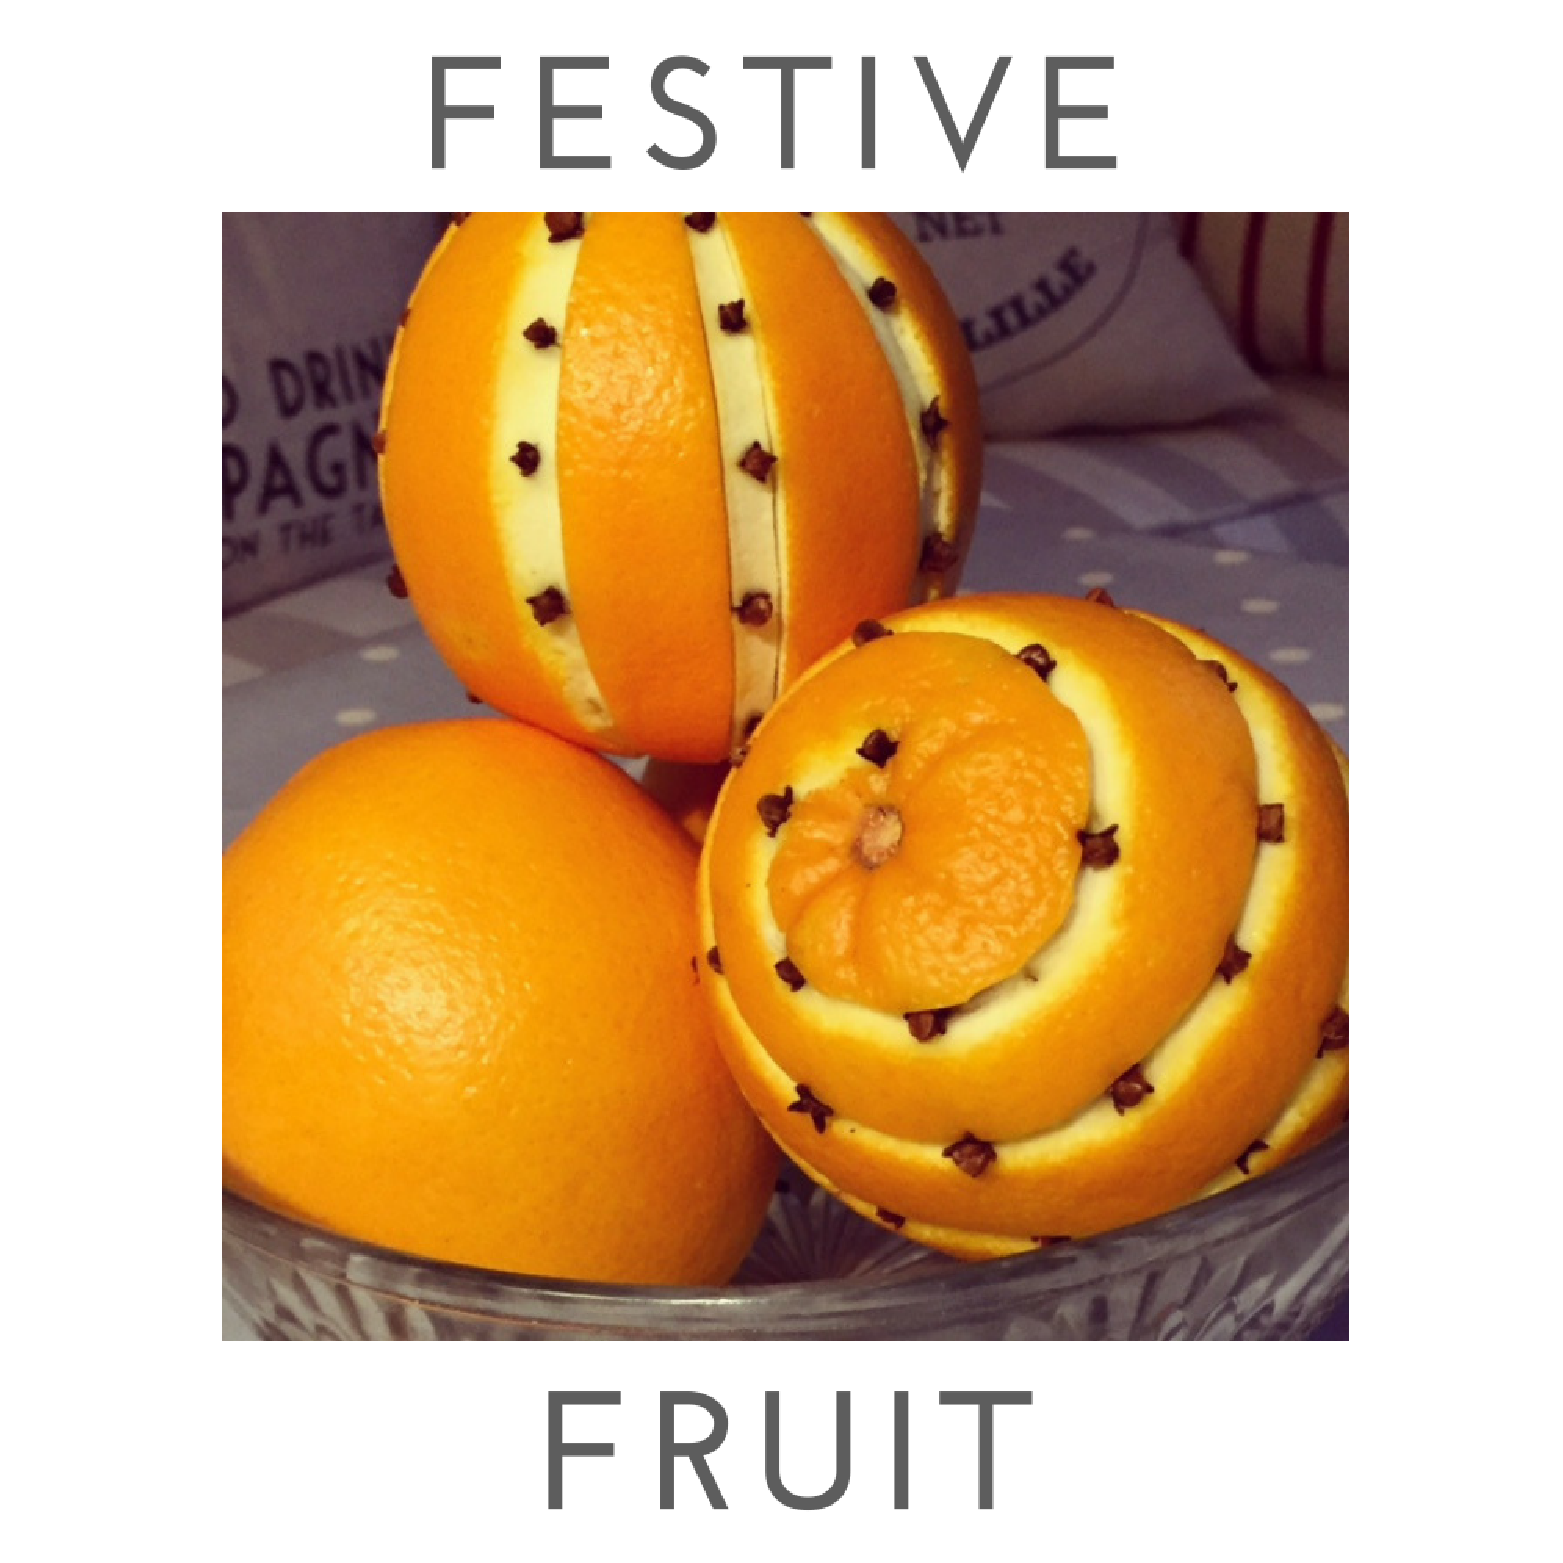
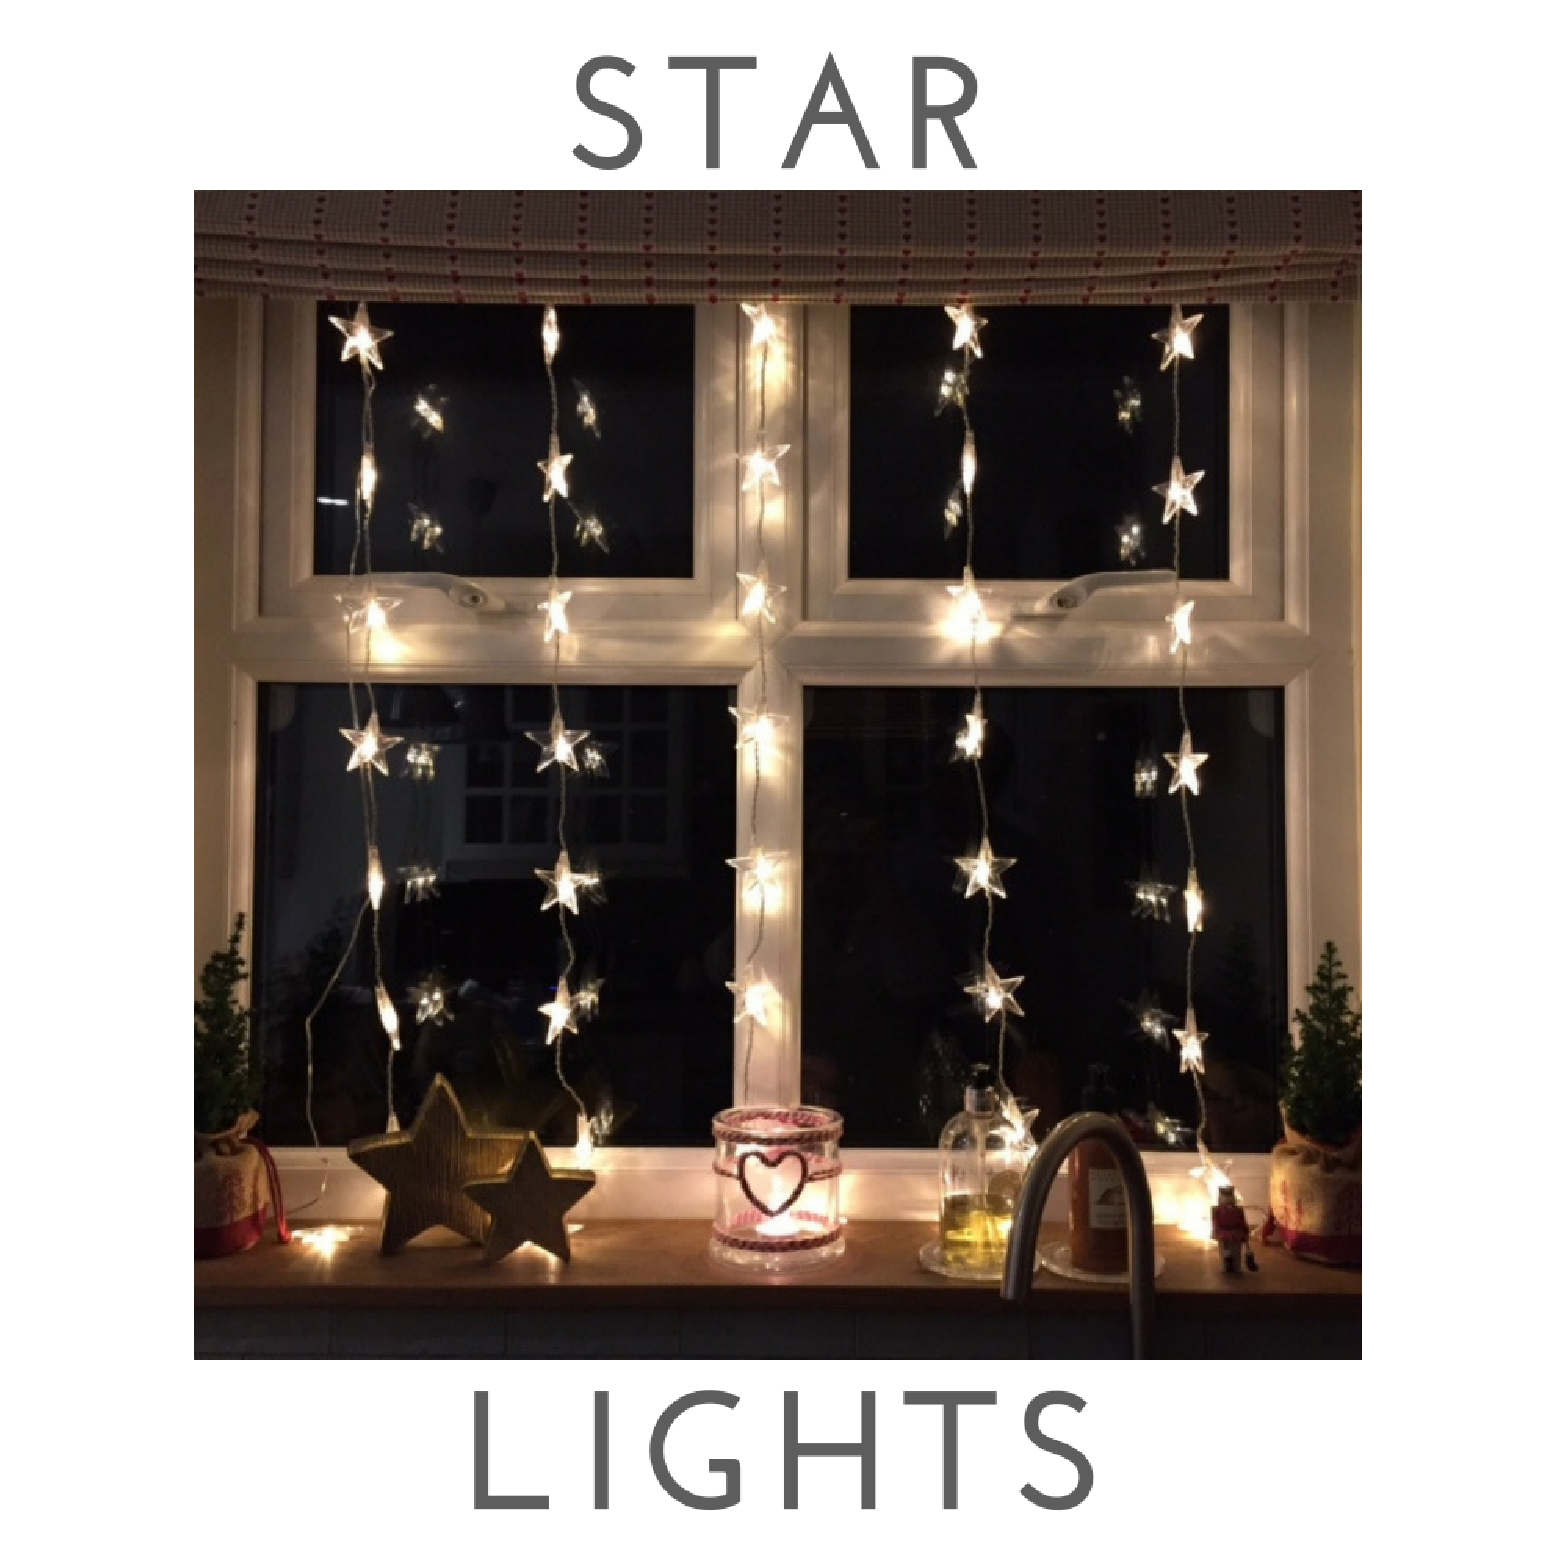
YOU MIGHT ALSO LIKE...